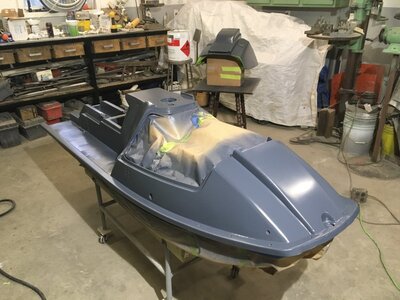
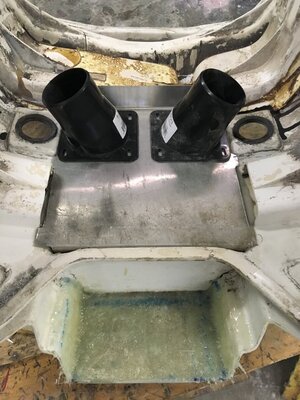
I started with a $200 701 and a donated 1986 X2. She was put away wet. The crank was rusted tight and foam was water logged. I had plans for the 701 but after research the swap seemed obvious. I searched for ideas for what mods to use. A lot of these are ideas I found out there so I chose what I thought were the best ones. Here is the beginning. .JPG")

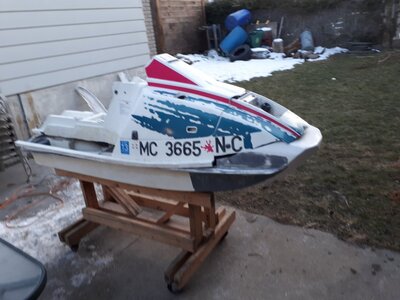
![IMG_1308[1].JPG](/data/attachments/266/266611-c576b8c4993b4cb13e81cd2854f4f481.jpg)