Stock Squarenose to Sweet Superjet --- step by step my first ski

2lick

Brap!!!
Location
Limerick, PA
This was intended for PWCTODAY.COM:rocketwhore: but most have moved so... :arms:

Please excuse the context in witch written and adapt to use here...

Well yes, this is another freestyle build up thread which most all mods have been covered before. I have taken so much from this web site and from this great community of guys (and occasional gal) that I would like to give back what I can and let others see what I was able to do. I started out as a complete novice and now, thanks to every, one I have been able to make a great ski. (not finished yet tho) So before you click that x give it a try.

Story Line:
Summer of '04 --- rode a superjet 3 or 4 times
Summer of '05 --- rode same ski a few times then owner sold it to me

Superjet 1:
1991 Yamaha Superjet
stock motor
milled head
Skat trak 9-17
ride plate
UMI intake grate

Fall 0f '05 --- bought a superjet off ebay in Ohio

Superjet 2:
1994 Yamaha Superjet
Protec pipe
protec exhaust manifold
stock 44 single carb
motor work done by Group K
-milled head
-81mm pistons (701cc)
-primer in carb
-choke plate taken out
-flywheel lightened .4 lbs
-clylinder and head decking
-intake manifold work

Winnter of 05' ---the work began...
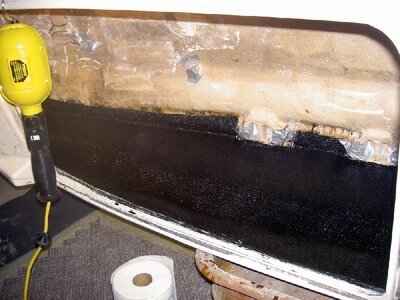
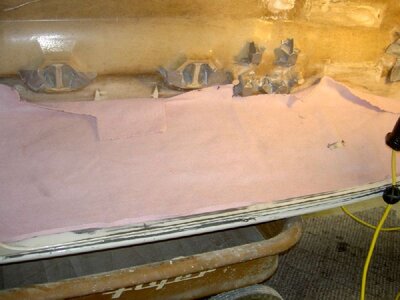
Goal is too make my first hull all nice and then do a motor swap.
End of this summer the '94 hull is getting sold with the stock '91 motor.
Main focus is too get hull,pump, and handling up to par. Next year if finances are ok (college kid) ill do a motor build.

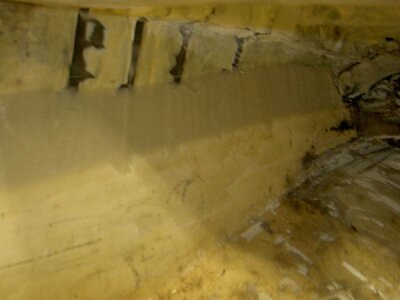
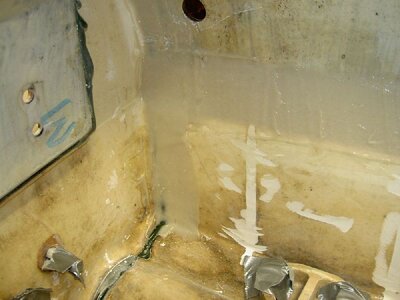
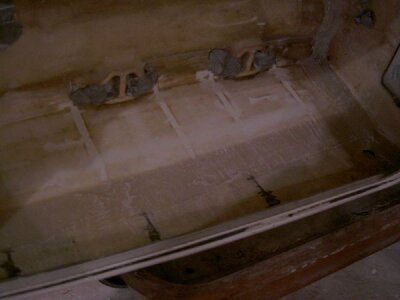
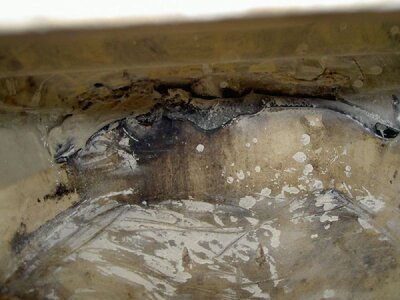
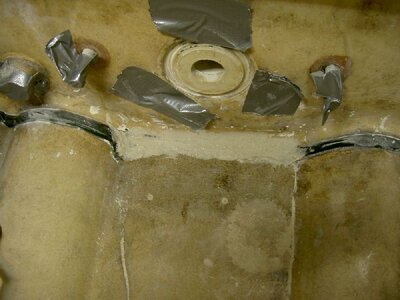
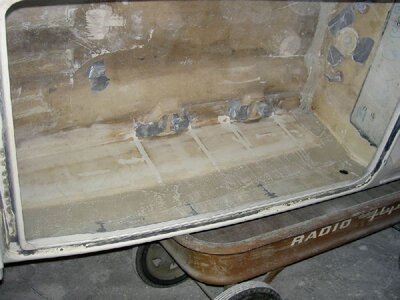
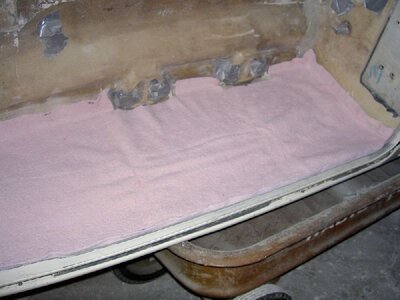
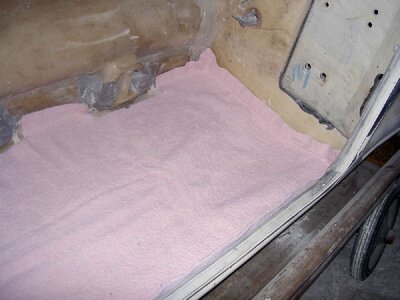
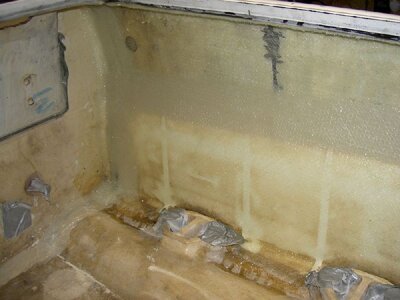
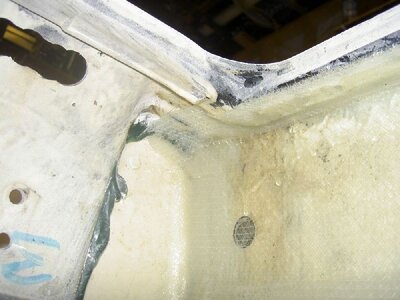
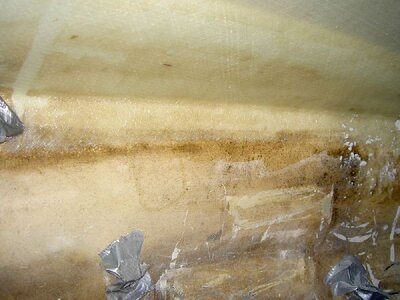
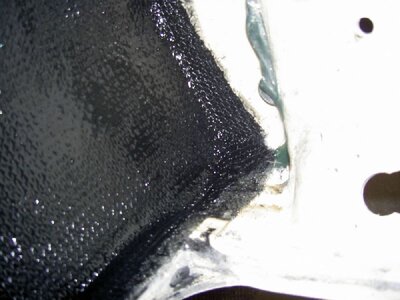
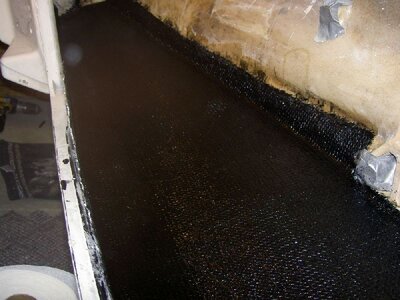
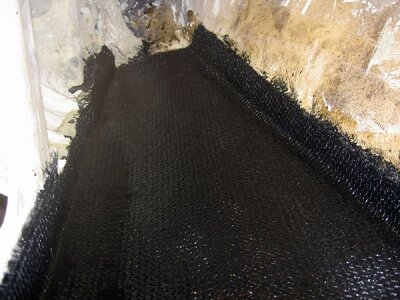
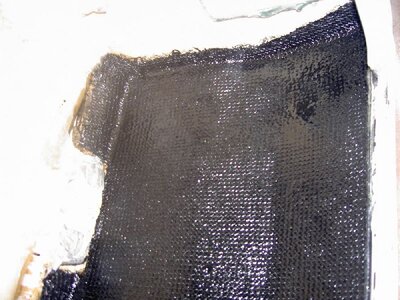
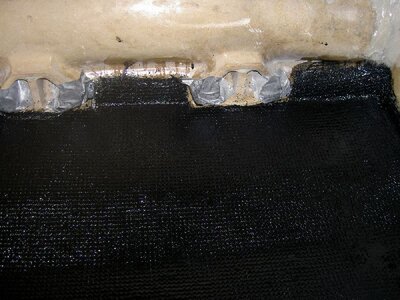
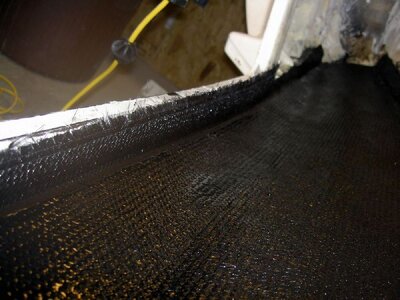
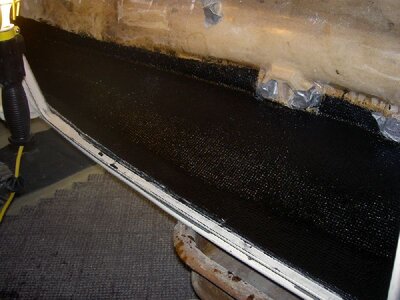
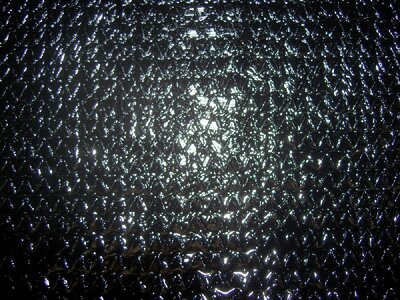
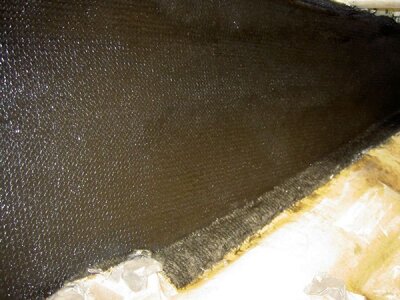
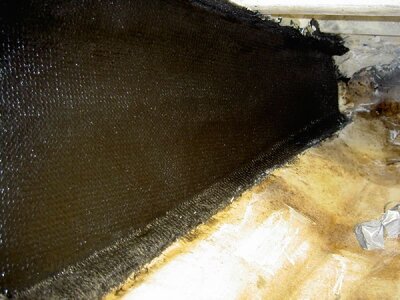
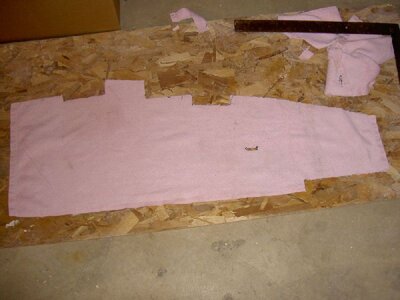
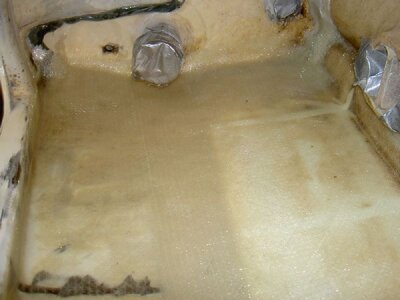
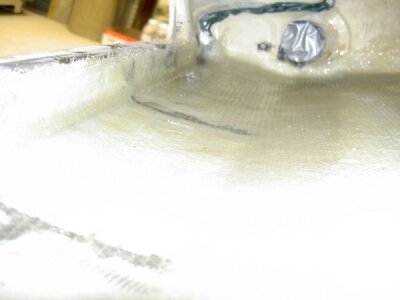
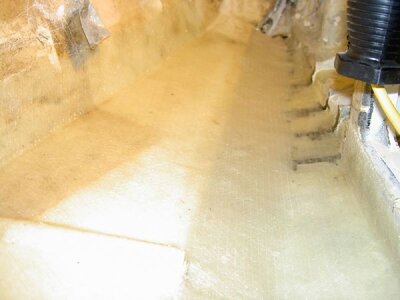
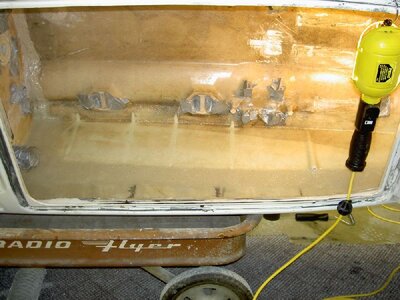
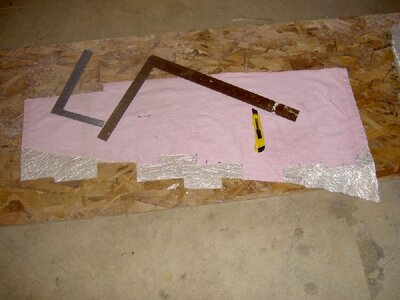
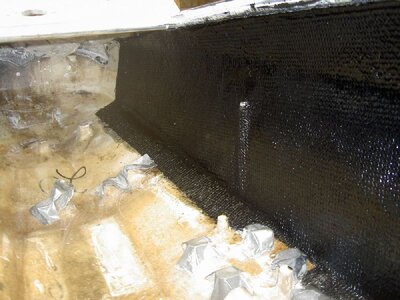
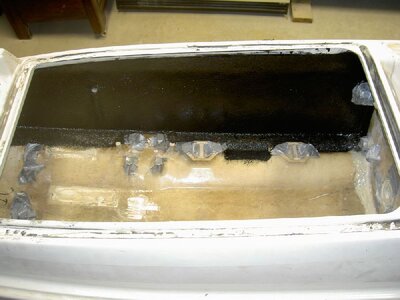
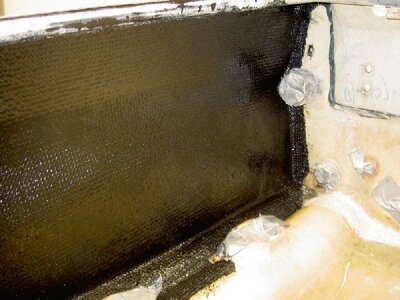
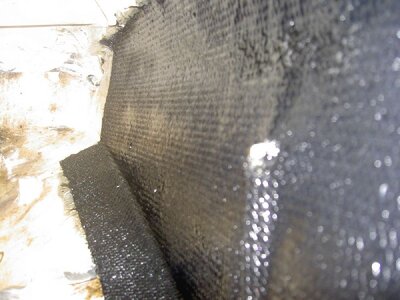
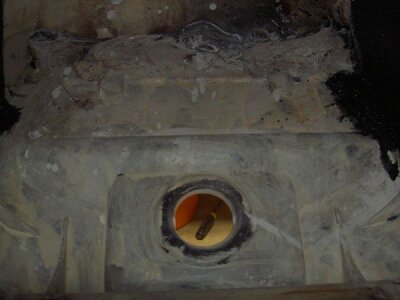
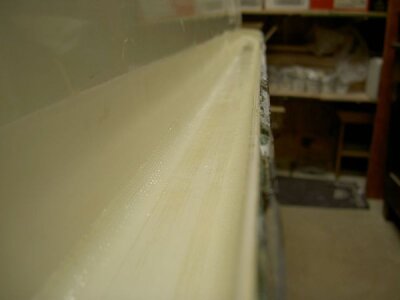
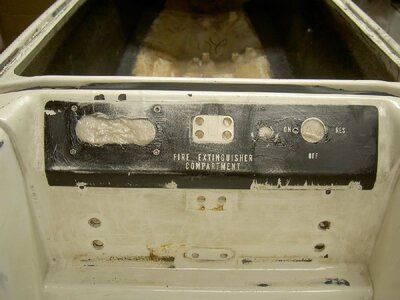
Im far into the process and I took photos so I will continuisly add my steps to the thread.

Thanks-NICK
 
Last edited:

2lick

Brap!!!
Location
Limerick, PA
Reinforcing a squarenose.

Hull Reinforcment Proccess

Material:

-All from Uscomposites.com
-Ill add my detailed list soon


Proccess:
  • Washed Hull
  • Used grinder to grind ribs off bottom and top half of hull
  • Vacumed and Wiped Hull Clean
  • Filled in bond line with WS404
  • Poured extra filler in nose to fill gaps
  • Filled over bond line again to build up more and smooth out
  • Filled lip under hood rail so I could bring the glass up and out
  • Poured extra filler in nose to fill gaps
  • Roughed up entire hull with 120 grit sandpaper
  • Wiped Hull Clean with water only
  • Used a bath towl to make a pattern for each side
  • Cut out two Pieces of glass for each side
  • Spread resin over one side
  • Layed one sheet of glass
  • 10 minutes later did second layer on same side
  • Added black dye to second layer (looks cool!!!)
  • Pressed with fiberglass roller
  • Watched it dry for 2 days
  • Flipped Hull and repeated on otherside

Comments:

This was my first time using fiberglass.
It turnned out great, if I can do it you can too.
I ran glass all the way up and under to hood lip for added strenght.
I also ran glass out 2 inches at bottom.
Deffinatly buy a roller it realy helps.
Buy the easy disspersing pumps they make for quik, easy, acurate work.
Uscomposites is half the price of westsystems resin AND ITS GREAT!
I will lend out my patterns to any one who asks.

--------------------------------------------------
Hopefully this helps someone. PM me if you still need help with your reinforcing job. I did preaty good on mine thanks to great advice from everyone. Ill help you with what I can.

Thanks-NICK
 

Attachments

  • PICT2638.JPG
    PICT2638.JPG
    38.1 KB · Views: 288
  • PICT2637.JPG
    PICT2637.JPG
    60.7 KB · Views: 325
  • PICT2648.JPG
    PICT2648.JPG
    39.5 KB · Views: 347
  • PICT2640.JPG
    PICT2640.JPG
    72 KB · Views: 327
  • PICT2647.JPG
    PICT2647.JPG
    66.4 KB · Views: 302

2lick

Brap!!!
Location
Limerick, PA
Hull Reinforment pictures

More pictures I can only post 5 per post...:17:
 

Attachments

  • PICT2650.JPG
    PICT2650.JPG
    75.3 KB · Views: 268
  • PICT2651.JPG
    PICT2651.JPG
    58.7 KB · Views: 307
  • PICT2652.JPG
    PICT2652.JPG
    71.9 KB · Views: 205
  • PICT2653.JPG
    PICT2653.JPG
    69 KB · Views: 232
  • PICT2654.JPG
    PICT2654.JPG
    71.8 KB · Views: 252

2lick

Brap!!!
Location
Limerick, PA
pics cont...

pictures are worth a thousand words:arms:
 

Attachments

  • PICT2656.JPG
    PICT2656.JPG
    108.7 KB · Views: 205
  • PICT2657.JPG
    PICT2657.JPG
    158 KB · Views: 214
  • PICT2658.JPG
    PICT2658.JPG
    127.7 KB · Views: 220
  • PICT2660.JPG
    PICT2660.JPG
    99.4 KB · Views: 214
  • PICT2661.JPG
    PICT2661.JPG
    129 KB · Views: 206

2lick

Brap!!!
Location
Limerick, PA
A few more...:biggrin:
 

Attachments

  • PICT2663.JPG
    PICT2663.JPG
    98.5 KB · Views: 189
  • PICT2667.JPG
    PICT2667.JPG
    65.6 KB · Views: 273
  • PICT2666.JPG
    PICT2666.JPG
    69.5 KB · Views: 228
  • PICT2665.JPG
    PICT2665.JPG
    89.3 KB · Views: 232
  • PICT2664.JPG
    PICT2664.JPG
    61.8 KB · Views: 236

2lick

Brap!!!
Location
Limerick, PA
Again...:Banane01:
 

Attachments

  • PICT2668.JPG
    PICT2668.JPG
    65.1 KB · Views: 186
  • PICT2669.JPG
    PICT2669.JPG
    64.4 KB · Views: 218
  • PICT2670.JPG
    PICT2670.JPG
    71.7 KB · Views: 187
  • PICT2671.JPG
    PICT2671.JPG
    76.8 KB · Views: 187
  • PICT2672.JPG
    PICT2672.JPG
    99.7 KB · Views: 305

2lick

Brap!!!
Location
Limerick, PA
And...:bigeyes:
 

Attachments

  • PICT2677.JPG
    PICT2677.JPG
    59 KB · Views: 184
  • PICT2676.JPG
    PICT2676.JPG
    83.1 KB · Views: 160
  • PICT2675.JPG
    PICT2675.JPG
    94.2 KB · Views: 201
  • PICT2673.JPG
    PICT2673.JPG
    93.9 KB · Views: 216
  • PICT2674.JPG
    PICT2674.JPG
    100.5 KB · Views: 165

2lick

Brap!!!
Location
Limerick, PA
more...:aargh4:
 

Attachments

  • PICT2678.JPG
    PICT2678.JPG
    78.9 KB · Views: 159
  • PICT2679.JPG
    PICT2679.JPG
    87.6 KB · Views: 152
  • PICT2681.JPG
    PICT2681.JPG
    167.1 KB · Views: 170
  • PICT2683.JPG
    PICT2683.JPG
    122.2 KB · Views: 193
  • PICT2689.JPG
    PICT2689.JPG
    72.8 KB · Views: 197

2lick

Brap!!!
Location
Limerick, PA
still...:27:
 

Attachments

  • PICT2690.JPG
    PICT2690.JPG
    98.4 KB · Views: 149
  • PICT2691.JPG
    PICT2691.JPG
    105.1 KB · Views: 131
  • PICT2692.JPG
    PICT2692.JPG
    95 KB · Views: 151
  • PICT2693.JPG
    PICT2693.JPG
    57.3 KB · Views: 143
  • PICT2694.JPG
    PICT2694.JPG
    64.5 KB · Views: 153

2lick

Brap!!!
Location
Limerick, PA
whats the limit on pictures?? I guess Ill find out.:rolleyes:
 

Attachments

  • PICT2698.JPG
    PICT2698.JPG
    57.4 KB · Views: 154
  • PICT2702.JPG
    PICT2702.JPG
    34 KB · Views: 150
  • PICT2700.JPG
    PICT2700.JPG
    50.9 KB · Views: 145
  • PICT2699.JPG
    PICT2699.JPG
    84 KB · Views: 175
  • PICT2697.JPG
    PICT2697.JPG
    66.1 KB · Views: 147

2lick

Brap!!!
Location
Limerick, PA
the final 4...:fingersx:
 

Attachments

  • PICT2708.JPG
    PICT2708.JPG
    85.3 KB · Views: 163
  • PICT2709.JPG
    PICT2709.JPG
    65.4 KB · Views: 179
  • PICT2710.JPG
    PICT2710.JPG
    88.3 KB · Views: 148
  • PICT2711.JPG
    PICT2711.JPG
    67.3 KB · Views: 186

2lick

Brap!!!
Location
Limerick, PA
more reinforcments

MORE REINFORCMENTS

I forgot to mention these little jobs.

I layed strips under the pole mount.
One strip all the way around rails.
Back of dash to make new holes for controls.

I used the 3" cloth tape from UsComposites.
The proccess it preaty self expainatory.

I also filled in old holes with some left over resin mixed with WS404 filler.

Pictures Follow:----
 

Attachments

  • PICT1020.JPG
    PICT1020.JPG
    48.9 KB · Views: 255
  • PICT1015.JPG
    PICT1015.JPG
    61.1 KB · Views: 271
  • PICT1028.JPG
    PICT1028.JPG
    22.5 KB · Views: 210
  • PICT1030.JPG
    PICT1030.JPG
    28.5 KB · Views: 223
  • PICT1032.JPG
    PICT1032.JPG
    66.3 KB · Views: 291
Last edited:
Top Bottom