How To: Shorten your stock pole -PICS-

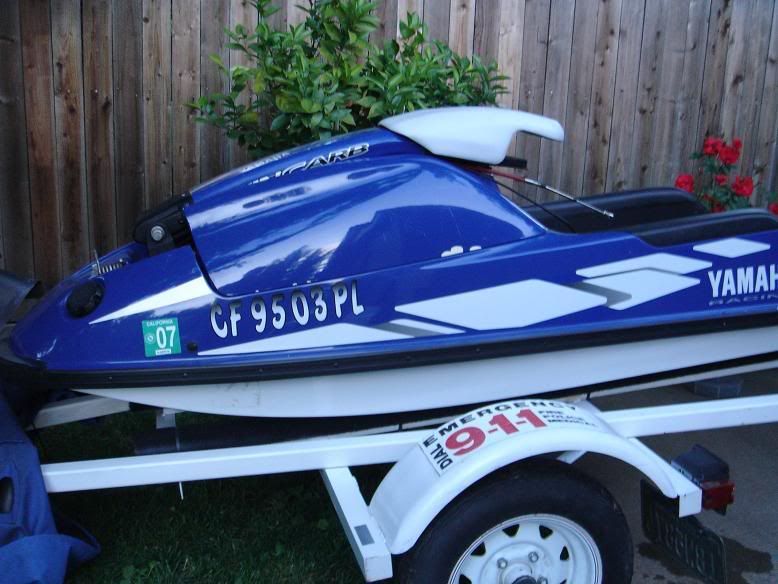
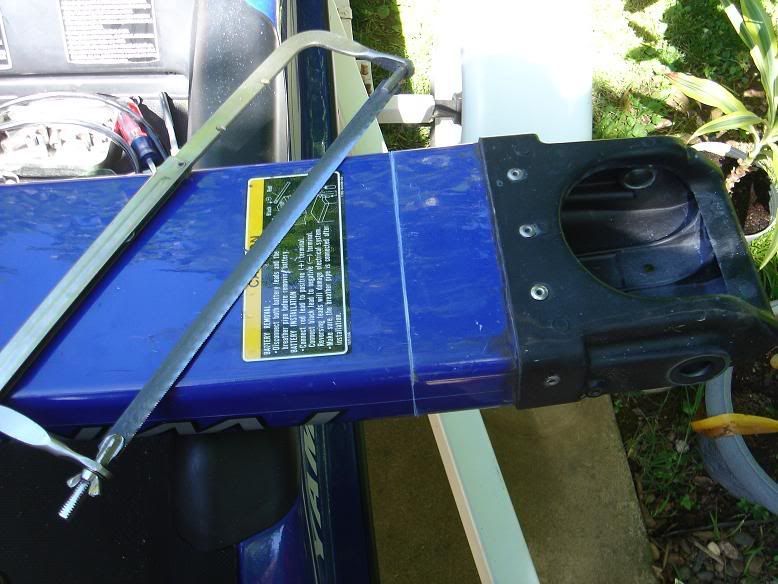
I have noticed a few people were wondering how to shorten the stock pole but couldnt find any pictures so i took pics as i did my thing. Might help the next person a bit.


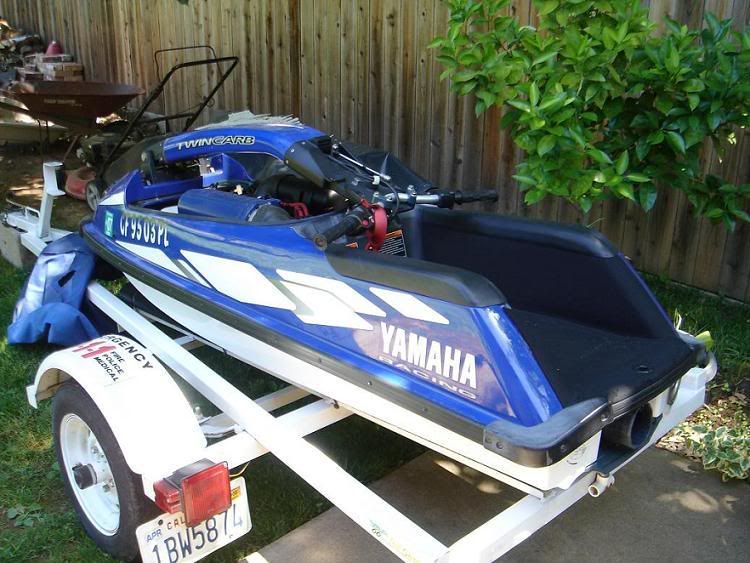
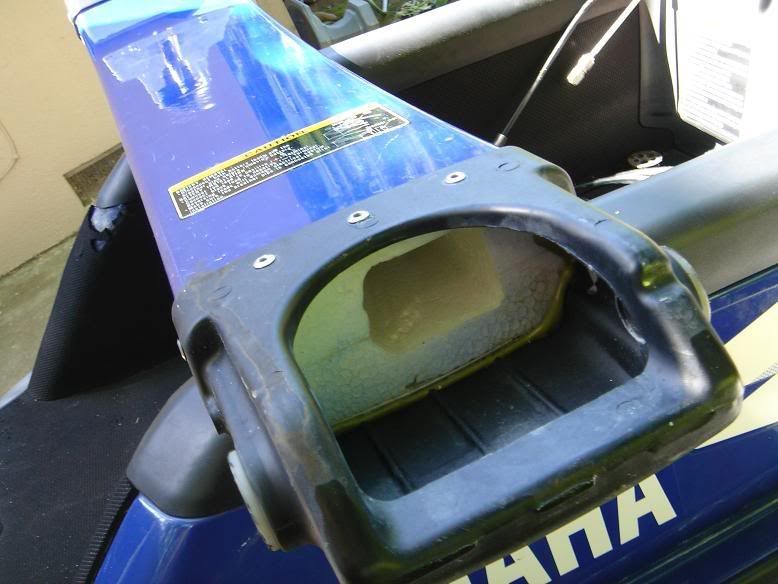
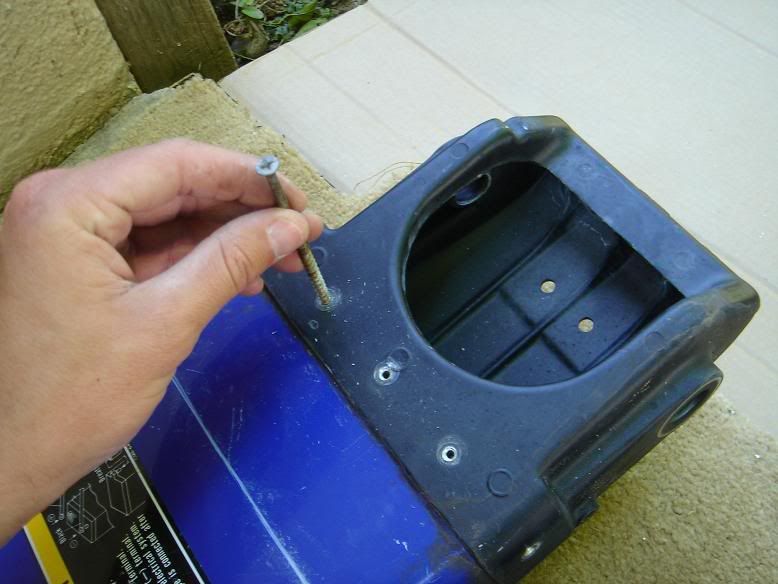
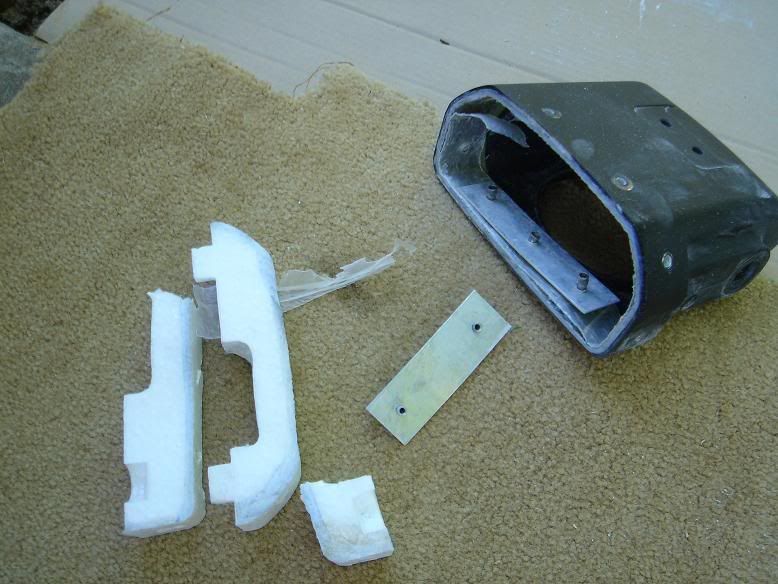
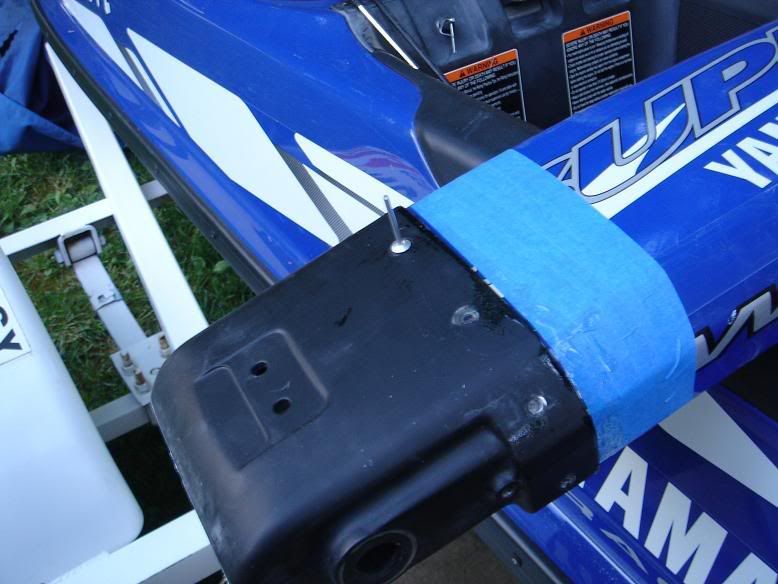
First i took off all all the obvious things like the hood, the front nose piece, the plastic piece that was covering the bottom of the pole, chin pad, and the handle bars plastic cover.

DSC02348-1.jpg


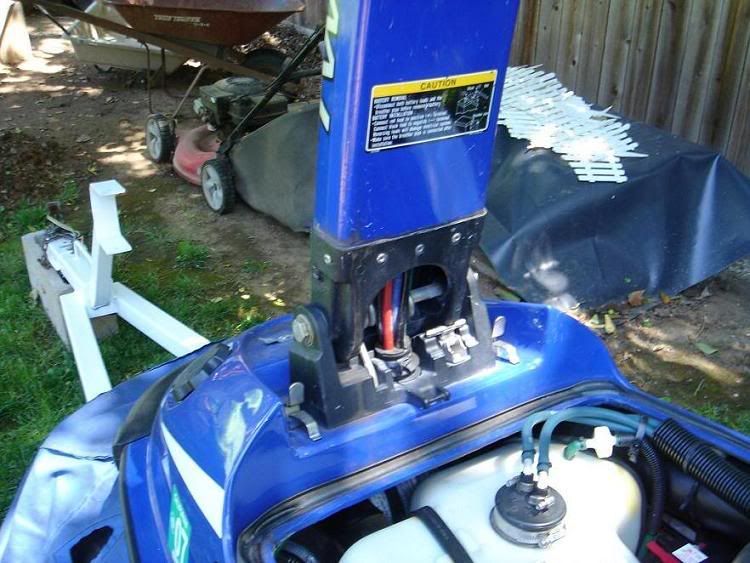
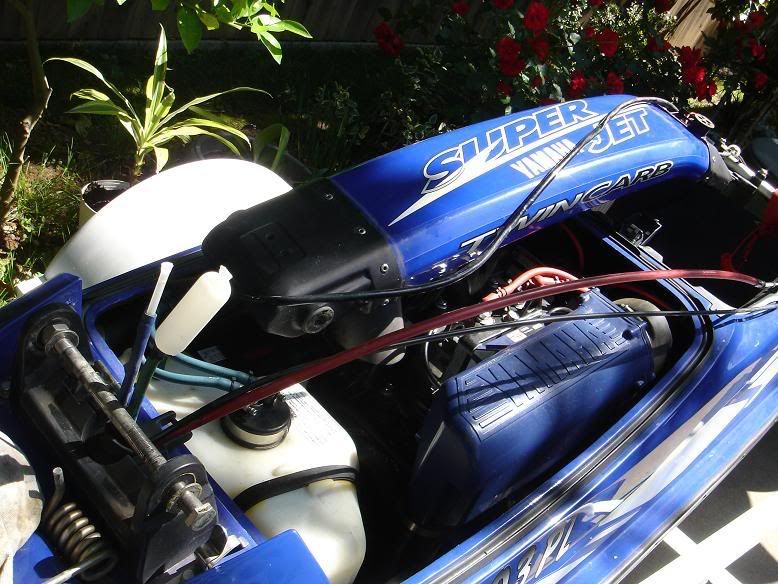
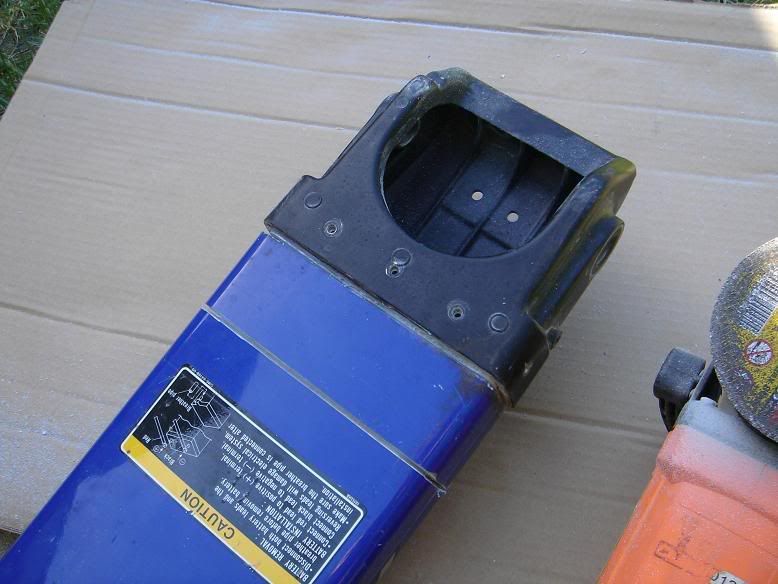
Where the wires are at the bottom it looks like you might come into trouble but its no biggy, there are 5 cables, 2 are breather tubed, 1 steering, 1 throttle and 1 electrical for the on/off. The rubber boot is made from 2 pieces, the piece that holds all the lines in place is the one that can be pulled out.

DSC02350-1.jpg


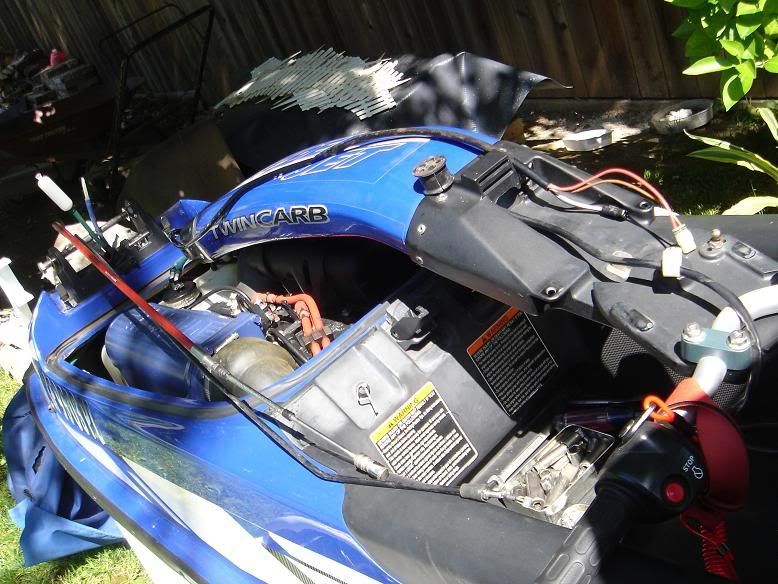
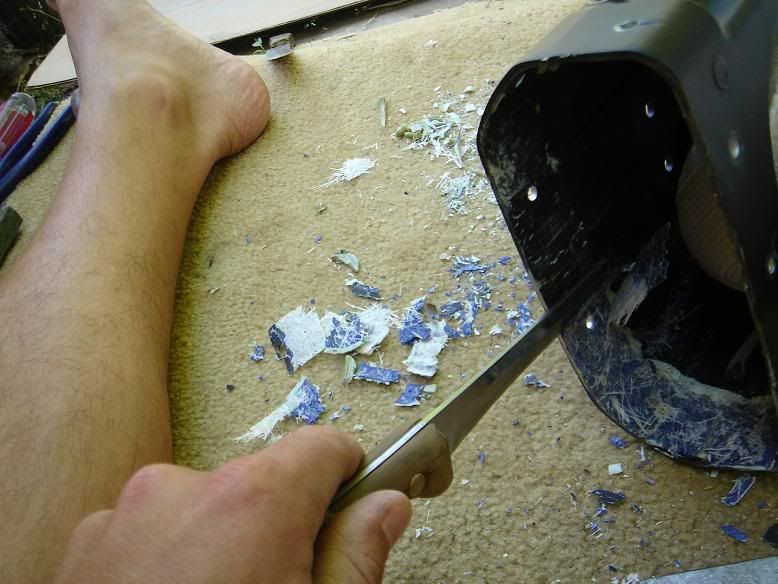
First i disconnected the steering cable from the steering plate, i then disconnected the throttle, i broke the finger throttle tho so be careful unless you want a new one like i do. Those 2 that you disconnect will go down through the pole... the on/off wires will come up through the pole. You will have to follow the on/off electrical wire to find the connectors, wich are by the electical box. I didnt start pulling out the cables and cords till i have completely unbolted the pole then as i was pulling the pole off i guided the things through the pole.

DSC02357.jpg


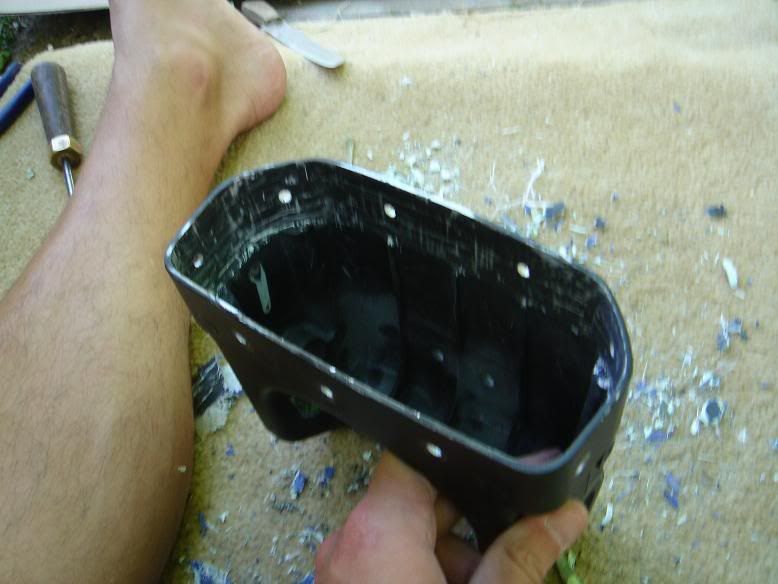
you can see in the picture wich cables went up and wich went down and 2 breathers

DSC02358.jpg


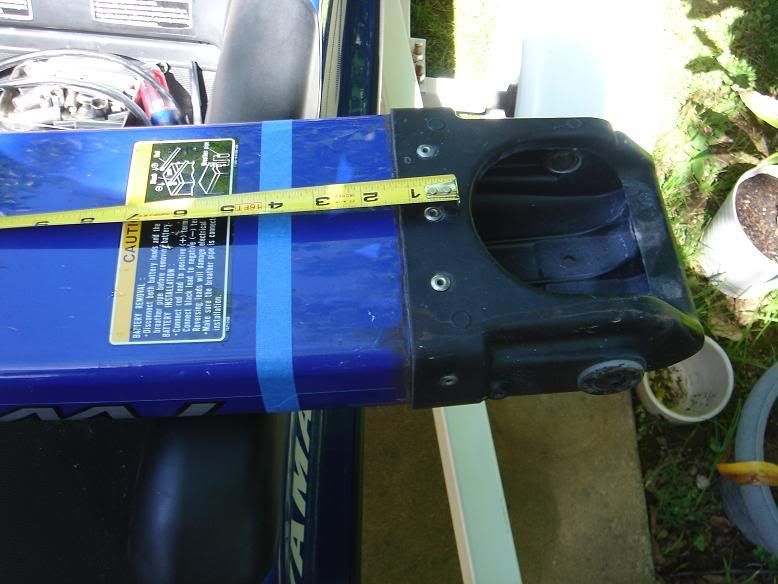
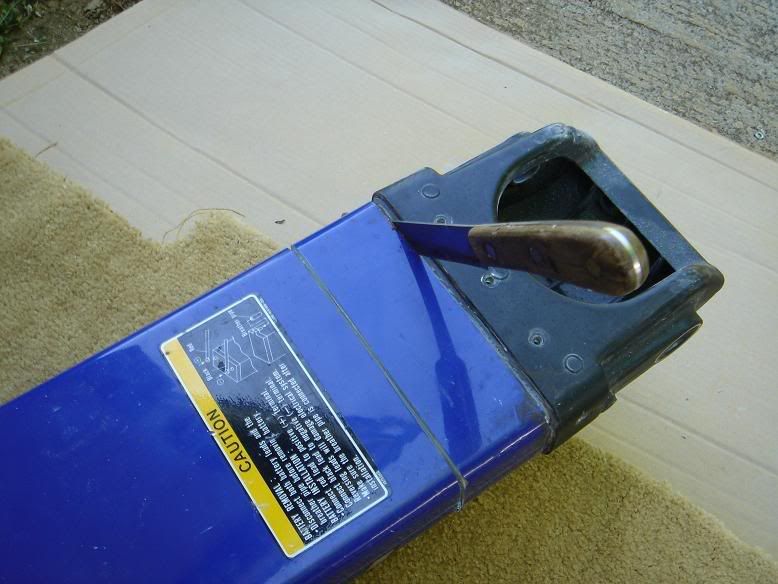
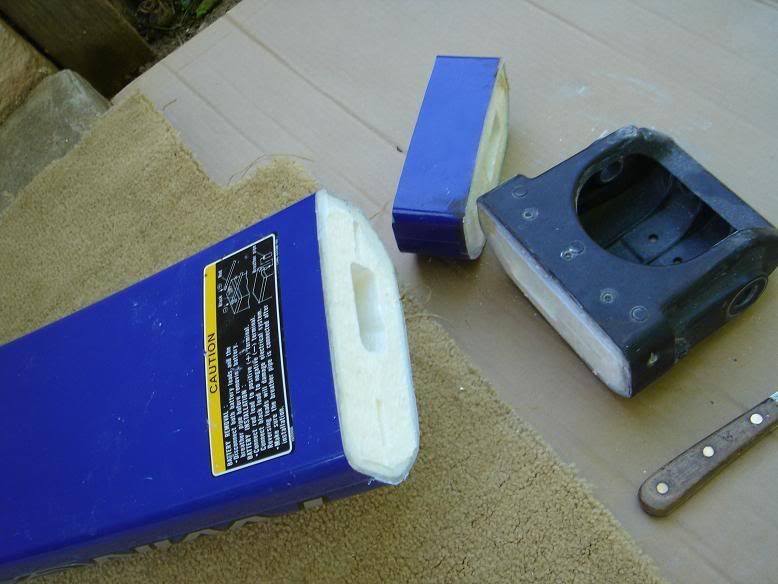
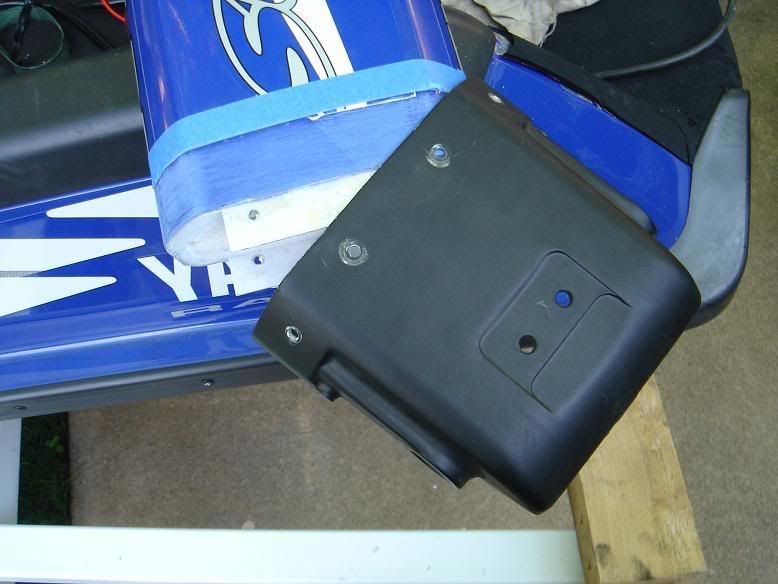
I then took off the turn plate, as ill be replacing it with a UMI, pulled the on/off switch and had just the pole and nothing getting in the way, much much better idea doing this off the jet than on the jet as it would make a big mess.

DSC02363.jpg
 
I was stuck between doing 3 or 4 inches, so i decided to go with 3.5, the pole goes inside the bracker about 1 1/4 or so, you can just look and see how far its in and meassure from there. As i meassured i marked the area where ill cut around.

DSC02365.jpg


i used a hand saw to outline the tape and make a small groove around the pole wich made it easier for me to keep the grinded disk going in a straight line

DSC02367.jpg


Before i went ahead to start cutting and making everything covered in dust i decided to drill out the rivets, after i drilled them out i used a screw to hammer them through, anything that fits in the hole nicely would work fine, its the best thing i had laying around by me.

DSC02368.jpg


I now grinded 2 areas of the pole, one right at the base, so i will have less to work with when trying to seperate the pieces from the bracket, then i cut it where i wanted to shorten the pole

DSC02369.jpg


Long sharp knife will be needed to cut the styrophome to complete the cut and you are done with the cut.

DSC02370.jpg


DSC02371.jpg
 
Now the hard part.

Remove the styrophome from inside the bracket by hands, also remove the aluminum pieces from inside but DONT throw them away you will need them, straighten them out if need be and remove the remaining pieces of the rivets.

DSC02372.jpg


You can try a sharp screw driver at first to remove some of the thicker stuff, a chizel will work food as well if its not to thick. i had a crappy knife laying around which was pretty solid and i used that the most with a hammer. Remove everything from inside as it will be a tight squeeze even with the bracket being completely clean.

DSC02373.jpg


sand the inside with a rouch sandpaper, dont use a grinded as you will grind the aluminum bracket in areas where you dont want, dont rush it take your time.

DSC02374.jpg


I sanded down the area that will go into the bracker, sand it so it wont have any shiny paint showing, use a rouch sandpaper as well, like a 60 or so. I then shoved the aluminum pieces in between the foam and the pole. I kinda put the bracker slightly on the pole and marker about where the holes should be and kinda eye balled the plates in there.

DSC02376.jpg


I then use some marine epoxy, applied it on the pole a thin layer and a thin layer inside the bracket base, let it dry for a few minutes so it wont run like crazy, then started putting it on the pole, i slid it on enough for it to stay in place, then started gradually getting the pole deeper in by hitting the bracket on a mat on the ground. Keep an eye on it everytime it move a bit to make sure its going on at a straight angle.

This is the stuff i used.

Bondo%20marine%20epoxy%20bad.JPG
 
Before anything dried i decided to drill the holes. Use a small drill bit at first, because those aluminum plates you inserted into the foam are most likely not aligned and it would be easier to get them aligned with a small bit. If the bit doesnt go through because it keeps hitting the aluminum plate, try drilling it at different angles to catch the aluminum plate in the hole, then once you have drilled all holes you can go with the correct drill.

DSC02378.jpg


Before the epoxy dries rivet the base so it will be tight on all sides. make sure the ends of the rivets are long enough to be able to go deep enough to go through the aluminum bracker, the thick fiberglass and through the aluminum plates.

DSC02379.jpg


here is the pole done, i put it in place to take a picture as im not done yet because ill be getting the umi plate, umi turn plate and bars, looks good enough for me :)

DSC02380.jpg
 
Last edited:
Y

yamaslut

Guest
very nice write up...

I agree w/ Mark, drill out the rivets and thru-bolt them w/ 1/4"-20 SS bolts for more strength
 

bit

Rider Mod Needed
Location
Catfish, NC
OK I have other questions that I have not found a clear answer to. Are there max lengths that can be taken from each end? Are there any advantages of taking from one end or the other? If I want -5" would it be better to take from both ends? Regardless of the extra work what would work/look the best?
 
Y

yamaslut

Guest
OK I have other questions that I have not found a clear answer to. Are there max lengths that can be taken from each end? Are there any advantages of taking from one end or the other? If I want -5" would it be better to take from both ends? Regardless of the extra work what would work/look the best?

personally , I would pull from the bottom... I would not want to mess w/ thr upper area of the pole, because of the bend
 

Rickster

Matakana Menace
Why through bolt?

Ideally the epoxy is what holds the pole to the bottom end, the rivets or bolts should only be to hold the pole/bracket in place while the epoxy dries.

Am I missing something?:dunno:
 
Top Bottom