junkman
nice weather=regret selin
Well if some of you out there saw my thread on my hood fitement thread you will already understand why I did this. So I decided to turn what was a pain in the butt into something positive. So I decided to make a very very descriptive how to thread from start to finish on how to reinforce your hull where the handlepole bracket mounts. I am not a pro fiberglasser this is just the way I did it on my own ski everyone has there own preferance these are mine. P.S any tips to make things flow smoother and easier are always welcome. This is going to have a lot of pics so if you are on dial up im sorry.
Im going to try and make it descriptive enough so someone that is a begginer could hopefully follow.
First Remove the handlepole feed all the cables back into the ski Im not going to describe how to do that if you cant do that without directions you shouldnt be fiberglassing.
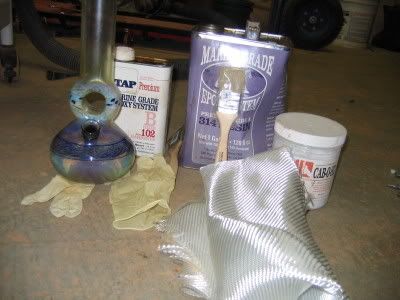
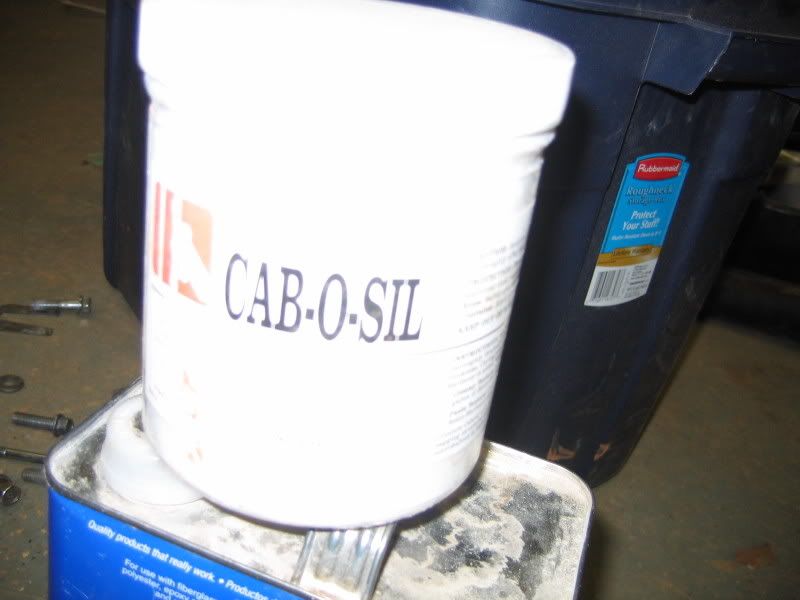
First thing make sure you have all the proper tools and goods to get the job done the first time. No one likes to go to the store to get goods when they are 1/2 way through something especially fiberglass you might be a pissed off itchy person to deal with. What your gonna need, im the type of person who will over buy something because I live really far away from stores so my list might be overboard better safe than sorry. THE LIST; Epoxy based fiberglass resin with Hardener I prefer fast drying but if you are a first time fiberglasser and or in really really hot climate I reccomend using medium or even slow, Fiberglass mat everyone has there preferance on this I prefer more layers of medium to thin than less layers of thick just my preferance, Cabosil (makes the resin less runny and thickens up the mix) scissors, really cheap paintbrushes, small hand held squeegy to spread the resin. And a wink:TOBACCO BONG) to prevent you from getting pissed half way through and taking a chainsaw to the ski.
Next step unbold your hood hooks and handlepole bracket and remove them.
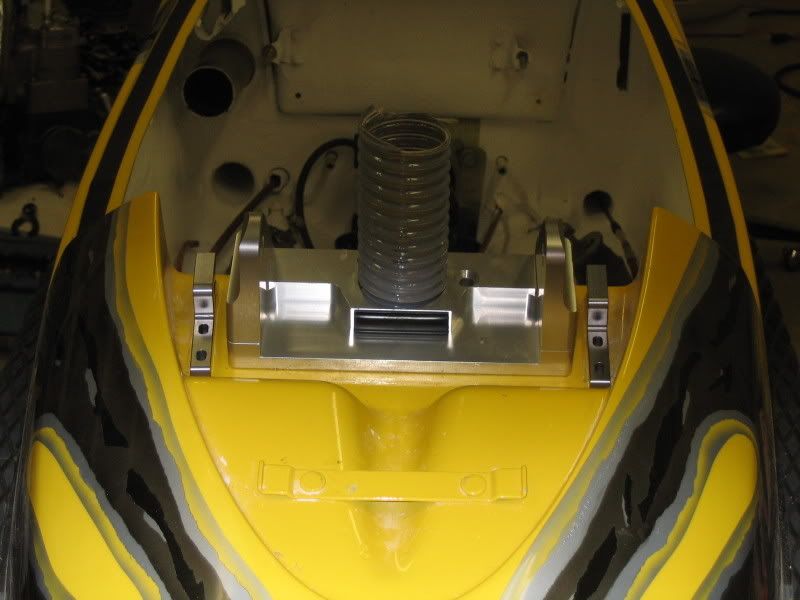
Once removed let the fun begin
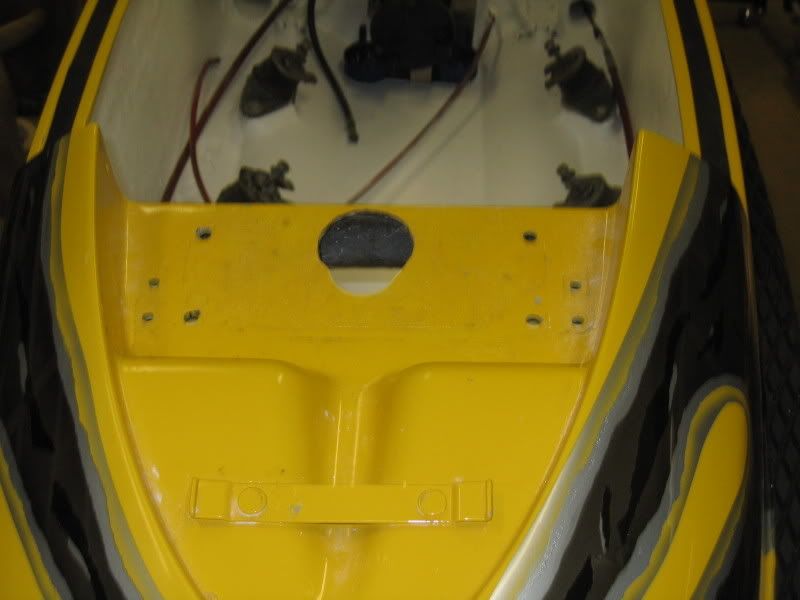
This next step may be controversial because doing it will require you to drill new holes for your hood hooks and handlepole bracket. But I couldnt imagine trying to reinforce the mounting area without it so....What you need to do is tape over alll of the holes so the resin doesnt run out. I prefer the blue tape but ran out so worked with what I had.
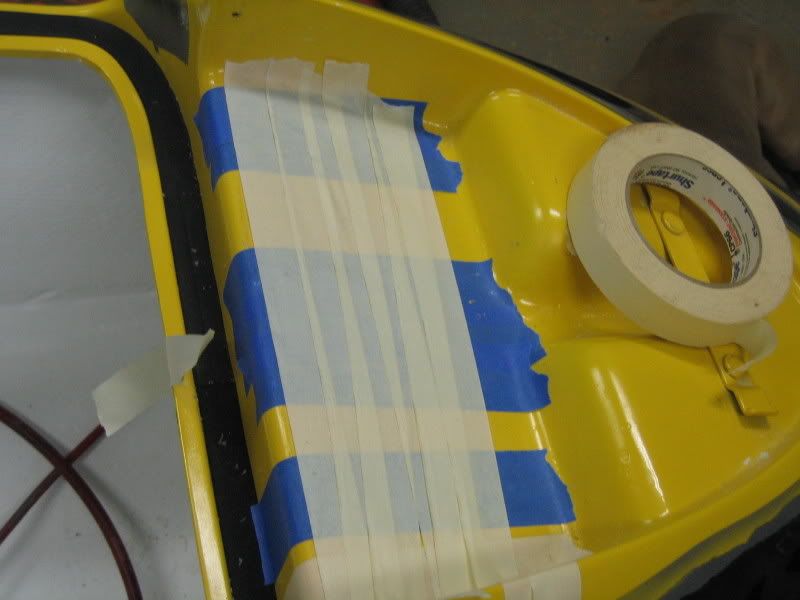
This next step in my opinion is VERY VERY VERY important. The tape alone is not strong enough to not flex out on you and let the holes you are trying to fill not bow out a little. So you need to cut a piece of cardboard out and try and tape it down on top of the holes you already taped over very tightly. the tighter the cardboard is taped down to the ski the cleaner and more flush the holes will be filled in (more important when running aftermarket brackets.
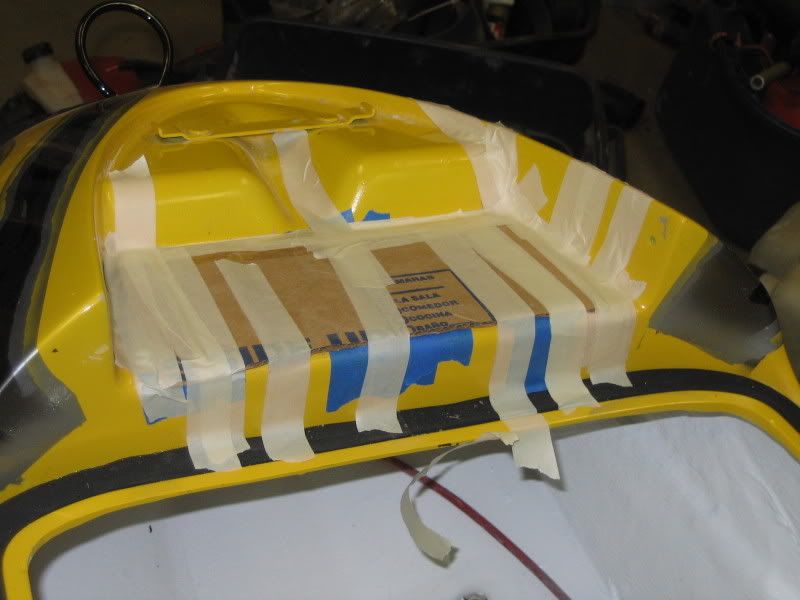
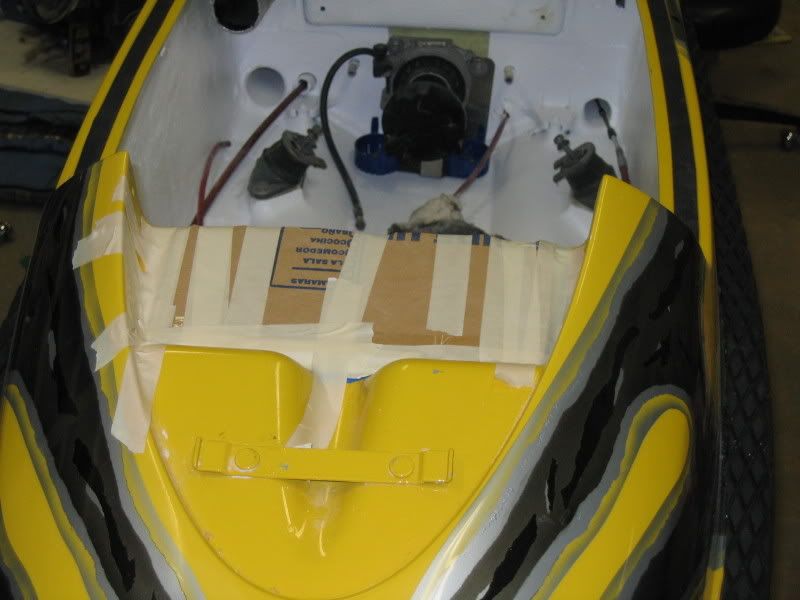
Next your going to need to get someone to help you flip the ski upside down. The job is a CA-BILLLLLION times easier with no engine but still doable with it in.
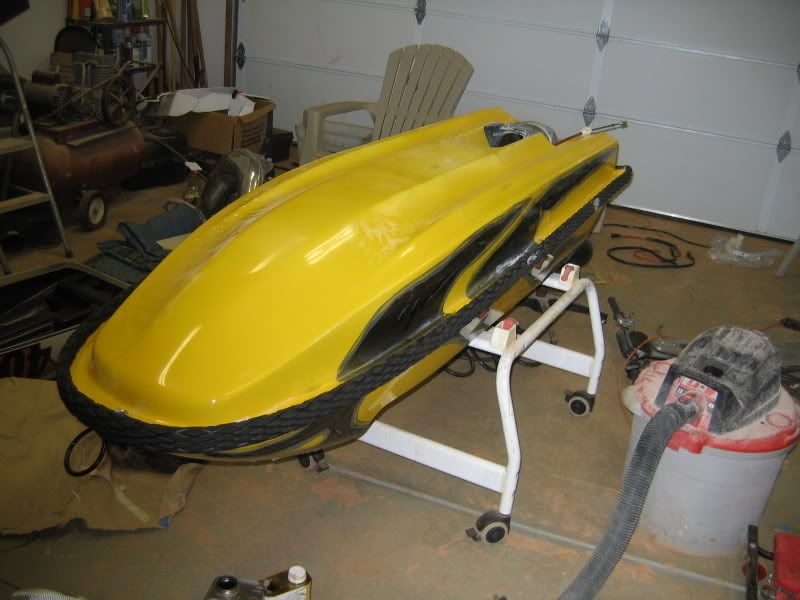
Now some of these pics are hard to see but here is what the handlepole bracket mount area should now look like from inside the ski. Now you will want to take some like 60grit sandpaper and rough it up its already pretty rough but it will just help the new reinforcement bond. Once that is done take some acetone and wipe clean the area to be reinforced.
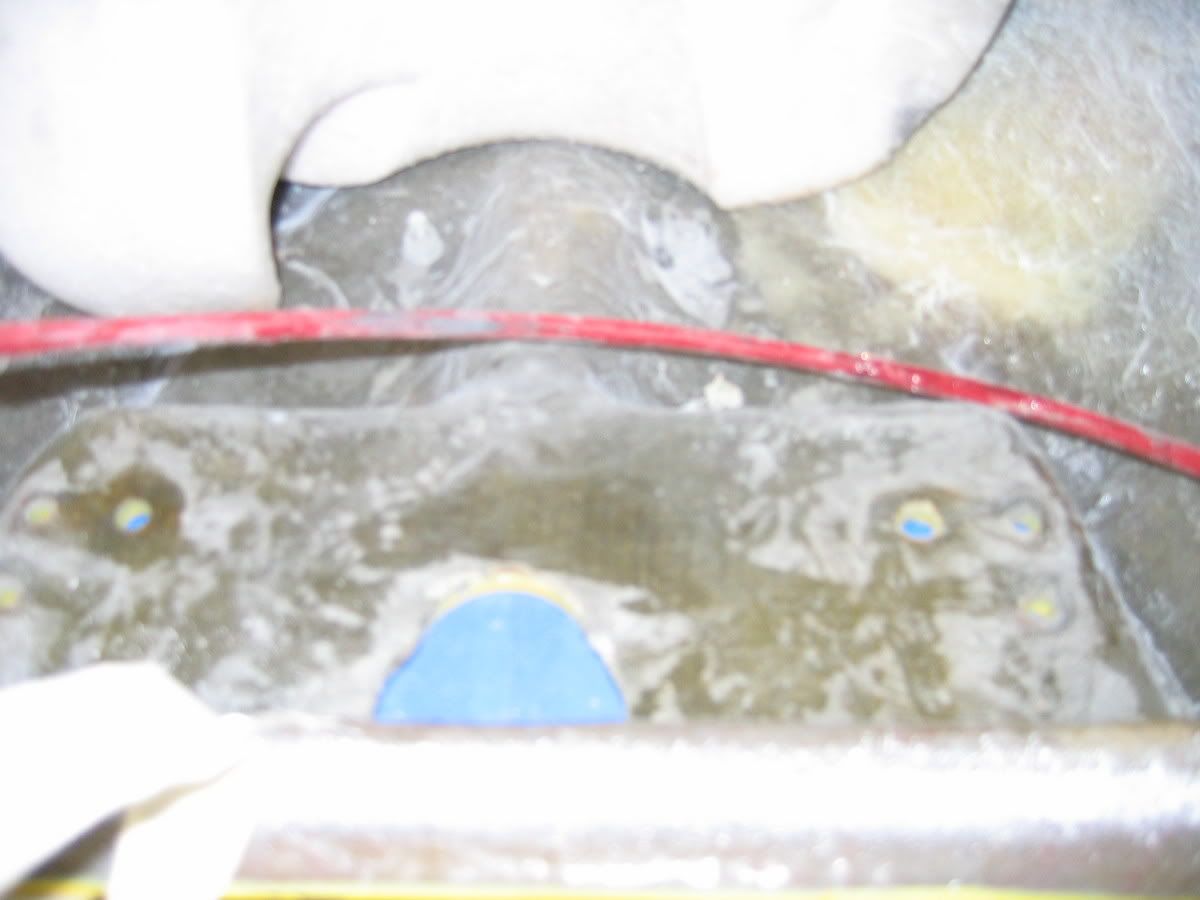
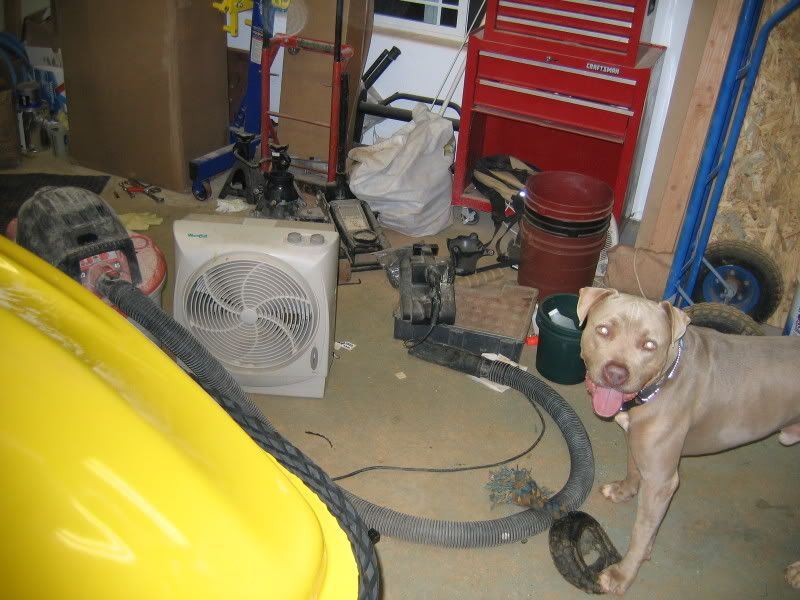
Now this is pretty important I forgot to mention get a mask Ive inhaled my fair share of fiberglass and its NOT FUN. Not too mention the list of chemicals fumes Ive inhaled im sure is not good to my brain cells. Also when inside the ski when it is upside down is really realllly reallllly hot so I recommend getting a fan and I used a creeper to sit on and roll into the ski.
Now for the initial mix I mixed a small amount of cabosil and also cut some fiberglass mat shavings (great tip Mark) into my mixture of resin and did an initial fill in of the open holes that were taped closed on top. Basically pour it in and use the small squeegy to scrape the excess so its filled in flush with the rest of the ski. Also along the sides of where the handlepole bracket mounts on the inside of the ski there are like open gulleys that I lightly filled in with this concauction.
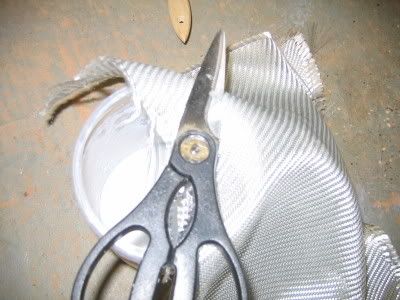
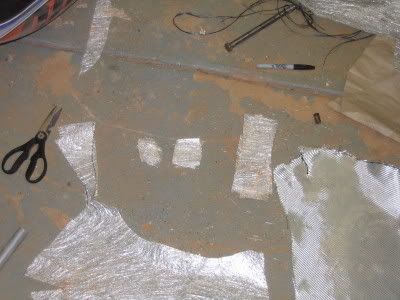
Now depending on what speed part B resin you purchased will depend on when you can do your next layer I prefer to let it start to harden and tack up before doing the next layer. For the next layer I cut a Bunch of medium to small strands of the fiberglass mat this is the funky looking type not the woven more clean looking stuff. The pics are not of all of the mat just some depending how thick you want to reinforce it will depend on how much to cut. Its pretty cheap and I chose to do it fairly thick so I cut a bunch. I would not reccomend trying to do on big piece especially if you have never worked with fiberglass before trying to get all the air bubbles out of it will drive you crazy. Now mix up your resin after ALLLLL of your first layer build up pieces are cut. on this build up layer I didnt use any cabosil. You can use some if you like, sometimes it makes the resin easier to work with I would not mix it thick if you decide to use it.
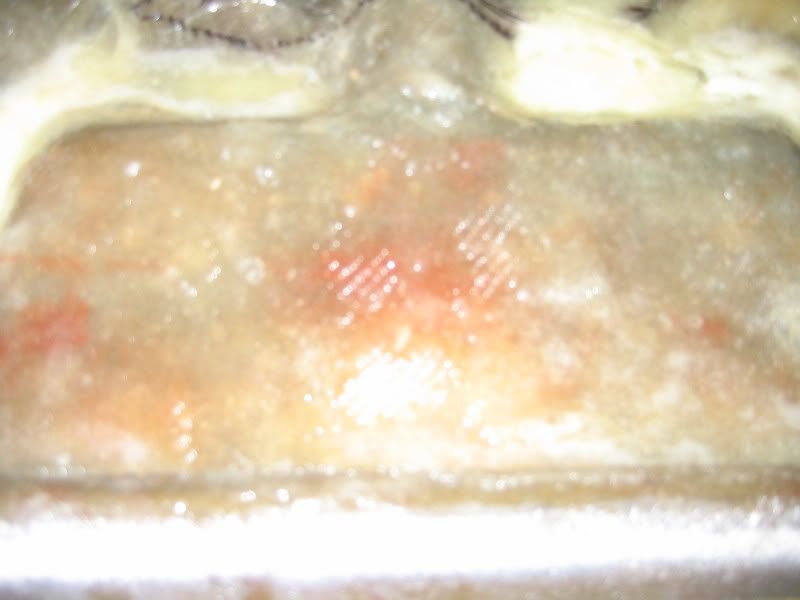
Now when you are inside the upside down hull layering make sure you layer things up evenly as you dont want to dry and have to jimmy around your brackets that mount on the underside because they no longer line up due to uneveness. also make sure you get the entire areas surrounding the bracket and stack the mat on top of the gulleys that you previously lightly filled with the earlier resin mix. IMO this layer is the most important so take your time with it make sure you work out all the airbubbles. Also try and keep as many tiny strands of fiberglass hair run away from you as possible. These will literally be razor shark needles after they dry and you will need to sand them. Sometimes when you start trying to push down 1 hair you pull up 50 more and it seems like you can keep em down be patient and if anything keep a few pairs of extra gloves near by and replace the gloves in the middle of your fiberglass session. Also they sell fiberglass mat roller tools that help majorly in getting the air bubbles out. I didnt use it for this one I forgot to soak it in acetone after doing my footholds oooooops so its no good anymore. Here is a pic of after im done with the first layer, my cameras pix inside here arent real clear....but you definetely cant see the holes anymore.
Now for the last 2 layers that I did. I took one larger peice of woven fiberglass mat and layed it on top of the newly reinforced area (did it when it wasnt reall tacky). I then took a permanent marker and drew lines on where I would need to cut to make it fit as one big piece to kind of clean it up a bit and smooth things out and also add another layer. Then I cut it out and layered it up. If you have never worked with fiberglass before you might want to continue to use smaller peices yet bigger than the strips you were using in he first layer and continue to build it up that way. THe issue is sometimes you get a weird spot or corner on the uneven areas that you cant get to go down reall easily and it starts drivin u crazy or youll get it down and the area right next to it pops up. But for the most part the woven material is much easier to work with then a big piece of mat.
I dont have any pics of that layer, but After that one I found some carbon fiber I had laying around my garage. I figured what the heck ill make this my last layer. I really dont think carbon fiber was needed but figered what the heck if IVe got it. I cut some larger peices and placed them in place then mixed up some resin and covered it pretty nicely over all the carbon fiber then squeeged it flat and flush removing the air bubbles. Air = enemy with fiber glassing. I did the final layer when the Woven mat was still fairly wet.
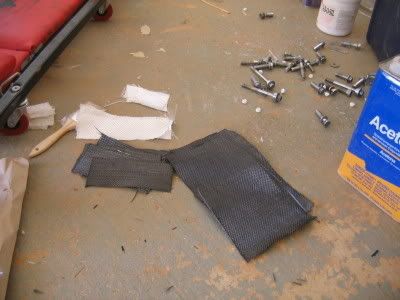
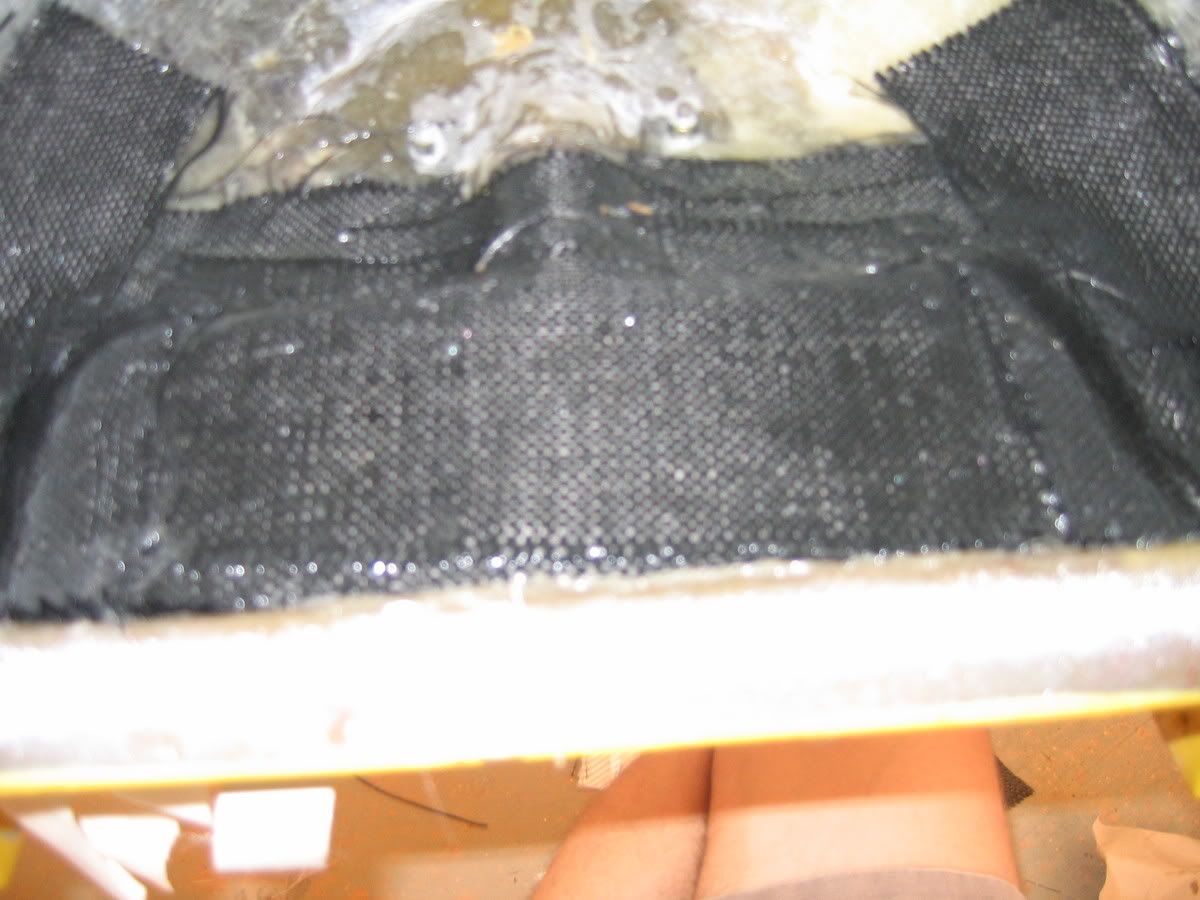
Now after everything fully dries you need to sand it as smooth as possible while removing any sharp burs that are sticking out. You dont want to reach inside your hull then stab yourself with a razor sharp strand of fiberglass.
My camera was trippin out and started taking really red pix inside the hulll....? So here is the finished results RED
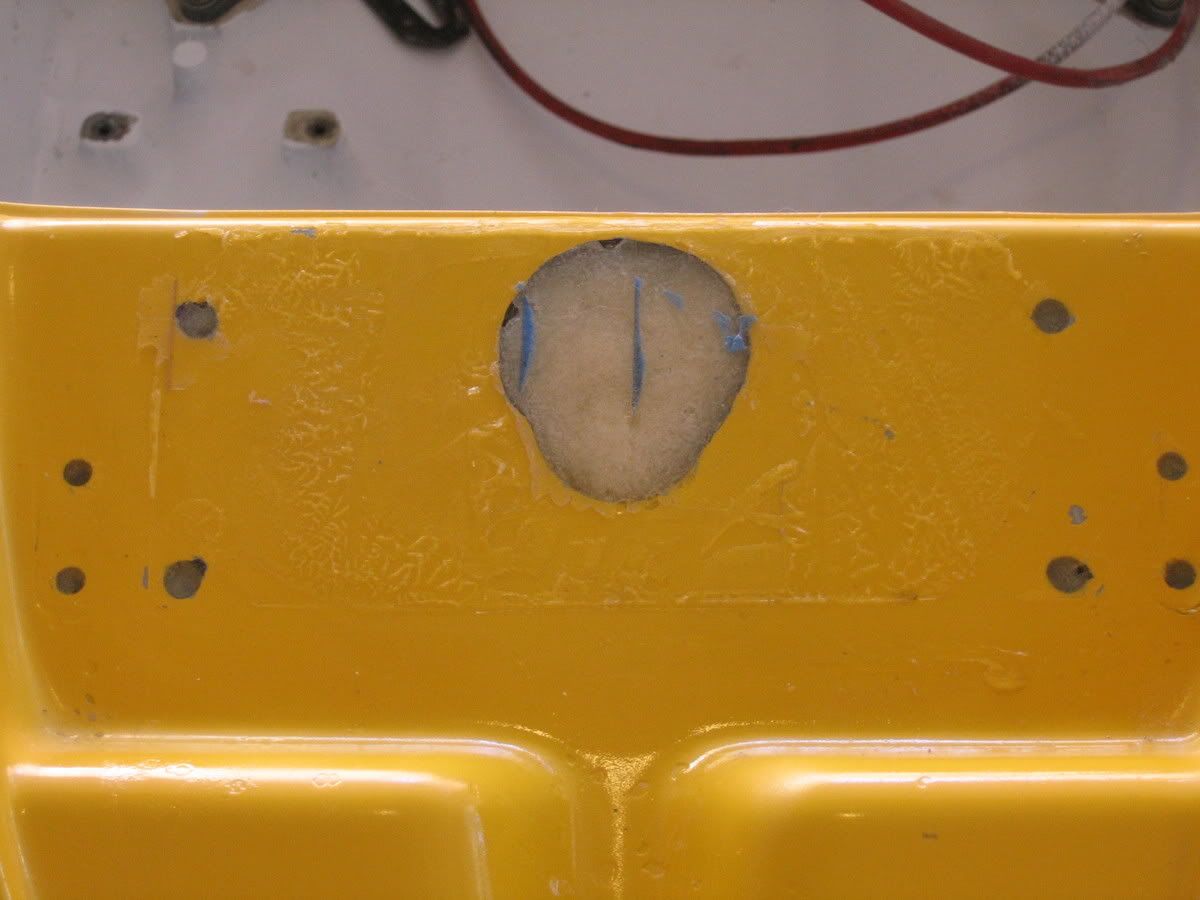
And on the top side after its flipped back over (the funky looking stuff is silicone from the handlepole bracket not runaway fiberglass)
Well Hope that could help someone. And no blaming me if you start fiberglassing and something gets screwed up im not a pro glasser. I tried to make it as thourough and clear as possible but pics are tough with were the location of the area to be reinforced.
Good luck
Nick
Im going to try and make it descriptive enough so someone that is a begginer could hopefully follow.
First Remove the handlepole feed all the cables back into the ski Im not going to describe how to do that if you cant do that without directions you shouldnt be fiberglassing.
First thing make sure you have all the proper tools and goods to get the job done the first time. No one likes to go to the store to get goods when they are 1/2 way through something especially fiberglass you might be a pissed off itchy person to deal with. What your gonna need, im the type of person who will over buy something because I live really far away from stores so my list might be overboard better safe than sorry. THE LIST; Epoxy based fiberglass resin with Hardener I prefer fast drying but if you are a first time fiberglasser and or in really really hot climate I reccomend using medium or even slow, Fiberglass mat everyone has there preferance on this I prefer more layers of medium to thin than less layers of thick just my preferance, Cabosil (makes the resin less runny and thickens up the mix) scissors, really cheap paintbrushes, small hand held squeegy to spread the resin. And a

Next step unbold your hood hooks and handlepole bracket and remove them.

Once removed let the fun begin

This next step may be controversial because doing it will require you to drill new holes for your hood hooks and handlepole bracket. But I couldnt imagine trying to reinforce the mounting area without it so....What you need to do is tape over alll of the holes so the resin doesnt run out. I prefer the blue tape but ran out so worked with what I had.

This next step in my opinion is VERY VERY VERY important. The tape alone is not strong enough to not flex out on you and let the holes you are trying to fill not bow out a little. So you need to cut a piece of cardboard out and try and tape it down on top of the holes you already taped over very tightly. the tighter the cardboard is taped down to the ski the cleaner and more flush the holes will be filled in (more important when running aftermarket brackets.


Next your going to need to get someone to help you flip the ski upside down. The job is a CA-BILLLLLION times easier with no engine but still doable with it in.

Now some of these pics are hard to see but here is what the handlepole bracket mount area should now look like from inside the ski. Now you will want to take some like 60grit sandpaper and rough it up its already pretty rough but it will just help the new reinforcement bond. Once that is done take some acetone and wipe clean the area to be reinforced.

Now this is pretty important I forgot to mention get a mask Ive inhaled my fair share of fiberglass and its NOT FUN. Not too mention the list of chemicals fumes Ive inhaled im sure is not good to my brain cells. Also when inside the ski when it is upside down is really realllly reallllly hot so I recommend getting a fan and I used a creeper to sit on and roll into the ski.

Now for the initial mix I mixed a small amount of cabosil and also cut some fiberglass mat shavings (great tip Mark) into my mixture of resin and did an initial fill in of the open holes that were taped closed on top. Basically pour it in and use the small squeegy to scrape the excess so its filled in flush with the rest of the ski. Also along the sides of where the handlepole bracket mounts on the inside of the ski there are like open gulleys that I lightly filled in with this concauction.


Now depending on what speed part B resin you purchased will depend on when you can do your next layer I prefer to let it start to harden and tack up before doing the next layer. For the next layer I cut a Bunch of medium to small strands of the fiberglass mat this is the funky looking type not the woven more clean looking stuff. The pics are not of all of the mat just some depending how thick you want to reinforce it will depend on how much to cut. Its pretty cheap and I chose to do it fairly thick so I cut a bunch. I would not reccomend trying to do on big piece especially if you have never worked with fiberglass before trying to get all the air bubbles out of it will drive you crazy. Now mix up your resin after ALLLLL of your first layer build up pieces are cut. on this build up layer I didnt use any cabosil. You can use some if you like, sometimes it makes the resin easier to work with I would not mix it thick if you decide to use it.

Now when you are inside the upside down hull layering make sure you layer things up evenly as you dont want to dry and have to jimmy around your brackets that mount on the underside because they no longer line up due to uneveness. also make sure you get the entire areas surrounding the bracket and stack the mat on top of the gulleys that you previously lightly filled with the earlier resin mix. IMO this layer is the most important so take your time with it make sure you work out all the airbubbles. Also try and keep as many tiny strands of fiberglass hair run away from you as possible. These will literally be razor shark needles after they dry and you will need to sand them. Sometimes when you start trying to push down 1 hair you pull up 50 more and it seems like you can keep em down be patient and if anything keep a few pairs of extra gloves near by and replace the gloves in the middle of your fiberglass session. Also they sell fiberglass mat roller tools that help majorly in getting the air bubbles out. I didnt use it for this one I forgot to soak it in acetone after doing my footholds oooooops so its no good anymore. Here is a pic of after im done with the first layer, my cameras pix inside here arent real clear....but you definetely cant see the holes anymore.

Now for the last 2 layers that I did. I took one larger peice of woven fiberglass mat and layed it on top of the newly reinforced area (did it when it wasnt reall tacky). I then took a permanent marker and drew lines on where I would need to cut to make it fit as one big piece to kind of clean it up a bit and smooth things out and also add another layer. Then I cut it out and layered it up. If you have never worked with fiberglass before you might want to continue to use smaller peices yet bigger than the strips you were using in he first layer and continue to build it up that way. THe issue is sometimes you get a weird spot or corner on the uneven areas that you cant get to go down reall easily and it starts drivin u crazy or youll get it down and the area right next to it pops up. But for the most part the woven material is much easier to work with then a big piece of mat.
I dont have any pics of that layer, but After that one I found some carbon fiber I had laying around my garage. I figured what the heck ill make this my last layer. I really dont think carbon fiber was needed but figered what the heck if IVe got it. I cut some larger peices and placed them in place then mixed up some resin and covered it pretty nicely over all the carbon fiber then squeeged it flat and flush removing the air bubbles. Air = enemy with fiber glassing. I did the final layer when the Woven mat was still fairly wet.


Now after everything fully dries you need to sand it as smooth as possible while removing any sharp burs that are sticking out. You dont want to reach inside your hull then stab yourself with a razor sharp strand of fiberglass.
My camera was trippin out and started taking really red pix inside the hulll....? So here is the finished results RED

And on the top side after its flipped back over (the funky looking stuff is silicone from the handlepole bracket not runaway fiberglass)

Well Hope that could help someone. And no blaming me if you start fiberglassing and something gets screwed up im not a pro glasser. I tried to make it as thourough and clear as possible but pics are tough with were the location of the area to be reinforced.
Good luck
Nick


