Hi guys,
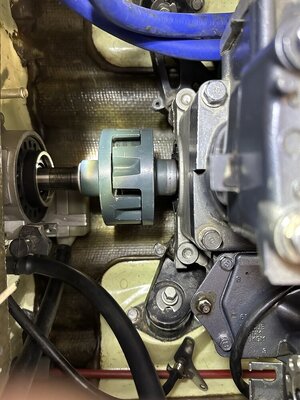
I have an FX-1 with a 650 engine in it (bought second hand with the smaller motor but has been running fine for 4 years now).
This past weekend, the ski has a vibration that comes on as the prop picks up speed - I say prop picks up speed as the vibration is there whether the ski is going fast, or if I am pinning the throttle while coming out of a 180* turn or want to quickly pick up speed on the ski itself.
I haven't had the ski apart yet, and a couple local guys have mentioned either a bent/chipped prop, bent driveshaft, or pump bearings are on their way out.
Ski seems to run fine at lower RPM (idle, putting around) but when throttle is at 60% or more, the vibration can be felt by my feet through the tray, and in the throttle lever on the handlebars.
I'm comfortable wrenching on the ski but just wondering what the easiest things are to check first, before I dive into removing the ride plate and investigate the pump. Also - can I top the ski on its side, or will gas come running out of everywhere? All the work I've done on the ski so far has been when it is sitting in its upright position...
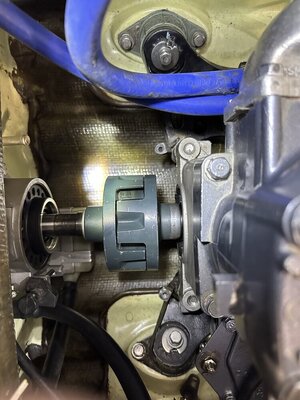
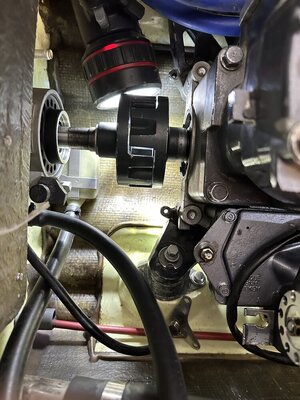
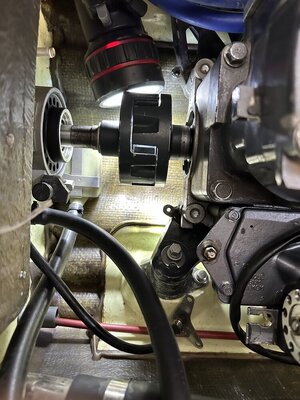