2002 slug ski...ASSEMBLY

thanks luke
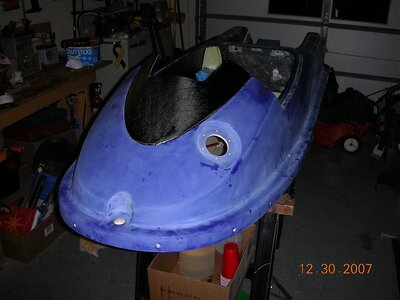
i gots some blingg on today
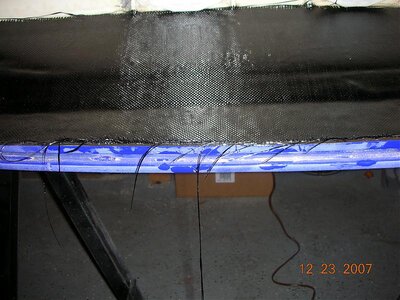
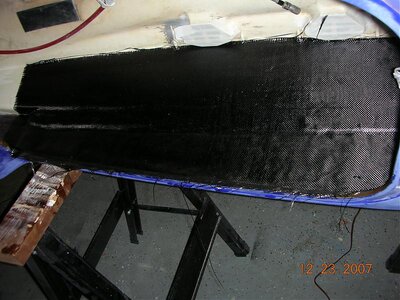
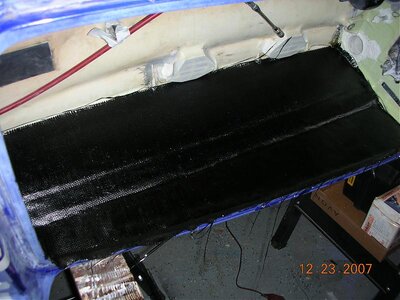
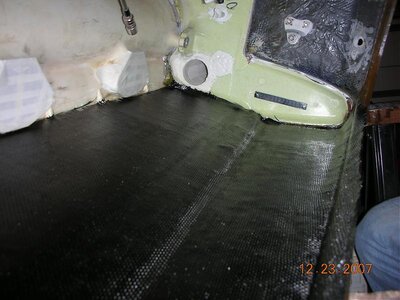
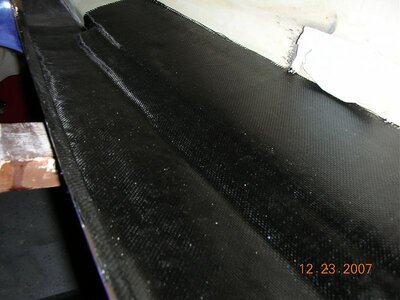
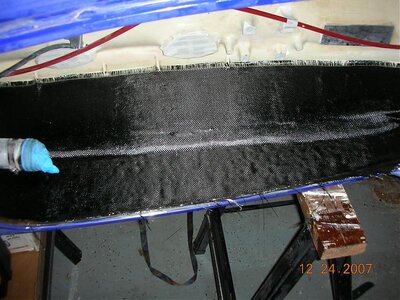
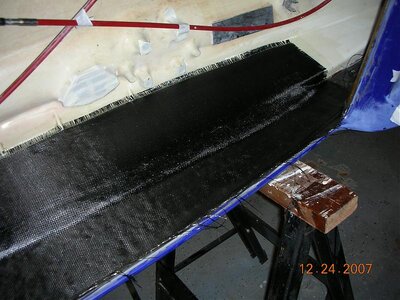
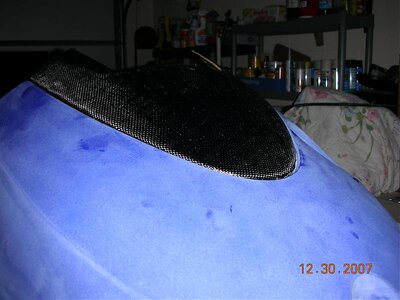
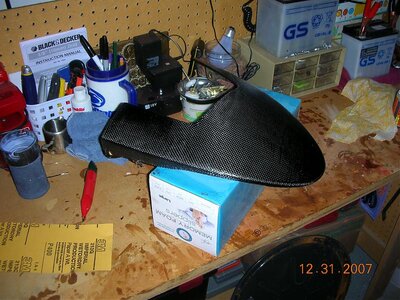
today i laid up some 10oz e glass down first with a strip under the hood lip
then i put some 5 oz carbon over it
it went pretty well actually and was reall fun

i got some strands here and there and the stuff around the hood lip i will cut off once it dries

i did only the right side today and watched over it for awhile to make sure it all went well and there were no air bubbles

ill hit the other side tomorrow but im gonna add a strip down the bondline as it will take more of a beating than the other

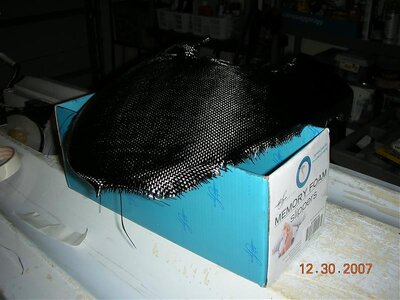
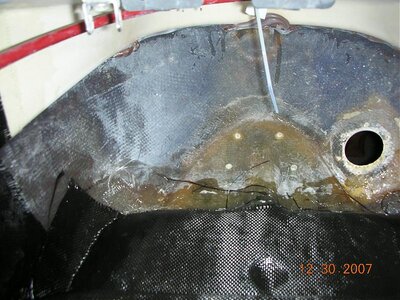
and the pole bracket area will get done sometime as well

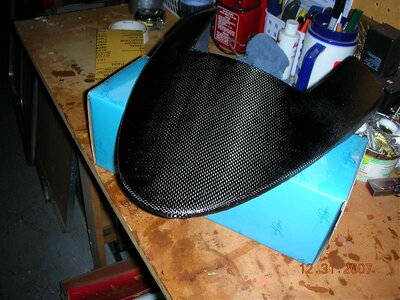
ive also got some leftover carbon and was wondering how easy it would be to wrap my nosepiece in it and make it look smooth
 

Attachments

  • my build on the ski 033.jpg
    my build on the ski 033.jpg
    94.7 KB · Views: 71
  • my build on the ski 032.jpg
    my build on the ski 032.jpg
    97.3 KB · Views: 71
  • my build on the ski 031.jpg
    my build on the ski 031.jpg
    75.6 KB · Views: 76
trimmed up a bit

that lil bump you see is just reallly hard foam or gorilla glue that wouldnt sand down welll
 

Attachments

  • my build on the ski 037.jpg
    my build on the ski 037.jpg
    65.6 KB · Views: 91
  • my build on the ski 036.jpg
    my build on the ski 036.jpg
    66 KB · Views: 75
so today i did the other side and it was a little bit more of a pain since i got air bubbles around near the foam

im assuming because it wasnt completely smooth
so what do i do about them...inject resin?? i got those lil clear plastic injectors that may work

this side got the same amount as the other side as well
1 layer of 10oz glass with some 5 oz carbon
 

Attachments

  • my build on the ski 039.jpg
    my build on the ski 039.jpg
    65.8 KB · Views: 48
  • my build on the ski 040.jpg
    my build on the ski 040.jpg
    109.9 KB · Views: 44
  • my build on the ski 041.jpg
    my build on the ski 041.jpg
    96.4 KB · Views: 40
thanks guys
turns out the bubble sunk sorta but didnt stick to the foam
i may have not put enough resin in that area idk
i think im just leaving it as it is tho
 
reinforcing done

i hit the bracket area with two layers of 10oz glass then with some 5 oz carbon kuz i ran outa glass...still drying now
but i mixed a lil more resin than i wanted to so i ended up wraping the nose piece in some carbon :biggthumpup::biggthumpup::biggthumpup:
also still drying and it will get hit with some clear later on :biggthumpup:
 

Attachments

  • my build on the ski 045.jpg
    my build on the ski 045.jpg
    84.6 KB · Views: 80
  • my build on the ski 042.jpg
    my build on the ski 042.jpg
    68 KB · Views: 47
  • my build on the ski 043.jpg
    my build on the ski 043.jpg
    95.7 KB · Views: 51
  • my build on the ski 044.jpg
    my build on the ski 044.jpg
    128.9 KB · Views: 48
NOse piece is looking wayy coool

my buddy Matt Hirt(H2F) stopped by while he was in town to take a peek at some of my work

got the nose piece trimmed up a little bit and DANNNNGG it looks good on that killer paint job on the ski right now lol
 

Attachments

  • my build on the ski 046.jpg
    my build on the ski 046.jpg
    56.8 KB · Views: 66
  • my build on the ski 049.jpg
    my build on the ski 049.jpg
    64 KB · Views: 70
Me love carbon long time

nose piece was cleared today with a generouse amount of coats
 

Attachments

  • my build on the ski 051.jpg
    my build on the ski 051.jpg
    101.9 KB · Views: 87
  • my build on the ski 050.jpg
    my build on the ski 050.jpg
    106.1 KB · Views: 69
Top Bottom