- Location
- Jacksonville, Florida
You are using an out of date browser. It may not display this or other websites correctly.
You should upgrade or use an alternative browser.
You should upgrade or use an alternative browser.
Custom/Hybrid Jloria's "Ah, freakout!" build...2012 Superfreak -4.3
- Thread starter jloria
- Start date
you really needed to come out more with the top and bottom of the hold.So they would stick together (unless you didn't want to). You could stick a piece out on the edges of the two,but pre-shape it beforehand.The turf will cover up all evil mistakes,don't sweat it!
- Location
- Jacksonville, Florida
you really needed to come out more with the top and bottom of the hold.So they would stick together (unless you didn't want to). You could stick a piece out on the edges of the two,but pre-shape it beforehand.The turf will cover up all evil mistakes,don't sweat it!
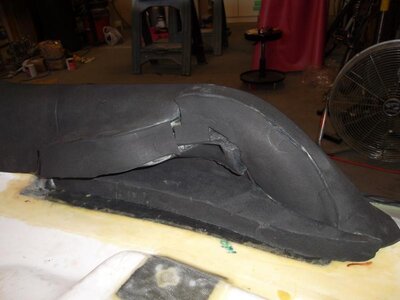
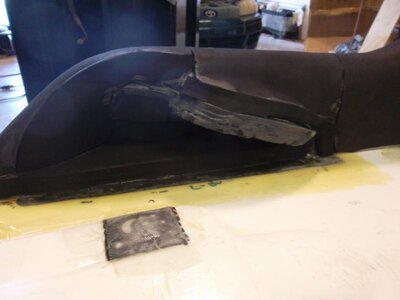
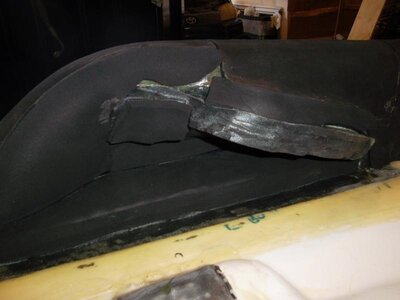
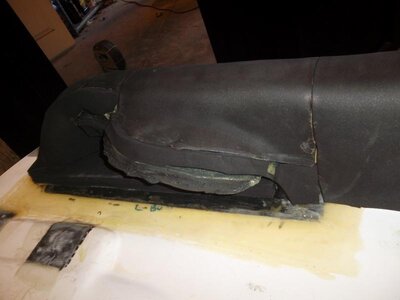
I should have taken more pics from the top...my bad
the pads extend out about 3/4 to 1" past the wings...i just jacked it all up, looks like frankenpadding
the wings have 9mm on top...26mm underneath
bottom of the tray underneath the wings= 26mm
sides of the inside footwells=9mm( actually just a small triangle has this, the rest is 26mm)
gunwales=9mm
- Location
- Jacksonville, Florida
l still think you could add more to it and shape it.
you are right...
I maybe going out of town this weekend, if not...i will probably add some pieces to fill up the gaps I have...
I made this template of hydroturf for the sides:
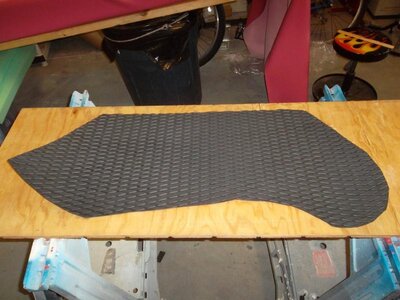
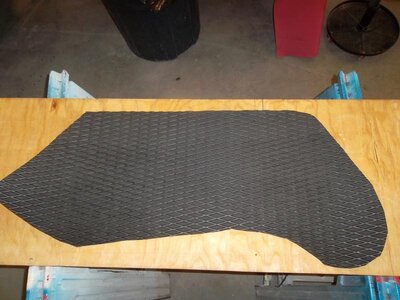
its curved to match the ski but I was wondering if you guys just use a straight template and use the heat gun to make the curves?
swapmeet
Brotastic
- Location
- Arlington TX
On your gaps, I've used black silicone to fill those if you don't want to make little filler strips.
Doesnt look too bad, I suck at padding and turfing holds too.... Don't beat yourself up.
When I did mine, I found that I could build it up too much and then sand it down to the shape I wanted.
Doesnt look too bad, I suck at padding and turfing holds too.... Don't beat yourself up.
When I did mine, I found that I could build it up too much and then sand it down to the shape I wanted.
- Location
- Jacksonville, Florida
Here's my updates after a few weeks...Some things came up. I ended up opting to have someone finish my turf since I just didn't have the time. I also ended up selling a spare hull so it worked out very well for me.
Here are the pics:
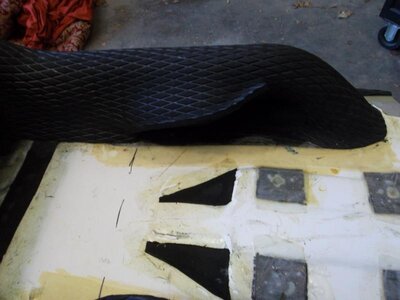
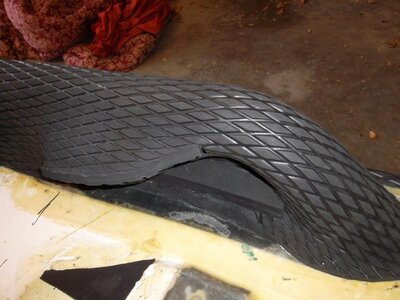
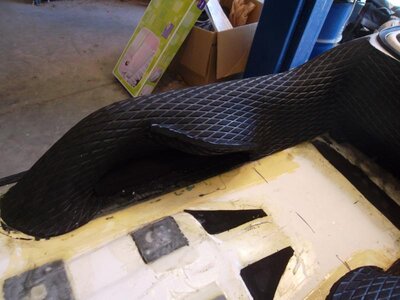
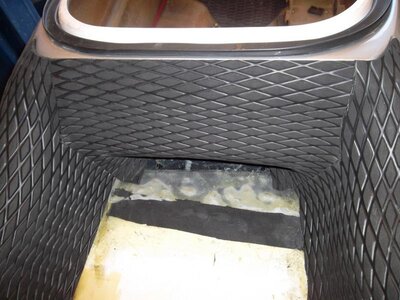
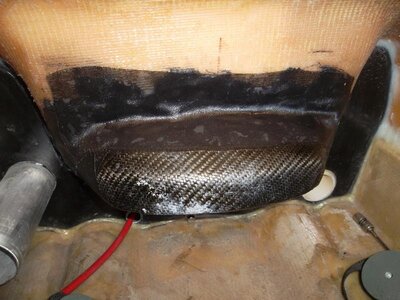
Turf guy is for hire here in Florida. Please pm me and I will give you his number if interested.
At my request, he turfed my chin pad, tray sides, FFH, tray bottom, and even made me a pole pad at no charge.
I asked him to cut out the tray bottom( padding + hydro turf) but not glue it down. I will be adding a rear strap after I ride it to figure out my foot placement.
Also put some S-glass over the FFH. I had a seam that I wanted to clean up + make it a tad bit stronger. I used screws to install it...If I had to do it over again, I would heave used rivets instead. I left the screws in and ground the ends off + down. The glass was used to cover them up and add strength.
. It wasn't my best work but it's done. I used some black pigment for looks but it looks like crap against the carbon...No worries though.
Here are the pics:


Turf guy is for hire here in Florida. Please pm me and I will give you his number if interested.
At my request, he turfed my chin pad, tray sides, FFH, tray bottom, and even made me a pole pad at no charge.
I asked him to cut out the tray bottom( padding + hydro turf) but not glue it down. I will be adding a rear strap after I ride it to figure out my foot placement.
Also put some S-glass over the FFH. I had a seam that I wanted to clean up + make it a tad bit stronger. I used screws to install it...If I had to do it over again, I would heave used rivets instead. I left the screws in and ground the ends off + down. The glass was used to cover them up and add strength.
. It wasn't my best work but it's done. I used some black pigment for looks but it looks like crap against the carbon...No worries though.
Last edited:
- Location
- Jacksonville, Florida
2nd engine/pump/midshaft alignment to get everything finalized.
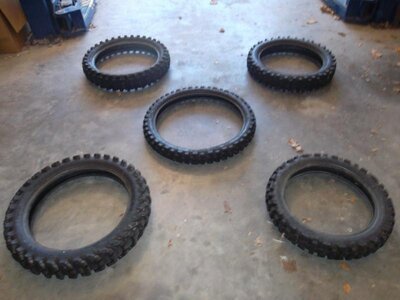
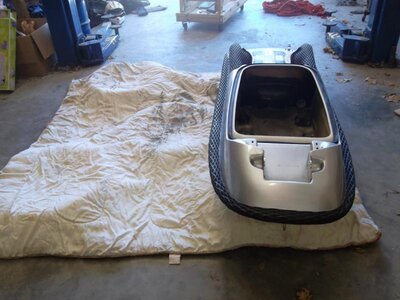
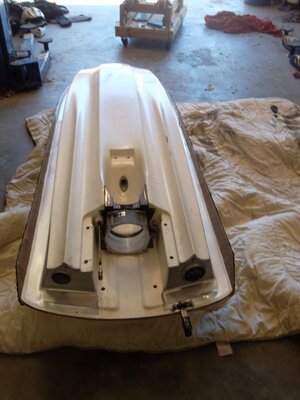
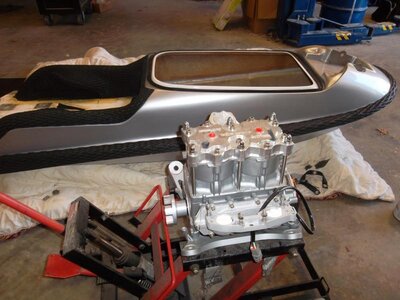
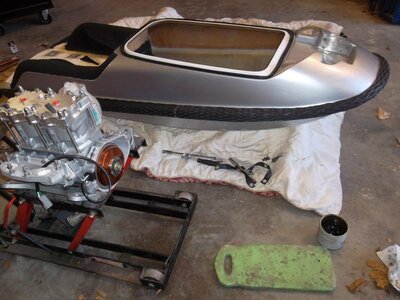
I have been alone in the shop for most of the build...I am a smaller guy so I used some old dirtbike tires to flip the ski over without scratching anything since I dont have any help.
Also used a rolling stand to help get the engine into the ski.


I have been alone in the shop for most of the build...I am a smaller guy so I used some old dirtbike tires to flip the ski over without scratching anything since I dont have any help.
Also used a rolling stand to help get the engine into the ski.
Last edited:
- Location
- Jacksonville, Florida
I was able to 5200 all my engine bay plumbing(black), mocked up my ebox with the CF mount...needs to be offset b/c of the headpipe.
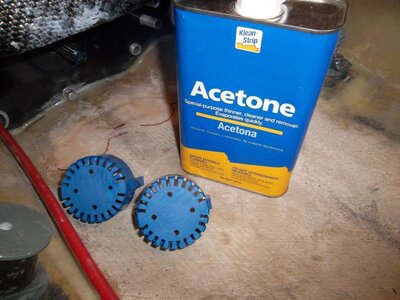
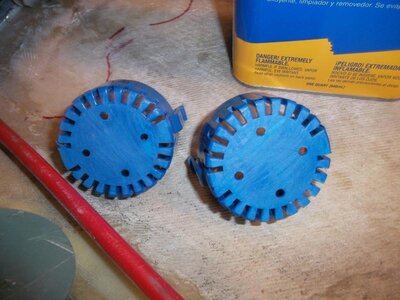
I also mocked up my rule 500's and prepped the area by sanding and the acetone...also sanded the the rule cages for better mechanical bond.
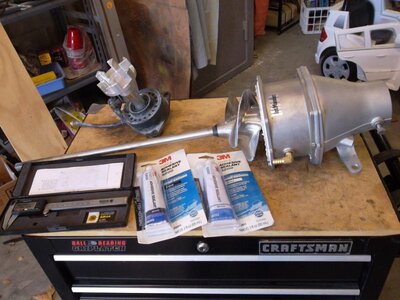
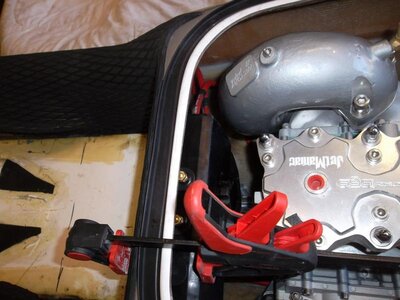
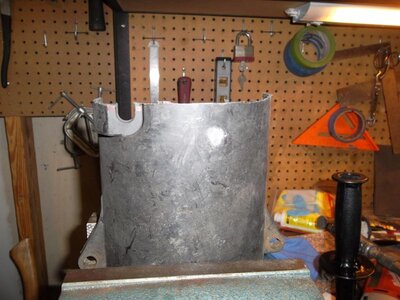
**NOTE to SF owners that will install their own front foot holds**:
Fit your coupler cover and bilges FIRST!!!!! then install the thing.
I also mocked up my rule 500's and prepped the area by sanding and the acetone...also sanded the the rule cages for better mechanical bond.


**NOTE to SF owners that will install their own front foot holds**:
Fit your coupler cover and bilges FIRST!!!!! then install the thing.
Last edited:
- Location
- Jacksonville, Florida
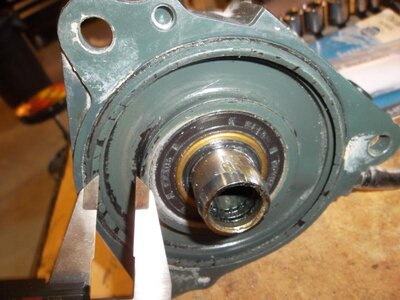
Although I have talked to JM at least 4 times about the midshaft install....I can never remember where to fill in the midshaft with silicone.
I took some pics and need help b/c I have totally forgotten.
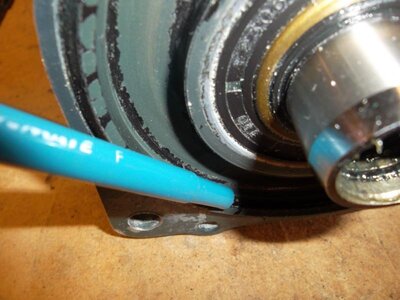
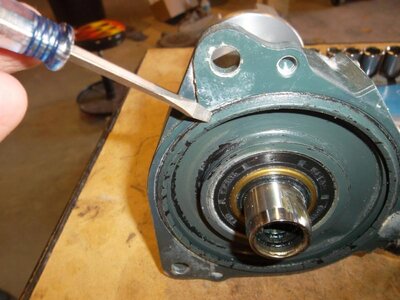
Is it area #1 with blue pen? There's a small lip...
Is it area #2 with the calipers? Do I fill this area in?
Is it area #3 with the the screwdriver?
OR is it a completely different area?
I took some pics and need help b/c I have totally forgotten.


Is it area #1 with blue pen? There's a small lip...
Is it area #2 with the calipers? Do I fill this area in?
Is it area #3 with the the screwdriver?
OR is it a completely different area?
Last edited:
- Location
- Jacksonville, Florida
The midshaft was a tad bit low against the engine side of the coupler.
I decided to use a .5 shim to bring it up some.
Is it ok to put a shim in this area?
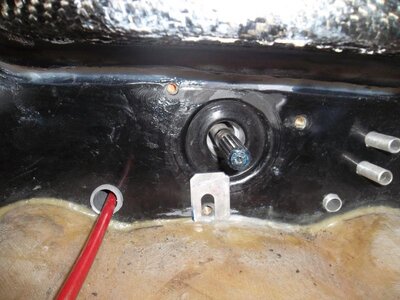
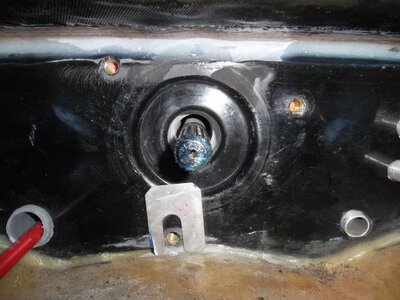
It seemed to work but I could go without it. I checked the manual and it was still within tolerance...That's if the manual tolerances apply to kawaii style couplers. I am assuming so.
I decided to use a .5 shim to bring it up some.
Is it ok to put a shim in this area?


It seemed to work but I could go without it. I checked the manual and it was still within tolerance...That's if the manual tolerances apply to kawaii style couplers. I am assuming so.
Last edited:
I always silicone the outermost edge of the midshaft...and run a external bead with my finger against the housing to the bulkhead. That shim is fine as long as u seal it up good. Looking forward to ur ride report. I was real close to buying this hull too. Congrats on a nice build.
ProSouth
Seriously, Don't be a dick.
- Location
- kawasakis suck
I also siliconed the outermost edge.
- Location
- Jacksonville, Florida
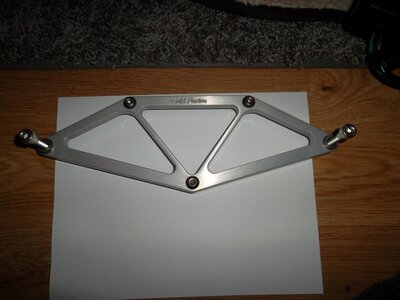
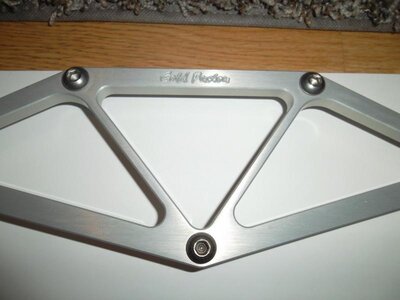
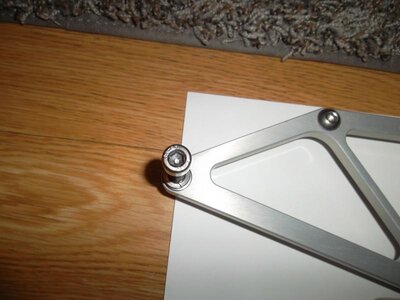
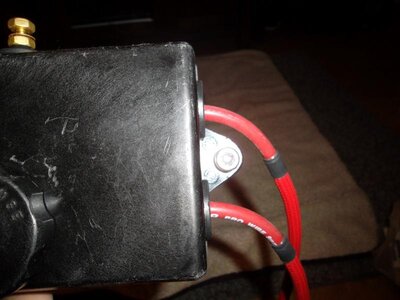
CF EBOX MOUNT...didnt come with instructions...has 3 holes in the middle to mate up against the bulkhead it seems. 2 other holes for the outside of the ebox. Also came with some large washers not pictured here, but will be installed.
I have looked for threads detailing the CF mount install with not much luck.
I was told by JSS that I have a couch ebox. I didn't know there was a difference, but the 3 holes in the middle of the mount line up perfectly with 3 rubber plugs/washers on the back of the ebox.
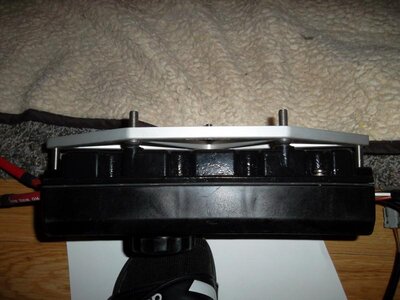
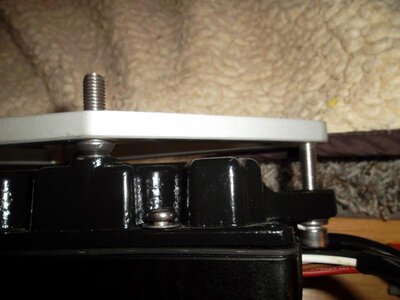
I used button heads to flush up against the back of the ebox, the will go through the firewall. The other 2 holes are for the outside of the ebox.
Here's my setup. If you have a better way to mount it up, please let me know or post some pics please.
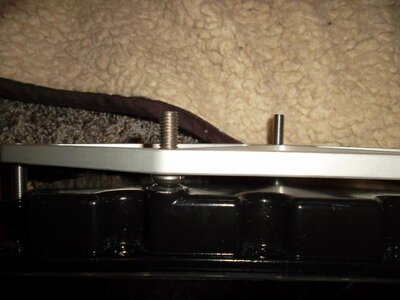
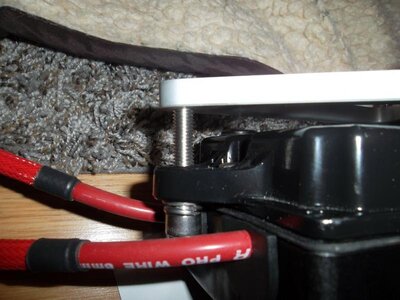
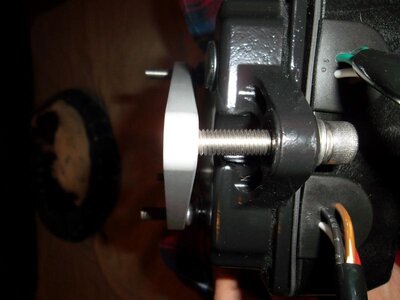
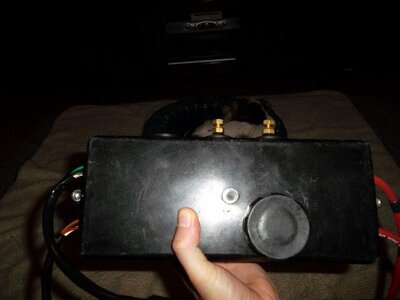


Last edited:
- Location
- Jacksonville, Florida
I always silicone the outermost edge of the midshaft...and run a external bead with my finger against the housing to the bulkhead. That shim is fine as long as u seal it up good. Looking forward to ur ride report. I was real close to buying this hull too. Congrats on a nice build.
Thanks for the help. It will look very similar to yours with the black turf and all.
Come on down to Jax and take it for a spin!
- Location
- Jacksonville, Florida
I was able to 5200 all my engine bay plumbing(black), mocked up my ebox with the CF mount...needs to be offset b/c of the headpipe.
I also mocked up my rule 500's and prepped the area by sanding and the acetone...also sanded the the rule cages for better mechanical bond.
View attachment 215951View attachment 215952View attachment 215953View attachment 215954View attachment 215955
**NOTE to SF owners that will install their own front foot holds**:
Fit your coupler cover and bilges FIRST!!!!! then install the thing.
There is another style coupler cover that works better in a freak with FFH. It has a taper on the rear.
Although I have talked to JM at least 4 times about the midshaft install....I can never remember where to fill in the midshaft with silicone.
I took some pics and need help b/c I have totally forgotten.
View attachment 215956View attachment 215957View attachment 215958
Is it area #1 with blue pen? There's a small lip...
Is it area #2 with the calipers? Do I fill this area in?
Is it area #3 with the the screwdriver?
OR is it a completely different area?
For the fifth time, ha ha, area #3 on the outer edge.
The midshaft was a tad bit low against the engine side of the coupler.
I decided to use a .5 shim to bring it up some.
Is it ok to put a shim in this area?
View attachment 215965View attachment 215966
It seemed to work but I could go without it. I checked the manual and it was still within tolerance...That's if the manual tolerances apply to kawaii style couplers. I am assuming so.
I think you are still confused about alignment. You only shim rear of midshaft if housing isnt square to the bulk head.
- Location
- Jacksonville, Florida
JM...
ha ha...I told ya I needed the visual...
I def know where the silicone goes now..Franks and Beans! I don't know why I had the toughest time with it...it seems simple now.
Flying blind is not so fun sometimes...good help on the x though!!!!!!
I will remove the shim, if that's the case. It really wasn't needed, but i was trying to get it perfect.
I thought I saw a post about a raider coupler that worked on the SF...I'll shoot you a PM about it.
- Location
- Jacksonville, Florida
I saw no need for the CF mount, I used the 3 holes in the back of the ebox and bolted it to the firewall with spacers, works great.
Do you just pop out the 3 plugs?
What about water intrusion? How did you seal it up?
Last edited:

