FX-1 Chadetroit's FX1 760 Build

chadetroit

Get Wet
Location
Bay Area, CA
Last fall I drove down to the Pismo Freeride to look at an FX1 hull from Dangerboy. It was a great chance to check out some free riders throwing huge air since I've been a flatwater rider all my life. The show was spectacular and major kudos to those guys for the huge air they were throwing and making it all look easy. The main draw to the FX1 was it already had a 144 pump grafted in it, footholds and some Cold Fusion goodies to boot. So I strapped it on the roof of my Subaru and headed back to the Bay Area. Yes we got plenty of looks the whole 250 mile ride home but it was worth it. Now that it's back I have since sold my other FX1 that was stock except for a coffman sizzler. It was a great ski but I think I'm ready for more. More pump, more power, more fun. I don't have a tone of time but if I'm going to ride this year I gotta get this thing done by Spring.

I'll probably only be able to work on this once a week so my updates will be once a week at best. I've never done fiberglass or build a boat up from scratch but this board is such a wealth of information, I know all my answers are here.

With that said I'm ready to get going.
 

Attachments

  • fx1rebuild06.jpg
    fx1rebuild06.jpg
    49.6 KB · Views: 340
  • fx1rebuild03.jpg
    fx1rebuild03.jpg
    29.4 KB · Views: 339
Last edited:
chadetroit

Get Wet
Location
Bay Area, CA
get rid of the nose and strip some stickers

OK this a couple weekends ago I had a chance to start digging into the ski. This FX1 has seen it's fair share of riding so it does have some battle scares. The black piece on the nose is some multi-colored carbon fiber that was capped on there for reinforcement. Structurally it was probably fine but it really didn't look good, lots of excess epoxy and lumpy, plus not knowing the history I did not know what was going on underneath. So with a sander, heat gun, paint scraper and a rubber mallot I was determined to pry that carbon fiber piece from the original body underneath. Took about 1.5 hours but it finally gave way and I was able to chip every last bit off from there. Looks like there was a puncture at some point in it's life on the nose that was patched with some glass matt or heavy chopped strand. So I'll have some filling to do here later when the rest of the body is ready for that stage as well.

I also started stripping all the old stickers off which was another hours of fun. Slow and steady I know I have a long ways to go.
 

Attachments

  • fx1rebuild10.jpg
    fx1rebuild10.jpg
    31.3 KB · Views: 134

chadetroit

Get Wet
Location
Bay Area, CA
Foamy don't play dat

Ok last week I posted a question to see if others thought I might have some wet foam based off the weight of the hull. So she weighed in at 115lbs with the hull, turf, and hood. Everything else has been stripped. The general consensus was that I might be about 10-15lbs overweight.

Uhhggggggg. So there goes my wonderful footholds and turf that were still good on the ski. So I took about 15 minutes each morning before work and stripped off a little turf. It did not come up that easy but with the help of one of those oscillating tools I was able to get most of the turf up by the weekend.
 

Attachments

  • fx1rebuild11.jpg
    fx1rebuild11.jpg
    50.8 KB · Views: 164
  • fx1rebuild13.jpg
    fx1rebuild13.jpg
    41.4 KB · Views: 165
  • fx1rebuild12.jpg
    fx1rebuild12.jpg
    51.1 KB · Views: 169

chadetroit

Get Wet
Location
Bay Area, CA
shorten it up

As soon as the mats were off I was staring at that darn handle pole and. So I figured since I'm going to totally shock my riding style by using footholds for the first time I might as well throw everything out of whack and shorten my handle pole as well.

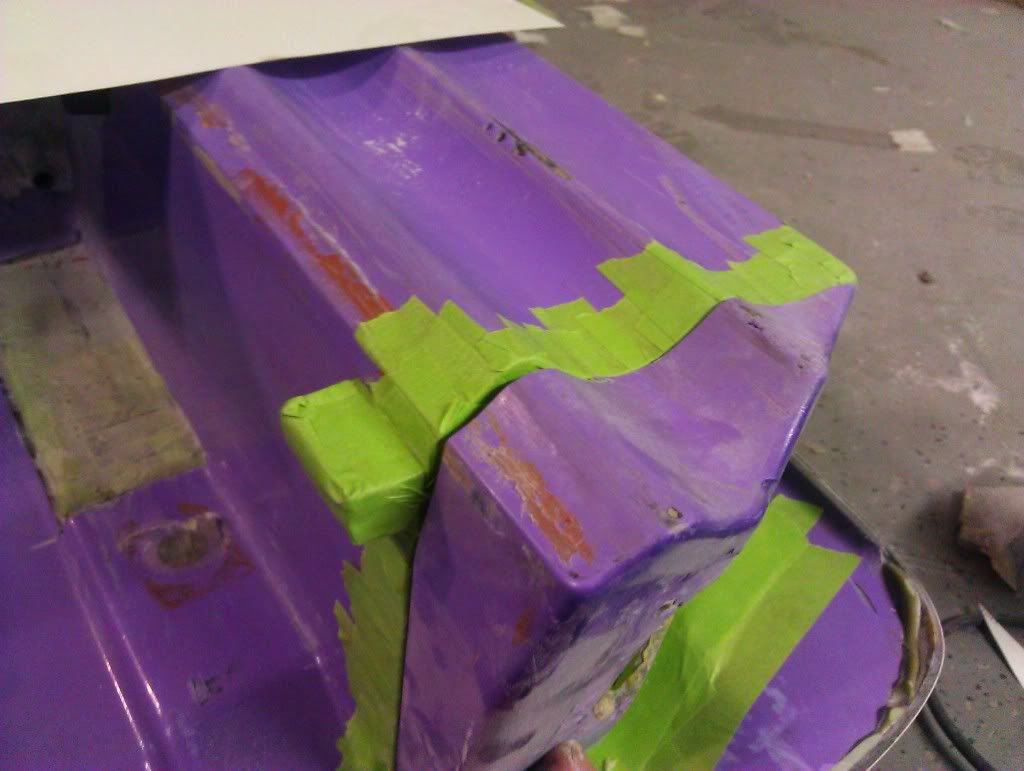
Drilled out all the rivets on the top and bottom bracket. I was thinking I could just heat up the fiberglass and metal with a heat gun and it would wiggle loose. Ummmm no luck. So I took out my hack saw and lopped the top bracket off right where the fiberglass meets the metal. -1.5" approximately gone. Cracked out the old fiberglass in the bracket. Took a wire wheel to the inside of the bracket and sanded the pole a little bit to check the fit. Mounted it back on the ski and wow it really puts your body forward which I guess I'm going to have to get use to if I'm going to commit to changing my style.

Anyone have a good idea for getting that bottom bracket to release the pole? I'd like to free it up so I can sand and paint the metal.
 

Attachments

  • fx1rebuild14.jpg
    fx1rebuild14.jpg
    45.9 KB · Views: 153
  • fx1rebuild15.jpg
    fx1rebuild15.jpg
    35.2 KB · Views: 139
Last edited:
chadetroit

Get Wet
Location
Bay Area, CA
Defoam holiday

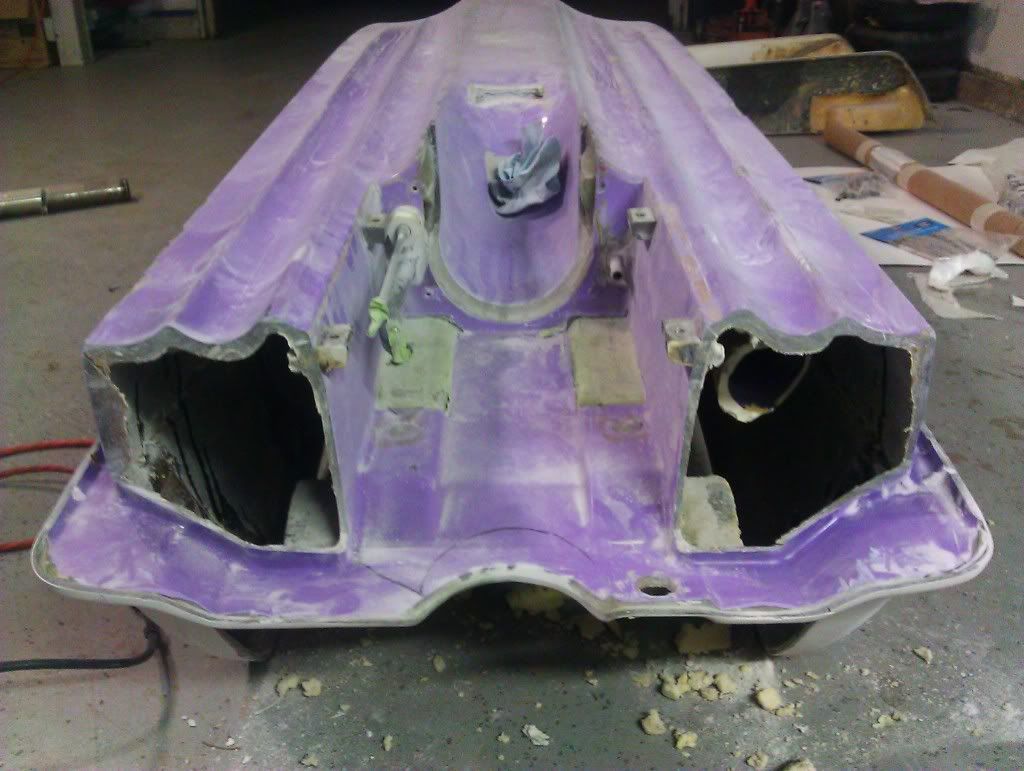
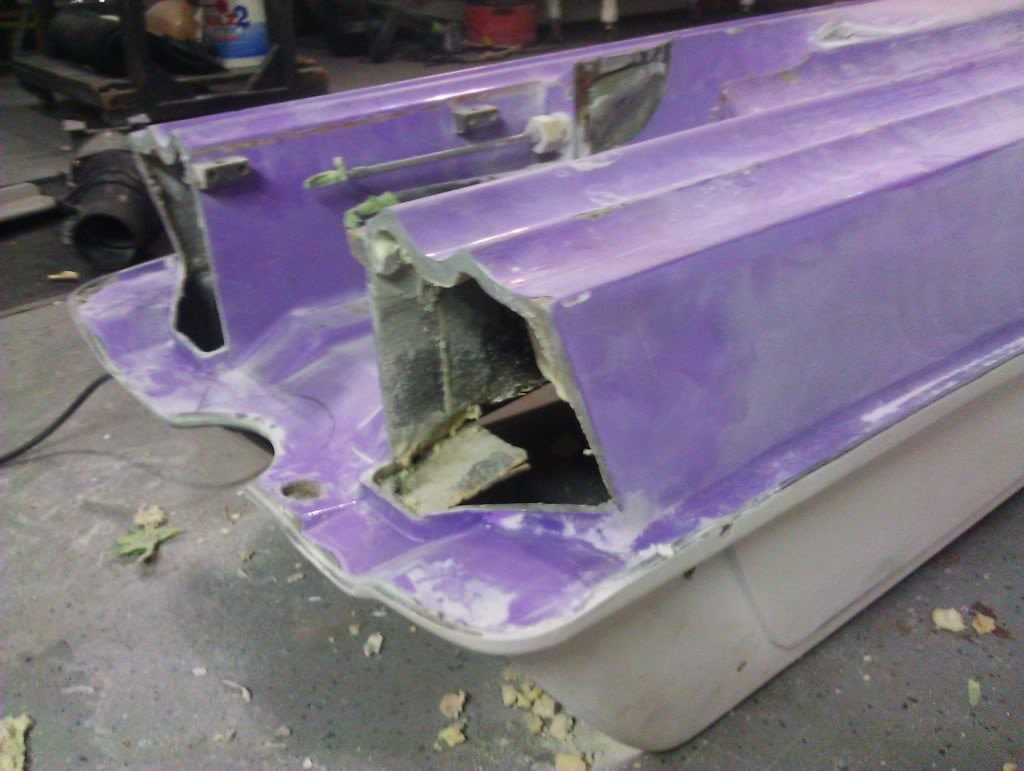
What a treat I had President's Day off so with the wife unfortunately having to work, I had a full day set out to tackle my foam issue. So I read a bunch of threads last night on defoaming and what to fill it back up with and where to cut..... yada.... yada.. yada...

9:30am I took the oscillating cutter tool, taped off where I wanted to cut and made the plunge.

My goal was to rip the gunwales down to be about half the width to widen the tray a little bit.

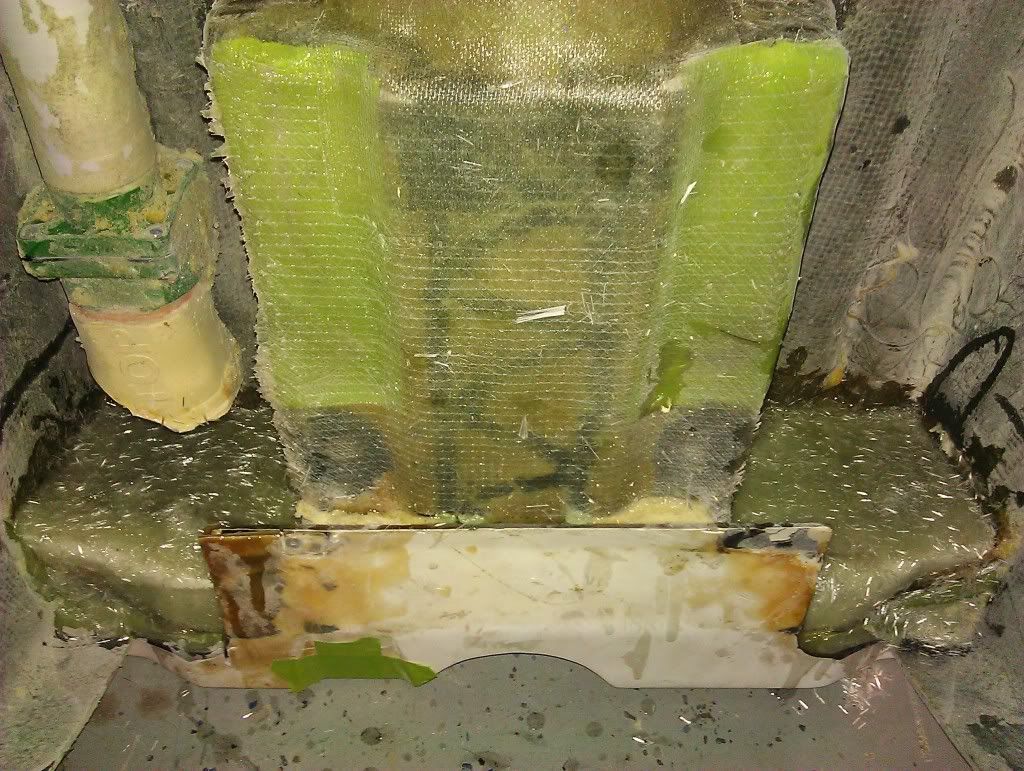
Not sure if it is my cheap harbor freight blades or what but the saw didn't handle the fiberglass like butter, so I switched to bimetal blade on my jig saw and made all my cuts. Had to use a dremel and a cutting wheel in a few tight spots. With all the cuts made I started prying, jamming in screwdrivers, putty knives and whatever else I could find to break the foam loose. I ended up making a few more cuts to break the pieces up into a left, right and a square over the pump. This seemed to work out perfect and with a couple good wedges and a big leveraged wrench I was able to break the sides loose.

Now on to the fun part. Trying to get the foam out. I used the oscillating tool with a knife blade and made some small cuts and started to just chip away at it in small chunks. Then I thought I'd try a cup wire brush that many recommended. This blended the foam into dust pretty good. I only wished I had a plug in drill, cause my makita was getting a workout and the two batteries couldnt keep up.

After about 3hrs I was down to just the little nooks where the wire brush couldn't reach. Man I think I saw a thread that said someone defoamed in an hour.... not even close and I was hard at it. I realized I also needed to take my exhaust out to get better access and would need this removed in the future anyway if I want to reinforce the sides a little bit.

So with as much as I could get out I carried the hull out to the front yard and power washed the inside to get rid of the last little bits. It was about 6 hours from first fiberglass cut to a completely defoamed but I feel better and can start planning forward progress.

I plan on putting close cell foam in the bottom a few layers high and then 2lb or 4lb expansion foam on the top from just below the tray level on up. Will add drain plugs in the back to hopefully let out the water in the future.

The ski with hood now weighs in at 89lbs.

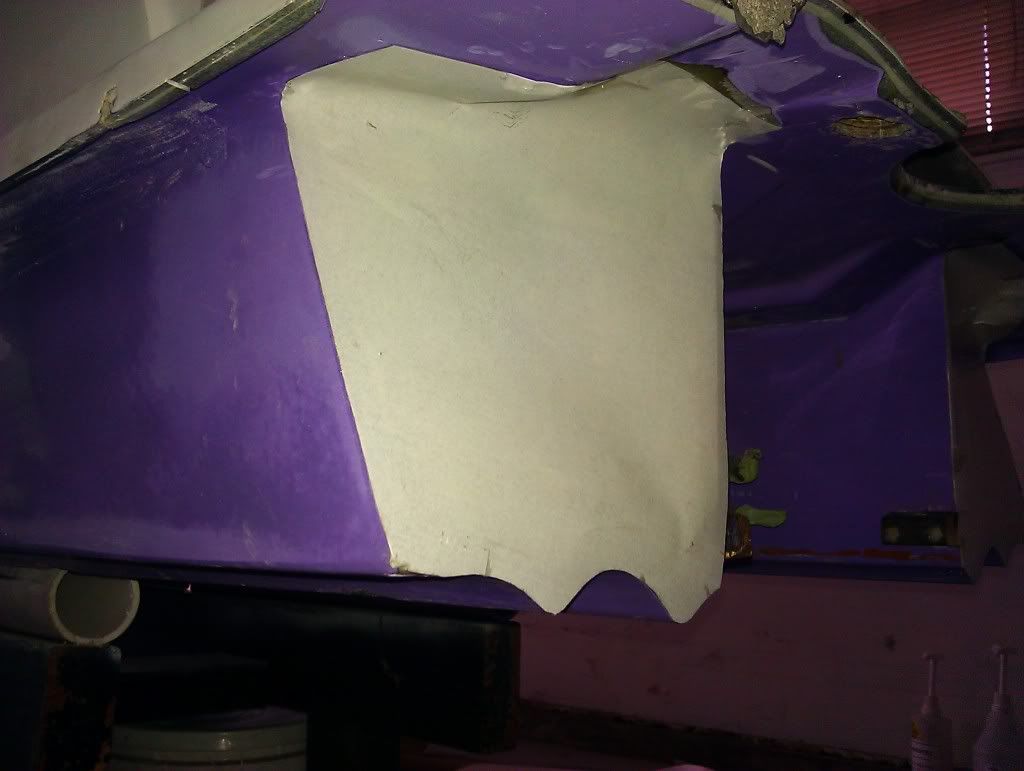
Hey what are the 2 circles plugs on the firewall on either side near the bottom? why are they so thin? One was already busted through and i ruptured the second one with the power washer. I should just glass these in right?
 

Attachments

  • fx1rebuild17.jpg
    fx1rebuild17.jpg
    53.4 KB · Views: 201
  • fx1rebuild20.jpg
    fx1rebuild20.jpg
    57.5 KB · Views: 189
  • fx1rebuild21.jpg
    fx1rebuild21.jpg
    68 KB · Views: 200
  • fx1rebuild19.jpg
    fx1rebuild19.jpg
    70.1 KB · Views: 187
  • fx1rebuild18.jpg
    fx1rebuild18.jpg
    63.6 KB · Views: 210
Last edited:
ntrsspray

I do DUMB THINGS!!
Location
jersey
Good work... I just started hacking up an fx hull this past weekend. Good luck


Sent from my iPhone using Tapatalk
 

chadetroit

Get Wet
Location
Bay Area, CA
good work....so how wet was the foam? Looks ike this still had the stock FX pump shoe.....while you're in there, you might want to change it.

Hmmm that is a good idea, I'm not sure if it's the stock shoe or not. It is plastic but the opening measures 141mm and it looks like some work has been done feathering that area in.
 
Last edited:
If it's plastic it's a SJ shoe, so you should be good to go. I didn't see any signs of glass work to the shoe area so it looked like they hadn't tackled that yet.
 

chadetroit

Get Wet
Location
Bay Area, CA
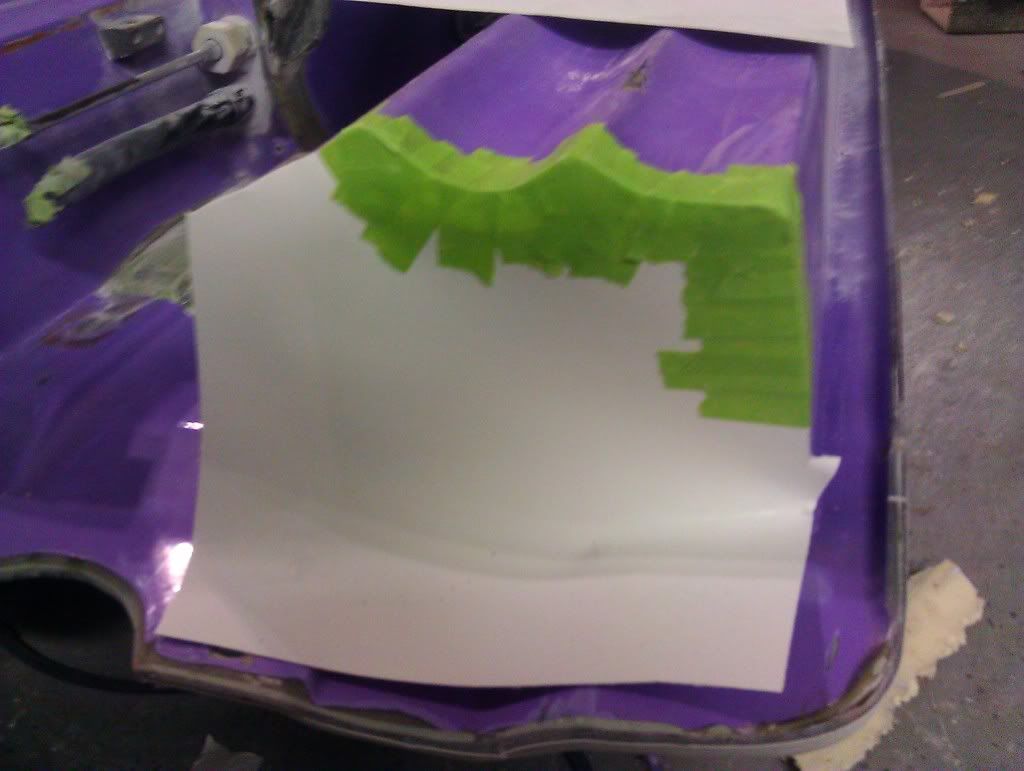
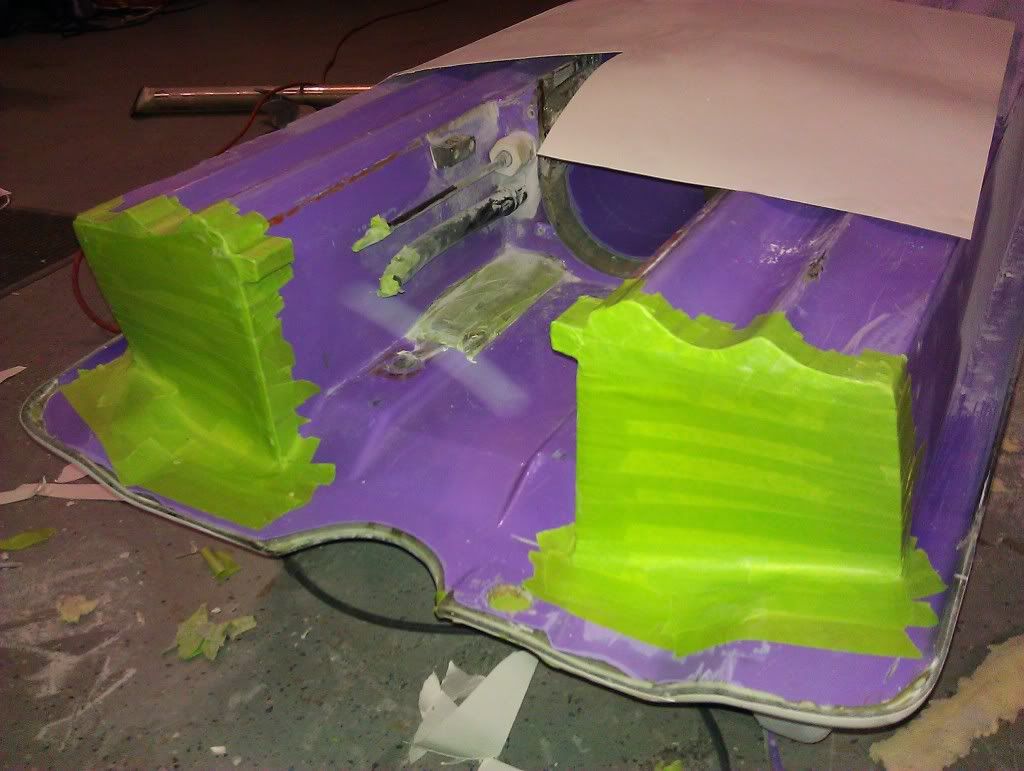
The combination of not having a lot of time and this stage of the build being a slow process for me, progress has been reduced to a crawl. I can already see I will be at this stage for another couple weeks in order to get everything installed and filled in. With that said updates have been:

Drilled and installed 3/8 drain plugs. I used stainless T-nuts and epoxied them in. The plug is a stainless socket, allen head machine screw with an o-ring on it to seal it up.

Filling in various scrapes and holes around the hull.

Filling in High Pivot Handle mount area.

5200 bond line on gunwales. Will glass over this area a little later.

Right Side Tubby installed

Epoxied 1/2 aluminum rod on the underside of hood lip for strength.
 

Attachments

  • fx110.jpg
    fx110.jpg
    45.5 KB · Views: 216
  • fx102.jpg
    fx102.jpg
    53.1 KB · Views: 195
  • fx103.jpg
    fx103.jpg
    62.6 KB · Views: 202
  • fx109.jpg
    fx109.jpg
    48.9 KB · Views: 186
  • fx108.jpg
    fx108.jpg
    50 KB · Views: 180
  • fx106.jpg
    fx106.jpg
    41.9 KB · Views: 190
  • fx112.jpg
    fx112.jpg
    61.9 KB · Views: 187
  • fx101.jpg
    fx101.jpg
    45.8 KB · Views: 168
Last edited:

swapmeet

Brotastic
Location
Arlington TX
Cool build, Nothing wrong with a little FX1 love.

Did you line out your plans??

Just my $.02
Its very easy to shorten the rear of the ski if your intrested. Cut the hull around the pump cavity just past the ride plate holes. Tape it on the outside (maybe put a piece of posterboard over the holes first) and then add your cloth and resin from inside. If you feel like doing it nows the time!

Keep it up.
 

chadetroit

Get Wet
Location
Bay Area, CA
So the ride plate mounts stay in place and you are cutting just behind them? Didn't know if that would mean you would have to cut all that bond line around the rear as well thus having to create more structure in the rear where the top and bottom decks come together.

I've thought about it but it is one of those unknowns that not too many people have done, so I'm wondering on the pros and cons. I take it you have not ridden yours with the shortened hull yet?
 
Last edited:

swapmeet

Brotastic
Location
Arlington TX
Hold on, i'll find you pics. Its easy...

Ok, they're huge but you'll be able to see good LOL...

IMG_20110214_211115.jpg


IMG_20110214_211122.jpg


IMG_20110214_214556.jpg


IMG_20110214_220148.jpg


IMG_20110214_215949.jpg


Then stood the ski straight up and glassed it in with a bunch of 17oz biaxial then mixed in 1/4" chop strand to soak up any excess resin and add even more strength.

IMG_20110214_224107-1.jpg


You could cut it at an angle like stock to get more effect if you like.
 
Last edited:

chadetroit

Get Wet
Location
Bay Area, CA
That does not look too bad, I'll go home and stare at it for a bit and see what my gut says. I'd probably slice the back off and and glass it back in at the same angle to retain the exhaust cutout and the drain plugs I just put in if I do it. Swap you are suppose to help me get on the water sooner not add more body work! Thanks for posting those pics. :beerchug:
 
Last edited:

chadetroit

Get Wet
Location
Bay Area, CA
Ok I went out and took some measurements and even taped off a cut line. I'd probably get about 1-5/8" do you think that will make much of a difference? I might have to change my title to ride by "Summer" instead of spring
 

motoman96

Banned
Location
Lodi Cali
Might part mine if I don't get any bites with the ported 760 I'm tossing in it to sell if you need any parts. Looking good so far though!
 

chadetroit

Get Wet
Location
Bay Area, CA
What are you switching up to? I think I've got most of everything except a couple stupid parts like a ground cable and I'm sure some little stuff I'll find as I'm trying to get the engine in.... That is if I ever finish this body work business
 

motoman96

Banned
Location
Lodi Cali
Its a secret til I get it in my possession. But it's a full carbon hull that weighs 68lbs.
 
Top Bottom