- Location
- Troy, MI
Hey everyone!
I've been lurking for a while now and feel like I've had enough nervous eagerness so here I am and here I go! I'm going to try to update after every day that I work on her so we will see how that goes.
TL: DR - Doing my first build, got most of the mat ripped out (although with some speed bumps) and adhesive broken down. Going well so far.
DAY 1:
So for starters I weighed my '14 rn superjet...356 lbs...*many expletives*. For one reason or another I picked up some extra weight this past season, must have been going too hard... so instead of just a quick and 'painless' footwell insert I think I'll be doing a full refoam as well.
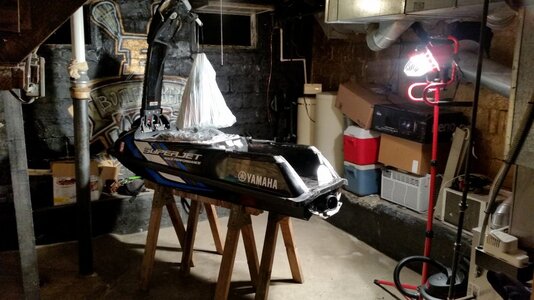
Got my workshop all set up with lights and all the tools I need (just kidding, I always need more tools).

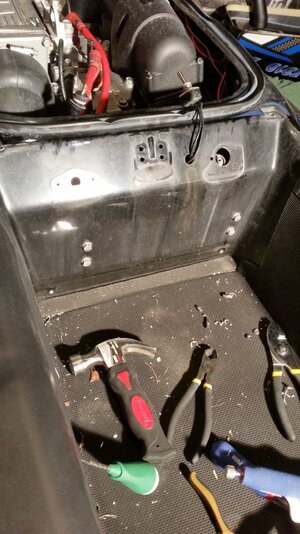
Next I drilled out the rivets on the stock panel and took off the back rails so I could get to the mat.

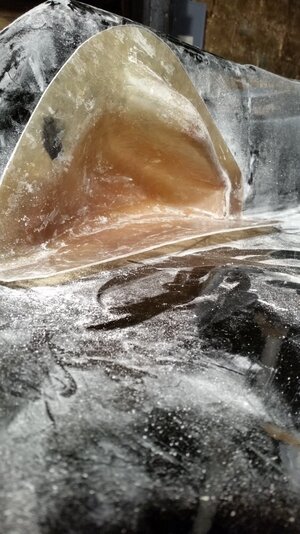
Next was the ripping of the mat. Surprisingly it came out really really easily, I just had to pull it slowly and it came out in 3 pieces no hassle. Unfortunately, the little rail caps were not the same story. Whatever adhesive they used to keep those on there could hold a tank together, no bolts necessary. I ended up having to use an exacto to cut away while I was pulling which left an awful mess of rubber still on the ski.


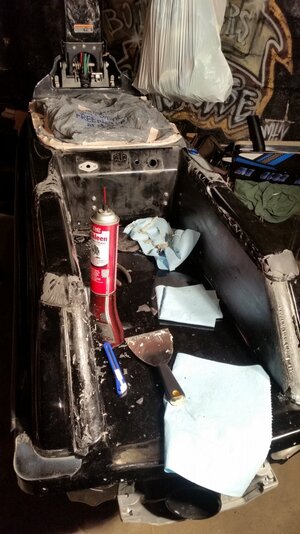
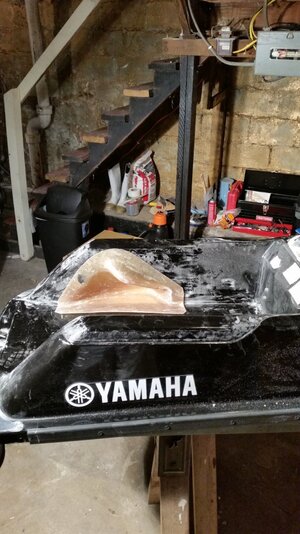
Initially I tried an angle grinder on Chase's recommendation, but wienied out after thinking I was going to take too much off. I also wienied out with a dremel with a sandpaper attachment. I then tried a joint knife I had around from the hole that I put in the wall with my knee. While it took considerably more elbow grease than either powered tool it made it nice and smooth (I know it doesn't look that way in the picture )! Finally I used some brake cleaner to break down the thick adhesive residue layer and got most of it off tonight! (Picture below was right before my last wipe down so it's shinier now, but I forgot to take a new picture and now it's cold down there..)

Next project day will be to finish up cleaning out the tray of adhesive residue! This should be an exciting winter project!
I've been lurking for a while now and feel like I've had enough nervous eagerness so here I am and here I go! I'm going to try to update after every day that I work on her so we will see how that goes.
TL: DR - Doing my first build, got most of the mat ripped out (although with some speed bumps) and adhesive broken down. Going well so far.
DAY 1:
So for starters I weighed my '14 rn superjet...356 lbs...*many expletives*. For one reason or another I picked up some extra weight this past season, must have been going too hard... so instead of just a quick and 'painless' footwell insert I think I'll be doing a full refoam as well.
Got my workshop all set up with lights and all the tools I need (just kidding, I always need more tools).
Next I drilled out the rivets on the stock panel and took off the back rails so I could get to the mat.
Next was the ripping of the mat. Surprisingly it came out really really easily, I just had to pull it slowly and it came out in 3 pieces no hassle. Unfortunately, the little rail caps were not the same story. Whatever adhesive they used to keep those on there could hold a tank together, no bolts necessary. I ended up having to use an exacto to cut away while I was pulling which left an awful mess of rubber still on the ski.
Initially I tried an angle grinder on Chase's recommendation, but wienied out after thinking I was going to take too much off. I also wienied out with a dremel with a sandpaper attachment. I then tried a joint knife I had around from the hole that I put in the wall with my knee. While it took considerably more elbow grease than either powered tool it made it nice and smooth (I know it doesn't look that way in the picture
Next project day will be to finish up cleaning out the tray of adhesive residue! This should be an exciting winter project!

