- Location
- Sacramento, CA
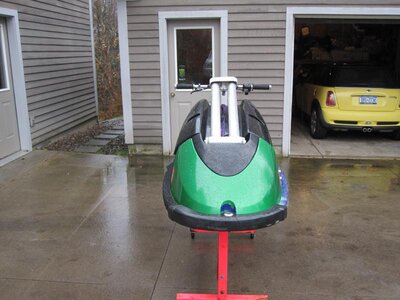
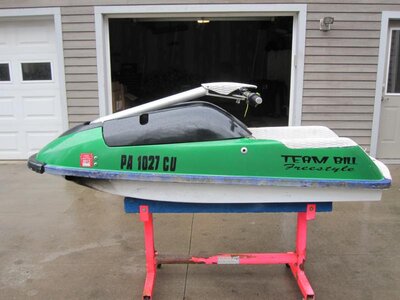
I recently sold three of my 650sx's and purchased a 2003 Yamaha Super Jet. The ski had some goodies on it when I bought it.
-Reinforced hull.
-24-7 Footholds.
-Custom tubed pole simular to a goose poll.
-Umi bars with Umi grips.
-Carbon pole pad.
-Carbon ride plate (torn up).
-Skat track prop (torn up).
-Brand new WMK hood & Nose piece.
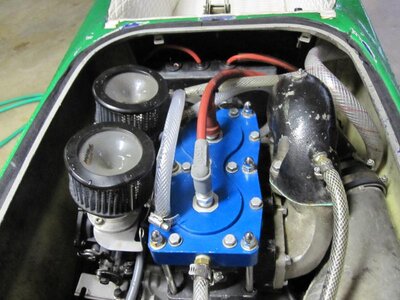
-WPS high comp head.
-701 motor bored to 730.
-Ported.
-Top and bottom end rebuild.
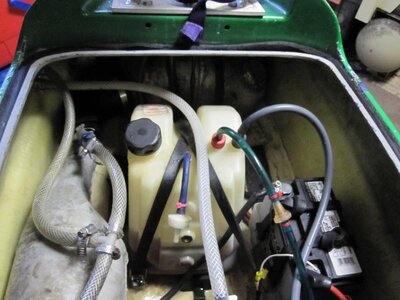
-Freestyle tank.
-Billet couplers.
-Worx intake grate.
-3 positions bilge switch.
-Dual pissers.
-msd enhancer.
-few other odds an ends.
What I am adding:
-All new white waffled Hyrdoturf.
-White waffled side rail turf.
-Blowsion Colored fuel lines.
-Blowsion Colored coolant lines.
-New matt padding.
-Blowsion tow loop.
-Blowsion Cross Bar pad.
-Handpole shock pad.
-Pancake Pete front foot hold.
-Msd Terminals.
-New lanyard.
-Blowsion black cover.
-Maniac Strap from Jetmaniac.
-Go Pro HD.
-Full paint job (see pic of design).
-BNB Graphics kit.
-Painted Engine bay.
-Motor will be taken apart and gone through and all bolts will be lock tited.
-Prop is going to be reapaired.
-New carbon ride plate.
-New carbon pole pad.
-Powder coating:
Hand pole
Bars
Pipe
Water box
-Painting motor blue and black.
-Clean up and re do welds on the hand pole.
-And whatever else I think of:woot:
Heres my design and a days of tear down work.
Jordan
View attachment 139323View attachment 139330 View attachment 139328
 View attachment 139325View attachment 139324
 View attachment 139331
-Reinforced hull.
-24-7 Footholds.
-Custom tubed pole simular to a goose poll.
-Umi bars with Umi grips.
-Carbon pole pad.
-Carbon ride plate (torn up).
-Skat track prop (torn up).
-Brand new WMK hood & Nose piece.
-WPS high comp head.
-701 motor bored to 730.
-Ported.
-Top and bottom end rebuild.
-Freestyle tank.
-Billet couplers.
-Worx intake grate.
-3 positions bilge switch.
-Dual pissers.
-msd enhancer.
-few other odds an ends.
What I am adding:
-All new white waffled Hyrdoturf.
-White waffled side rail turf.
-Blowsion Colored fuel lines.
-Blowsion Colored coolant lines.
-New matt padding.
-Blowsion tow loop.
-Blowsion Cross Bar pad.
-Handpole shock pad.
-Pancake Pete front foot hold.
-Msd Terminals.
-New lanyard.
-Blowsion black cover.
-Maniac Strap from Jetmaniac.
-Go Pro HD.
-Full paint job (see pic of design).
-BNB Graphics kit.
-Painted Engine bay.
-Motor will be taken apart and gone through and all bolts will be lock tited.
-Prop is going to be reapaired.
-New carbon ride plate.
-New carbon pole pad.
-Powder coating:
Hand pole
Bars
Pipe
Water box
-Painting motor blue and black.
-Clean up and re do welds on the hand pole.
-And whatever else I think of:woot:
Heres my design and a days of tear down work.
Jordan
View attachment 139323View attachment 139330
 View attachment 139328
 View attachment 139325View attachment 139324
 View attachment 139331
Attachments
Last edited:


