Carbon ROK Rebuild

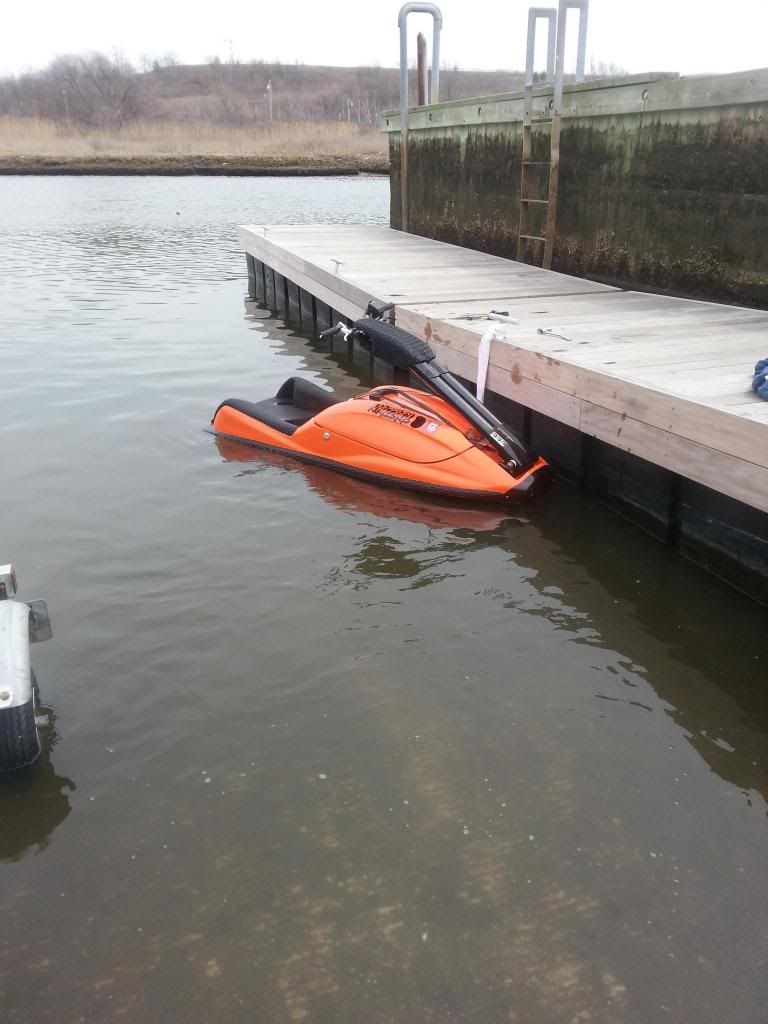
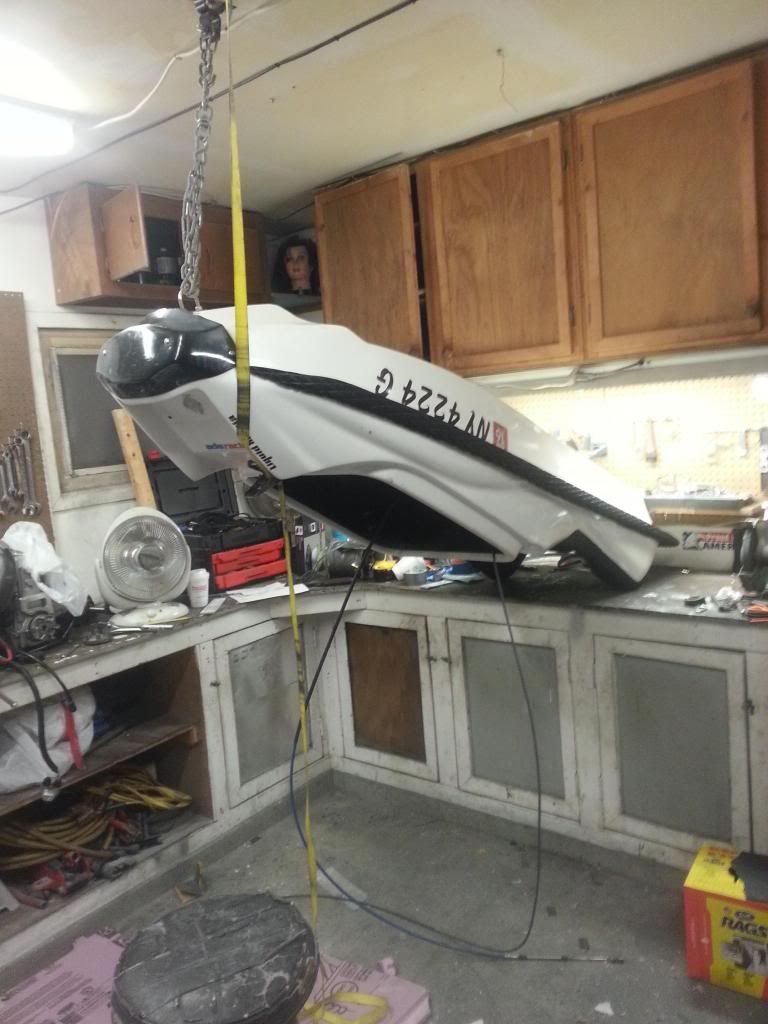
I bought this ROK with kawasaki driveline last year. I begun to work on it and slowly progressed to doing everything. Just finished the other day I figured i'd get some pics together and show what I done.. Maybe give a few ideas and help others. Lots of pics + steps are missing so in between pics look for text.

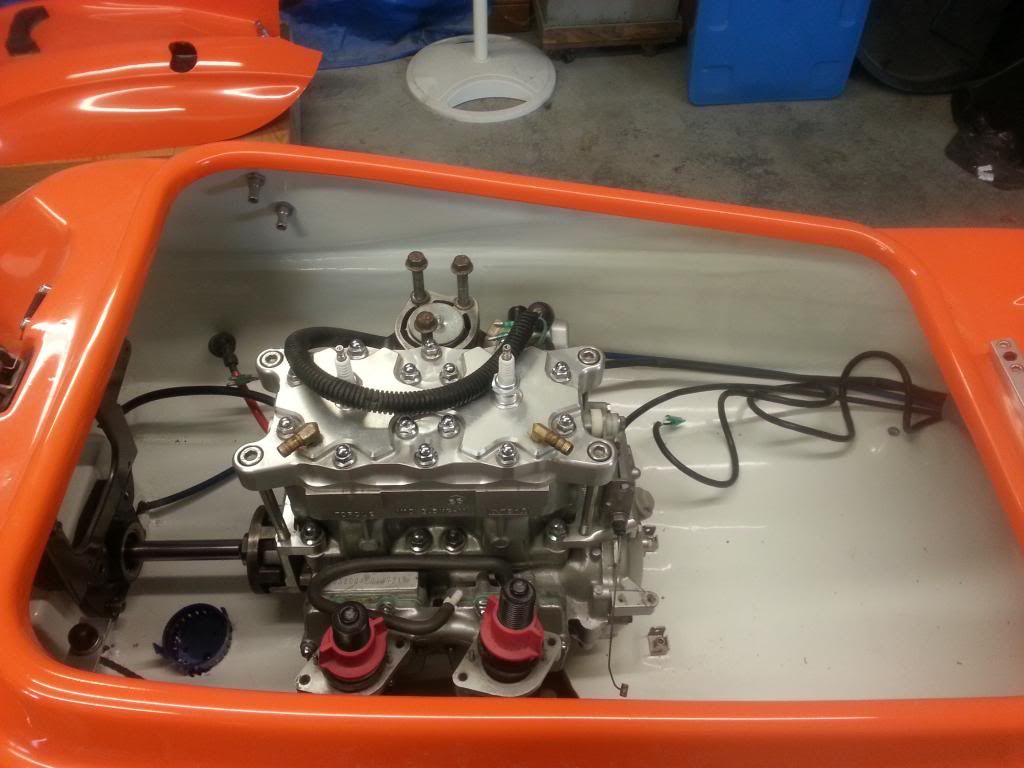
I started to try and get more power. Having issues last year with 2 different engines and lost tons of money, I figured i'd try it myself. I went .50 over with Pro-X pistons, brand new hot rods crank and seals from the dealer. I got the sport port templates, it includes a template for exhaust port that raises the height a little (I decided not to raise it). Also a template to make a cut out on the piston to meet the window in the sleeve. The motor seems alot more responsive from 1/4 throttle on and more power. Off idle still is a little slow, but it may get some race fuel/ignition curve later.

20131021_210828_zpse45cf07d.jpg

20131026_131759_zps9d0212a8.jpg

20131026_131851_zps0876be6f.jpg


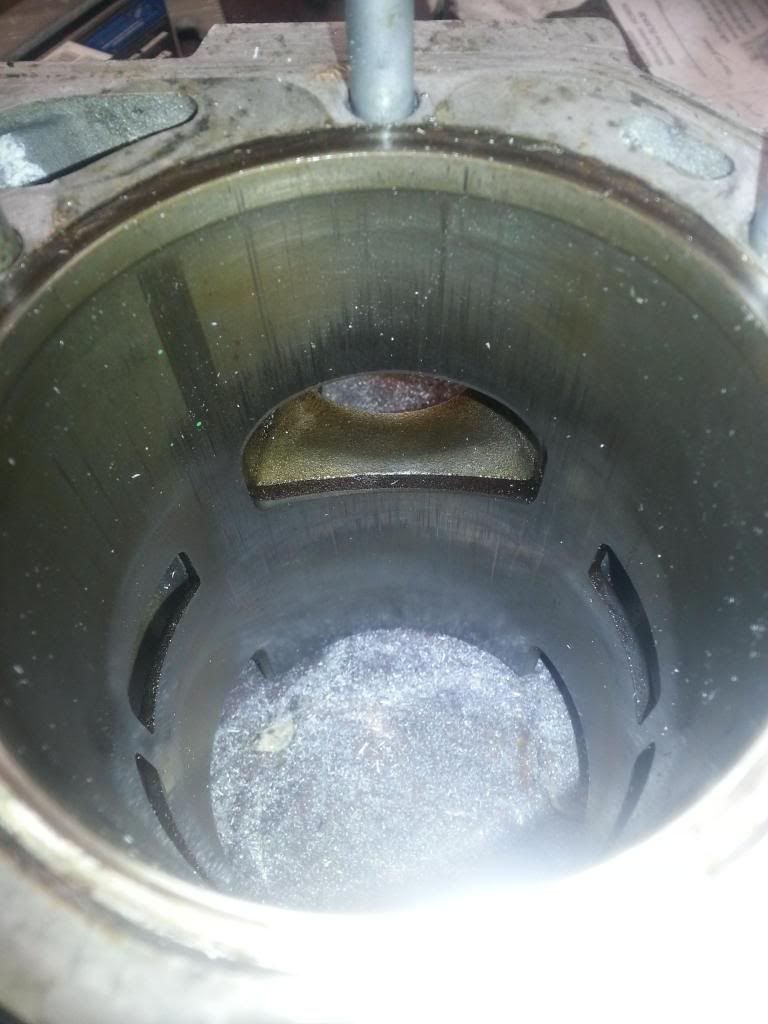
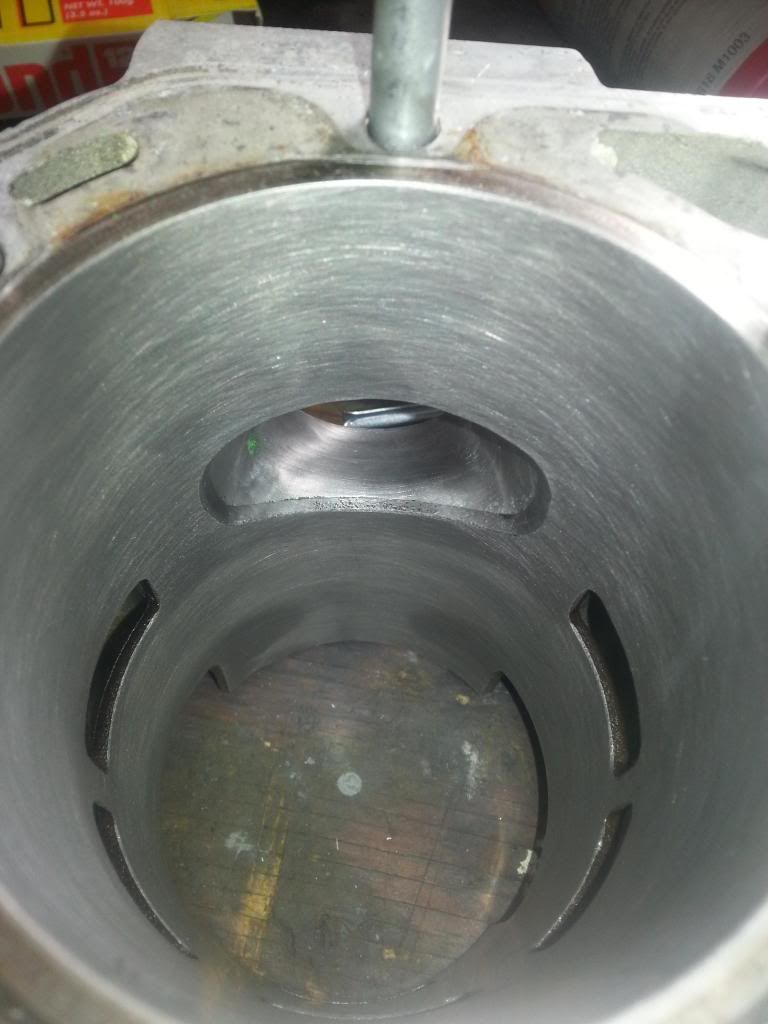
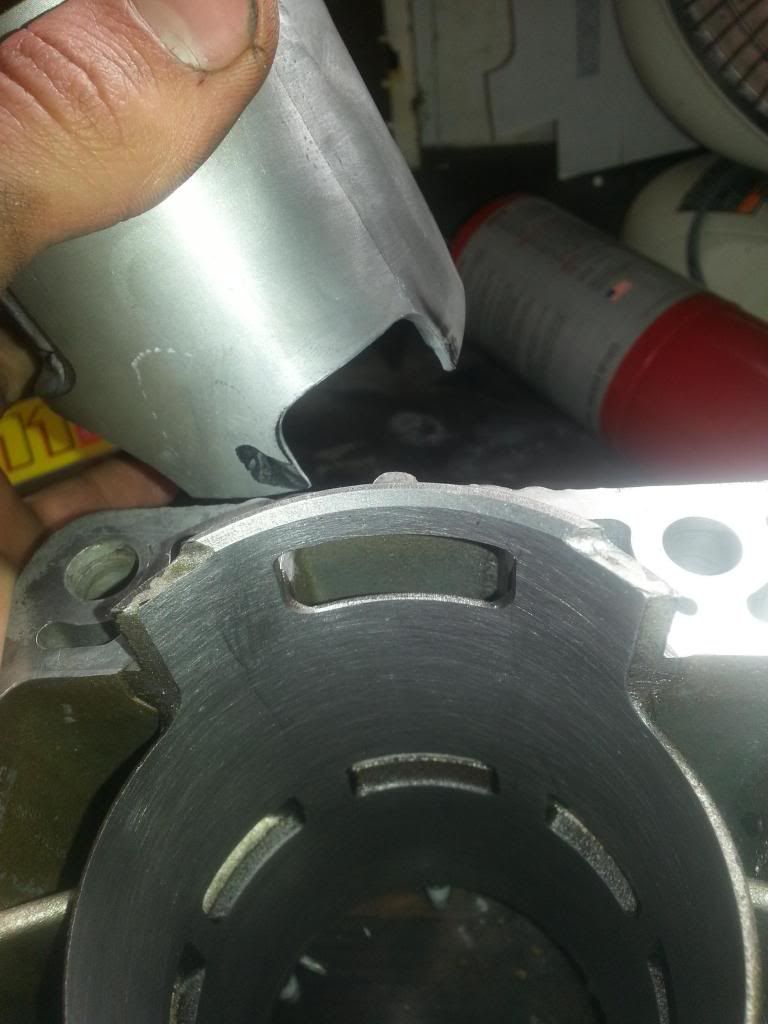
Left side was finished ported. Right was not.
20131026_131729_zps6ac6e566.jpg

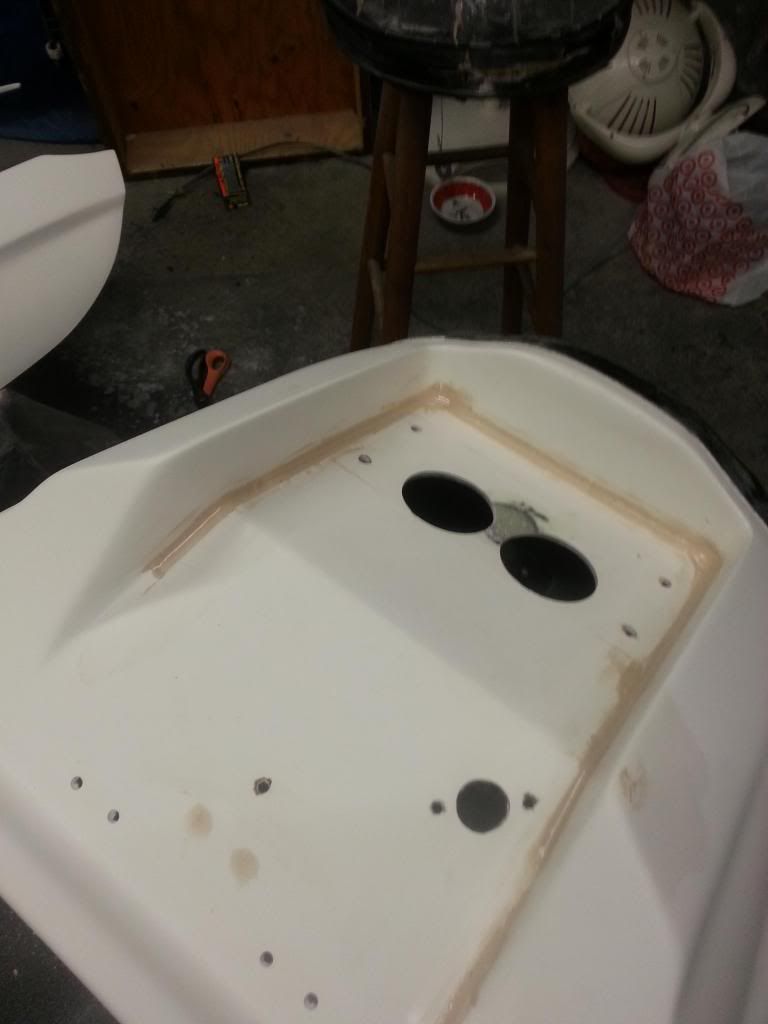
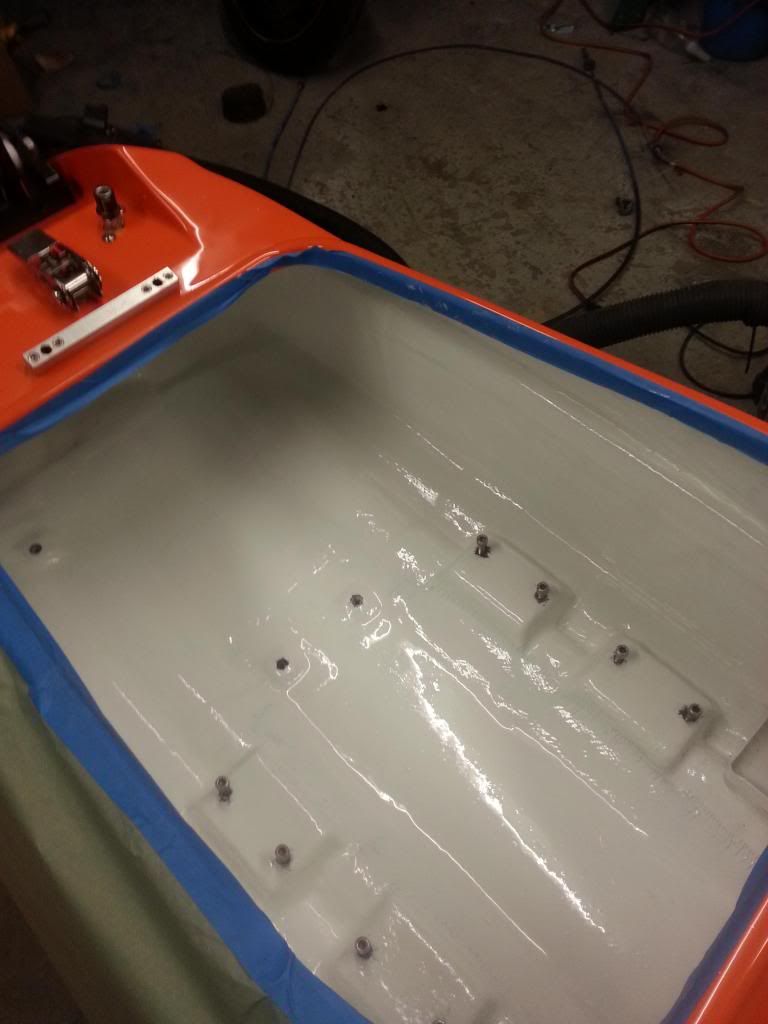
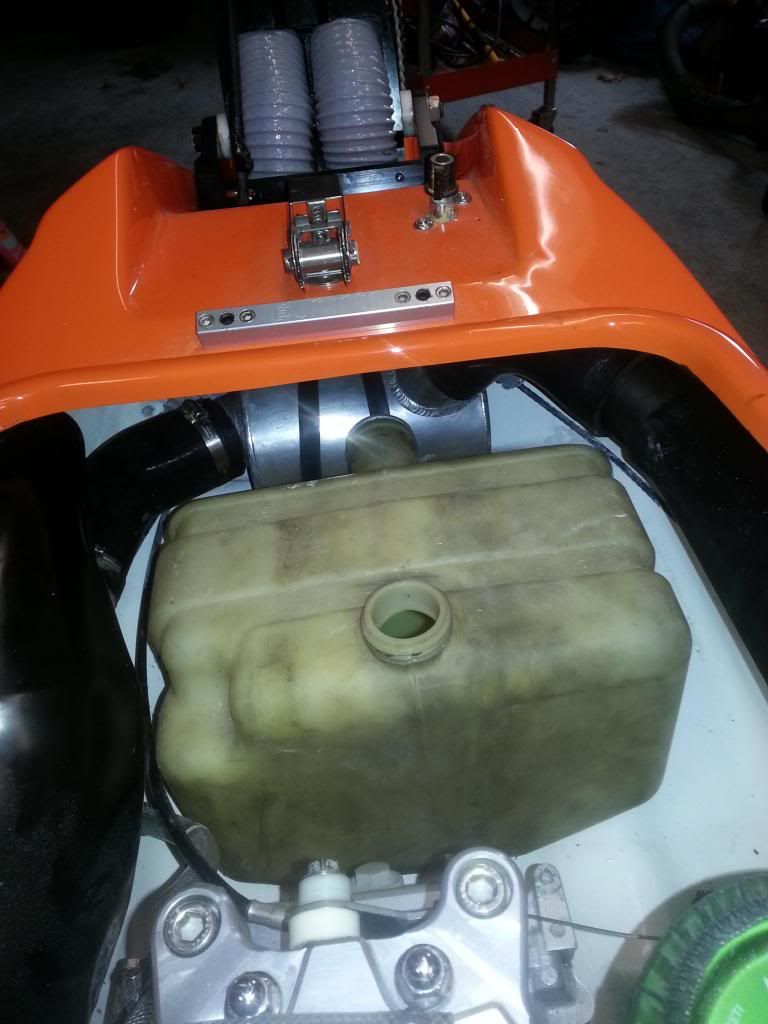
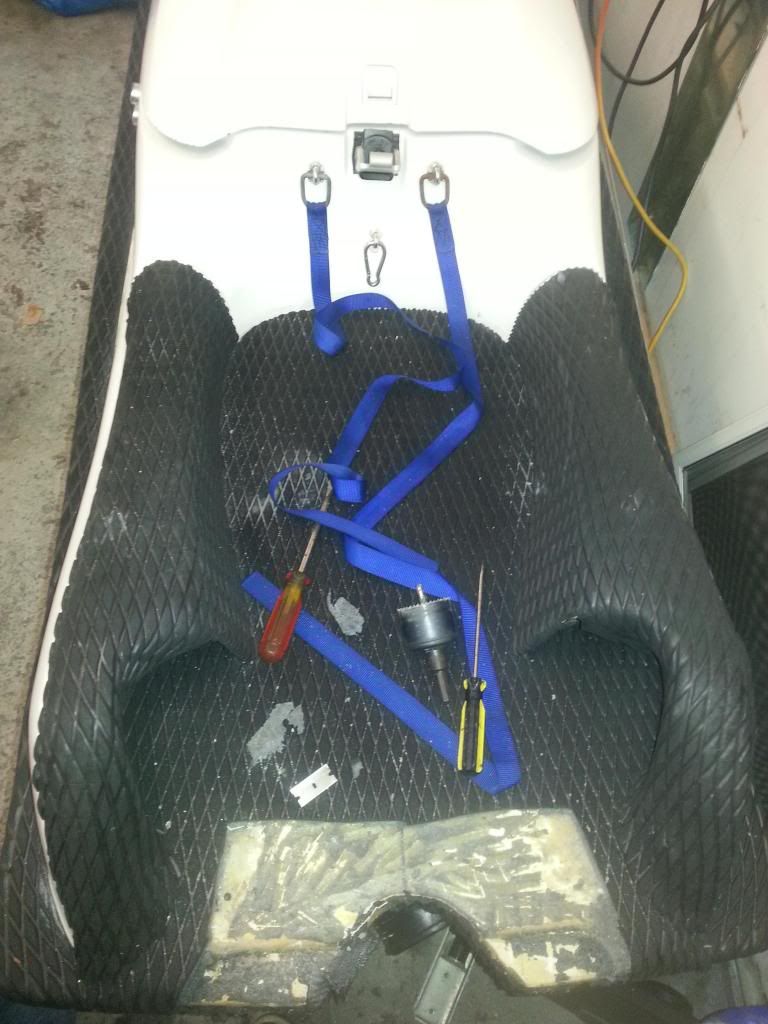
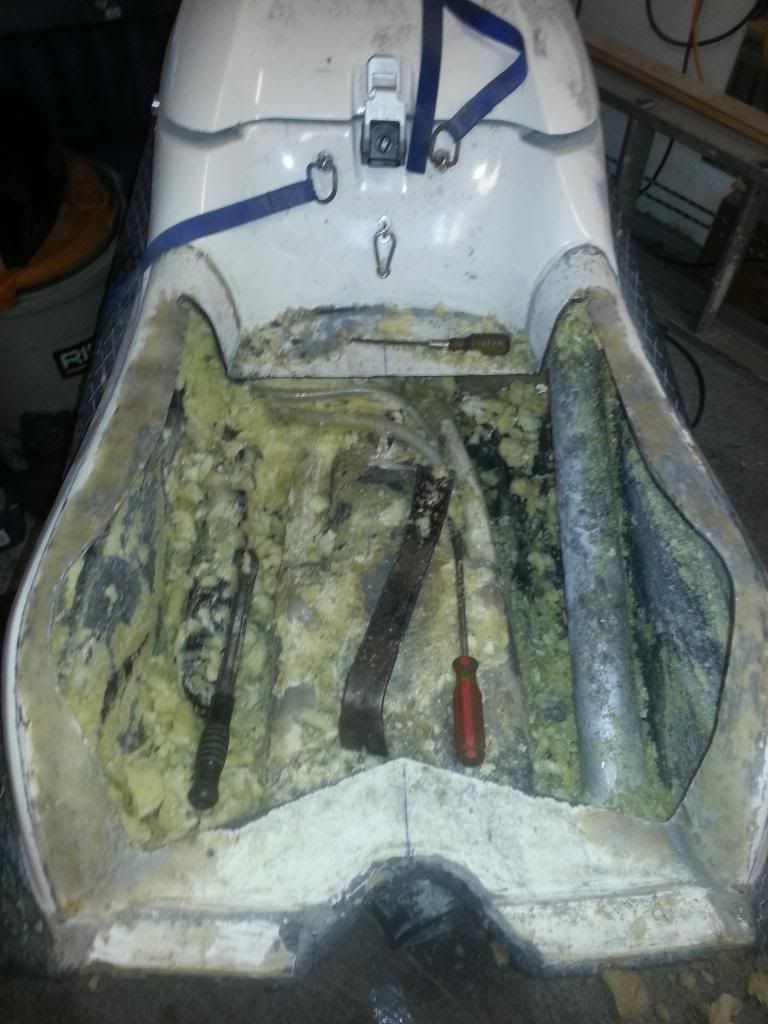
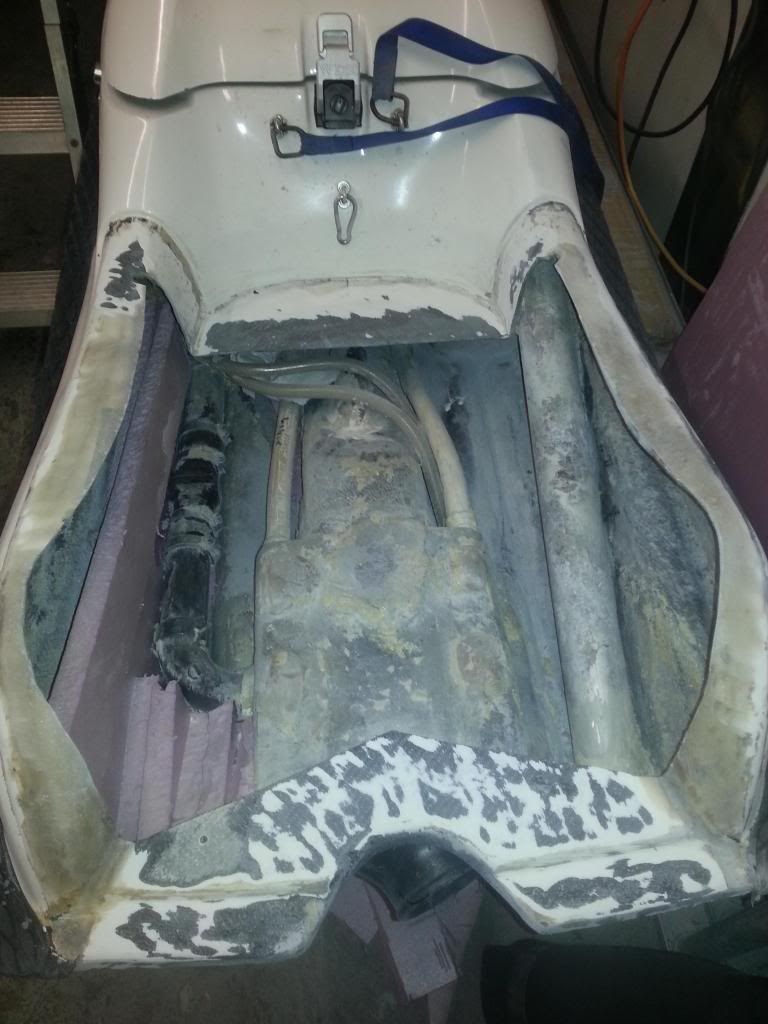
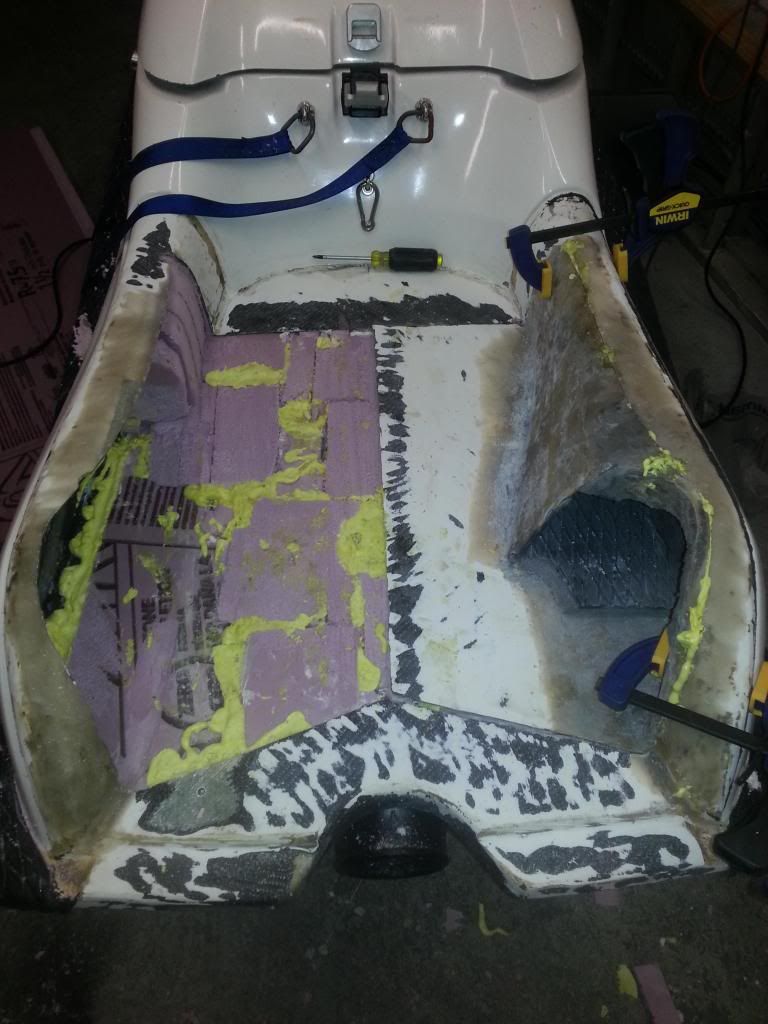
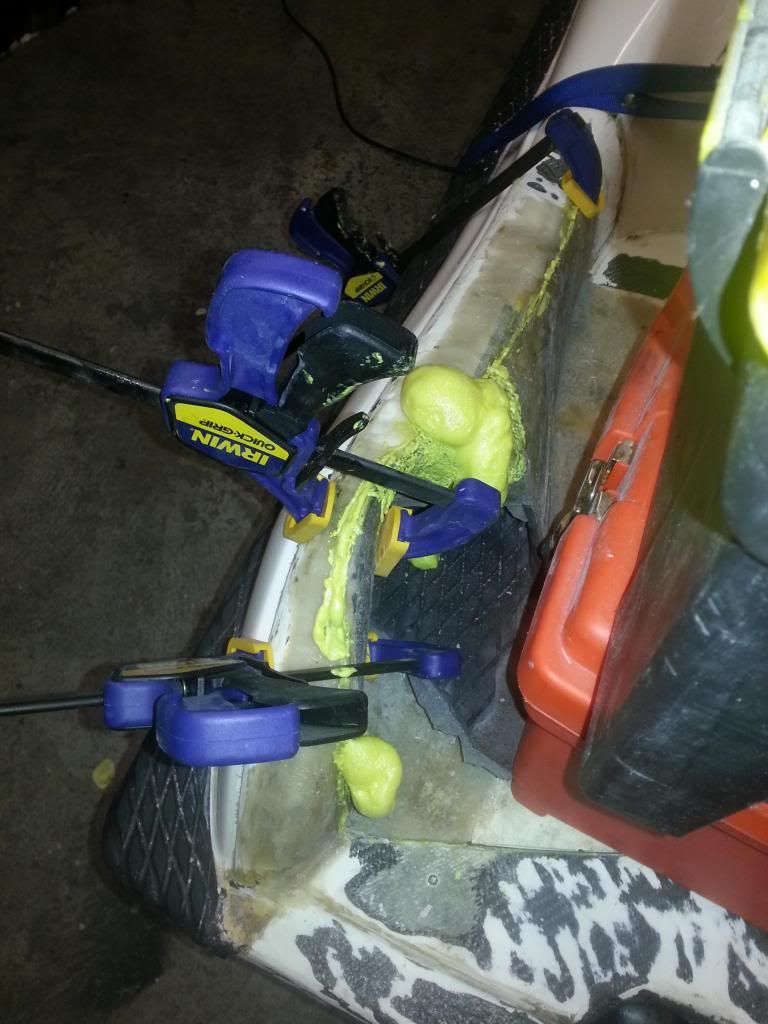
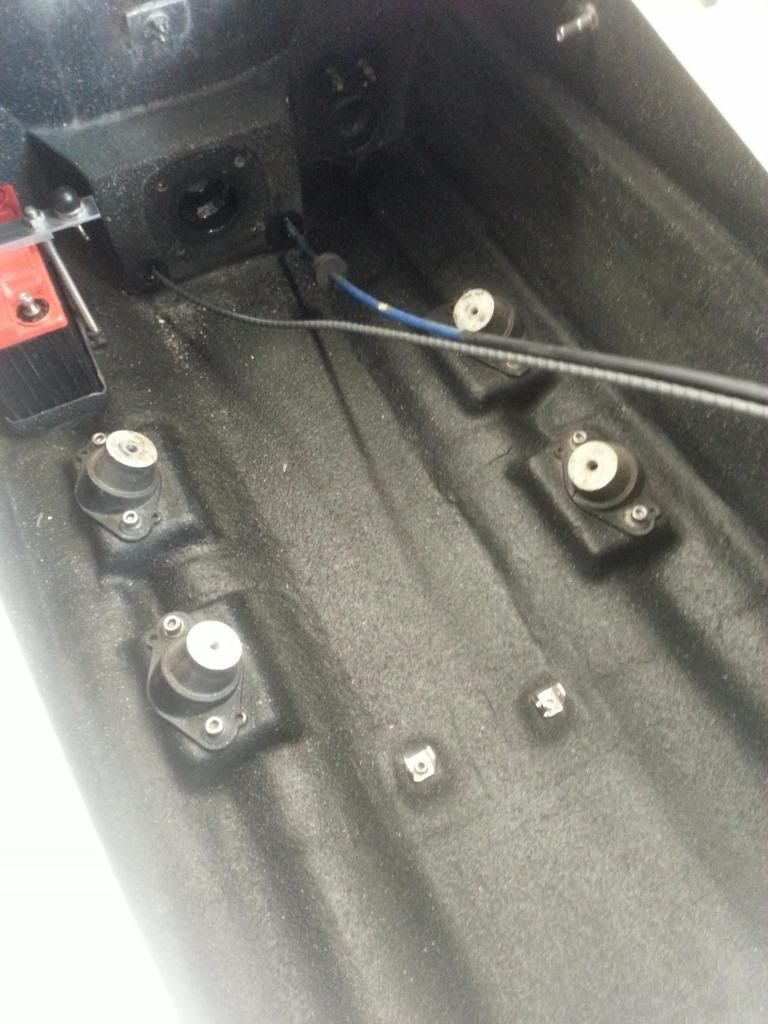
After seeing some water coming from the intake grate bolts I decided to open up the tray. I didn't find as much water as I expected and kinda regretted opening it. But now it's done with XPS foam and has drains.

20140103_130415_zpsa943f65e.jpg

20140105_162544_zps0b563a90.jpg

20140107_202158_zpsc94ed647.jpg


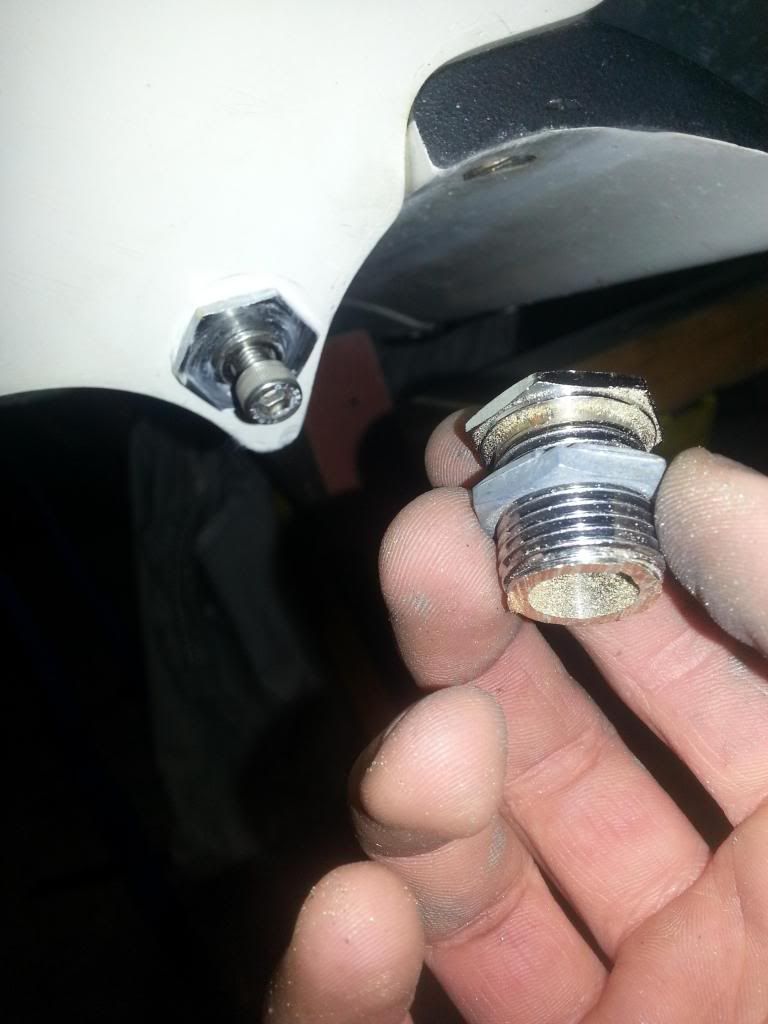
I had issues getting the nut sert to bite in the hull, so I ended up cutting up 2 new primers I had laying around and insert the nut serts in them. Here it is 5200'ed on the back side with the nut holding it in.
20140112_215842_zpsd2c72791.jpg

20140118_155510_zps385214e0.jpg

20140118_164729_zps0005ebcf.jpg

20140118_183109_zps3bf9e8da.jpg

20140201_195503_zps98323728.jpg

20140201_195631_zps4bab896b.jpg


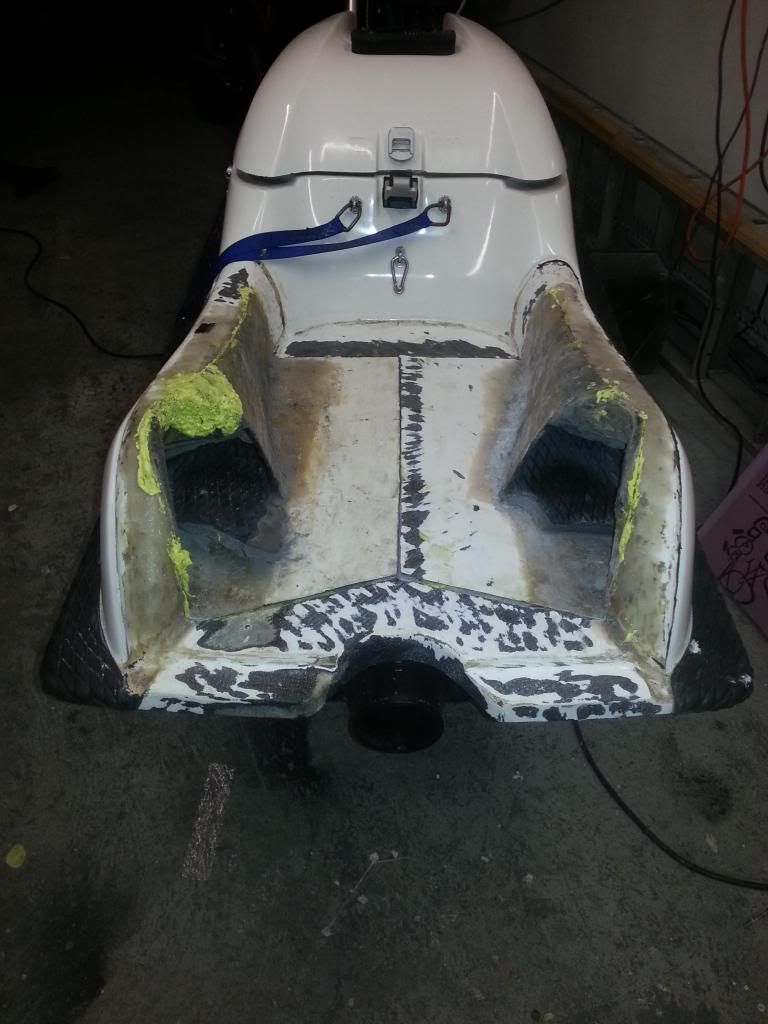
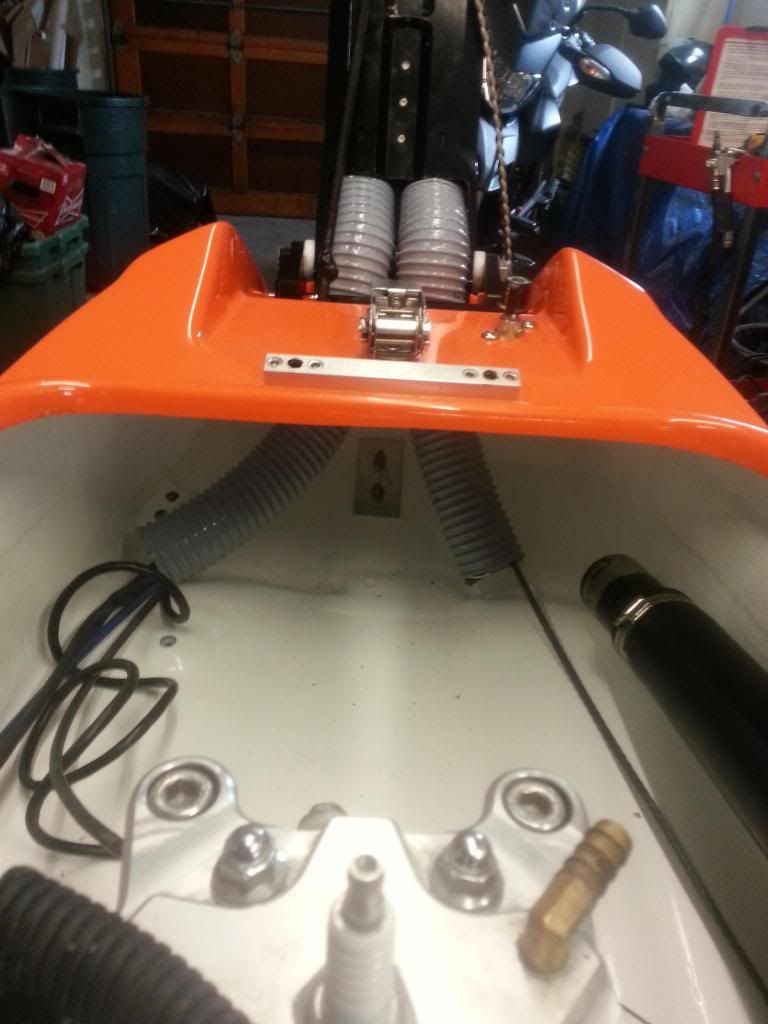
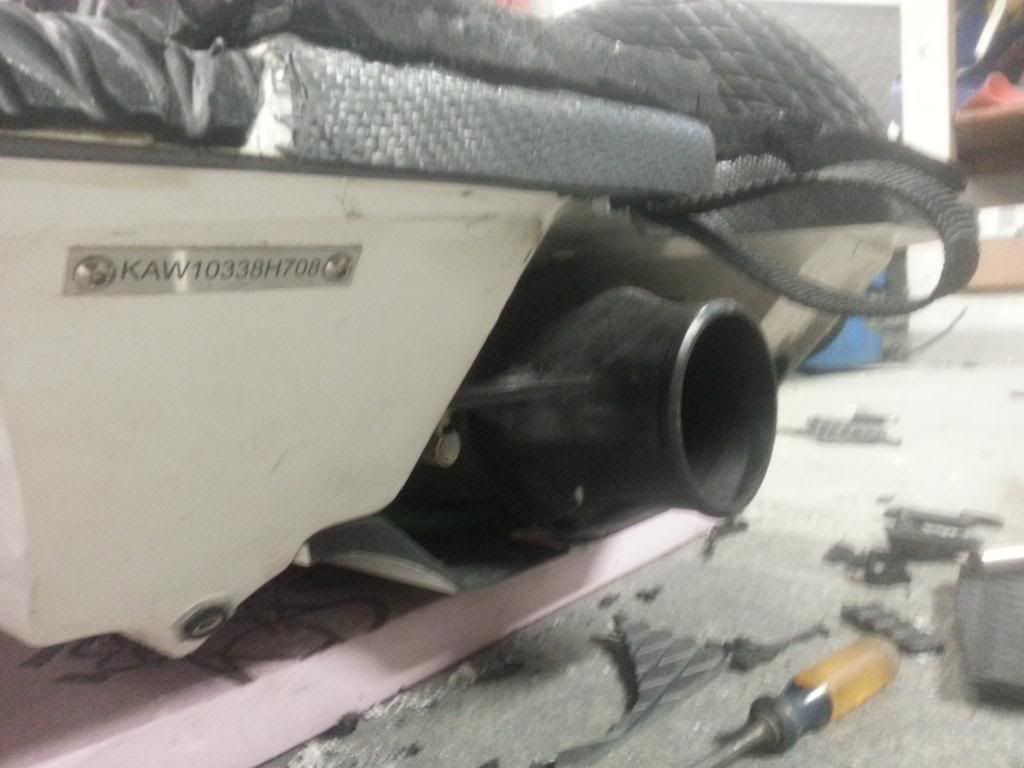
Added this tow strap
20140205_162949_zps27358726.jpg


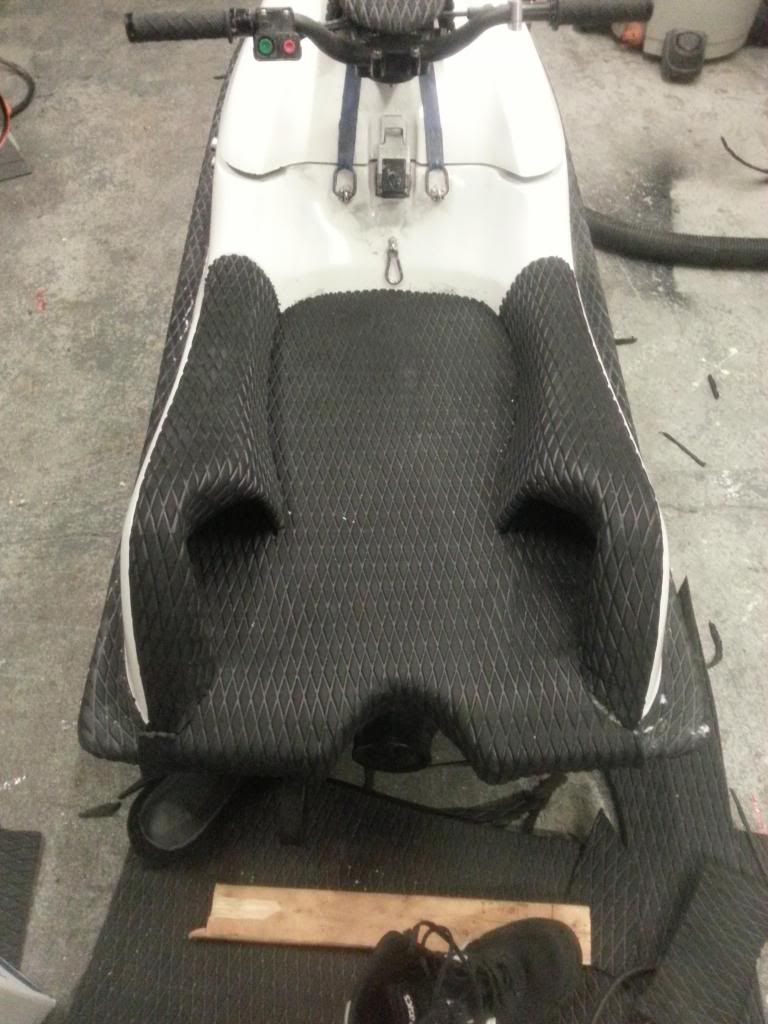
The footholds were shaped nicely and the foam "stepped" down to fit the asics I wear.
20140205_213900_zpsd3bf2d45.jpg


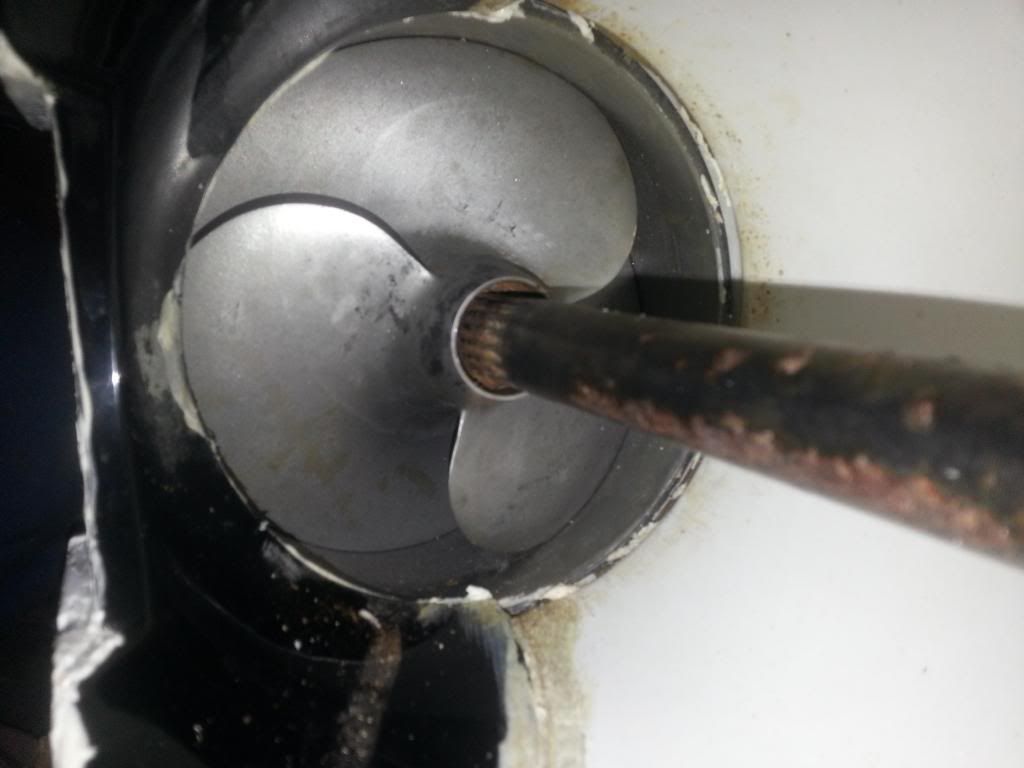
The impeller was too short to the driveshaft and was starting to strip. I got a long nose impeller custom cut by Skat and a brand new driveshaft from them. Sorry no pics of the new stuff
20140207_170313_zps336127d1.jpg


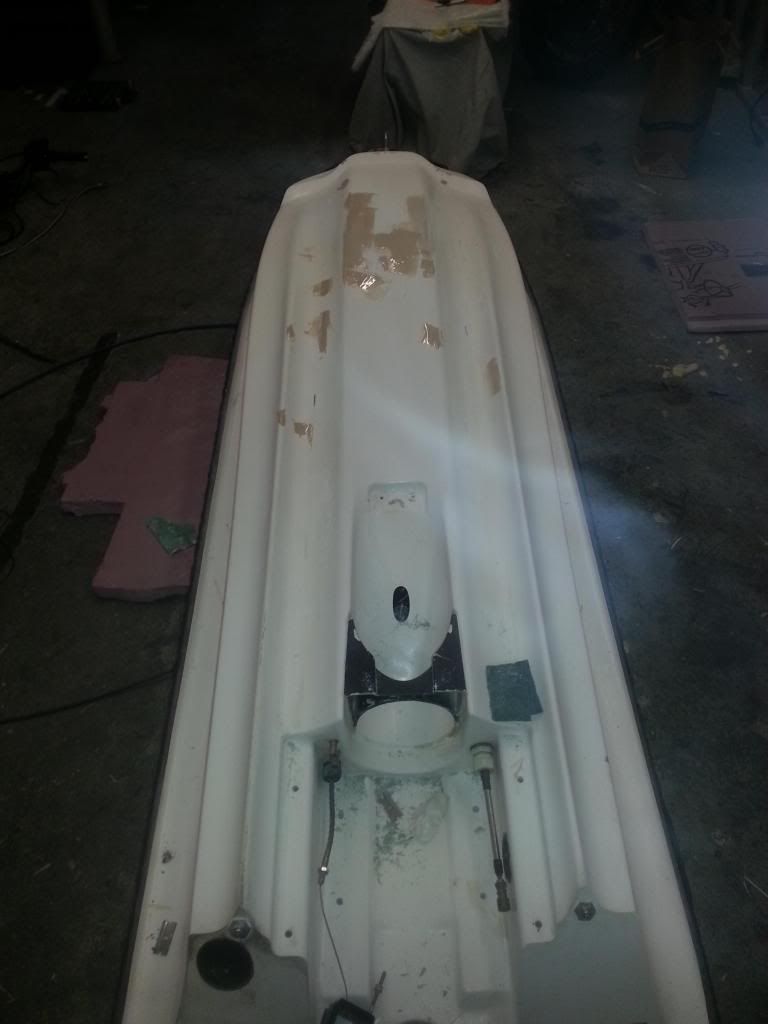
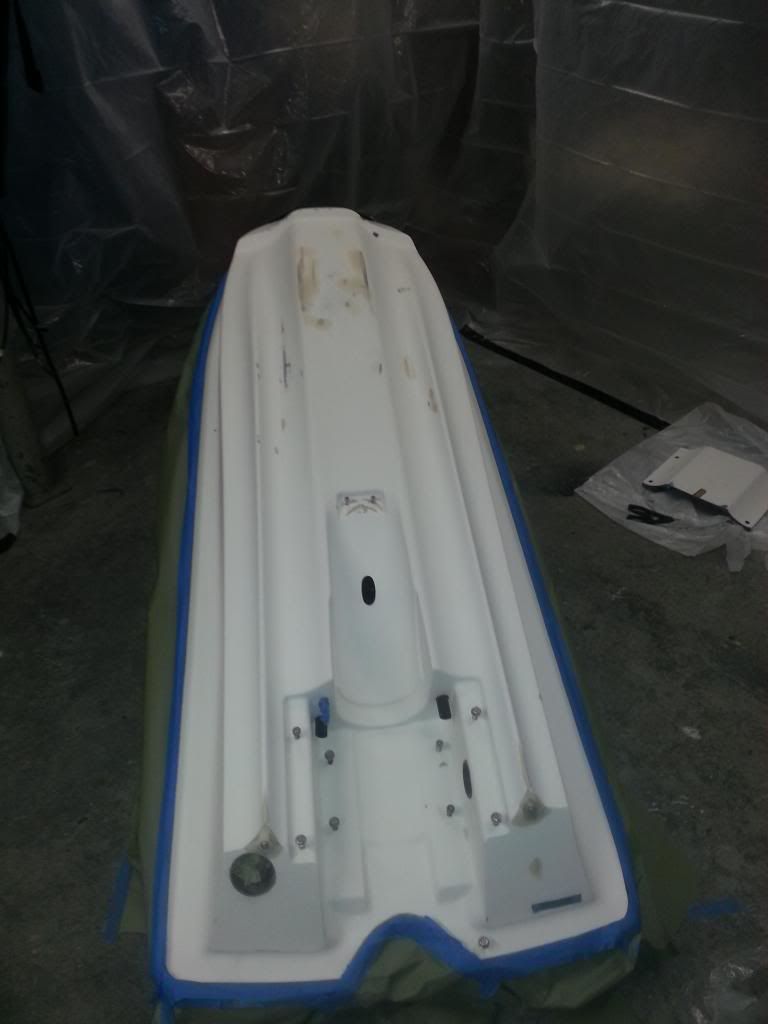
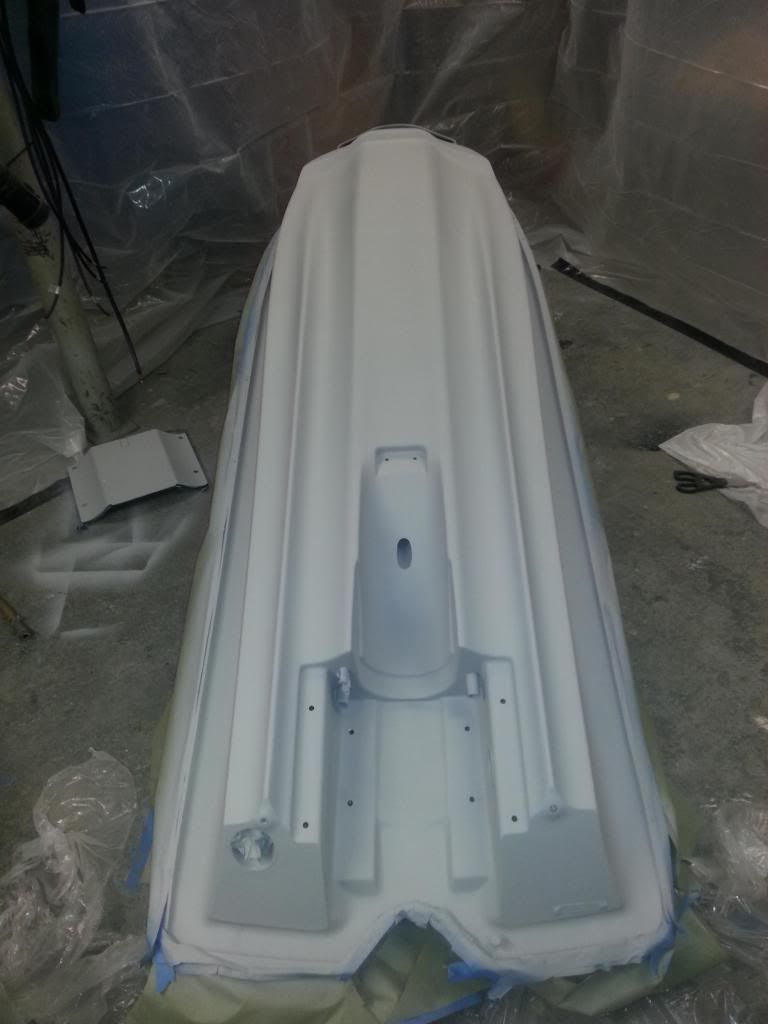
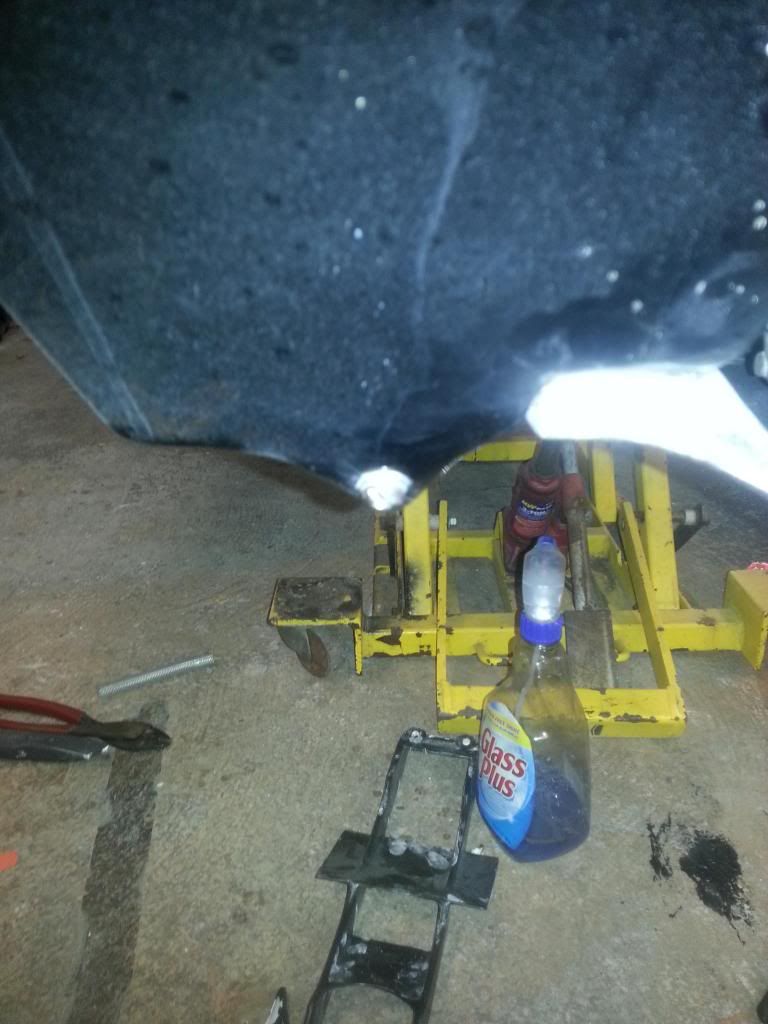
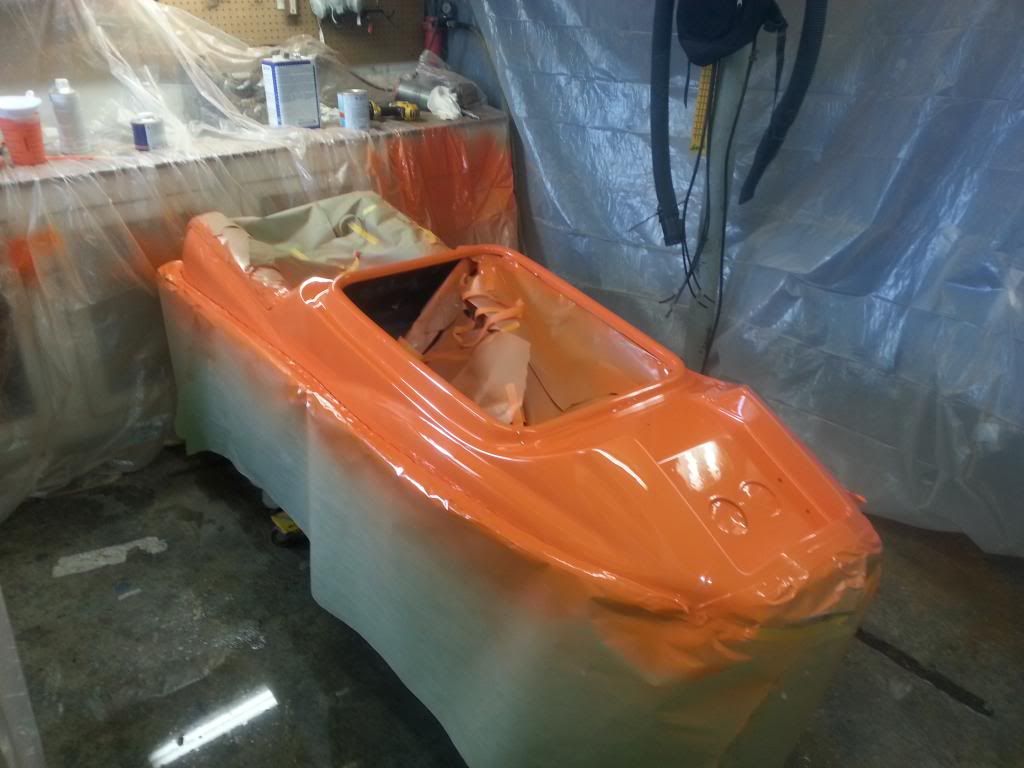
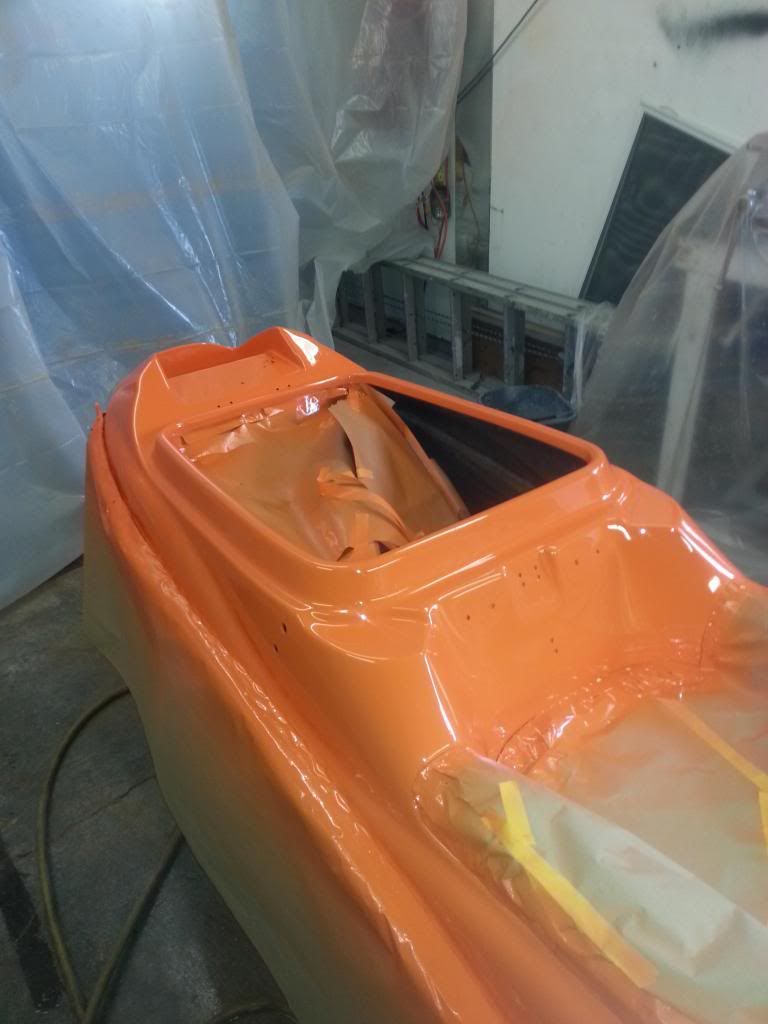
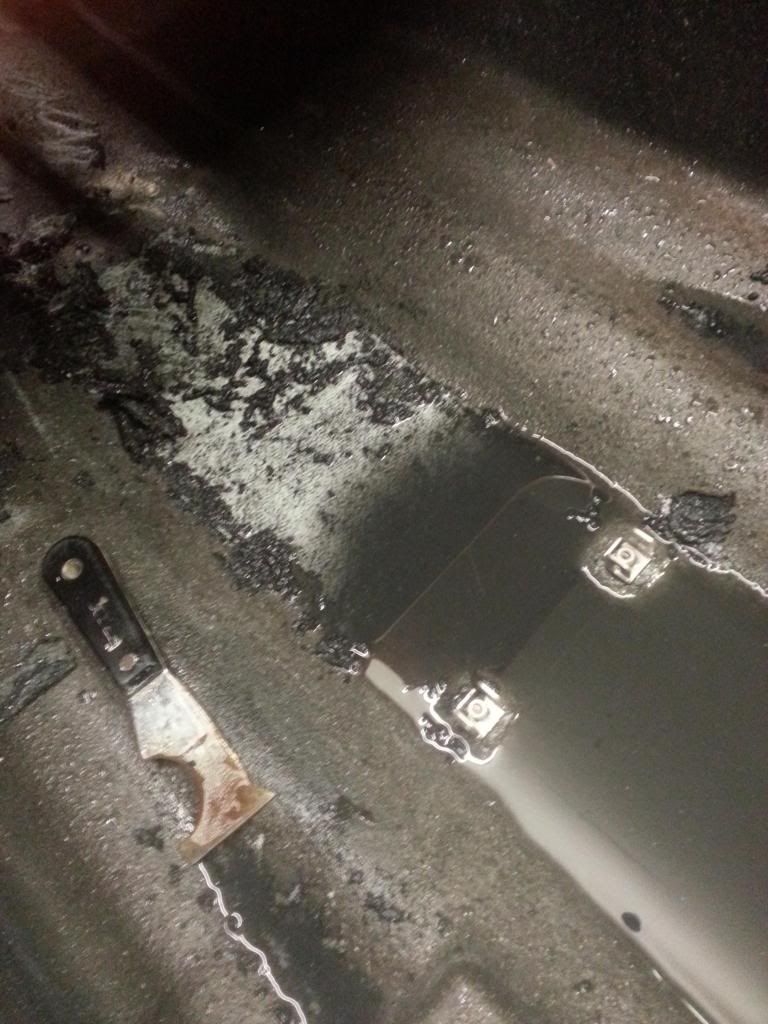
The original bilge paint is called Zolatone. It's a trunk spatter paint thats very durable.. Quite a bit of it peeled up on the bottom so I hit it with Duplicolor trunk spatter paint and their clearcoat.. I will get back to this...
20140223_121720_zps104f7619.jpg


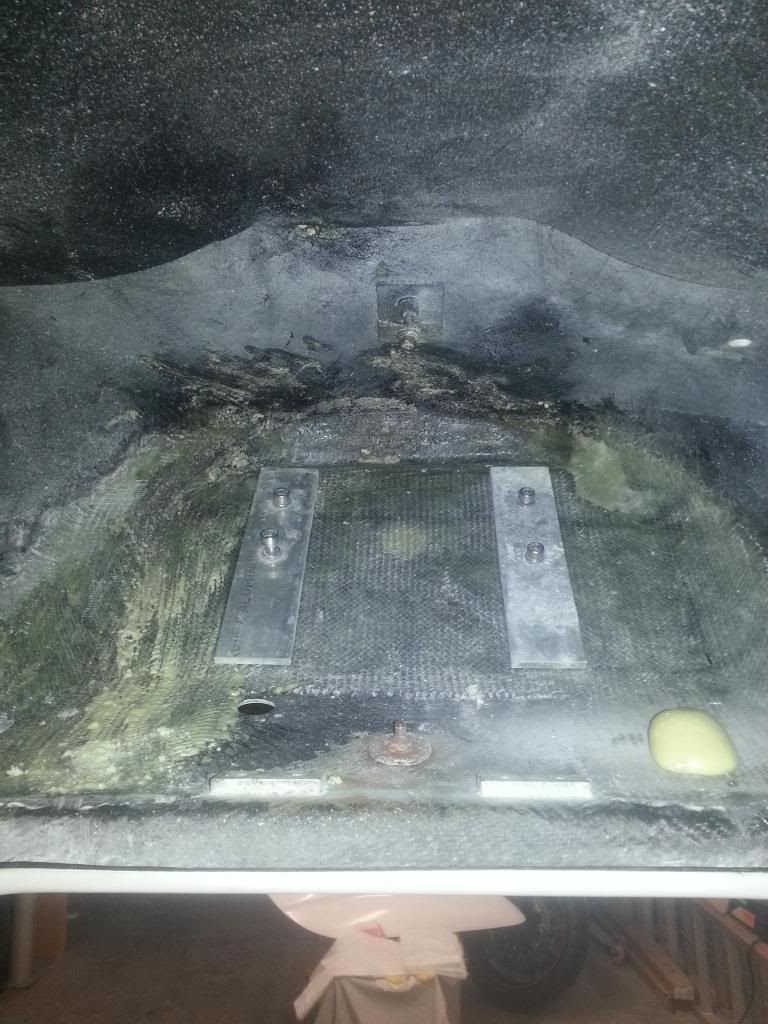
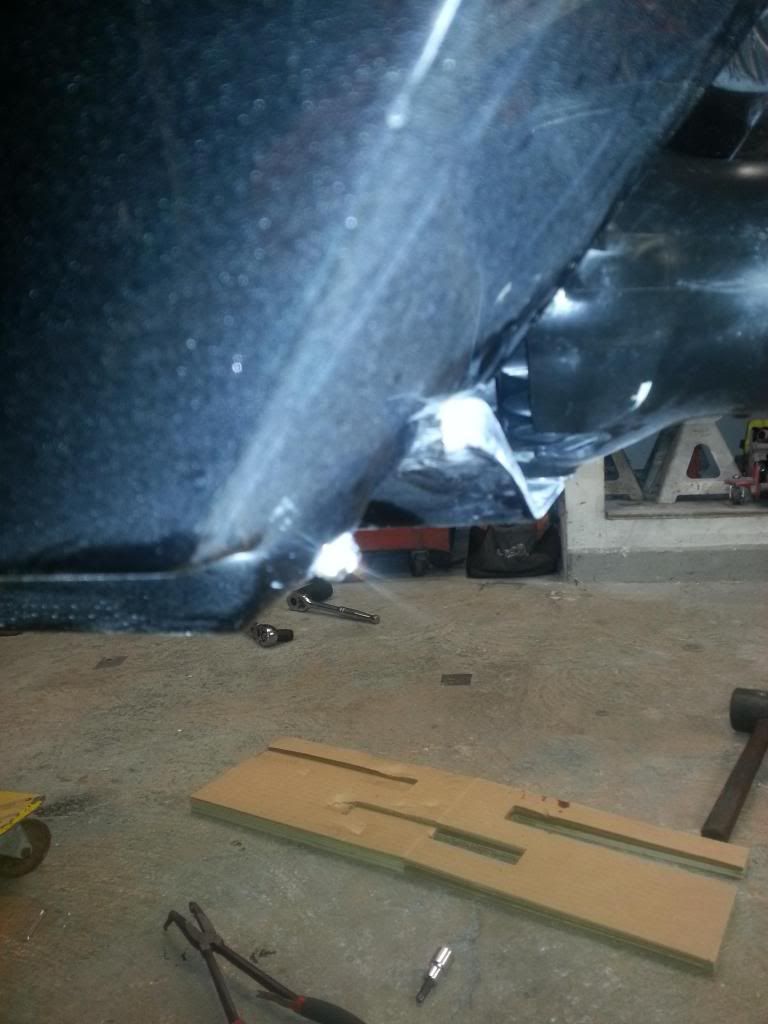
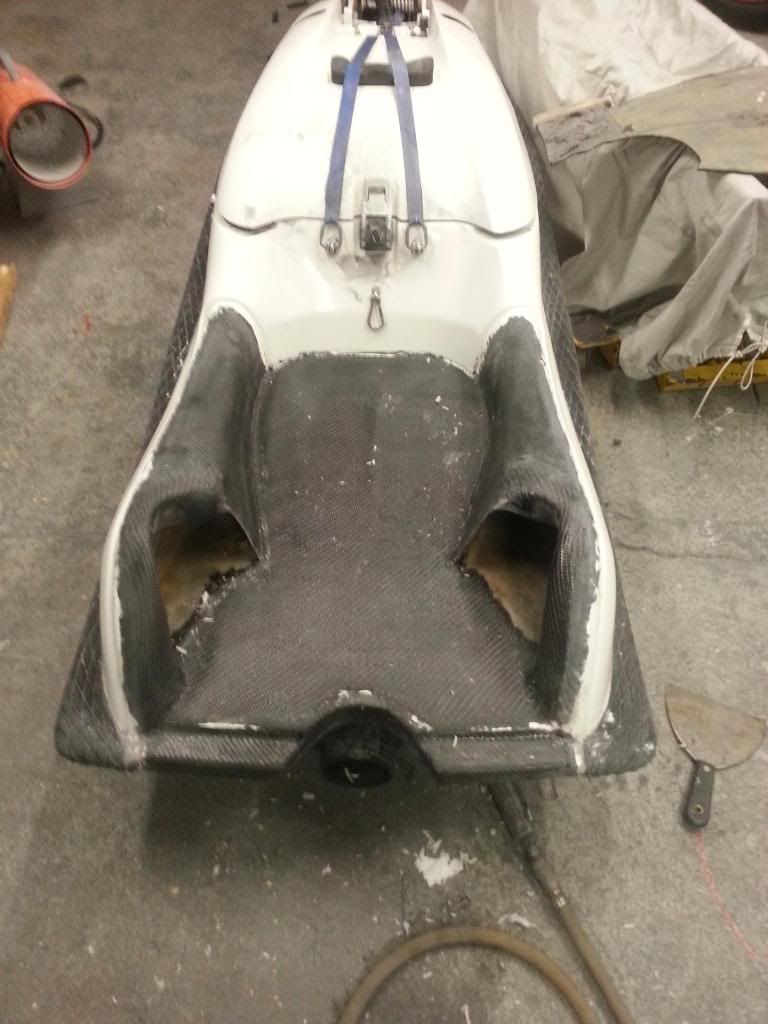
The handlepole mount has a bit of flex to it and the gelcoat was chipping around it. I grinded down the gelcoat to make sure no damage to the composite and it was OK. Still I want to give a little reinforcement..
20140226_180914_zpsde4fad85.jpg


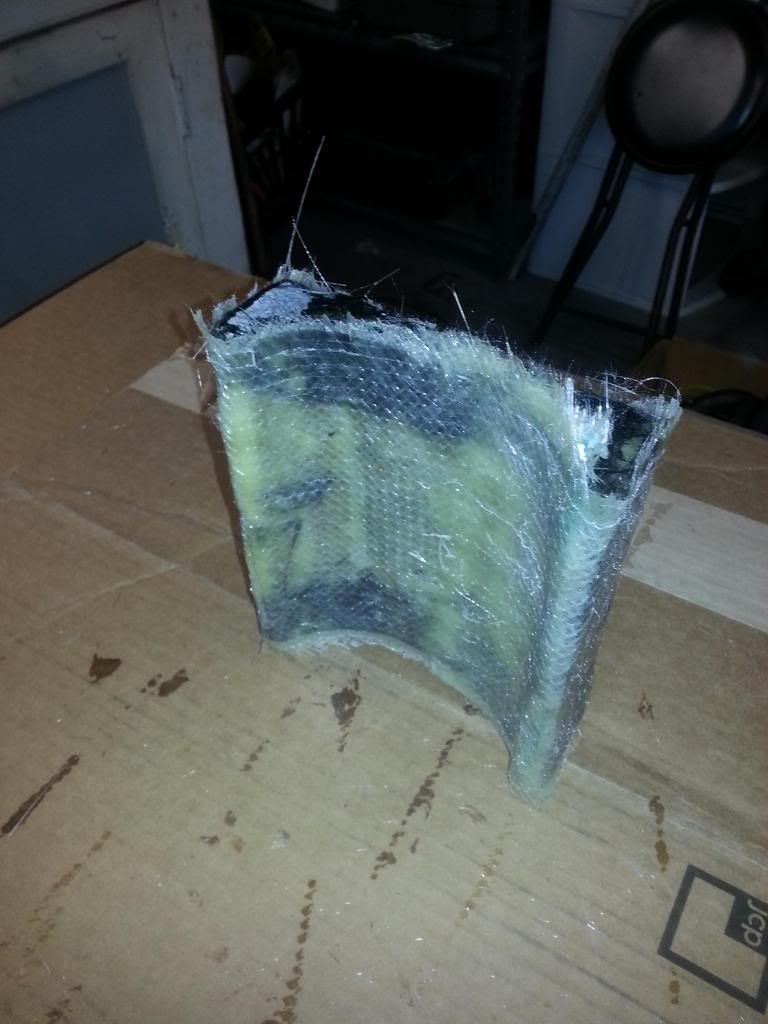
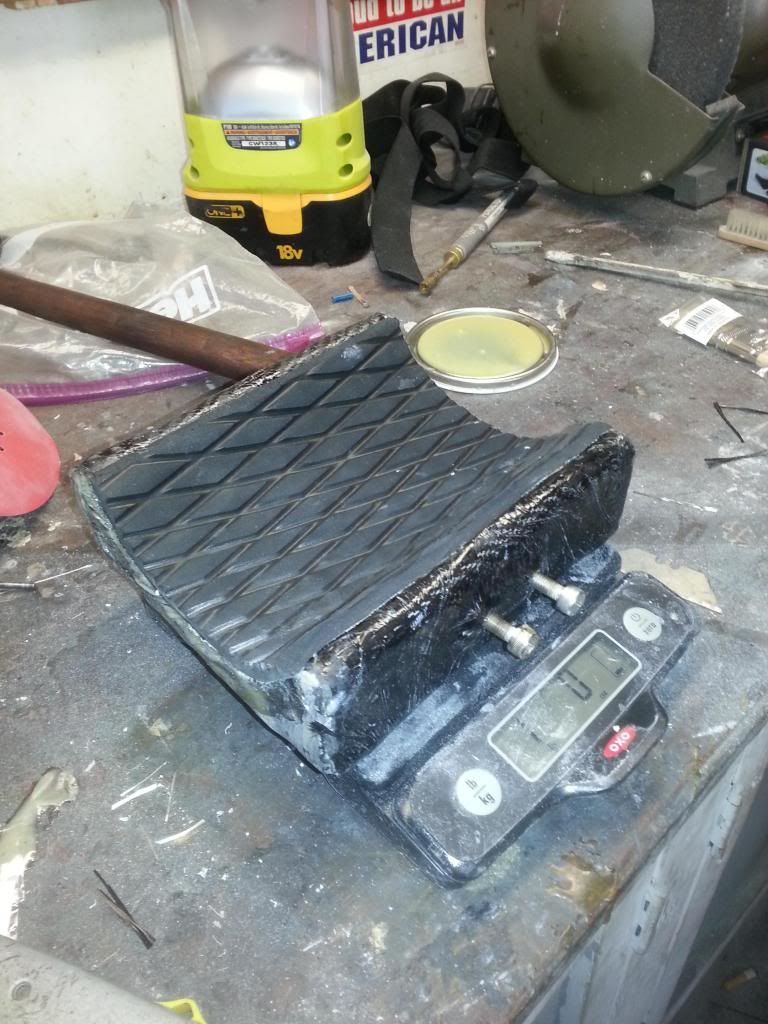
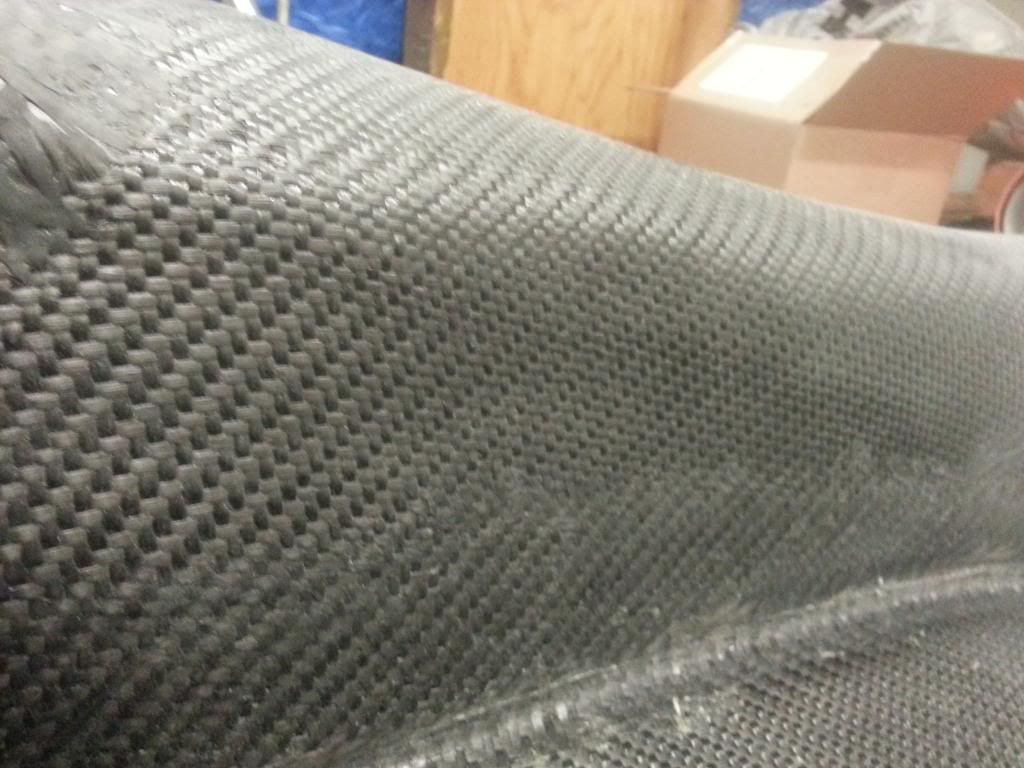
Hot glued some cardboard in to use as a makeshift mold. Then laid 7oz 2x2 twill to stiffen my "mold". Also closed up the middle hole because im going to dual breather.
20140226_212130_zpse6cbdf40.jpg

20140228_072707_zpsb6d7d601.jpg
 
Here it is just about finished. I put some 17oz biaxial over the entire area, put the ski standing on its nose and filled it with 2 part foam.
20140302_090048_zpsd7cc7476.jpg


Then I decided to paint the entire ski so I flipped it over and started to fix little scratches, beaching marks and any gelcoat cracks from impacts. All the cracks were grinded out and faired with west system 410 + epoxy resin.
20140303_073324_zps54aaaef0.jpg

20140308_203540_zps39ed7e94.jpg


Hit the entire bottom deck with some high build primer so I can wet sand it and hide some minor imperfections.
20140308_223447_zps945cfdc2.jpg


Then I hit it with some DuPont rival.
20140309_174234_zpsfa3a7f5d.jpg

20140309_200200_zps6b438463.jpg

20140309_200300_zps2a05e21d.jpg


Here is the drains before. I also added some fairing filler here to make it look more pleasing.
20140330_133102_zps240eba54.jpg

20140330_133121_zps377ae34d.jpg


Flip it right side up again and now time to get the body work on the top done. Not much here, but the gelcoat chipping I mentioned earlier.
20140312_200816_zpsfe40df7b.jpg


Then paint it with some KTM orange. The white light in my garage makes it look different.. Its definately bright
20140316_153606_zpse8bc6ff3.jpg

20140316_153623_zps187d19fe.jpg


It laid down beautifully. It really didnt need any wet sanding or polishing but since I was painting in a dirty garage, alot of dirt got in it. Also had a few runs.. So I get that finished and go to wash the polishing compound off and some water got in the bilge.. Turns out that duplicolor spatter paint SUCKS. It dissolved in water!!!
20140321_200256_zpscc07d796.jpg
 
So I had to remove it all, and at this point I was tired of spraying. I decided to hit it with interlux epoxy primer with a brush and then interlux bilgekote. I laid it all on kind of heavy and in between coats I sanded with 220. I did this to hide any imperfections in the lay up and get it all nice and smooth..
20140324_200317_zps33585254.jpg

20140330_103456_zps1868f969.jpg

20140330_103521_zps39d568f5.jpg

Now installing everything back I couldnt get the waterbox where it was before because of the new breather tubes. I didn't like how anything was set up there anyway so I set out to make it right. I had to make a waterbox mount to make it work the way I want.. I used cardboard as a template again and built it around my waterbox. I put all new inserts in for the rubber straps then West System G-Flex to bottom of hull.
20140405_185212_zps313f5e98.jpg

20140406_161526_zps2a9b0125.jpg

20140406_161733_zpsc83776e8.jpg

20140407_114008_zps76837698.jpg

Water test.. Everything went great
20140411_124126_zps3d929293.jpg

Sorry I will add some pics of the finished engine bay later. There is alot of little things I also did that didnt make it in here. It was alot of work over the past 2 months
 
RTR weight was 282lbs before. I have yet to weigh it now it should remain about the same. Im very cautious about removing excess resin.. the tray i actually grinded out tons of the original lay up so id essentially be creating a new tray. The footholds i removed alot of excess resin and material. I removed an old tank pod that weighed 1lb etc.

Yes thats a fuel reserve switch by the hood pins. Its from a 550. I deleted it, but kept it in case I change my mind.

Yes that girl was curbed a good 6 years ago. It was actually for halloween and its been there since. Its been there so long i forget that its there. Everyone else notices it though and its become a staple of my garage lol
 
Does the splash gaurd really make that much difference? Mine came with one but I haven't mounted it yet.

I dont know it was there when i bought it. It does look like it deflects some of the water though. It definately doesnt hurt. I went to the surf today and the water temp i think is 40. It was choppy as hell, but it was definately doable with the deflector. Its still nothing like a superjet bondline though.

I pulled the drains and a little water came out. I know the bulkhead was leaking and the intake grate bolts. I assume that its still leaking there. The intake grate inserts arent sealed on the inside. I put some 1211 on the bolts. If i had to take a guess its probably leaking there. Its a little so im not worried.

Edit.. another word on the deflector. I think its toby that makes it. Its definately strong. When i first bought it someone helped me move the ski andthe ski was let go and the deflector caught the bunk on my trailer. No damage besides a good 1" circle of gelcoat cracked off. That was one of the sections i fixed with fairing filler.
 
I dont know it was there when i bought it. It does look like it deflects some of the water though. It definately doesnt hurt. I went to the surf today and the water temp i think is 40. It was choppy as hell, but it was definately doable with the deflector. Its still nothing like a superjet bondline though
I pulled the drains and a little water came out. I know the bulkhead was leaking and the intake grate bolts. I assume that its still leaking there. The intake grate inserts arent sealed on the inside. I put some 1211 on the bolts. If i had to take a guess its probably leaking there. Its a little so im not worried.

Edit.. another word on the deflector. I think its toby that makes it. Its definately strong. When i first bought it someone helped me move the ski andthe ski was let go and the deflector caught the bunk on my trailer. No damage besides a good 1" circle of gelcoat cracked off. That was one of the sections i fixed with fairing filler.

Toby left my ski with no foam in the tray when he built it, it has two yamaha drain plugs with versi plugs. I plan on stuffing some pool noodles in front of the waterbox. Toby said to ride it first before I put the deflector on, but it wont hurt.
 
Yeah im thinking of putting some foam in front of the waterbox. The way it's set up now there's tons of room in the front. Im looking out for those large black foam pieces behind car bumpers. They are XPS foam and dont absorb water, I think if I get a large piece I can cut a nice piece out and will look decent.

My original plan was to fill the front with that kind of foam and shape the foam to cradle the waterbox.. but the composite was alot easier and only took me a day.

That is a great idea, I will have to snag a few of those foam pieces from our body shop dumpster.
 
I appreciate the tip but the 550 tank fits the hull really good and its 4 gallon as well. Id like to find a new old stock or give the dealer a call bc it looks like its not discontinued.. suprisingly. It also can be removed from the hull easily without removing other stuff. I may add a regular gas cap later on bc i dont like filling at the pick up. Im afraid i may lose the rubber gasket on the beach one day. I was gonna super 77 spray adhesive the gasket to the housing so it stays put. I never tried on rubber but it works on paper gaskets
 
yeah, the kawi dealer in nz wanted a few hundred dollars for a 550 tank. If I still lived in the states and could get used tanks ($50 tank, comes with free jetski) I'd probably still use one.

I saw a 550 for sale for $1500 the other day, I threw up in my mouth a little.
 
Where did you get those prices? I might look into a 550 tank if they can still be bought new. I didnt want to put a 40 year old tank in my brand new ski haha.
 
Location
kansas
I enjoyed looking at your build it looks nice. The white color in the engine bay is very cool and makes the ski look super clean. What size motor ace you running I couldn't tell, and what size pump did you decide on? My ROK should be finished up in paint this week, so I will have to be sure to post some pics as I am putting it back together.
 
Top Bottom