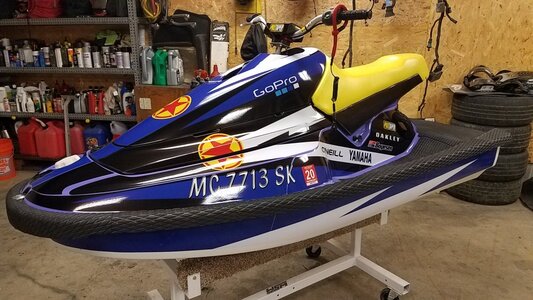
Resurrecting a 1994 Waveblaster

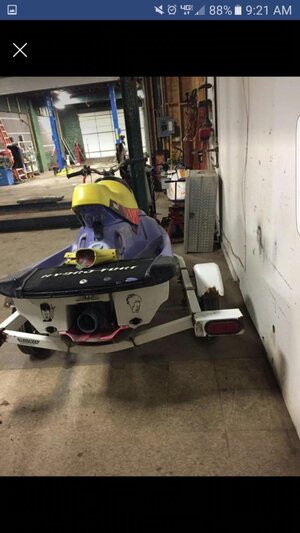
I picked this up in running (barely) condition a month back. Its damn near impossible to find a Blaster in Michigan so I thought I would give this one a chance. I wanted to show everybody my build process as I went. Let me know what you think!

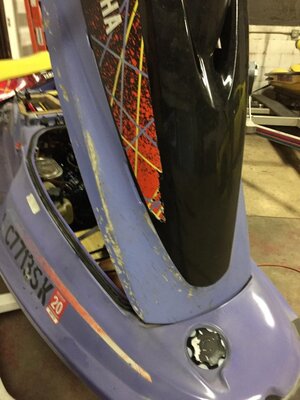
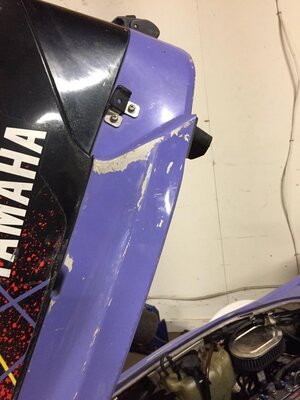
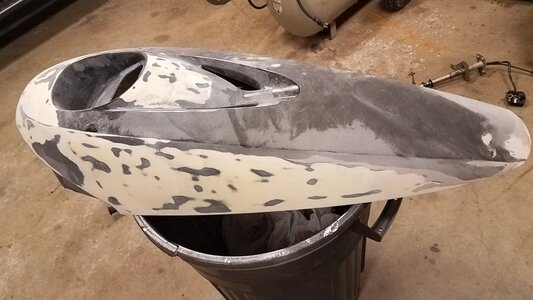
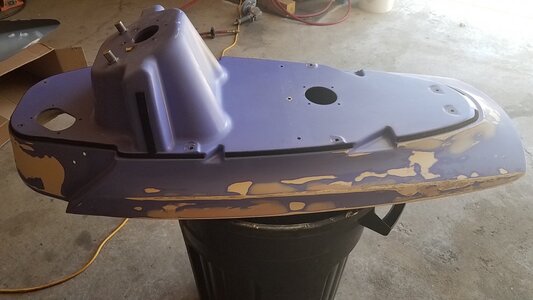
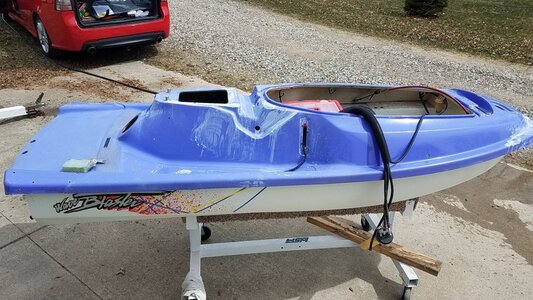
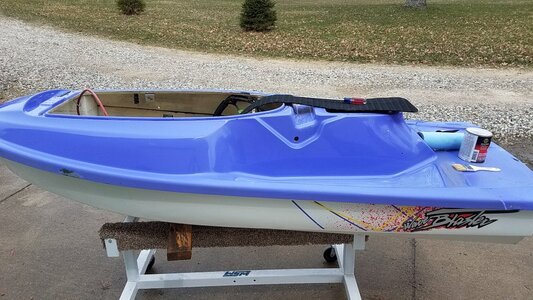
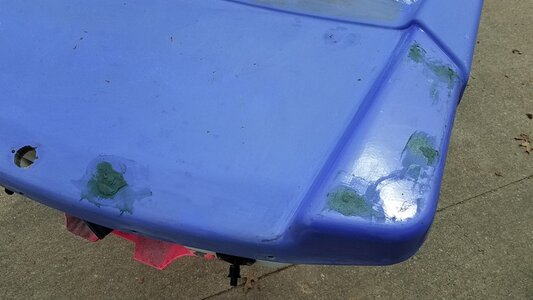
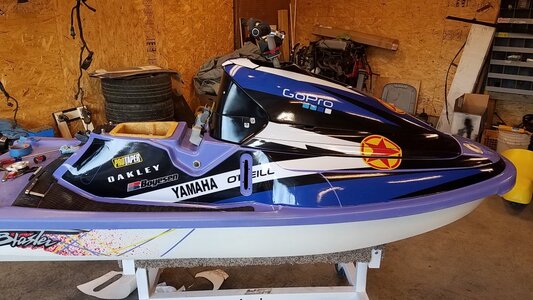
Blaster is completely stock except for a West Coast head and Rend ride plate. Compression checked out at 180/180. The oiler was leaking into the hull really bad so that is going into the trash bin. The saving grace on this ski is the bottom of the hull. Its in near pristine condition for its age. The top of the hull shows alot of weather damage/oxidation and the hoods look like they met with a dock side for years. I think with a bit of work I can bring it back and make it look presentable.
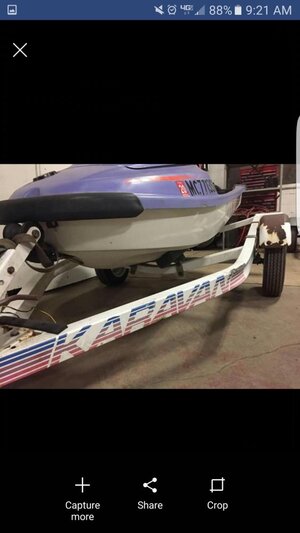
Resized95Screenshot9520180323-092122.jpg
Resized95Screenshot9520180323-092130.jpg
IMG_20180411_142550_01.jpg
IMG_20180411_142553_01.jpg
 
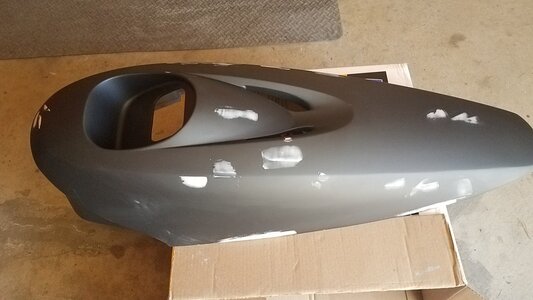
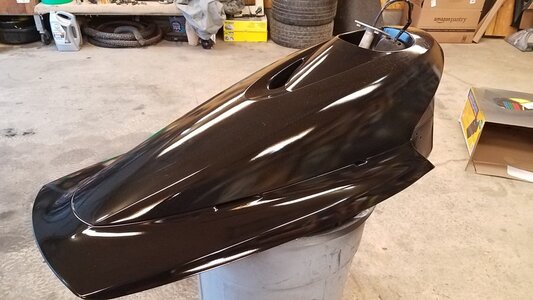
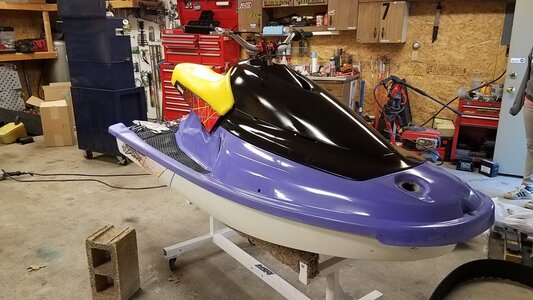
Once I had the hoods all painted I started on the hull. I wet sanded 400/600/800 then wheeled out everything. It came out looking very nice. I had always planned on putting a graphics kit on it to cover up the blurple so I was happy how nice the hull looked compared to when I picked it up.

Here is the hull at 400 grit.
20180421_120327.jpg

Here it is after buffing with 3M rubbing compound and a wool pad:
20180421_145834.jpg
 
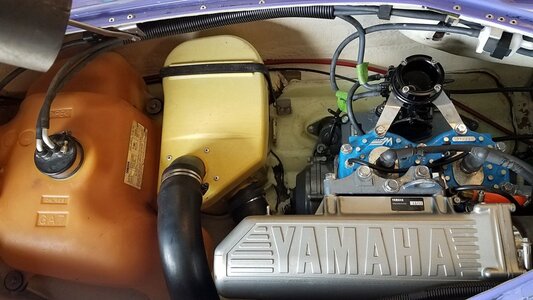
I love the part of the build where things start going back together! Crank seals looked good so I left the engine alone. I simply degreased and clean it up to a sparkle. I will end up with all new water lines and fuel lines. I rebuilt the carb with a genuine kit. Ordered a new OEM fuel filter and hanger. I opted to remove the +/- 1/2 inch of steering slop by putting new oem upper and lower bushings in it. I will save for an aftermarket steering unit but having never even ridden a blaster, I didnt want to just throw money at it till I know there is a problem.

Engine back in:
20180427_133530.jpg

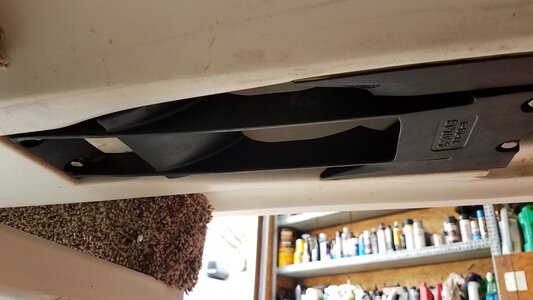
Solas intake grate:
20180503_140655.jpg
 
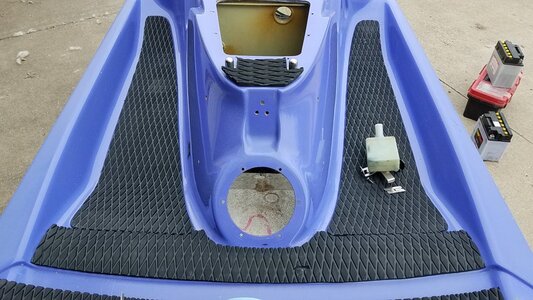
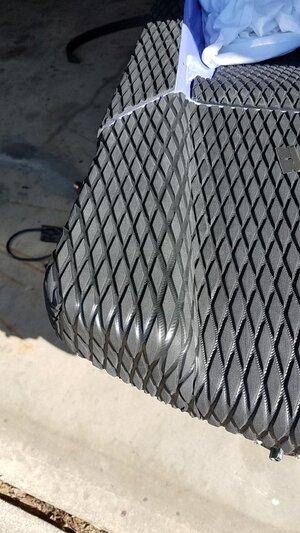
Started adding some turf. I decided to cut my own from a mat rather than buy a kit. Saved some money that way and I would also have enough extra to do the rails and other spots I wanted. I cut out a piece to fit on the hull under the seat. In this picture its yet to be glued down. I also still needed to cut out for the VIN. If you look closely you can see some of the oxidation in the hull that I was not able to get out. I probably got %90 of it out so I am still happy with it.
20180421_162038.jpg
 
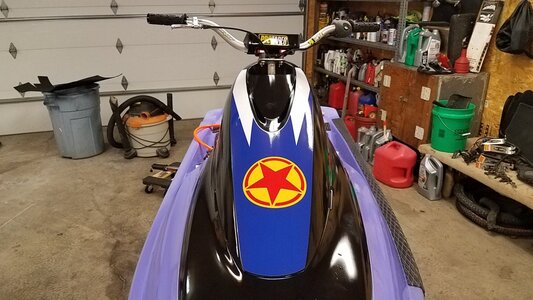
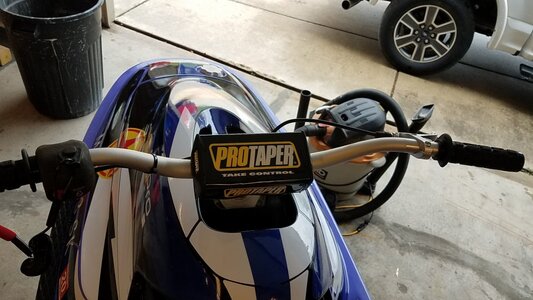
Finally got the hood on. Decided to wet sand it after it was on the blaster so it would hold still for me. This pic is before wet sanding. Also, new fatbars! I got this set of new take off CR high bend Renthals for $45 shipped. I mounted them using some eBay fatbar adapters that were surprisingly nice considering they were only 10 bucks. I cut off the factory pad mounts from the stem. No point in carrying around extra weight! The steering is nice and tight after new OEM upper and lower bushings. I greased them up really well so we will see how long they last. I put a dab of silicone on the top of the steering stem where the wires and throttle cable come up and out. Trying to keep as much water out of the hull as possible.
20180425_201344.jpg
 
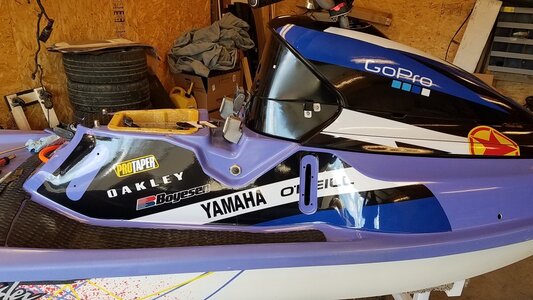
Started laying the vinyl. I was really happy with the quality kit I got and its the good heavy vinyl. Of course it needs a bit more heat to lay over contoured surfaces but it sticks like crazy and holds up really well. I have wrapped a few snowmobiles but this was my first jet ski. I used a product called rapid prep and rapid tac to apply it wet style. Then use a heat gun and a filler knife with a cloth around it and take your time.
Here is the first piece I started with. I like to start with a smaller spot without too many curves to get an idea of how it will all lay down and how much heat to use.
20180428_101224.jpg

After that one went on good, I got brave and started on the hull:
20180428_175541.jpg

Now around to the front of the hull where most of the contouring is. It takes a bit more heat but it layed down near perfectly:
20180428_195845.jpg
 
I decided to take the factory stickers off from below the bond line and use the stickers that I got with the kit. I was not sure if I wanted to remove the factory stickers because they were in such good shape. In the end I decided it would look better with new graphics. It took a heat gun then a can of brake cleaner to get it all off.
20180430_201953.jpg
 
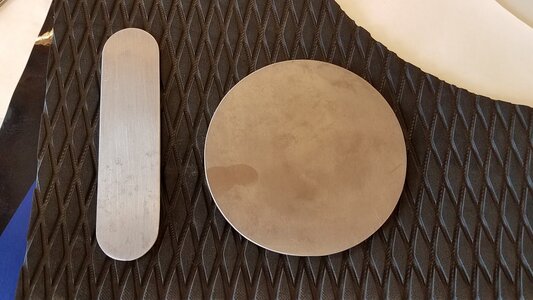
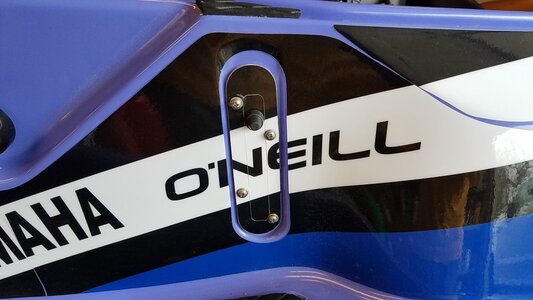
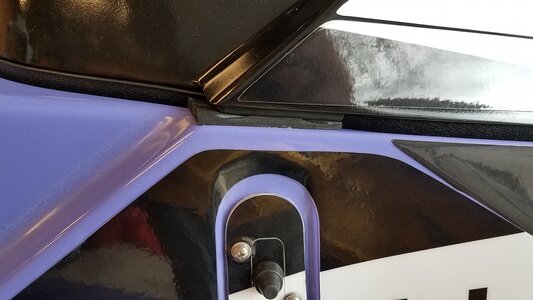
I had a guy I know with a laser cutter make these blanks from aluminum for me. I am having more sets made from stainless as thats probably a better material than raw aluminum. If anyone has any interest in a pair of these for their boat, PM me. I am thinking $30 a set shipped (in stainless).
20180503_140338.jpg

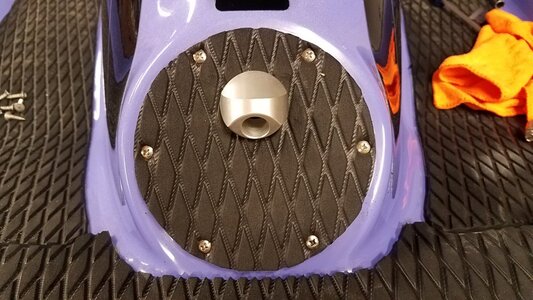
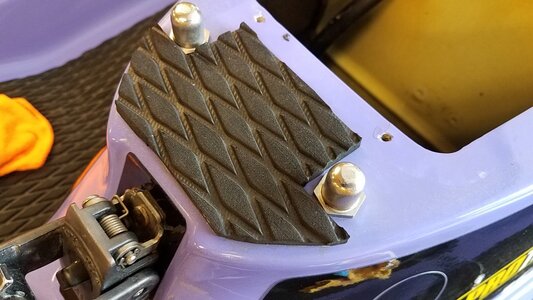
I decided to turf the fire extinguisher block off plate. I also didn't want to drill a hole in my hull for the bilge pump outlet so I figured putting it here was a good option.
20180503_195110.jpg

I also used the oil level block off plate to mount my bilge switch. I opted for a cheap waterproof switch off amazon. We will see how long it holds up!
20180503_140356.jpg
 
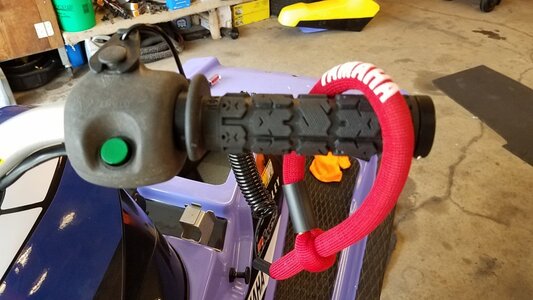
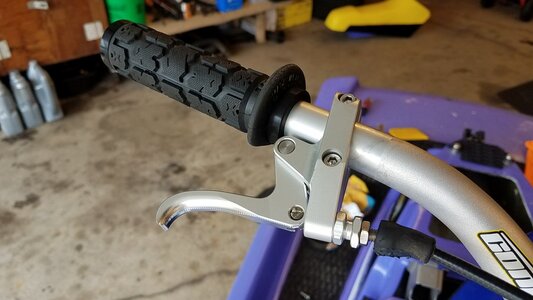
Yamaha kill switch blocks are expensive! Lucky for me this one worked but the rubber around both buttons was shot. I realized that I could order both new buttons directly from Yamaha and just rebuild the block. I took it apart and cleaned the bugs out of it and added the new buttons. Contacts inside of it looked surprisingly clean. Also, I needed a new lanyard so I opted for an OEM Yamaha. Gotta love opening Yamaha parts bags! Grips are ODI Ruffian lock-ons. I use them on my mountain bike because they are so soft and I have issues with my right palm going numb on long rides. Figured I would give them a try on the blaster.
20180503_140513.jpg

eBay knock off throttle block and adapter. It seems to be pretty good quality for the $30 price. I replaced the hardware it came with with good quality stainless from my local hardware store. It sure beats the plastic throttle block that was on this thing.
20180503_140519.jpg

Controls view, top down. I opted to not narrow down the bars yet. I want to ride it first and from everything I have read the stock bars are too low and too narrow. These bars and the fatbar adapters will fix both of those issues.
20180503_140526.jpg
 
I started turfing. I really enjoy the look of a nicely turfed ski. Is it strange that I love to turf?

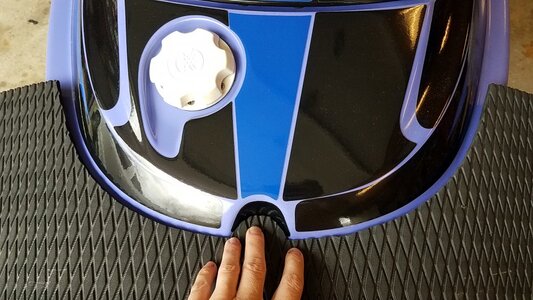
I made a template out of paper for the front then I cut it out in turf. Here is a test fit of the piece that I cut out:
20180503_140632.jpg

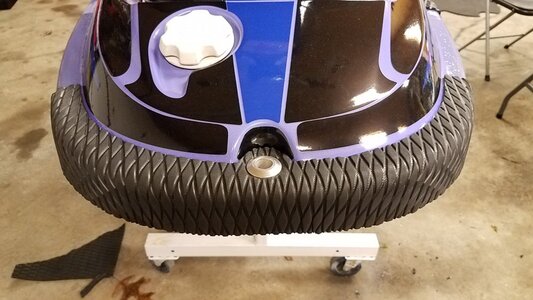
Here it is after its glued down and trimmed.
20180504_134514.jpg

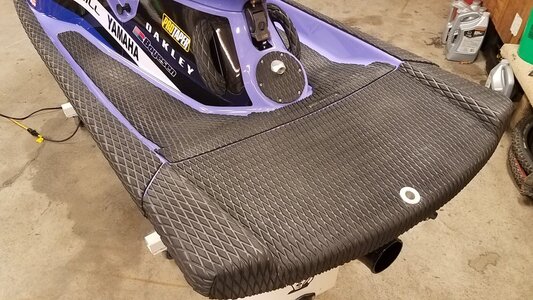
Both sides done all the way back to the gunwales:
20180504_135750.jpg
 
The Blaster has two breathers on it located rear of the hood, under the seat. The left side breather is for the battery and the right side is for the fuel tank. I use an AGM ventless battery so no need for the left breather. I am going to make a block off plate for it out of stainless, but in the mean time I just used an extra piece of vinyl graphic I had to cover over the holes. I am continuing to use the right breather for the tank even though it is not yet mounted in this picture.
20180503_141217.jpg
 
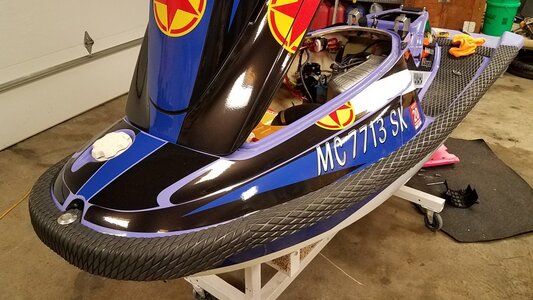
More turfing! The gunwale covers that were on this ski were pretty beat up so I decided to turf those areas. I was a little unsure how it would turn out as there are quite a bit of angles involved, but I think it turned out great. A heat gun goes a long way and doing the prep correctly ensures that it will stick forever. I sand the back of the turf and the ski with 40 grit, then use a paint pre-cleaner that I have to clean each surface before applying glue. 1 coat for the fiberglass and 2 coats for the turf.

Left gunwale done!
20180507_171525.jpg

Turfing all done!
20180511_141226.jpg
 
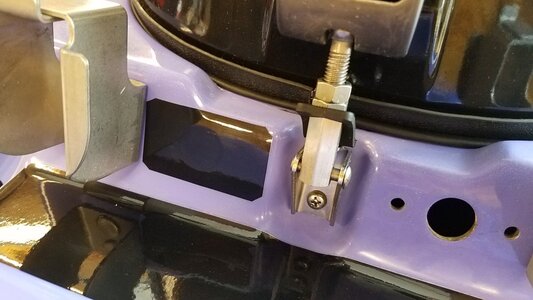
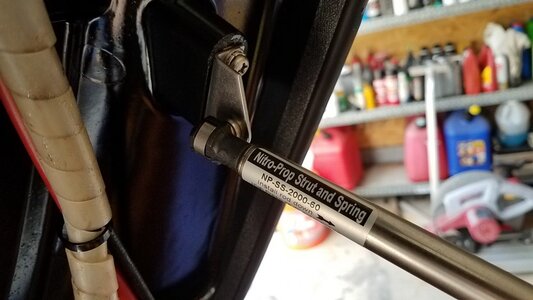
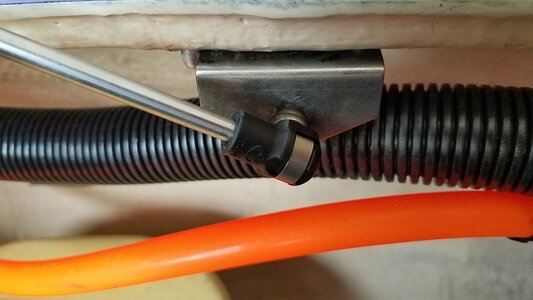
One of the last things that I wanted to do was to replace the terrible stock prop rod with a gas strut. I really could not see spending $150 on a dual strut kit so I decided to piece my own together. I am into this setup for around $50 but it could have been half that price if I didn't want to use a stainless strut.

I ordered a 20 inch 60 lb stainless strut and 2 outside angle brackets with the built in 10 mm ball. Once its all installed, it works perfectly and a single strut is all that I will ever need.
20180515_162039.jpg
20180515_162032.jpg
 
So, I got to ride it last week for the first time and its so much fun to ride. Its quicker than my buddies 94 SSXI and his has a pipe, head, and prop. I can carve a corner so hard that my elbow goes into the lake and the blaster still stays hooked up. I love it. The only thing I want to do now is add more power so I have a Riva dry pipe on the way. I cant wait to get it in there and get it tuned.

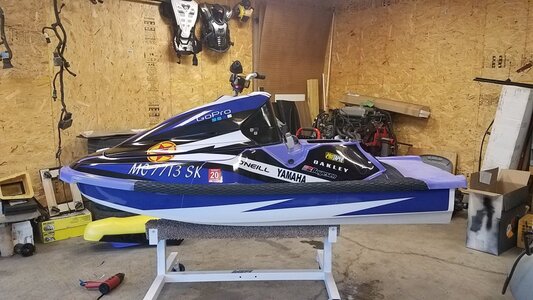
Here she is as she sits right now.
20180511_141209.jpg
 
Top Bottom