FX-1 Son of Frankenstien........

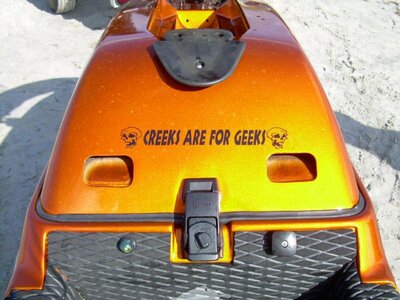
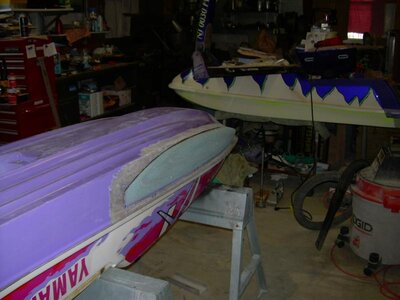
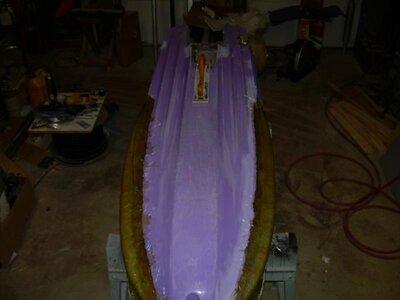
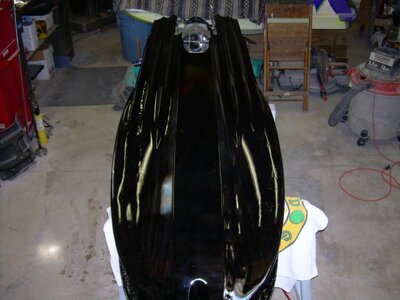
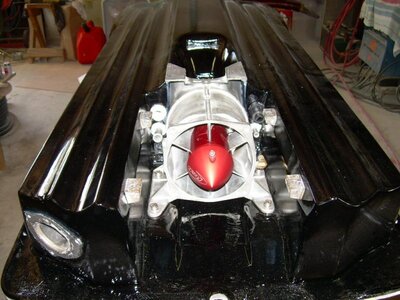
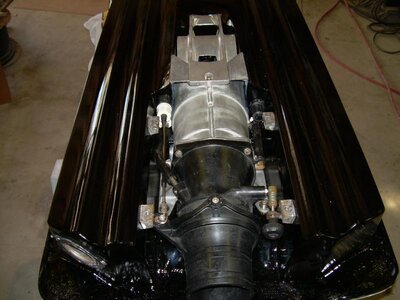
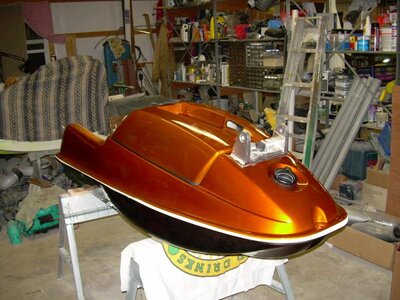
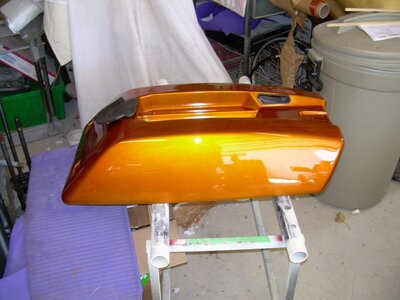
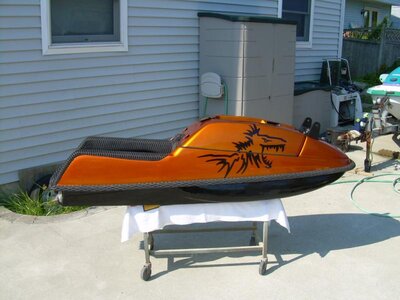
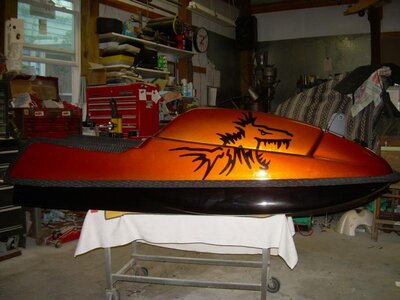
I completed my FX-1 650 pump conversion (aka Frankenstien) about this time last year and I've been working on my backup ski the last few weeks. This one is going to be real similar to Franky minus the killer airbrush work.

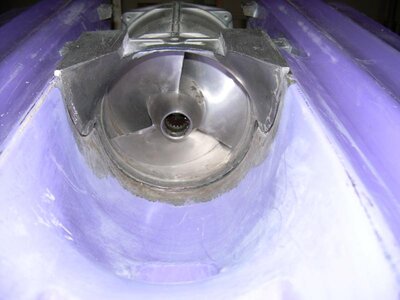
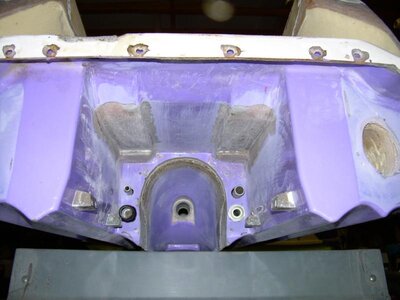
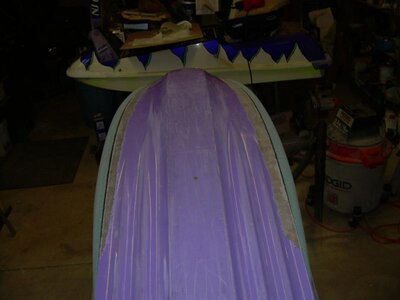
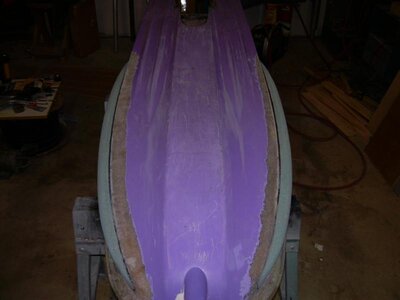
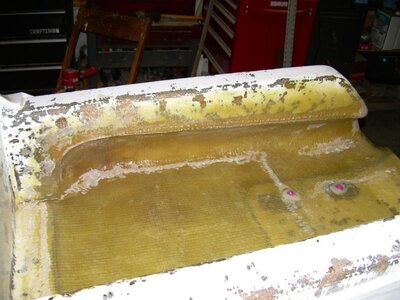
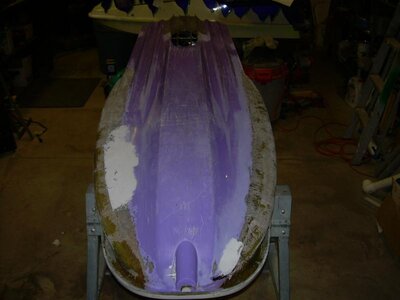
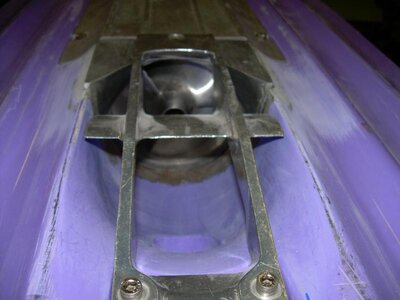
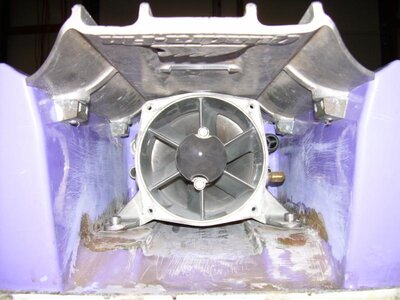
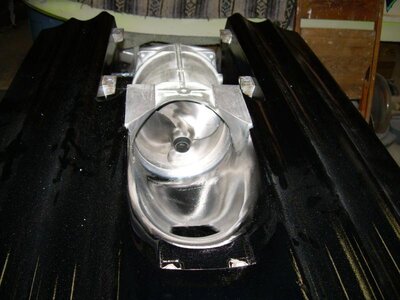
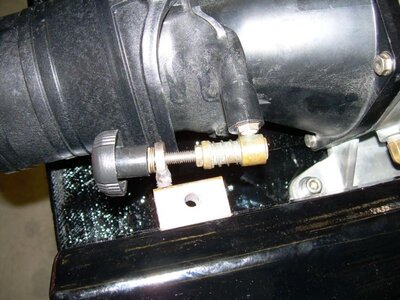
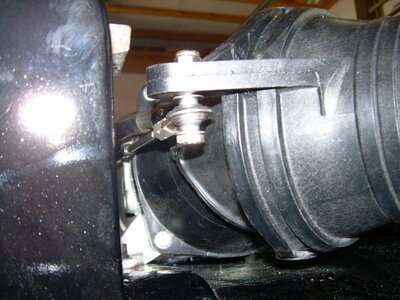
First step was to fitup the pump. I removed a chunk of the deck and de-foamed the area around the pump shoe. This area is unsupported by anything but foam and on my last ski the foam was extremely crushed in this area from landings. I added rib to support this portion of the deck and also layed up a few layers of bi-di to the pump shoe to allow for the 650 mod. This is the easiest way to do the 650 pump mod....lay up galss on top side, roll over and grind away what you need to fit the Kawi pump shoe and viola.....done!

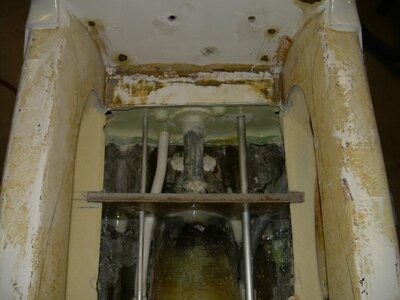
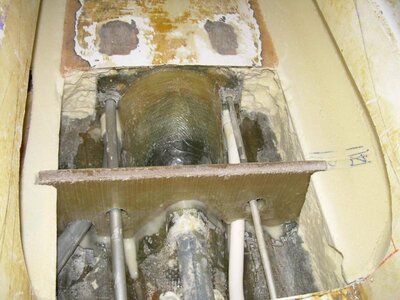
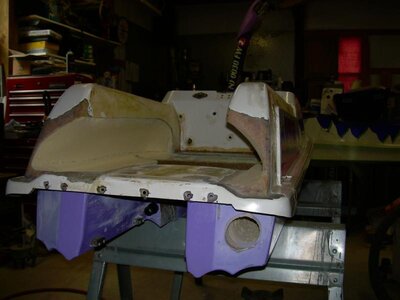
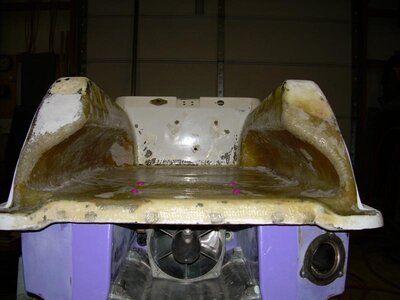
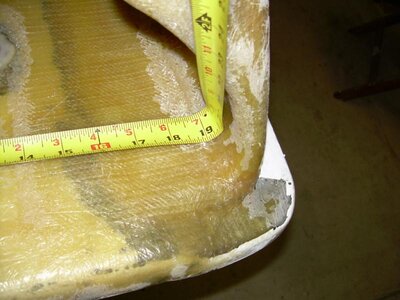
The only other glass work is filling in the old pump mount nut recesses in the deck and grinding away a portion of the front pump mount area and re-glassing to provide a level mounting surface for the Kawi pump.
 

Attachments

  • DSCN0181.jpg
    DSCN0181.jpg
    46.6 KB · Views: 270
  • DSCN0180.jpg
    DSCN0180.jpg
    54.6 KB · Views: 250
  • DSCN0176.jpg
    DSCN0176.jpg
    72.7 KB · Views: 278
  • DSCN0179.jpg
    DSCN0179.jpg
    50.8 KB · Views: 244
Next, it was time for some tray widening. I was very impressed with the tray area in Wavehog's FX-1 and wanted to do something similar (but not as cool, cause I'm lazy!).

I carved out what I feel are decent sized recesses into the stock side bolsters and plan to glass them up to regain structure. It gives me lots of real estate to play all over the tray in the surf. I relocated the rear exhaust tube lower in the bulkhead to clear the tray area.

I need to do some final shaping and then glass'em up!
 

Attachments

  • DSCN0177.jpg
    DSCN0177.jpg
    44.7 KB · Views: 301
Tubby time....


Laminated 3 layers of 1/2" foam to create the blanks for tubbies and then carved'em up. I got them to about 90% shaped and then glued them to the hull for final shaping.

First pic is a roughly shaped piece next to the unshaped blank. Last pic is the new coke bottle look FX! These are a little wider in the front than the tubbies I made for the Franky ski and a little longer......I think I like.

Time for final shaping and glass....
 

Attachments

  • DSCN0183.jpg
    DSCN0183.jpg
    46.2 KB · Views: 170
  • DSCN0196.jpg
    DSCN0196.jpg
    53.8 KB · Views: 177
  • DSCN0197.jpg
    DSCN0197.jpg
    52.6 KB · Views: 190
  • DSCN0195.jpg
    DSCN0195.jpg
    36.8 KB · Views: 159
  • DSCN0194.jpg
    DSCN0194.jpg
    34.8 KB · Views: 185

Slug

Forever Young
Looks good already. Awsome work on the tubbies! Wish you didn't live so far away. Looking forward to seeing how this one turns out.
 
Last edited:
Glassed up the tray and set the pump mounts. I used Kawasaki stainless pump mount nuts recessed in to the tray and set with epoxy. The modified tray gives me about 19" of width, not bad for a narrow little FX!
 

Attachments

  • DSCN0202.jpg
    DSCN0202.jpg
    50.2 KB · Views: 194
  • DSCN0203.jpg
    DSCN0203.jpg
    66.1 KB · Views: 176
  • DSCN0201.jpg
    DSCN0201.jpg
    61.6 KB · Views: 167
Also got the tubbies glassed up and ready for final filler/sanding. These things are huge and I can't wait to see how they feel. The nose is a full 3" wider than stock now. It looks like a giant parabolic waterski.
 

Attachments

  • DSCN0206.jpg
    DSCN0206.jpg
    50.8 KB · Views: 149
  • DSCN0198.jpg
    DSCN0198.jpg
    54 KB · Views: 156
  • DSCN0200.jpg
    DSCN0200.jpg
    34.7 KB · Views: 127
  • DSCN0205.jpg
    DSCN0205.jpg
    39.3 KB · Views: 157
Mounted up the pump, grate and ride plate just to check fit. The ride plate (at least the one I use) has two little cross ribs that need to be machined down for clearance.
 

Attachments

  • DSCN0207.jpg
    DSCN0207.jpg
    42.7 KB · Views: 177
  • DSCN0208.jpg
    DSCN0208.jpg
    62.1 KB · Views: 208
OK...........Long time, no update. I've been too busy riding and not wrenching!

Finally decided to "get it done". I did the fitment of pump and then spent a day sanding and priming, then laid down some gloss black from the rail down.

Then did the final mounting of the pump while upside down.
 

Attachments

  • DSCN0241.jpg
    DSCN0241.jpg
    53.4 KB · Views: 187
  • DSCN0233.jpg
    DSCN0233.jpg
    60.3 KB · Views: 232
  • DSCN0234.jpg
    DSCN0234.jpg
    74.1 KB · Views: 265
  • DSCN0237.jpg
    DSCN0237.jpg
    59.9 KB · Views: 232
Last edited:
I'm running the R&D pump cone and a skat 12/17 swirl prop. I made the same trim setup I use in my current ski. I like to be able to dial in the trim and this little knob lets you adjust it in the water easily. The trim is very effective. I also used a heim joint for the steering and re-drilled the pivot point in further to gain a little ratio.

With that done, it was time to flip it and get some color on the topside. I used an Acid Orange from RM. It's a silver base with orange candy misted on top and then cleared.
 

Attachments

  • DSCN0238.jpg
    DSCN0238.jpg
    83.4 KB · Views: 194
  • DSCN0239.jpg
    DSCN0239.jpg
    70.1 KB · Views: 162
  • DSCN0242.jpg
    DSCN0242.jpg
    82.5 KB · Views: 213
  • DSCN0236.jpg
    DSCN0236.jpg
    55.7 KB · Views: 146
Then came turf and a little "Bad Fish" graphic..........


I need to finish the handle pole and then it's pretty much done. I completely encased the pole in biax and then gave it a carbon/kevlar (orange) wrap.

I'll post the internals later.....it's getting a 62T case/61X cylinder big bore 771 with an ATP single mani w/Riva 48 powerbomb.
 

Attachments

  • DSCN0248.jpg
    DSCN0248.jpg
    76.1 KB · Views: 295
  • DSCN0247.jpg
    DSCN0247.jpg
    60.7 KB · Views: 216
  • DSCN0246.jpg
    DSCN0246.jpg
    63.4 KB · Views: 190
  • DSCN0235.jpg
    DSCN0235.jpg
    70 KB · Views: 230
It got wet!

But is wasn't long lived........ran about 3 mins and found a leaking exhaust gasket between manifold and cylinder shooting a geyser towards my carb.......oh well, I needed more practice pulling the battery/tank/pipe (sure glad I used a "used" gasket! :spank:)

Last pic is for you Joe B! :laugh2:
 

Attachments

  • DSCN0249.jpg
    DSCN0249.jpg
    70.9 KB · Views: 271
  • DSCN0251.jpg
    DSCN0251.jpg
    84.5 KB · Views: 228
  • DSCN0250.jpg
    DSCN0250.jpg
    79.1 KB · Views: 290
Location
Havasu
Looks awesome, really like how that pole turned out...how much for me to send you my handlepole for similar treatment...? :)
 
Top Bottom