SXR Trim idea

5810

WHERE-THE-SEAT-AT
Location
Knoxville TN
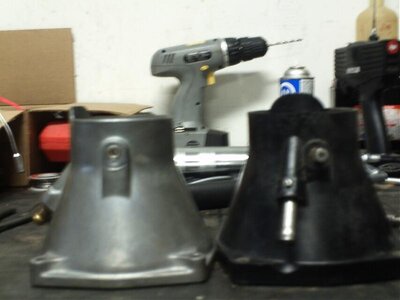
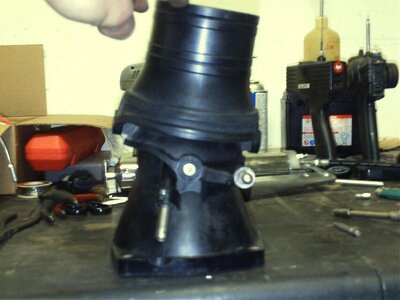
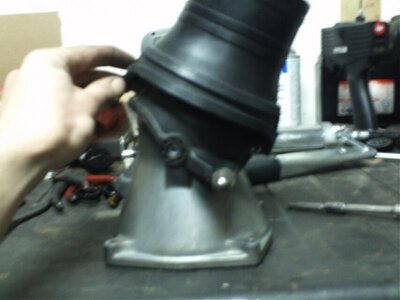
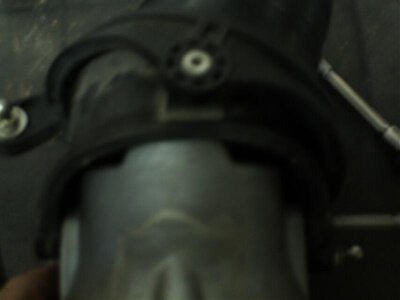
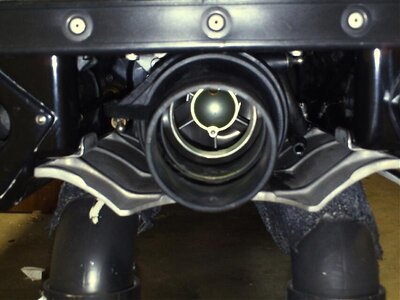
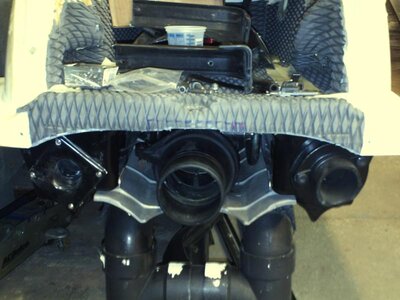
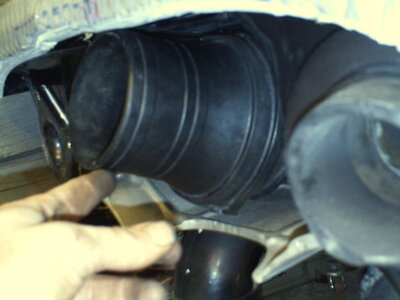
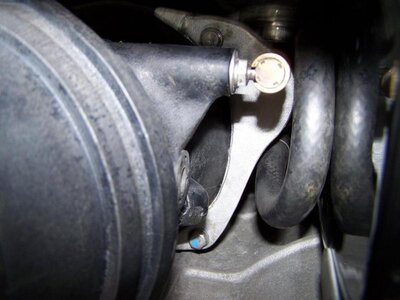
Hey, i was looking at my reduction nozzles (stock 80mm & x2) & I was thinking of using my stock nozzle. I thinking of flipping it 90 degrees & it should work with the trim ring. Plus i noticed that the stock reduction steering nozzle mounts are about 1/4" farther out than x2 nozzle (pic 1) which gives me a lot more angle on the trim than x2 nozzle (pic 2 & 3) with out any mods on the trim ring. I will be removing the stock syphon bilge (running trim cable thru the tube). sealing it flush, and using the bracket of the syphon to make a trim stop & attack return spring to it. I'm thinking of leaving the d tab (Pic 4)on the stock nozzle to help direct water when using full trim. Please anyone reply if you think this is a good idea before i start chopping my parts up :)

Here are some picture to explain it better.
 

Attachments

  • camry33 008.jpg
    camry33 008.jpg
    36.9 KB · Views: 128
  • camry33 009.jpg
    camry33 009.jpg
    47.5 KB · Views: 123
  • camry33 011.jpg
    camry33 011.jpg
    37.8 KB · Views: 131
  • camry33 012.jpg
    camry33 012.jpg
    21.3 KB · Views: 112
  • camry33 014.jpg
    camry33 014.jpg
    49.6 KB · Views: 136

5810

WHERE-THE-SEAT-AT
Location
Knoxville TN
I'm going to run the x2 nozzle, because its around 83mm which should give me more pop on bottom end.


Hey how are you guys extending the steering cable.
 
Last edited:

SXR-FOREVER

Finally Flippin
I'm going to try to grind down my X2 system in a few spots to see if I can get more throw. you can always bore your stock nozzle out a little bit? 83mm will be way thin but 80-81 won't be bad
 

5810

WHERE-THE-SEAT-AT
Location
Knoxville TN
hey, how much did you guys cut the rear bond line, i cut mine flush & the nozzle (rear water spray) still hits the top deck, did you guys cut in to top deck.
 

5810

WHERE-THE-SEAT-AT
Location
Knoxville TN
here is my ghetto cable extension. i hope it holds all summer. I tryed a bracket to relocate the ball cup closer to the steering cable. but it was getting 1/2" more throw to the left than right.

i took a extra ball cup connector & cut it of where the thread ends meet, Theaded a bolt between them to join them together. then bent it couple of degrees so when its on the steering cable it will allow full upp trim whitout binding the steering cable.

This extension allows to have atleast 10 threads on both ball cup connectors & even thow to both sides without binding.:headbang:
 

Attachments

  • jet ski 037.jpg
    jet ski 037.jpg
    26.4 KB · Views: 97
  • jet ski 033.jpg
    jet ski 033.jpg
    33.5 KB · Views: 100
  • jet ski 032.jpg
    jet ski 032.jpg
    58 KB · Views: 134
  • jet ski 031.jpg
    jet ski 031.jpg
    37.7 KB · Views: 117
Last edited:

5810

WHERE-THE-SEAT-AT
Location
Knoxville TN
i bought a skat cable with umi lever a while back from blowsion, When the skat cable breaks i will do the same setup as yours. I havent had time to work on my ski much past week.
 
I started on my x2 trim nozzle project this week and i was able to get ten degrees down trim and 25 degrees in the up trim position what did you guys come up with?As far as the cable extension i welded 5 5mm .080 thread nuts together as like a coupling nut.its working great d cut the stock ride plate and about to hack off the deck edge and d cut they tray.havent tried it in the water yet,but would highly reccomend this budget trim build,thanks for all the helpful info:brap:
 

5810

WHERE-THE-SEAT-AT
Location
Knoxville TN
cool,

use your ride plate as a stop, works well. My trim hits the tray, but when i put some tension on the nozzle with my hand it goes down till the cable stretches to a stop, i will cut some treads off the trim cable to move the ball cup connector closer, to compensate for the cable strech. I also added a 3.75lbs(tensioned to about 6lbs) spring to the trim to keep it down.
 

SXR-FOREVER

Finally Flippin
I tightened mine up as much as a could, you got to remember that, stock, it pushes you 699lbs of pressure. I would tighten it up as much as you could. Hell, even if out of the water the cable held it a little pointed up probably wouldn't hurt because once you get on it its going to stretch. Atleast in my experience..
 

5810

WHERE-THE-SEAT-AT
Location
Knoxville TN
:biggthumpup:Thanks, Mine is doing the same it is pointing up about 1-3 degs, 3 mills off the ride plate,

I made a bracket template i will post it here so people in the future dont have to spend alot of time fabricating the bracket. Just trace it & cut. :biggthumpup:

My ski is taking forever to finish :-(. 3 weekends & no end in sight.
 

WET BOX

STL Crew
Location
STL
Any updates? I have similar options as 5810 (X2 83mm compression nozzle or SX 80mm). Is there any feedback as far as the different compression nozzles go?

Kawi 800, if you have bracket pics it would be super cool1

Later
 

Kawi 800

06' SXR
Location
Harveys Lake PA
I'll take some pics of my bracket today or tomorrow and get them posted, i made it out of a road sign that happened to be found in the back of my truck :sneaky:. I;m going to order my cable and get my trim on in the next few weeks, my summer job started so now i have some money comming in.
 

5810

WHERE-THE-SEAT-AT
Location
Knoxville TN
Hey, I would have scanned the templates but I lost the paper with them on it.

I put on the stock x2 trim assembly, left it all stock with vanes, just removed the sypnon bilge pipe & shaved it even & filled the hole with epoxy.

It hits a lot better with the x2 nozzle than stock borred 80mm nozzle , I have a 12/17 swirl but I will be getting a 9/17 swirl for even more bottom end hit. If I was you I would use the x2 trim reduction nozzle. with minor trimming I am getting full tilt to the tray.

For the bracket make sure you align the hole for the cable with the ball on the trim ring, I got mine perfect so when it hits the water it just pushes the cable in with out binding it. Also make sure you build the bracket out of some thick ******** other wise it will bend, I used the scrap from the bottom of the battery tray & ebox mount & welded both of the together so there will be zero bending.
 

Attachments

  • 013.jpg
    013.jpg
    51.8 KB · Views: 126
Last edited:
Top Bottom