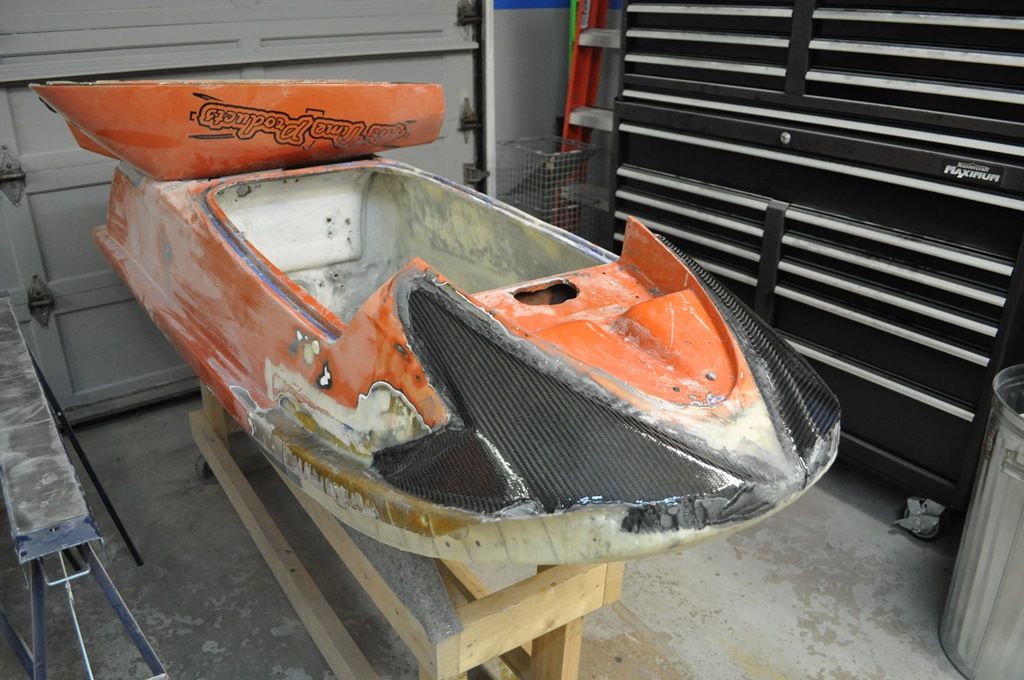
You can do an overlay of carbon fiber! Make sure you prep the surface with 40-80 grit sandpaper and clean it properly to get a good bond. I prefer to use polyester resins for "skinning" carbon parts but epoxy will work. Once prepped use a chip brush and paint on a layer of resin, let it sit until it is tacky (leave a finger print but not material is left on your finger) once that point is reached take your dry carbon and lay it on the tacky resin. Use your hands (with gloves) or a squeegy to smooth out the material ensuring there are no cabs between the resin and material. Once you are confident there is a good bond use a chip brush and "dab" the resin into the carbon, you can also use a brushing motion to start getting an even coat. Let that layer dry over night, using a sanding block to ensure you are sanding evenly across the surface knock down the first coat to a level surface (remember you will need to put more coats on so if there are low spots dont worry about sanding the surrounding areas down to that level) once you are satisfied with that surface make sure and clean the surface so it is free of dust and any oils. Now you will mix another batch of resin use a chip brush and paint on the next coat try to apply in level coats ensuring there are not drips or low spots (this will make your sanding efforts much easier). repeat the sanding steps to get a smooth finish, the number of coats depends on how the surface is progressing it can take as little as 3 coats or as many as 5 depending on how level the coats are applied and sanded. Once you are satisfied with the final coat you can prep the surface with sandpaper wet sanding up to whatever grit you prefer to lay clear on. I usually wet sand to 1000 grit clean and then begin clear coats

