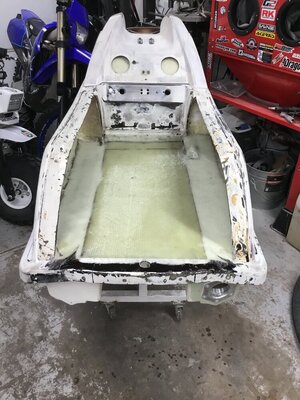
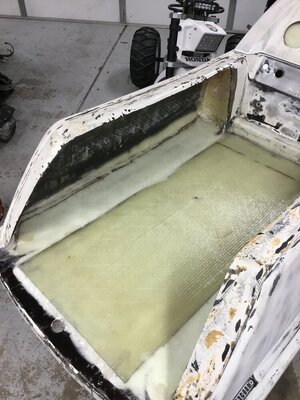
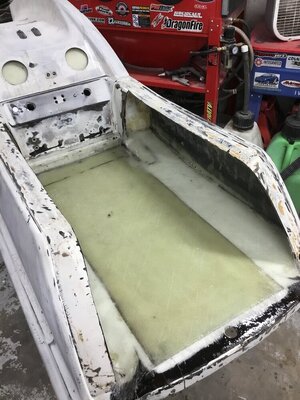
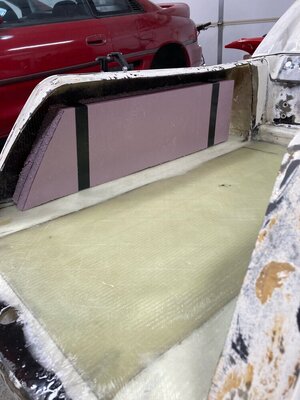
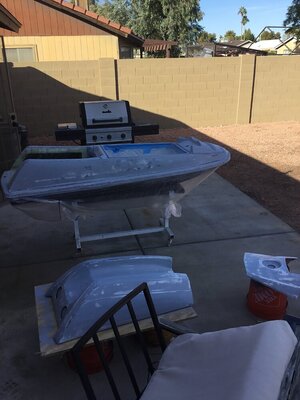
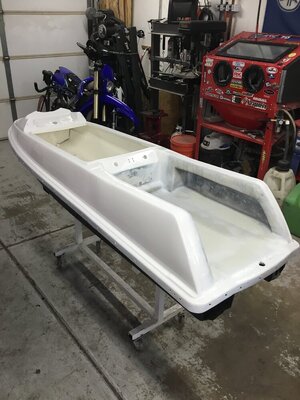
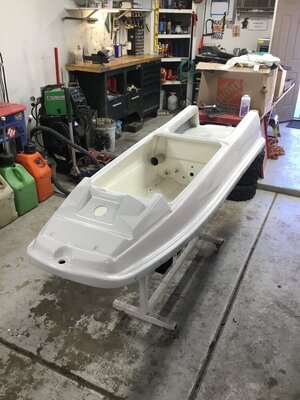
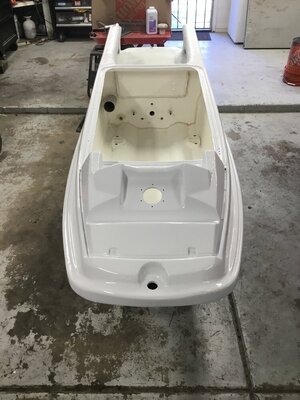
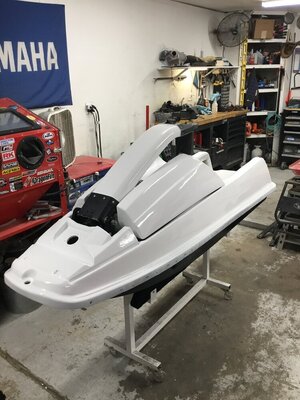
The battered SN restoration

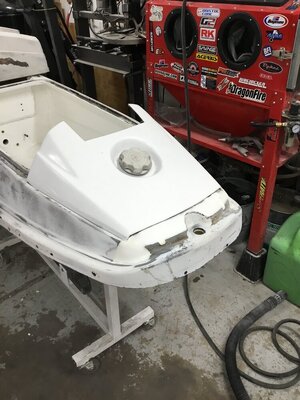
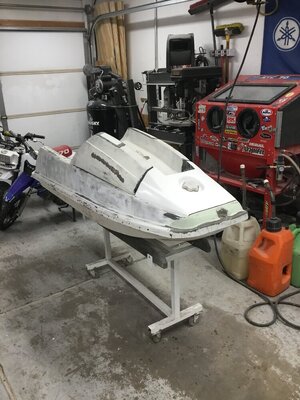
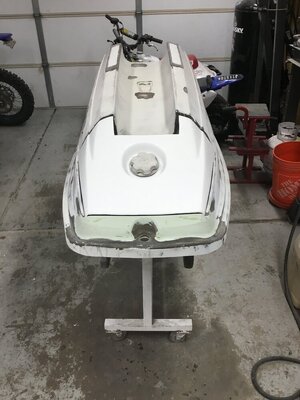
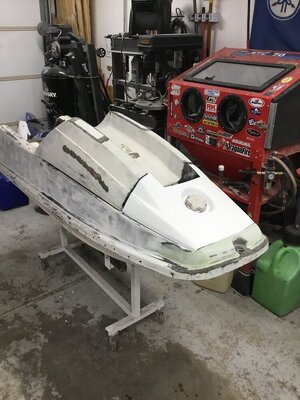
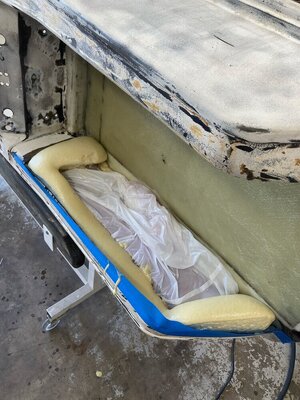
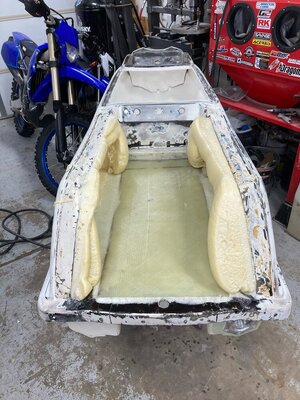
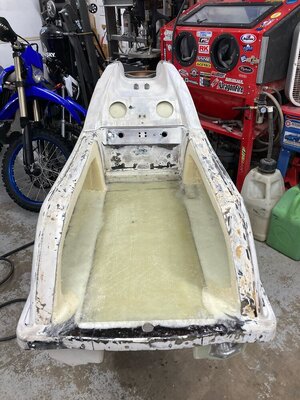
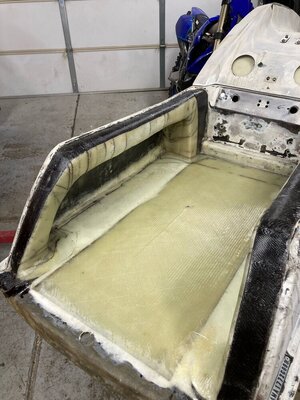
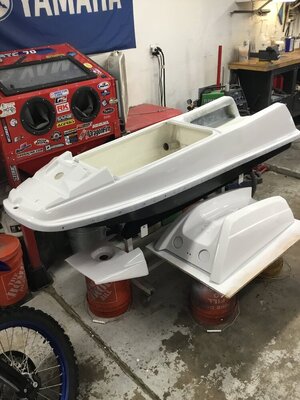
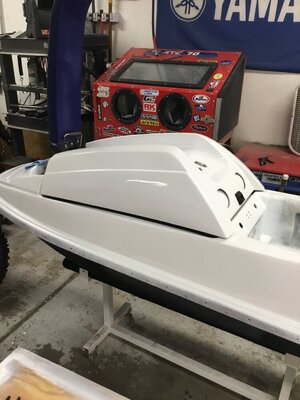
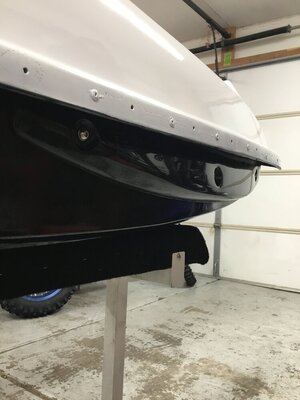
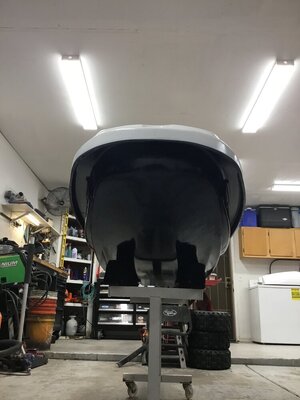
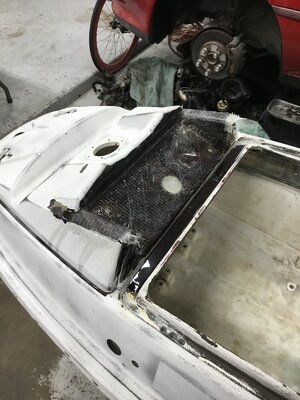
Been working on the nose while I wait for the 5200 to cure up, then I will check for leaks, re-foam and glass the tray back in. Basically drilled out the rivets on the old bumper mounts, filled the bigger holes with thickened epoxy, laid up a few layers, and then filler over top of it. I think it will be strong enough and shouldn't crack, I hope lol. I'm following the thought process used with bondo in that I don't want to go more then a 1/4 of an inch thick, but maybe you can go thicker with this stuff?

Anywho, The SN is a tricky ski to make look good, but at the same time I like the square lines of it, so I racked my brain and searched many a thread before I said the hell with it and just started cutting up the bumper, I'm pretty pleased with how it came out! Will shape it a little more likely, and It will get turf all around the bond rail so it should look pretty good while remaining somewhat subtle

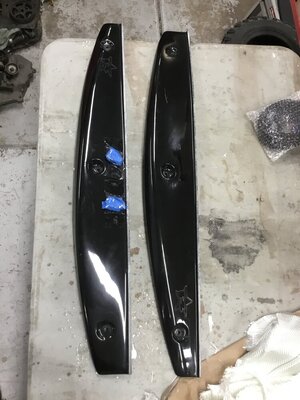
Also got a good deal on some Blowsion destoryers on here (thanks again @yamaboy2000 !), I had planned on adding these after I got some tray time, but hey, I'm already this far into it so why not? I hear they make a huge difference on the SN's, and I can always pull them off if I don't like it, something I've read is very unlikely

IMG_1444-2.JPGIMG_1445-2.JPGIMG_1474-2.JPGIMG_1476-2.JPGIMG_1463-1.JPG
 
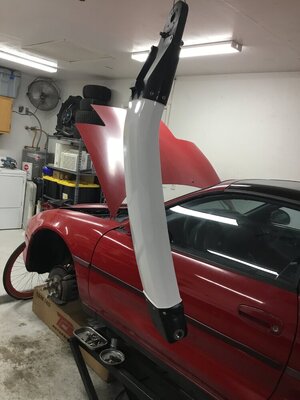
In the midst of all this nose job work, my other project (MR2) and prepping for the first dunes trip of the season, the 5200 had over a week to cure up, so this morning I filled up the tray and checked for leaks.

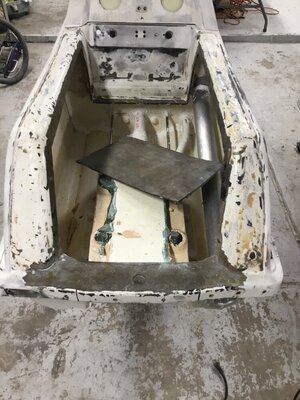
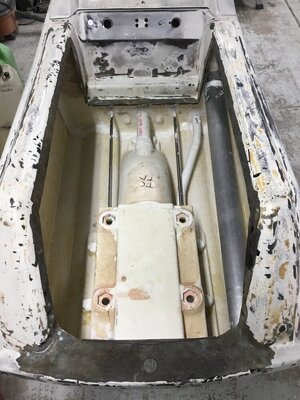
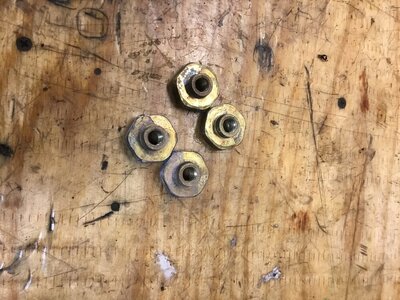
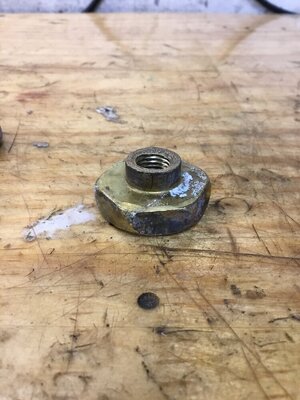
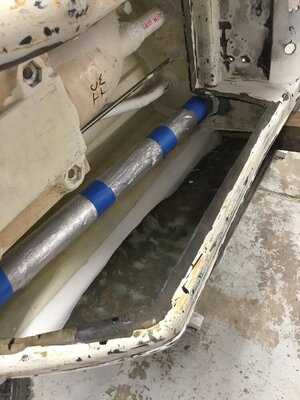
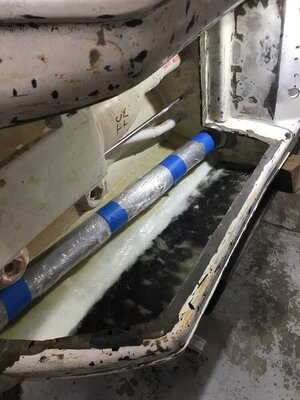
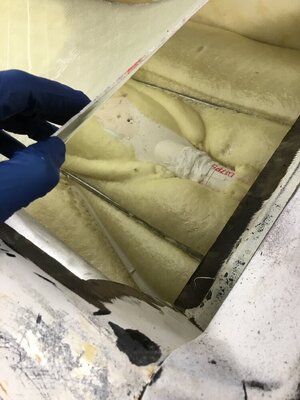
Everything that I sealed is nice and dry, no leaks so thats great. However, the pump mounts were leaking, hmmmm. Upon further inspection, noticed that 2 of the 4 hull inserts were cracked. After consulting with my consigliere @smoofers, I decided to cut the rest of the tray out to replace these inserts, and properly seal it all up.

Now I'm debating on widening the tray :rolleyes:

So you guys with wide trays, I'm sure it's worth it, but is it right for me? What are the pros and cons of doing that? My plan was to run the stock width until I get a lot of tray time and decide what I enjoy in terms of jumping/freestyle/bouy chasing etc, and then maybe add footholds or widen the tray later. The main goal is still to be a free ride/rec ski.


IMG_1483-1.JPG
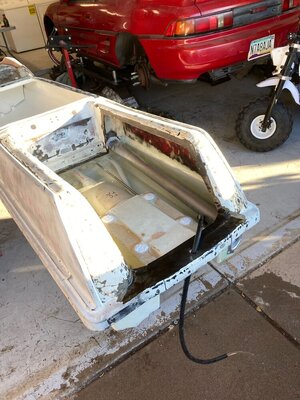
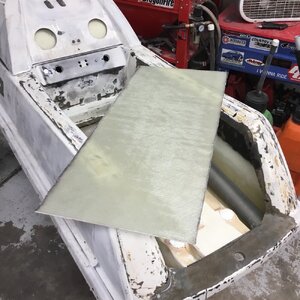
Cutting the last bit of tray out, I wanted to use this like a jig to glass the big piece I cut out, but plans change
IMG_1484.JPG
Popped the old inserts out
IMG_1485.JPG

IMG_1486.JPG
minor crack
IMG_1487.JPG
Major crack
IMG_1488.JPG
Nose is pretty much done, will finish once I begin the body work for paint.
IMG_1489.JPG

IMG_1491.JPG
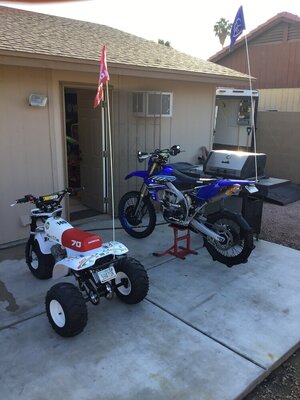
And the other toys, ready for Glamis! My other obsession aside from motorcycles are ATC70s, so much fun, that is my custom full suspension build, its a hoot!
IMG_1482-2.JPG
 
Well, once again, project creep o_O

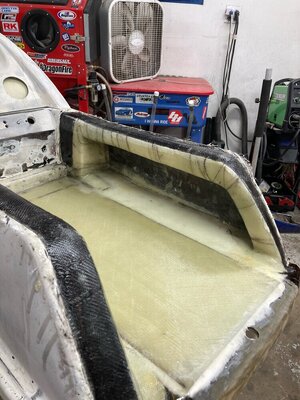
Have some new inserts on order from @JetManiac, as well as an order for more resin and 17 oz biax from us composites as I'm running low on both, in the mean time I was mulling over the whole tray situation. Getting stir crazy sitting on my couch tonight, decided to say the hell with it and reinforce the gunwales while I have it all apart, as I'm likely going to widen the tray out so better safe then sorry. While I'm in there, right?

Few things different this time from when I did the bilge walls. First is I had previously laid 5200 in the bond line inside the tray already, so hopefully that will not be a problem, IMO I see it as a plus, that much more of a water seal. Second is I sped things up this time a bit, rather then wait a day for the thickened epoxy to harden and then lay my cloth, I let it tack up and then laid up the biax. Figured this may kill two birds with one stone, it being still "wet" would hopefully make a nice strong bond once it all cures, as well as speeding up the process a bit.

I would have liked to do this with the exhaust pipe out, but, once again, plans change. It's all good tho, I'm having fun, its keeping my off my couch and my over active mind stimulated, and it's only going to be that much better in the end.

Patterns cut and fit before any resin work, ready to go
IMG_1494.JPG

IMG_1492.JPG

IMG_1493.JPG
Thickened epoxy poured into bond line
IMG_1495.JPG
All laid up, will do the other side tomorrow.
IMG_1496.JPG
 
Back from the dunes, always a blast!

Didnt get much done on the ski, but before I left the inserts showed up, so got those in and sealed up with 5200, as well as other areas I had missed before I cut the rest of the tray out. Checked it for leaks this morning, and we're all good, so re-foaming and building the tray will begin here shortly.

Little post detour
Overlooking the "Flag Pole", all those dark spots are machines.
IMG_1802.jpeg
My little trike was the star of the trip, really surprised me how far I could keep pushing it, was getting into some big dunes that I would only take my big bike in!
IMG_1785.jpeg
Back to actual jet ski stuff, draining the water out of the tray after checking for leaks
IMG_1805.jpeg
 
I put an extra water line in my ski to also keep the siphon. I like 2 methods of bilge. The aluminum or stainless like is cheap. I’d put the line in while the tray is out. I put it right next to the port side line.
 
Another week of knocking out work on this thing. Been spending so much time on it I'm having dreams about it, looking forward to getting all the "dirty" work done and a fresh painted hull so I can begin on the assembly process.

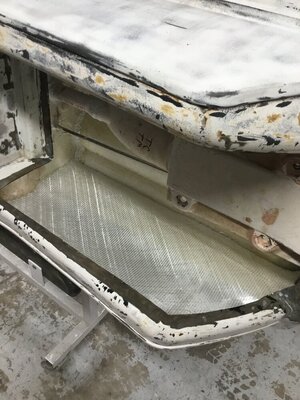
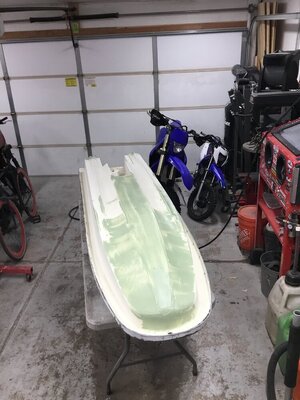
Laid up a new floor piece with 3 layers of 17oz biax, trimmed the gunwales for the now widened tray, and started pouring in the expanding foam. Once I got it all poured in, I knocked it down to level-ish with the tray, then filled some of the low spots and holes with thickened epoxy, and finally laid up two more layers of 17ox biax. Tray is solid and should be nice and strong. Once I get more foam I will shape my gunwales, lay up the glass on them, and the tray should be done. Had to put in another order for foam, even at 85 degrees which is prime pour temps for this stuff, I still ended up using two quart kits, the tray def swallowed up a lot of foam.

Fresh floor piece
IMG_1508.JPG
Working the foam in all the crevices
IMG_1518.JPG
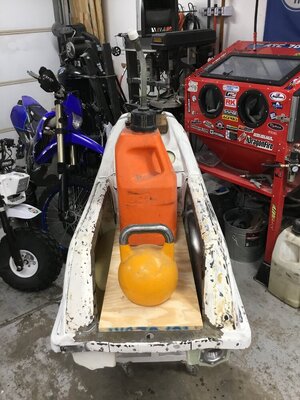
Used what I had to weigh down the floor while the foam cured
IMG_1517.JPG
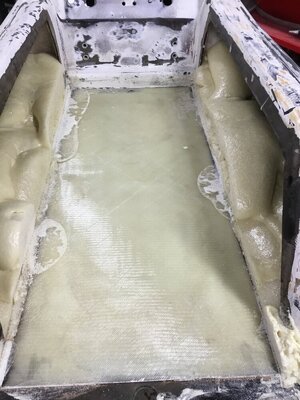
Foam done
72187495101__7E486C31-BA1E-4E6B-9850-48BB5DE2F386-3.JPG
Floor knocked down level and gunwales trimmed back, didn't want to go too far on the gunwales, I wanted enough meat there at about the width of my forearms, I spent a lot of time just catching my breath laying/floating out behind the 550s with my forearms resting on top of the gunwales, something I'm sure I will be doing on this one too.
IMG_1527-4.JPG
Thickened epoxy laid down
IMG_1534-3.JPG
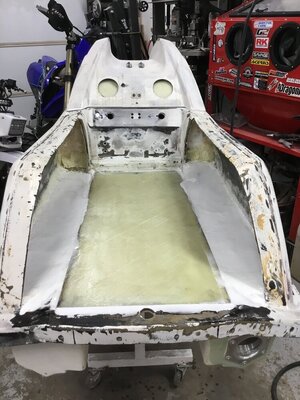
Floor done
IMG_1536-1.JPG

IMG_1538-1.JPG
I would have lowered the exhaust more If I had planned originally to do the widened tray, as it still interferes a bit into the tray, but it's fine, I'll pretty much be running the "pocket" right up to where it starts to slope up, which should be plenty of room.
IMG_1537-1.JPG
 
Getting closer and closer every time I work on this, making great progress. Was waiting on more foam from US composites, but got the gunwales foam poured, shaped, and glassed it all in today, feels good to finally get the tray finished, and now I have a nice wide one at that! Next I can finally get after the body work and the bottom of the hull is the first up for that, then I can paint the hull and start the assembly, very exciting!

Made me a shape I liked for the tray pocket
IMG_1882.jpeg
Poured in the foam
IMG_1884-1.jpeg
Right side pour went a bit better
IMG_1888.jpeg
Shaped to my liking
IMG_1891.jpeg
And finally all glassed back in, basically mimicked the RSKI riders video and laid 8oz strips down the gunwales in a candy cane type fashion overlapping each piece, did two layers of that, should be nice and strong.
IMG_1901.jpegIMG_1903.jpegIMG_1902.jpeg
 
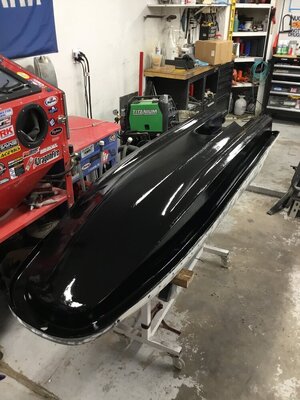
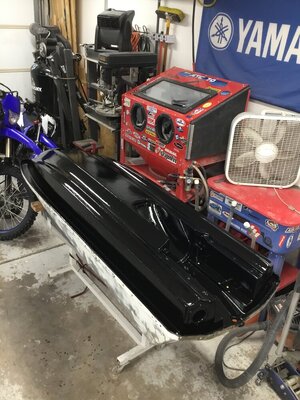
Finally got some paint on this thing. Read threads upon threads about paint and mulled it over in my head for quite some time, but I settled on just putting in the proper prep work to sand everything down, and then use appliance epoxy. Sure I could have bought a spray gun and did it that way, or paid to have a proper paint job, but this thing is going to get beat up, I'm cheap, and I'm pretty decent with spray paint. So appliance epoxy checked all the right boxes; cheap, readily available, and easy to touch up over time. I wasn't as thorough on the bottom, that was my test run and I only sanded it down to 100 grit then went direct to the hull as per the cans instructions, the top I did a proper primer, sand to 220 grit, then hit it with the paint. It came out great for a rattle can job!

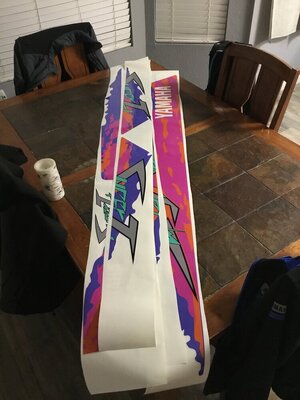
I also ordered my 95 style graphics, and have some purple turf on the way as well, I'll be running that on the entirety of the tray, dash, and the bond rail all around the ski, it should look pretty good, and will hide most of the imperfections and what not, stoked to finally have the hull more or less done. I have to figure out the pole next in terms of length and what not, I have a feeling it's already been shortened, which would be great to save me the extra work, then I will likely paint that black to help break up the white a bit.


Filler work on the bottom, again, I wasn't super concerned with getting the bottom perfect, beaching it and the bunks will mess it up, so got it to government standards. We'll see how bad the black gets chewed up, yes the white would have been a better choice, but the black looks so much cooler in my opinion.
IMG_1545.JPG
Painted
IMG_1549-6.JPG
Chose to paint the exhaust tip black too in the hopes it hides spooge/premix buildup, we'll see how she holds up.
IMG_1548-6.JPG
Top primed and sanded
IMG_1555.JPG
Painted
IMG_1563.JPG

IMG_1564.JPG

IMG_1565.JPG
I'm very pleased with how the nose came out, should look great with the hood piece.
IMG_1566.JPG
Tucked away to cure for the next few days.
IMG_1570.JPG
 
Damn, just went through the each of your posting on the whole progress thread.
We have a mutual friend who actually told me
To check out your build today via FB. He’s been watching me take part in my ( multiple ski builds) and mentioned he’s got a buddy in AZ who’s doing a ski as well.

Kudos on the attention to all the glass work and foaming. Ski looks sick with the fresh paint! Nice job!

Killer thanks man! Yea Josh is the closest thing to a brother I have, he's been showing me some of your builds, If I got the right guy I think you just built a pretty bitchin 550 for your son, and you have an aftermarket hull your building too?

Small world man no doubt, I knew Josh from my home town of Rochester, but I lived in and went to school in Buffalo for several years, it surprises me how many guys on here are actually from Rochester/Buffalo area for riding these things, all those years I lived in NY and I never got into it, I even lived in the finger lake region for close to 10 years which would have been a perfect area for them. All is good tho, I'm into them now lol :D
Haha yeah that’s me! I’m from Rochester too originally, that’s when he and I met way back in Junior high school. Stayed in contact until now. And yes I built a 550 for my 8yo this past year as well as a PJS 550 build that’s mine. The aftermarket hull I’m doing now is a Fixie ( Air Blair) currently in the process of collecting parts for a complete motor rebuild on a 61x with lots of goodies.
 
Haha yeah that’s me! I’m from Rochester too originally, that’s when he and I met way back in Junior high school. Stayed in contact until now. And yes I built a 550 for my 8yo this past year as well as a PJS 550 build that’s mine. The aftermarket hull I’m doing now is a Fixie ( Air Blair) currently in the process of collecting parts for a complete motor rebuild on a 61x with lots of goodies.
Thats awesome man! Yea Josh told me you guys used to roll together in Honeoye falls, I lived in Honeoye off the lake for a number of years too, I miss it, but I don't miss the snow lol, don't have to shovel sunshine!
 
Been busy as usual working on this thing, got other project pending so trying to get everything I can done on this hull to where all I have to do is go through my motor, drop it in, and its ready to rock.

Just a bunch of odds and ends while I wait for my turf order from Jetmaniac to show up this week so I can knock that out. Little things here and there, fitted a reverse hood seal, installed my sponsons, fitted and painted the RN pole I got with the ski, its starting to actually look like a Superjet! And finally, got my 95 graphics, which I'm STOKED for, I've never been this excited for decals, I LOVE 90s wild colors, especially Yamaha's colors of that era, the YZs and Banshees looked so dope, and this SN will be no exception!

72352263737__4871C6F2-70F9-422E-BE6F-B0D8001517A2.JPG
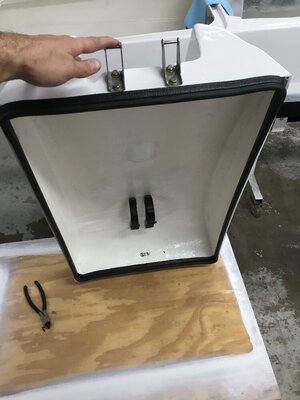
Reverse hood seal, got the idea from here, and got the seal from Mcmaster Carr, not a perfect fit, but the bilge pump will get w/e gets in so I'm happy with it. Way better then the POS hydroturf seals I installed on the 550s, they are awful!
IMG_1595.JPG
Hood just placed on
72360575240__ED802AFA-1079-4BC7-804D-1BA7BC3DF67F.JPG
And latched, it squishes down nicely and seals, its just not exactly in the "troth" in some areas, but good enough for me.
IMG_1598.JPG
Got my Destroyers on, excited for this one, out of all I've read this is one of the best mods for this hull.
IMG_1618-1.JPG
One wide boy
IMG_1619-1.JPG
Pole painted, was already shortened -2 and made to fit a SN mount (although somewhat hacked up, but its fine) by the PO so saved me some work there.
IMG_1621.JPG
Found these perfect stainless collars at Ace, saves me the hassle of turning down some spacers.
IMG_1628.JPG
And finally, looking great! I'm waiting to put the graphics on after I turf it, although I'm really itching to get them on!
IMG_1627-1.JPG
 

Roseand

Ready to RIP
Site Supporter
Location
Wisconsin
Been busy as usual working on this thing, got other project pending so trying to get everything I can done on this hull to where all I have to do is go through my motor, drop it in, and its ready to rock.

Just a bunch of odds and ends while I wait for my turf order from Jetmaniac to show up this week so I can knock that out. Little things here and there, fitted a reverse hood seal, installed my sponsons, fitted and painted the RN pole I got with the ski, its starting to actually look like a Superjet! And finally, got my 95 graphics, which I'm STOKED for, I've never been this excited for decals, I LOVE 90s wild colors, especially Yamaha's colors of that era, the YZs and Banshees looked so dope, and this SN will be no exception!

View attachment 443376
Reverse hood seal, got the idea from here, and got the seal from Mcmaster Carr, not a perfect fit, but the bilge pump will get w/e gets in so I'm happy with it. Way better then the POS hydroturf seals I installed on the 550s, they are awful!
View attachment 443377
Hood just placed on
View attachment 443378
And latched, it squishes down nicely and seals, its just not exactly in the "troth" in some areas, but good enough for me.
View attachment 443379
Got my Destroyers on, excited for this one, out of all I've read this is one of the best mods for this hull.
View attachment 443380
One wide boy
View attachment 443381
Pole painted, was already shortened -2 and made to fit a SN mount (although somewhat hacked up, but its fine) by the PO so saved me some work there.
View attachment 443382
Found these perfect stainless collars at Ace, saves me the hassle of turning down some spacers.
View attachment 443383
And finally, looking great! I'm waiting to put the graphics on after I turf it, although I'm really itching to get them on!
View attachment 443384
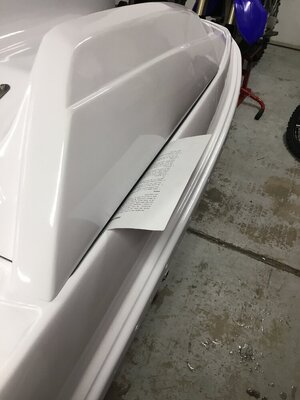
The last thing you want is that hood seal sucking in water when submerged, into the carbs. Do a test with paper or dollar bill. Put paper in between seal and hull, latch hood, see if it's tight by the carbs. You can get an adjustable latch but your best bet is most likely ditching that seal. The Watcon seal is an excellent alternative. Many of have had issues with the hood seal you're using. That's why you don't see it often.
Also sns are notorious for the hood seal surface sagging in the front so you might want to level it out with some epoxy if you have that issue. I ran a Watcon seal with a ratchet strap and bilge stayed dry.
Do these things and you can have true piece of mind doing some deep subs, fountains, and nose stabs!

Yea I'm aware of the "SN sag", mine wasn't too bad but I poured/leveled some epoxy in the "troth" just to be safe
IMG_1402-1.jpg

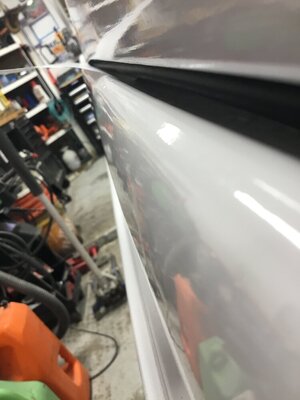
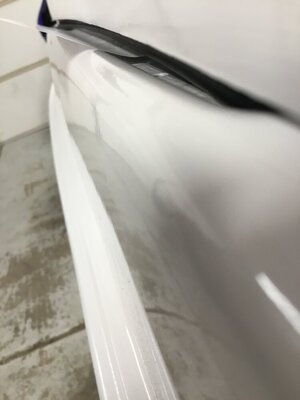
Just tried the dollar bill/paper test in multiple areas of the seal, its nice and snug, you can pull/slide the paper out but you start risking ripping it. I also ran a light around the lip while peeking in through the fuel fill/pole cable hole and saw no light coming in. We'll see, a bit of wiggling when latching the hood down and it seems to be pretty solid. I won't be subbing or rolling this thing, at least not right away, and I know first hand the difference in weight and feeling when a hood seal is leaking and filling up the hull from those 550s we were running, worth a shot, if not, then I'll change it out.

By the carbs, pretty snug
IMG_1629.JPG
Hard to tell in this pic, but seal is snug up against the wall of the "troth"
IMG_1630.JPG
Other side, seal sits a little higher on this side but still seems snug
IMG_1632.JPG
And front, seal is almost squished flat in the "troth", nice and tight

IMG_1631.JPG
 
Top Bottom