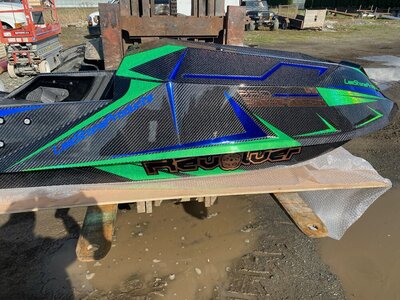
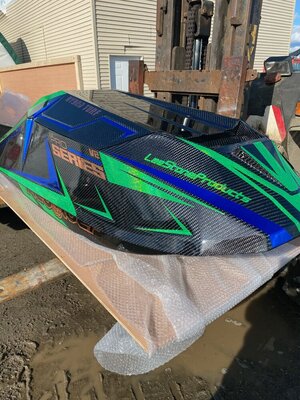
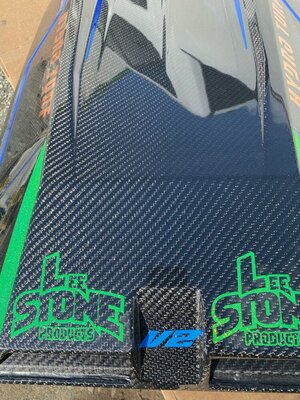
2021 Revolver pro V2

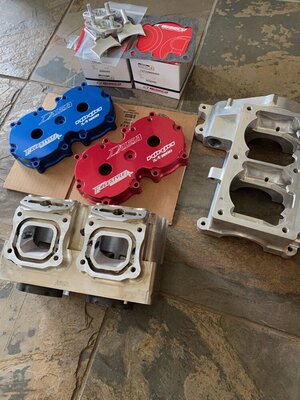
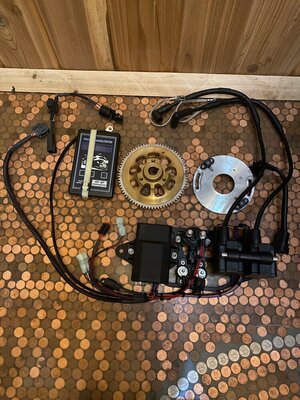
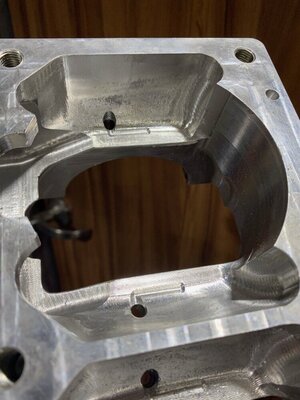
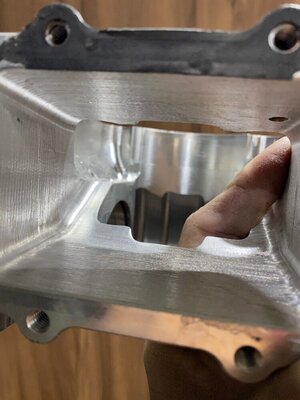
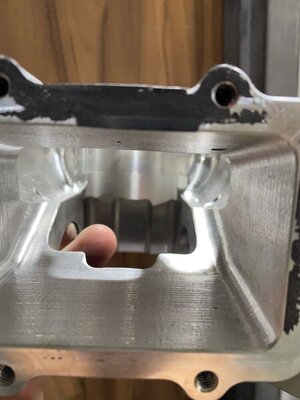
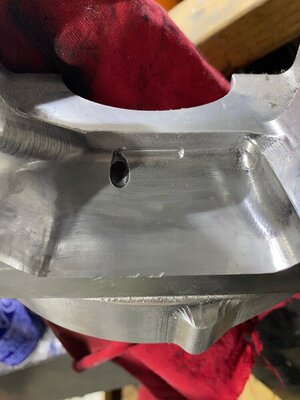
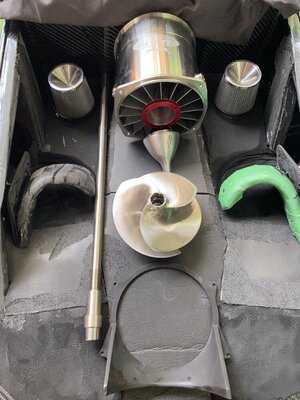
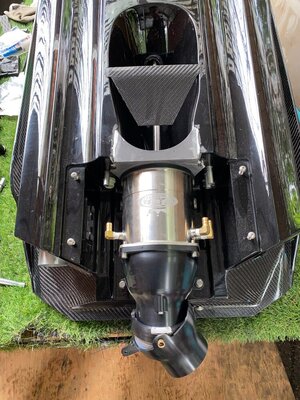
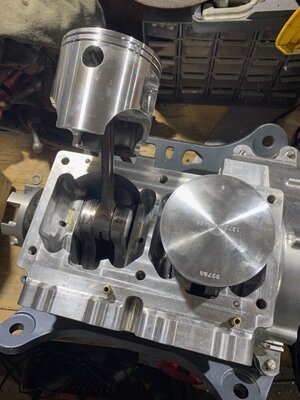
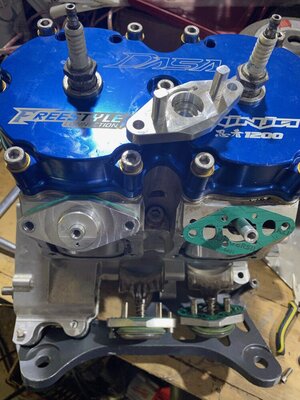
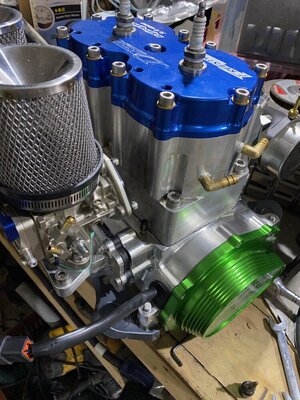
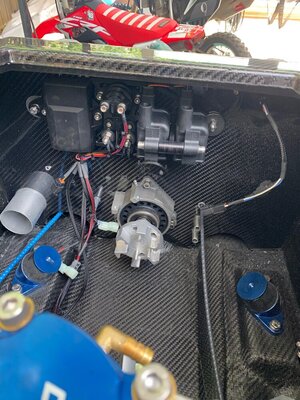
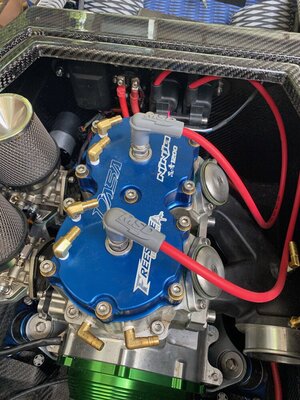
just received the first Revolver Pro V2 today . I'm excited to get this build going i have 95% of all the parts i need to start this adventure. Building my XFS G2 over Christmas i learned a few do's and dont's lol. i only opened the box at the farm today n brought it home once i get a space set up will start the build. just got my motor back from DASA for the ninja porting but now just matching everything else up like the exhaust manifold and intake manifold. ill post the progress the next few weeks.I have a MSD total loss for this unit but i just picked up the new California Freestyle total loss 2 coil set up to try out. i have a complete torrent ninja pump set up with raptor trim that i was going to use but not sure now as i bought a Bun pump and trim that's set up like Lee's. so i will try both and see what set up i like better and will post on this one. i plan to do a comparison of the two ski setups as well, which is why i have the second ninja pump to have two identical setups ( except hulls) to understand the differences
this build
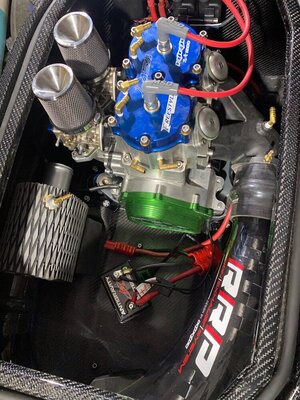
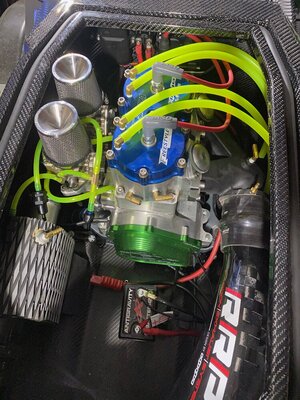
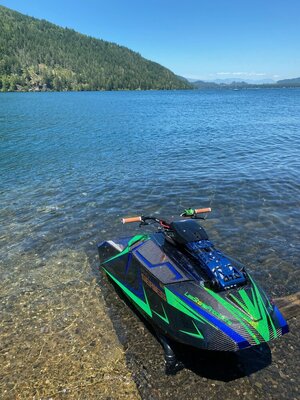
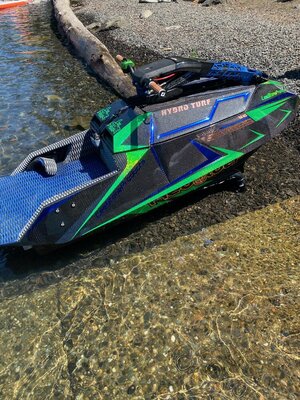
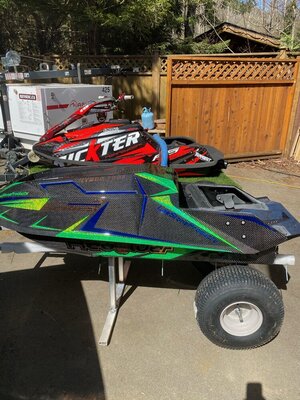
2021 Pro V2 Revolver ( blue chrome, sparkle green and copper)
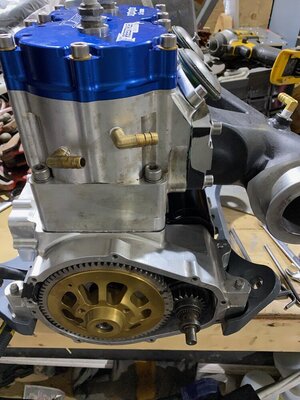
1200cc Dasa ninja
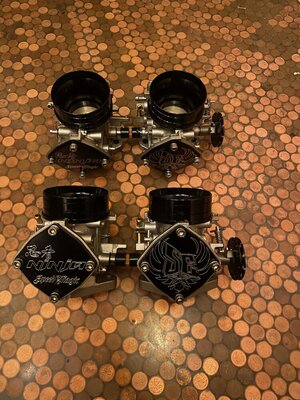
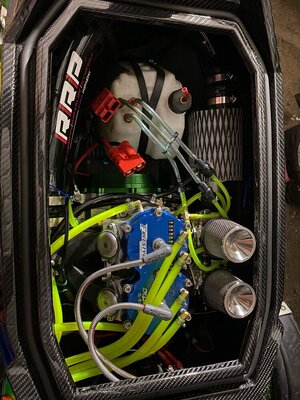
SE 50 carbs and flame arresters
New California Freestyle Total loss system ( 2 pick up, and 2 coils)
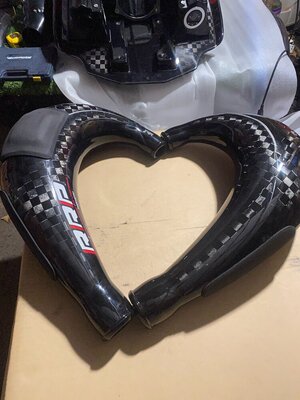
RRP exhaust
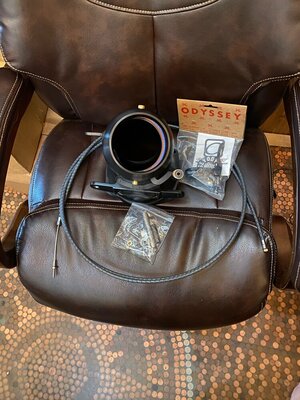
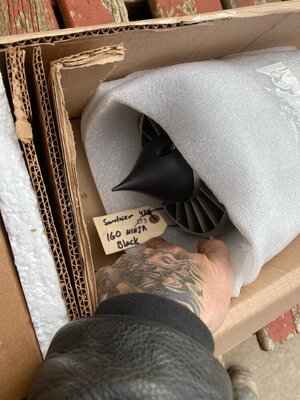
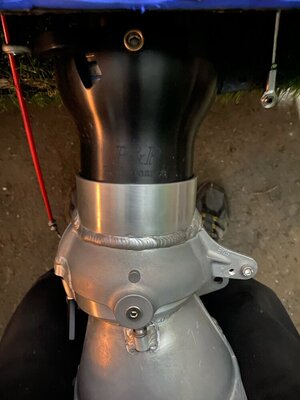
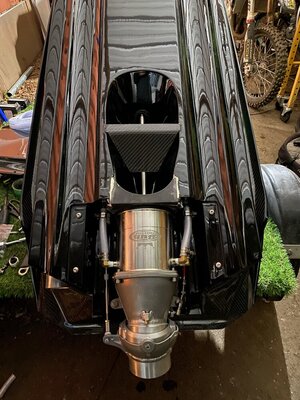
Torrent 160 Ninja pump and Raptor trim ( i also have a Bun 160 pump n trim coming for it set up like Lee's) for once i get better lol
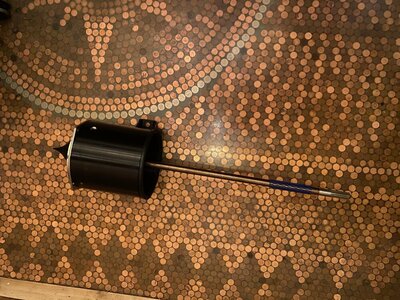
RRP pole and bracket
 

Attachments

  • DC4FCC05-A857-4652-B02C-BB1AD9709F6C.jpeg
    DC4FCC05-A857-4652-B02C-BB1AD9709F6C.jpeg
    284 KB · Views: 200
  • 4E707A97-DB64-46DF-9C8A-78377C59DC8F.jpeg
    4E707A97-DB64-46DF-9C8A-78377C59DC8F.jpeg
    263.5 KB · Views: 151
  • BCF86357-1126-4CF6-9BF1-355E6CD76111.jpeg
    BCF86357-1126-4CF6-9BF1-355E6CD76111.jpeg
    303.5 KB · Views: 141
Last edited:
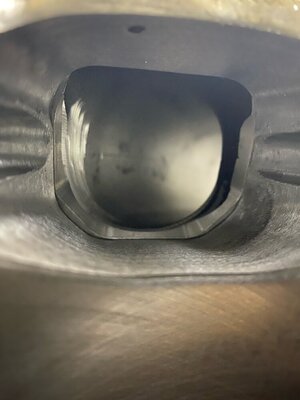
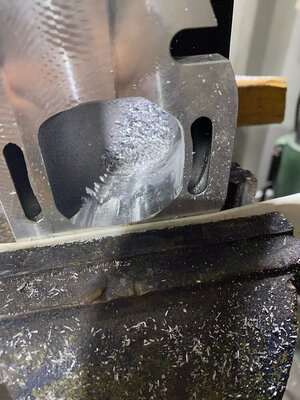
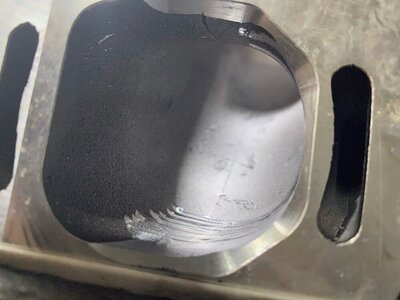
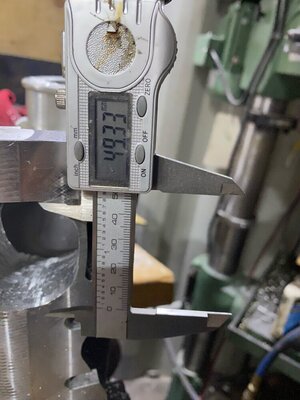
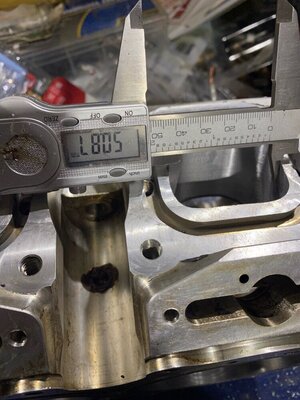
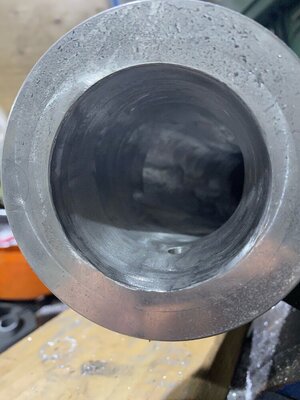
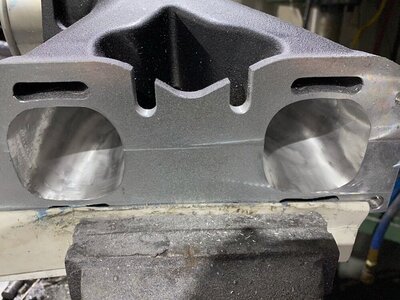
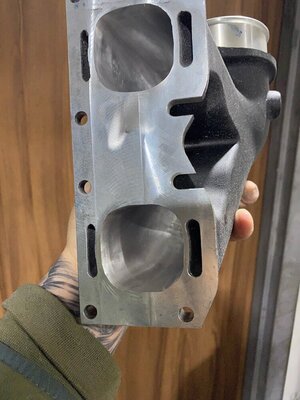
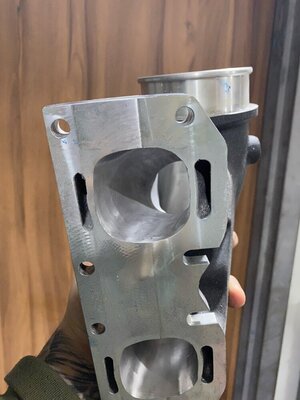
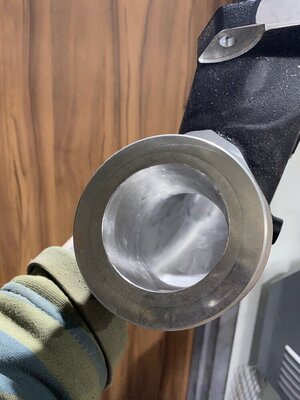
the factory manifold is restricting you can see the bevel they put on it to match the ports i forgot to measure it before i started but im guessing it was close to 46mm n i have to get it to almost 51mm. and the outlet side to the expansion chamber is 3mm too small as well. few more hours yet on just this manifold lol
 

Attachments

  • DF97875D-C91C-44D3-B761-5BE5B4F1B317.jpeg
    DF97875D-C91C-44D3-B761-5BE5B4F1B317.jpeg
    80.8 KB · Views: 139
  • 6CCF8812-9C75-44E9-B060-4128A38EF0C8.jpeg
    6CCF8812-9C75-44E9-B060-4128A38EF0C8.jpeg
    184.4 KB · Views: 132
  • 4D36EA42-800D-43DD-B53B-B6E44A5DAD53.jpeg
    4D36EA42-800D-43DD-B53B-B6E44A5DAD53.jpeg
    113.8 KB · Views: 123
  • 45659FB9-BACC-4A46-B724-8EDF5C214545.jpeg
    45659FB9-BACC-4A46-B724-8EDF5C214545.jpeg
    121.3 KB · Views: 111
  • FACE7294-F7DF-431E-A7A5-DA9404B535FF.jpeg
    FACE7294-F7DF-431E-A7A5-DA9404B535FF.jpeg
    149.2 KB · Views: 121
some of the parts I've been collecting the last few months for this thing
 

Attachments

  • 5D054148-0AE0-414E-9BDB-573E9DEBB9C7.jpeg
    5D054148-0AE0-414E-9BDB-573E9DEBB9C7.jpeg
    218.7 KB · Views: 128
  • 8F0D1F7C-9131-4ED8-B8B6-ACB8777BEA28.jpeg
    8F0D1F7C-9131-4ED8-B8B6-ACB8777BEA28.jpeg
    207.7 KB · Views: 124
  • A74F4867-CE8A-4836-8E59-63A8DF7733F1.jpeg
    A74F4867-CE8A-4836-8E59-63A8DF7733F1.jpeg
    186 KB · Views: 116
  • F34B1CB6-CF8A-4175-A032-C776B6E78D02.jpeg
    F34B1CB6-CF8A-4175-A032-C776B6E78D02.jpeg
    231.1 KB · Views: 106
  • 854B7AB9-CD12-4462-A7D1-C07885669C8D.jpeg
    854B7AB9-CD12-4462-A7D1-C07885669C8D.jpeg
    253.8 KB · Views: 104
  • B3284FB1-C9C0-4952-9241-CE8E47105E0B.jpeg
    B3284FB1-C9C0-4952-9241-CE8E47105E0B.jpeg
    163.4 KB · Views: 102
  • EEBF8466-A826-43E3-A893-FEA61A5009C0.jpeg
    EEBF8466-A826-43E3-A893-FEA61A5009C0.jpeg
    142.5 KB · Views: 122
lol got the exhaust manifold done now onto cleaning up the cases and ports lol
takes some time to get the rough out and cleaned up, the left pics is roughed up n right 3 are smoothed out.
 

Attachments

  • A1BAD3E1-ED46-4408-8D96-276155189A27.jpeg
    A1BAD3E1-ED46-4408-8D96-276155189A27.jpeg
    121 KB · Views: 100
  • 4ED17733-FD84-4418-80E6-28CE07FDE683.jpeg
    4ED17733-FD84-4418-80E6-28CE07FDE683.jpeg
    200.4 KB · Views: 98
  • C7AA9C86-B8A1-42BF-8F12-D44813A97A1B.jpeg
    C7AA9C86-B8A1-42BF-8F12-D44813A97A1B.jpeg
    147.1 KB · Views: 94
  • FEDCCA34-62E3-46B1-96C0-A65062F2F2FC.jpeg
    FEDCCA34-62E3-46B1-96C0-A65062F2F2FC.jpeg
    114.3 KB · Views: 93
  • B4B7713E-E793-4276-BD7B-61E2EDF37D85.jpeg
    B4B7713E-E793-4276-BD7B-61E2EDF37D85.jpeg
    135.5 KB · Views: 102
now starting the process of polishing the tool marks out of the cases
 

Attachments

  • 840C5EE8-AAD4-4BDC-97C0-715507410137.jpeg
    840C5EE8-AAD4-4BDC-97C0-715507410137.jpeg
    160.7 KB · Views: 105
  • E3EFE78C-1D07-41A8-BB31-70FE3E97034C.jpeg
    E3EFE78C-1D07-41A8-BB31-70FE3E97034C.jpeg
    107.5 KB · Views: 101
  • 45998976-E2AC-43E0-AB83-4C0E2C75618D.jpeg
    45998976-E2AC-43E0-AB83-4C0E2C75618D.jpeg
    98.2 KB · Views: 103
  • 9E72D02F-BDF8-4AF7-A47A-7548DBB16871.jpeg
    9E72D02F-BDF8-4AF7-A47A-7548DBB16871.jpeg
    124.5 KB · Views: 115
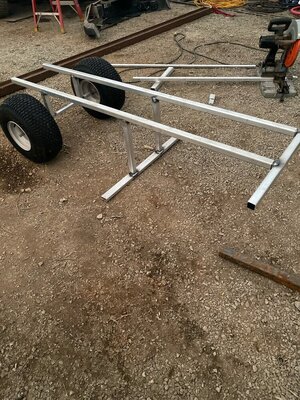
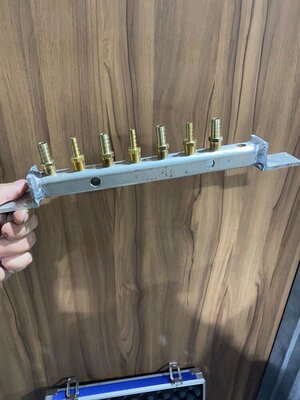
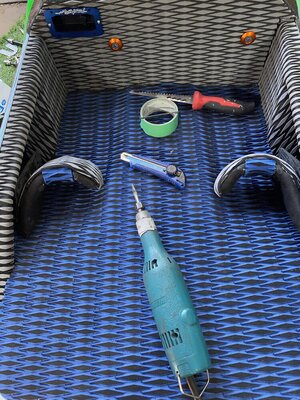
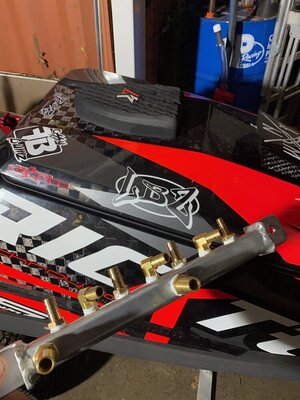
spent an hour and quickly fabricated a beach cart to hold the new hull, then decided to make up a water distribution manifold
 

Attachments

  • 5E1EBBE1-03FA-4392-816E-FD541204C11F.jpeg
    5E1EBBE1-03FA-4392-816E-FD541204C11F.jpeg
    303.6 KB · Views: 105
  • 07059ABA-C41B-48BD-93C2-4ACF862E859F.jpeg
    07059ABA-C41B-48BD-93C2-4ACF862E859F.jpeg
    272.7 KB · Views: 112
  • 818299D2-31DB-4D07-B1EE-A88801BBE926.jpeg
    818299D2-31DB-4D07-B1EE-A88801BBE926.jpeg
    131.5 KB · Views: 120
a bit more progress over the last month still a few more parts waiting for then hope to have it ripping this weekend
 

Attachments

  • E6812395-5F93-45A8-BC81-E824DED711E7.jpeg
    E6812395-5F93-45A8-BC81-E824DED711E7.jpeg
    233.5 KB · Views: 71
  • 92B31A4B-79E8-4296-BBF2-9A269F691135.jpeg
    92B31A4B-79E8-4296-BBF2-9A269F691135.jpeg
    209.7 KB · Views: 61
  • 031C36F6-0714-4C49-9ADE-B2611AA33801.jpeg
    031C36F6-0714-4C49-9ADE-B2611AA33801.jpeg
    204.5 KB · Views: 58
  • B88BA288-3065-4FB8-AC82-44A70D54BF33.jpeg
    B88BA288-3065-4FB8-AC82-44A70D54BF33.jpeg
    227 KB · Views: 59
little more
 

Attachments

  • 1A3BC981-4539-4085-99D0-831F375DD048.jpeg
    1A3BC981-4539-4085-99D0-831F375DD048.jpeg
    172.8 KB · Views: 59
  • 33EBC9B7-9C82-4B86-829C-B2D517C36F6B.jpeg
    33EBC9B7-9C82-4B86-829C-B2D517C36F6B.jpeg
    210.4 KB · Views: 66
  • D604780C-2558-4E1E-AB47-CA1112FB3417.jpeg
    D604780C-2558-4E1E-AB47-CA1112FB3417.jpeg
    175.4 KB · Views: 76
  • DCFF5204-2F14-47AD-A7DB-73E0877B1B95.jpeg
    DCFF5204-2F14-47AD-A7DB-73E0877B1B95.jpeg
    222.4 KB · Views: 85
motor assembly
 

Attachments

  • 7E23185E-E9E1-46AD-B7EE-EA6E04FDEB7A.jpeg
    7E23185E-E9E1-46AD-B7EE-EA6E04FDEB7A.jpeg
    172.2 KB · Views: 88
  • EE0F93C5-A63E-4557-A9DF-15AF8AD3AAD6.jpeg
    EE0F93C5-A63E-4557-A9DF-15AF8AD3AAD6.jpeg
    185.3 KB · Views: 79
  • 25654186-4387-4719-B38C-503DEC91F56F.jpeg
    25654186-4387-4719-B38C-503DEC91F56F.jpeg
    187.5 KB · Views: 77
  • 40CF3DC7-3C3B-4A84-8207-A47D99762A4E.jpeg
    40CF3DC7-3C3B-4A84-8207-A47D99762A4E.jpeg
    210.6 KB · Views: 90
sliding the engine in and mock up for the components to make sure strap points work
 

Attachments

  • 51D378D0-5107-40EF-BA32-94395EB14E3D.jpeg
    51D378D0-5107-40EF-BA32-94395EB14E3D.jpeg
    200 KB · Views: 86
  • 00530EAF-C098-4959-8D28-9EA2A7D12599.jpeg
    00530EAF-C098-4959-8D28-9EA2A7D12599.jpeg
    226.5 KB · Views: 82
  • BE244F71-AD41-4EF4-BAC8-3DA9B43B3A24.jpeg
    BE244F71-AD41-4EF4-BAC8-3DA9B43B3A24.jpeg
    211.9 KB · Views: 80
  • 93AF34CC-7282-4BE8-AAAE-94BCD95742E4.jpeg
    93AF34CC-7282-4BE8-AAAE-94BCD95742E4.jpeg
    248.2 KB · Views: 83
forgot to upload more as i pieced it together , i fab'd up a quick water distribution bar. my bun trim came in before the test ride so i swapped it over. and still waiting on my thrust 2 gal feel cell so tossed in my spare cart tank to take if for a break in period
 

Attachments

  • 343B5E8E-4619-4125-9055-7CE2EFDBF814.jpeg
    343B5E8E-4619-4125-9055-7CE2EFDBF814.jpeg
    177.8 KB · Views: 80
  • 0C9BB8CE-4DFA-48C2-833B-650539AFA6BA.jpeg
    0C9BB8CE-4DFA-48C2-833B-650539AFA6BA.jpeg
    96.9 KB · Views: 83
  • C407583A-7A69-4760-9706-DBC82A886F9A.jpeg
    C407583A-7A69-4760-9706-DBC82A886F9A.jpeg
    220.8 KB · Views: 87
  • 76462FF5-C188-442E-9F43-3261A809AD46.jpeg
    76462FF5-C188-442E-9F43-3261A809AD46.jpeg
    204.3 KB · Views: 92
got it wet for the first time to figure out what needs to be changed. what a huge difference in hulls from the 2020 XFS ninja to the 2021 V2 revolver . different stance , the cock pit is further back . you stand lower in the water on the revolver and it rides a bit nose high compared. the V2 is aggresive to ride and reacts to minimal inputs and is twitchy, as it turns sharp and now. it flips fast even on my rich fuel first ride to break in the motor , so it was a bitt boggy. I didn't have time to tinker with it as i skipped work to try it out lol. but i did have to shorten the pole length ( there brackets now touch to keep my weight more forward), i ran the SE 50 carbs stock together a base point. but ended up leaning out the bottom end ( smaller needle and bigger spring) and went up on the main jet). I remapped the curve to be more aggressive as well . as my pump and prop setup between the two units are completely different. i hope to take it out again this weekend to get some more tray time on it and figure it out
 

Attachments

  • 3461E0DA-DEC4-4D6D-B904-5DDDFC0B60DC.jpeg
    3461E0DA-DEC4-4D6D-B904-5DDDFC0B60DC.jpeg
    248 KB · Views: 93
  • FF5E4652-1BE0-4055-B276-77A1FD27D75E.jpeg
    FF5E4652-1BE0-4055-B276-77A1FD27D75E.jpeg
    344.8 KB · Views: 105
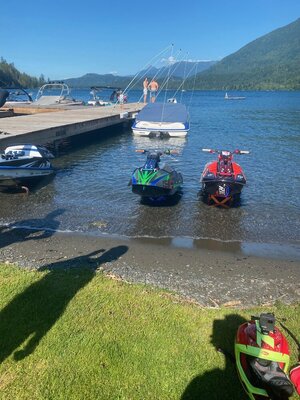
so finally got my babies out together to really test them together. i can't wait to do an unbiased write up of these things this winter, as
they both are great units and have different strengths and weaknesses but nothing major just preference
 

Attachments

  • DB42B037-39A1-4EF6-BF22-99A9D9C90211.jpeg
    DB42B037-39A1-4EF6-BF22-99A9D9C90211.jpeg
    250.5 KB · Views: 68
Top Bottom