90 SJ Build

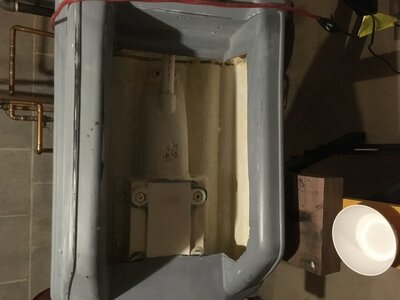
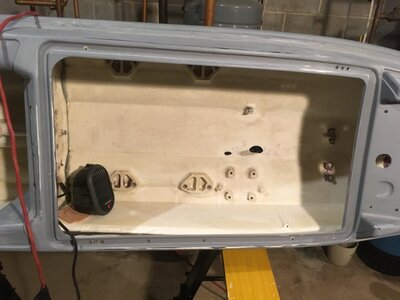
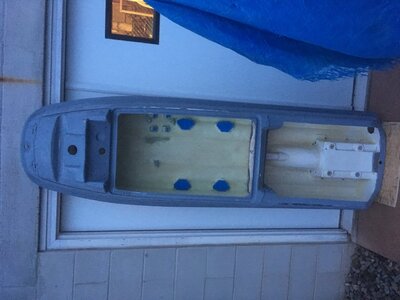
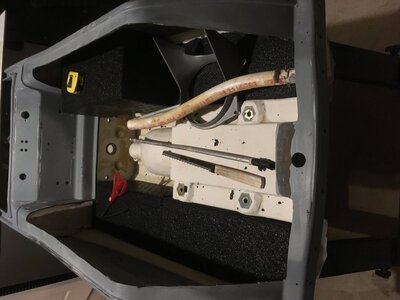
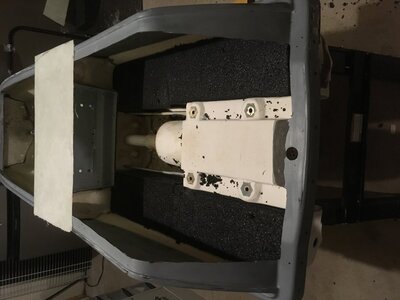
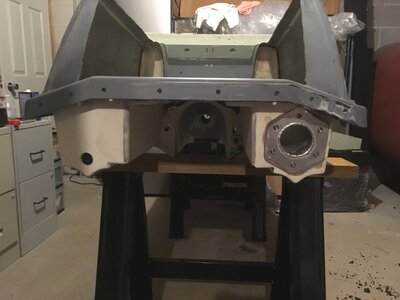
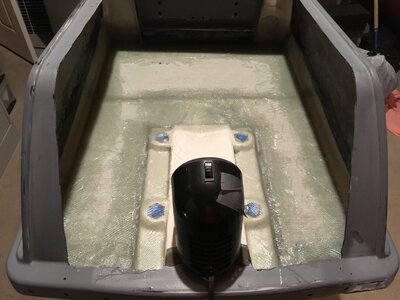
So a few months ago, I purchased a project sn sj hull for this winter. I am in the process of sanding down the engine bay for reinforcement and de foaming the rear tray to re foam and add foot holds. I know w weak spot on these old hulls is the midshaft design as it is smaller and more prone to failure due to vibration. I have read threads where two of the bolt holes on the newer, larger midshaft style line up with the old threaded inserts, the other needing to be moved out. My question is while my tray is open, is it feasible to move a single insertion order for it to line up and epoxy it in place? In which case I would gain more possibilities for midshaft setups, whether OEM or aftermarket.
 
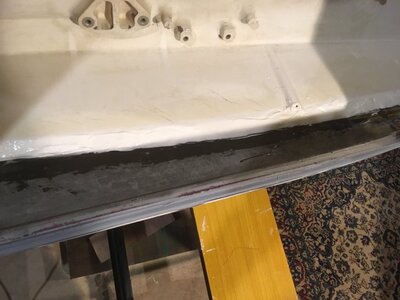
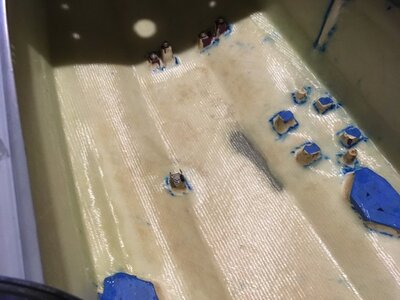
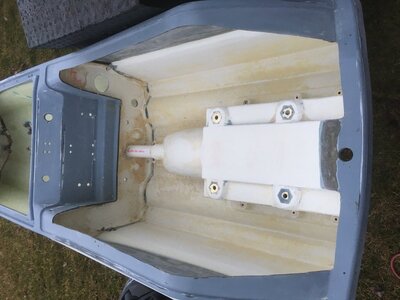
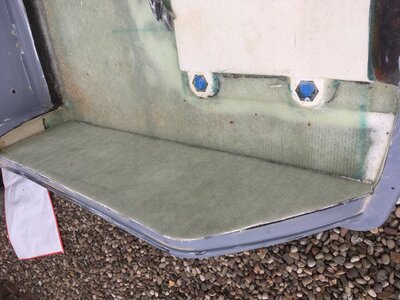
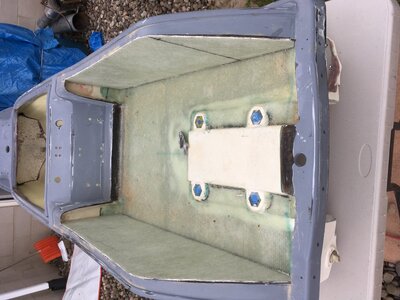
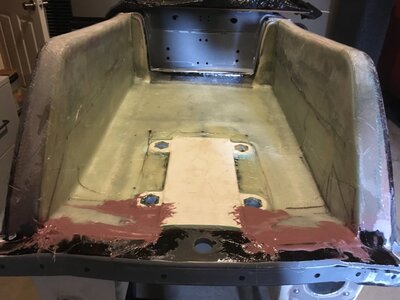
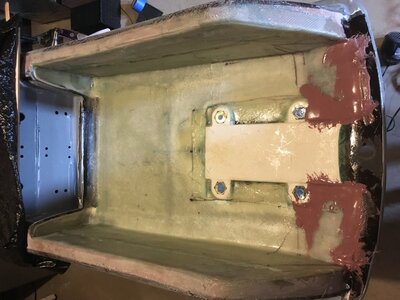
Some more pics. Foam is out. Sealing the bond line with thickened epoxy. It’ll cure nicely while I am away on a Colorado ski trip, at which point more sanding will be done to ready it for 1708 Biax reinforcement. Trying to decide whether or not to build a wider tray once refoamed, or just put in footholds. I am a bigger guy at 6’3” so a wider tray/stance appeals to me. Anybody with any thoughts?
 

Attachments

  • D4208B37-2573-4DEB-8CCA-7653D056F7FA.jpeg
    D4208B37-2573-4DEB-8CCA-7653D056F7FA.jpeg
    86.1 KB · Views: 59
  • DBC8AAFC-F959-49BA-B689-2D946F91D410.jpeg
    DBC8AAFC-F959-49BA-B689-2D946F91D410.jpeg
    96.2 KB · Views: 55
  • 893C7F6E-5258-495F-8F74-0B8F7AE4B68A.jpeg
    893C7F6E-5258-495F-8F74-0B8F7AE4B68A.jpeg
    102.3 KB · Views: 59
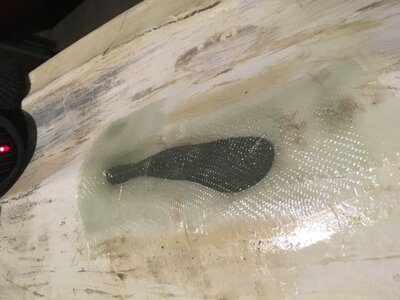
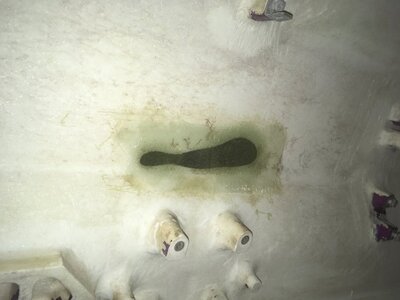
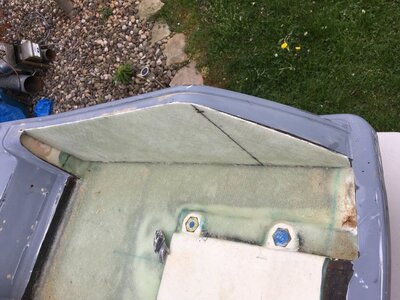
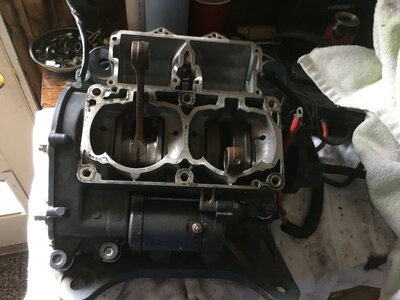
Did a repair on the bottom prior to laying down reinforcement. Came out well, just need to sand, smooth, and feather in. Project coming along slowly but surely. Also got my ebox cleaned up and ready to drop in, have a 61x to go in. Just need to replace the crank seals, hone and new rings. The final thing I want to eventually do is mod the hood.
 

Attachments

  • CB35C081-5A1D-4293-BC78-C7456E0A4D5D.jpeg
    CB35C081-5A1D-4293-BC78-C7456E0A4D5D.jpeg
    66.8 KB · Views: 52
  • 420B130F-2333-462C-A25B-DE612BDAEE61.jpeg
    420B130F-2333-462C-A25B-DE612BDAEE61.jpeg
    51.1 KB · Views: 51
  • FDA97485-B713-45AA-90B8-093943323B0A.jpeg
    FDA97485-B713-45AA-90B8-093943323B0A.jpeg
    116.9 KB · Views: 54
  • 2384421B-329F-4837-B52C-567A0389FBB2.jpeg
    2384421B-329F-4837-B52C-567A0389FBB2.jpeg
    90.8 KB · Views: 64
Reinforcement complete with 1708 Biax. Next thing I plan to tackle is the pole mount area. Trying to figure out the best way to go about it.
 

Attachments

  • 2940655A-C44D-4D2A-9348-E2BF6A4B005C.jpeg
    2940655A-C44D-4D2A-9348-E2BF6A4B005C.jpeg
    116.2 KB · Views: 53
  • 89A03A18-E3FD-4996-8A69-F81F113B89C9.jpeg
    89A03A18-E3FD-4996-8A69-F81F113B89C9.jpeg
    116.6 KB · Views: 58
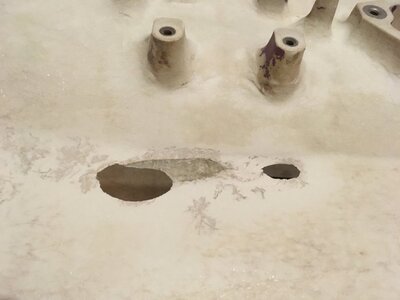
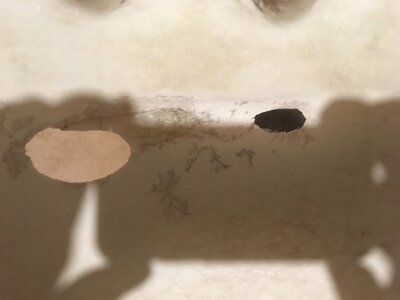
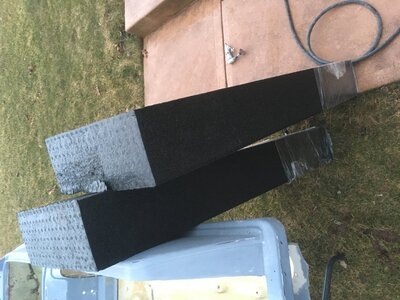
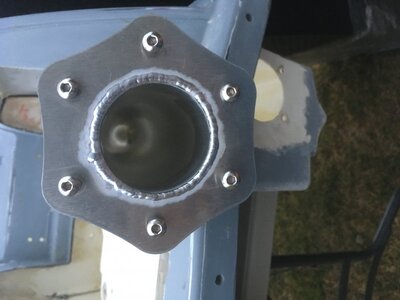
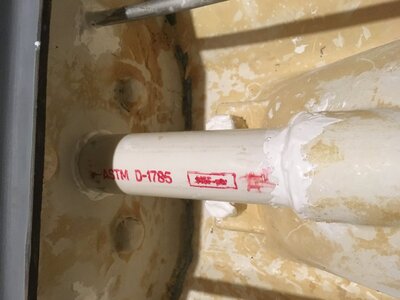
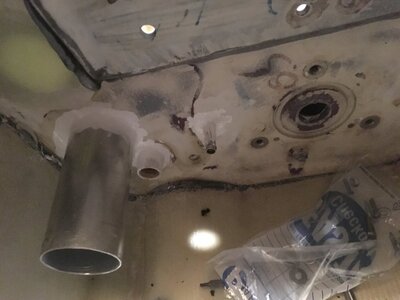
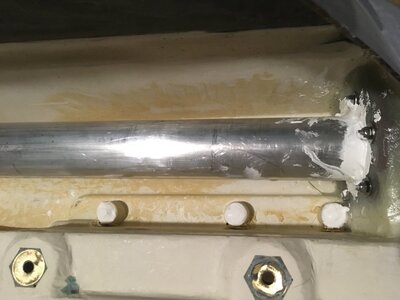
Finally able to get some more work done, been a busy past month or so. Foam will be cut soon. Filling old exhaust holes in, will cut new ones as the tray will be widened and lowered. Got a custom aluminum exhaust tube from RAD Dudes, should look pretty good!
 

Attachments

  • 284BDF92-F7B0-416C-A6D8-47DCE00402D5.jpeg
    284BDF92-F7B0-416C-A6D8-47DCE00402D5.jpeg
    106.6 KB · Views: 40
  • 082A054D-CD97-4CAB-9DA9-5EA7D99D6B41.jpeg
    082A054D-CD97-4CAB-9DA9-5EA7D99D6B41.jpeg
    145.6 KB · Views: 42
  • A097CC05-49E7-4B27-B3CE-433D83B6AEF2.jpeg
    A097CC05-49E7-4B27-B3CE-433D83B6AEF2.jpeg
    77.9 KB · Views: 41
  • C1AB8922-3E53-4087-8FD9-C8CCDF3473C6.jpeg
    C1AB8922-3E53-4087-8FD9-C8CCDF3473C6.jpeg
    103.5 KB · Views: 43
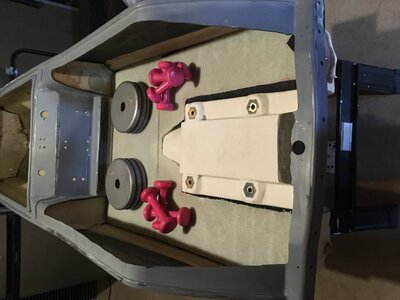
Some more progress. Started measuring, cutting, and test fitting foam for the tray. Hopefully should be able to 5200 all fittings back in and rebuild the tray in the next week or so.
 
Working on getting the foam cut and everything test assembled before everything gets 5200 and the tray can be built!
 

Attachments

  • A2AEAD92-6F35-4EFD-AD4E-AE35E9944679.jpeg
    A2AEAD92-6F35-4EFD-AD4E-AE35E9944679.jpeg
    96.4 KB · Views: 33
  • F6F97BED-BD86-4686-A983-37976A0CB565.jpeg
    F6F97BED-BD86-4686-A983-37976A0CB565.jpeg
    81.9 KB · Views: 39
Everything 5200, should be cured by the time I am able to work on it again between work shifts. Then the wide tray can begin to take shape with lots of glassing. Most recent US Composites order should be here shortly.
 

Attachments

  • AB721BF1-A4E9-4EE4-8FEB-92371FDE6A76.jpeg
    AB721BF1-A4E9-4EE4-8FEB-92371FDE6A76.jpeg
    89.5 KB · Views: 36
  • 672EC6BA-8E8B-4691-8BCC-F39E4C6CA6FF.jpeg
    672EC6BA-8E8B-4691-8BCC-F39E4C6CA6FF.jpeg
    99.9 KB · Views: 38
  • D2CD411D-7B4F-4F84-AB64-93B73A8165CC.jpeg
    D2CD411D-7B4F-4F84-AB64-93B73A8165CC.jpeg
    91.6 KB · Views: 42
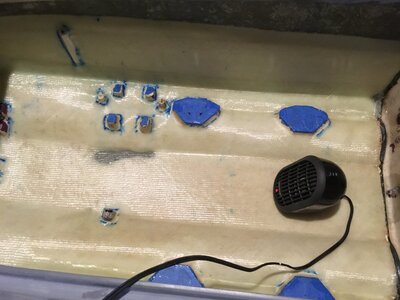
Got the two panels I had previously made glassed into the tray area today. Gonna cut a pattern out to cover the entire area, cut a few layers out of 1708 biax and reinforce the tray after sanding and prepping.
 

Attachments

  • F8B0DCB6-79D9-4F31-AC32-7771D415E4B9.jpeg
    F8B0DCB6-79D9-4F31-AC32-7771D415E4B9.jpeg
    96 KB · Views: 36
  • F23DA7A4-44EF-4C61-A26C-9EBCF9E37063.jpeg
    F23DA7A4-44EF-4C61-A26C-9EBCF9E37063.jpeg
    116 KB · Views: 38
Final side pieces cut and ready to be glassed in. Some more sanding, glass the pieces in, more sanding and then a final few layers of s-glass in the entire tray area for final reinforcement. Hope to reinforce the pole mount area quick before final body work starts for painting.
 

Attachments

  • CBA45864-28E7-467D-A945-0A1B236B453E.jpeg
    CBA45864-28E7-467D-A945-0A1B236B453E.jpeg
    155.7 KB · Views: 26
  • D17C7DED-848E-4295-BADA-A12934731F90.jpeg
    D17C7DED-848E-4295-BADA-A12934731F90.jpeg
    136.2 KB · Views: 26
  • 0BFD64C9-1F52-434C-B940-4E5B43A3CE80.jpeg
    0BFD64C9-1F52-434C-B940-4E5B43A3CE80.jpeg
    166.8 KB · Views: 33
Due to the constant rainy days in PA, spent a day slowly rebuilding the bottom end in anticipation of the new top end that’s currently at the engine builder. 61x, for the 701 power.
 

Attachments

  • 3DDAC522-C1A5-4BBC-A02E-032C617EBFAE.jpeg
    3DDAC522-C1A5-4BBC-A02E-032C617EBFAE.jpeg
    105.8 KB · Views: 31
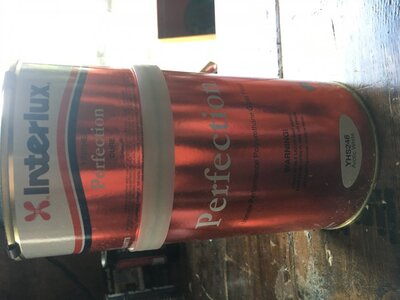
Try is just about done. A little more sanding , couple more layers of glass in the rear and it’ll be time to move onto paint prep. The underpole area is also ready for fiberglass reinforcement for when it’s flipped over to start final sanding for paint prep. I am going with interlux perfection 2 part urethane topside paint using the roll and tip method. I don’t have spray equipment, and reading up about this paint made it seem fairly straight forward. It’s durable and not too hard to apply, as prep is the most important part no matter what paint you use. Not expecting perfect results for the first time, but it will be a fun experience no matter what, I learn every day with this project! It’ll be nice not to itch for a while tho!
 

Attachments

  • ADE0A58F-C9D3-4AFF-8ADE-65FF1CF13C73.jpeg
    ADE0A58F-C9D3-4AFF-8ADE-65FF1CF13C73.jpeg
    110.6 KB · Views: 20
  • 723E9553-E01B-4AAD-86A2-D00462B1B598.jpeg
    723E9553-E01B-4AAD-86A2-D00462B1B598.jpeg
    135.4 KB · Views: 21
  • image.jpg
    image.jpg
    87.9 KB · Views: 21
Top Bottom