97Superjet's Superfreak Circus

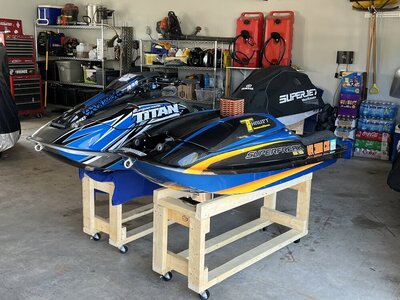
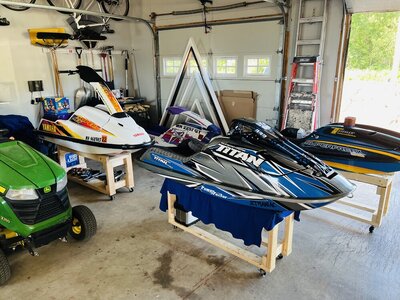
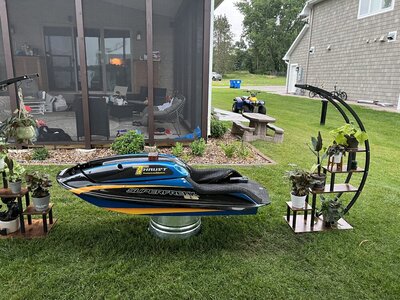
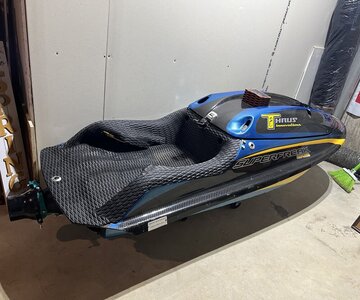
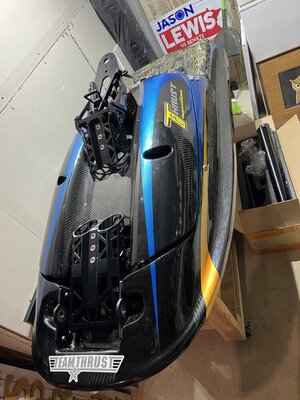
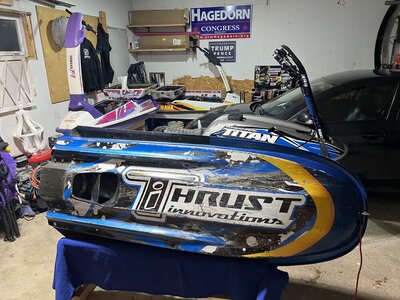
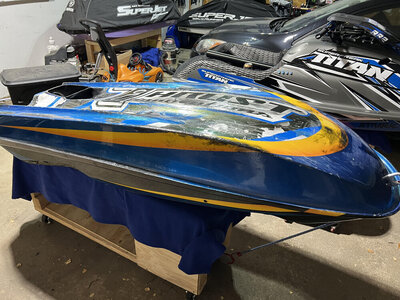
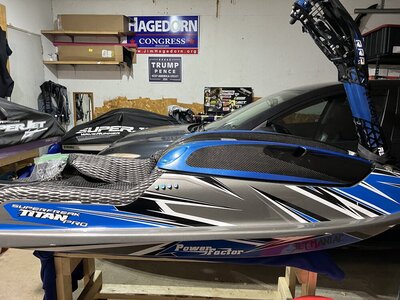
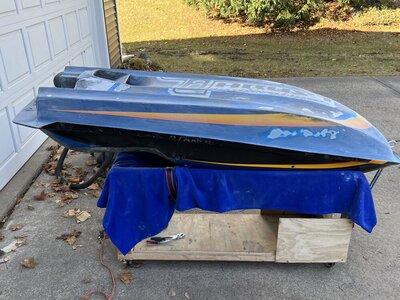
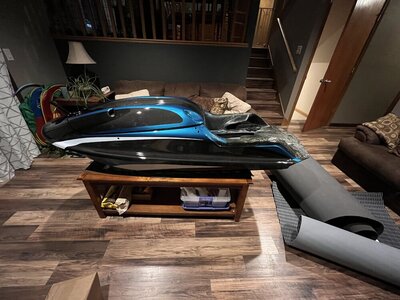
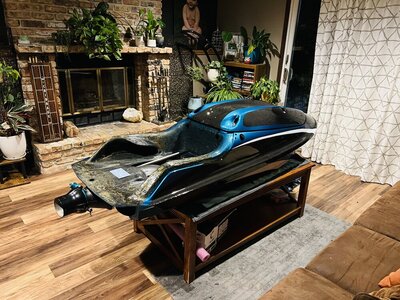
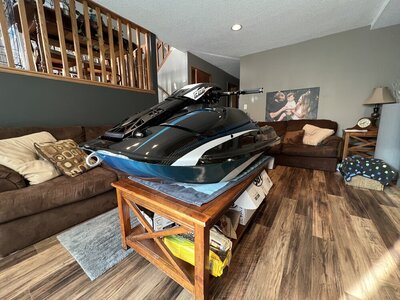
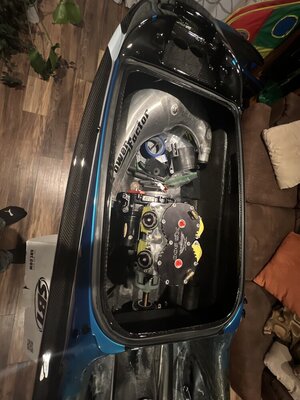
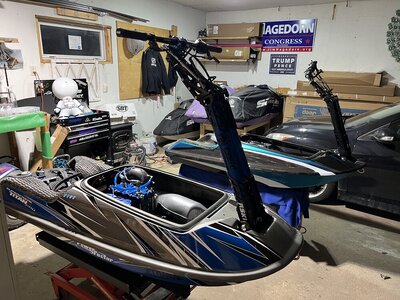
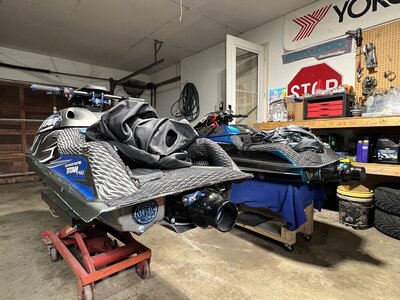
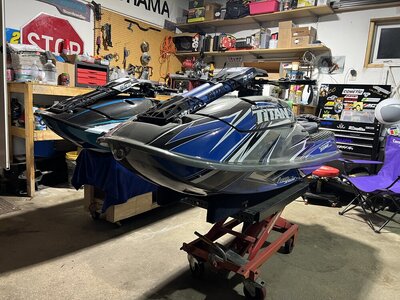
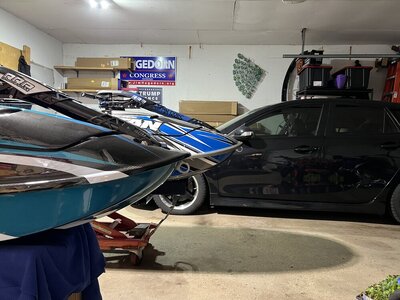
I have been a superfreak fan since they came out with the badass. Loved the old videos with Jetmaniac and budproductions when everyone had to have a superfreak. Those were the ski to have back in the day until the circus came out, then that was the flatwater ski to have. I remember seeing Lucas testing the white circus out and wanted one so bad. I have enjoyed my carbon -7 titan so much this summer I thought I would build another one. So this ski came up for sale as a part out a few months ago and I spoke with the owner for a while about it. I was putting my wedding together around the same time and thought this would be a cool addition to the wedding but also a fun build for the future. We used the hull as a beer cooler during the reception and people signed under the hood as our guestbook lol
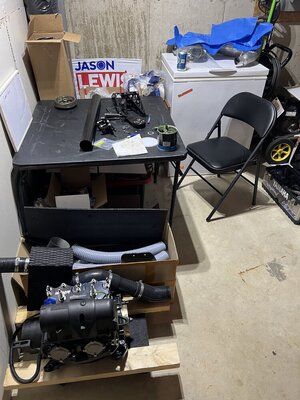
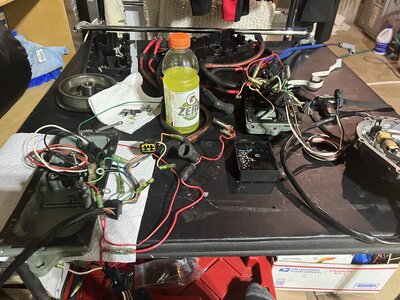
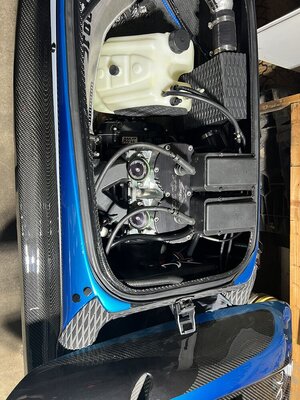
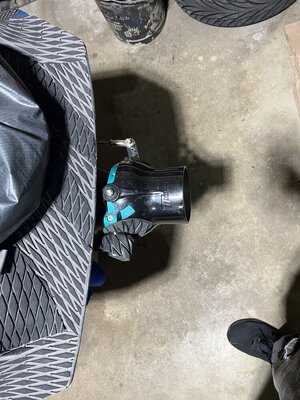
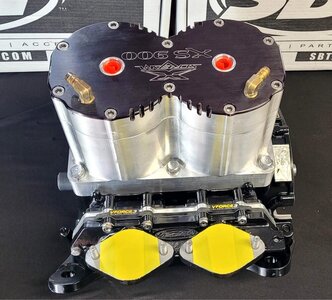
I have a full parts 760 motor/electrics, midshaft, 155 pump, thrust trim so far put away for this. I need pole, steering and exhaust at a minimum. To keep cost down this year I will probably just steal the running gear from my superjet for next season and the powerfactor from my other superfreak.
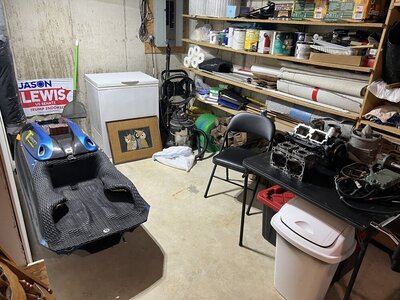
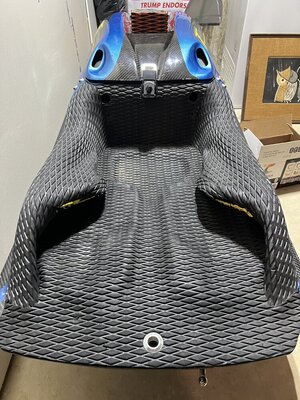
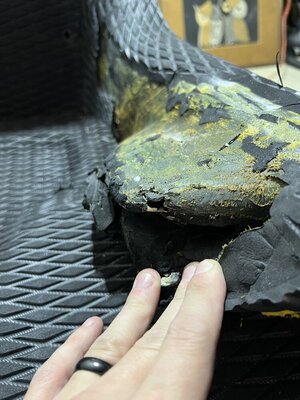
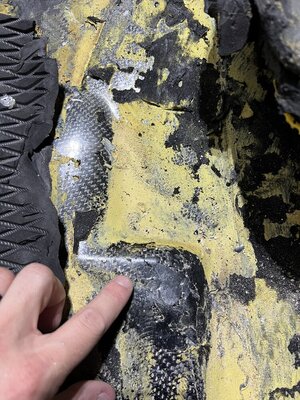
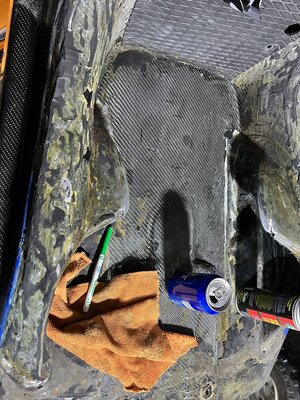
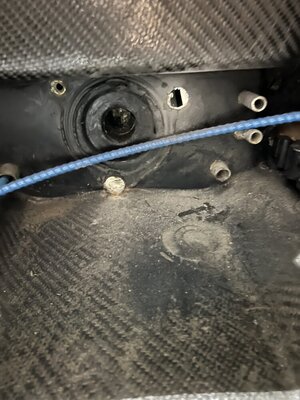
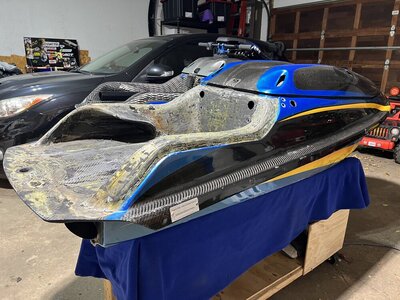
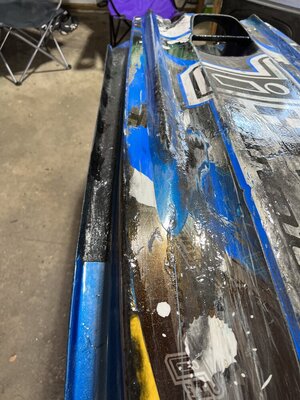
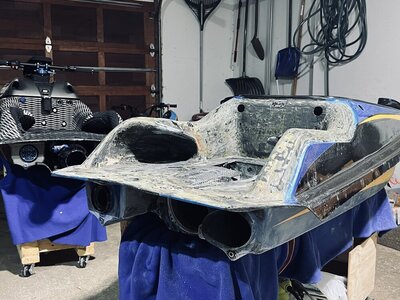
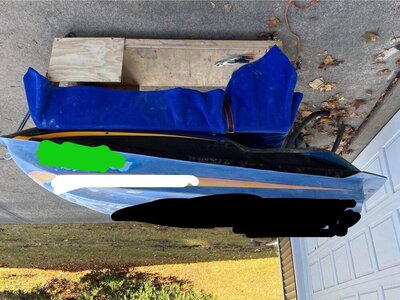
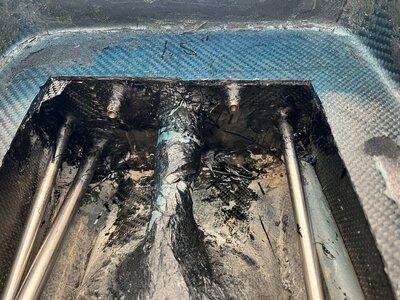
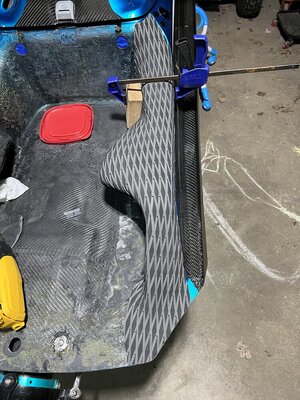
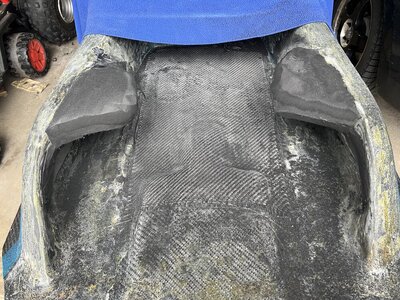
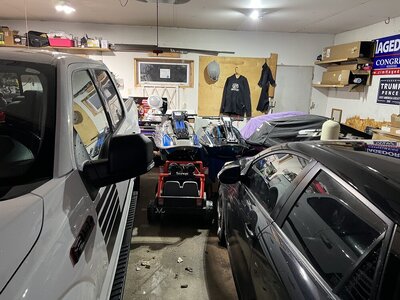
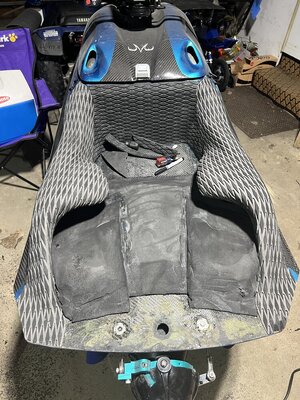
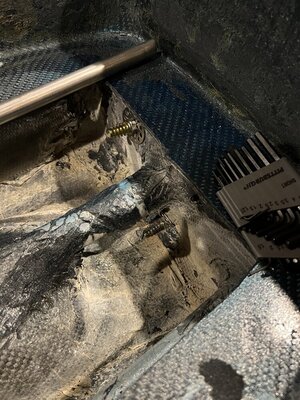
I bought this hull knowing two of the midshaft inserts needed to be repaired and the bottom of the ski probably needs paint. The overall condition of the ski is good but it's been ridden obviously. I started stripping the turf off and found some damage to the right foothold and above the pump on the right. My guess is someone came out of the footholds and hit their knee on it causing the cracks in the carbon. I have extra carbon and epoxy from fixing my other superfreak so this "should" be fairly easy. Last year I worked in my garage until it got too cold, this year I brought the hull into my storage room so I can work on it at my own pace and not be forced out by the cold. Enjoy the build, as I will enjoy chipping away at it.
 

Attachments

  • IMG-8380.jpg
    IMG-8380.jpg
    191.4 KB · Views: 170
  • IMG-8381.jpg
    IMG-8381.jpg
    203.1 KB · Views: 135
  • IMG-8502.jpg
    IMG-8502.jpg
    273.1 KB · Views: 112
  • IMG-8668.jpg
    IMG-8668.jpg
    215.3 KB · Views: 101
  • IMG-8675.jpg
    IMG-8675.jpg
    241.6 KB · Views: 99
  • IMG-8694.jpg
    IMG-8694.jpg
    177 KB · Views: 92
  • IMG-8778.jpg
    IMG-8778.jpg
    150.5 KB · Views: 92
  • IMG-8792.jpg
    IMG-8792.jpg
    277.4 KB · Views: 104
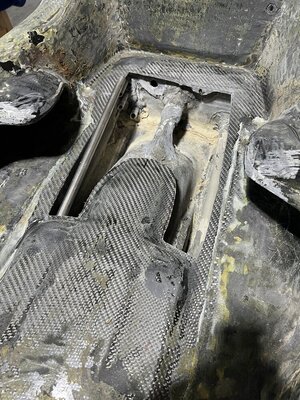
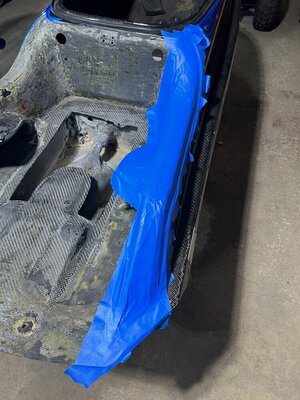
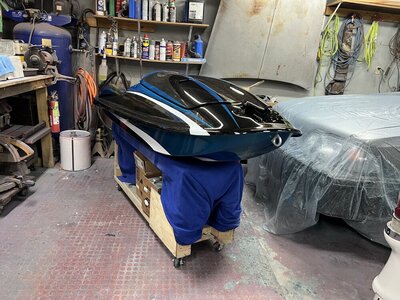
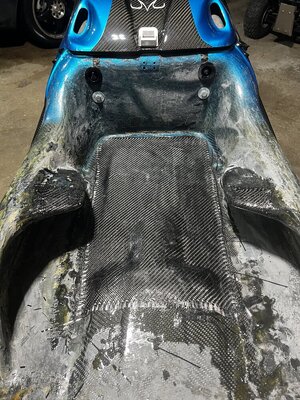
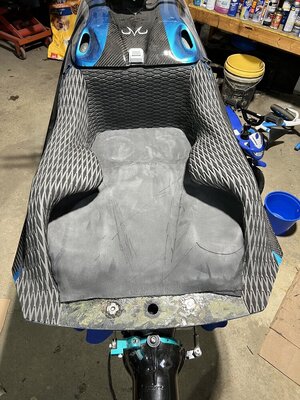
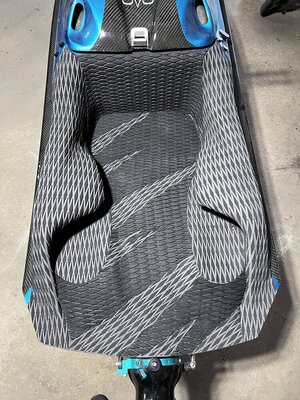
Little update- got the tray mostly prepped and cleaned, looking over the bottom and seeing where else repairs need to be made for paint. I'm in between trying to keep the decals on the bottom of the ski or painting over them... my goal is have the tray done, footholds reinforced and ready for paint by the end of October
 

Attachments

  • 7DA34AE5-374F-4C02-8853-182D126A3636.jpeg
    7DA34AE5-374F-4C02-8853-182D126A3636.jpeg
    169 KB · Views: 81
  • 5CEBD999-0D6A-47EE-9B02-FC6088368145.jpeg
    5CEBD999-0D6A-47EE-9B02-FC6088368145.jpeg
    297.2 KB · Views: 79
  • 5E7233CD-A1B8-4BC4-81D2-F1D3B628AB46.jpeg
    5E7233CD-A1B8-4BC4-81D2-F1D3B628AB46.jpeg
    171.3 KB · Views: 77
  • AC6D53EF-A8E7-4415-A972-513622C2FC53.jpeg
    AC6D53EF-A8E7-4415-A972-513622C2FC53.jpeg
    202.9 KB · Views: 76
  • 202491DD-0240-4C50-996D-97586B6448B7.jpeg
    202491DD-0240-4C50-996D-97586B6448B7.jpeg
    200.8 KB · Views: 90
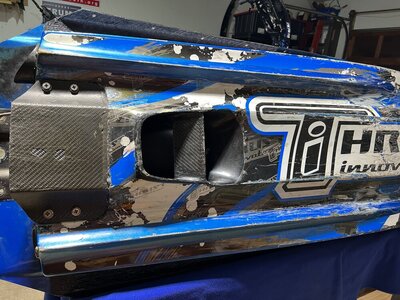
Quick update - My garage is starting to get cold so I have to finish cutting/sanding before it gets too cold in my garage. Going to get the bottom of the ski finished prepping for paint and hopefully have it out to paint by end of October. Will get it back and finish putting the midshaft back in and carbon work downstairs in my house.

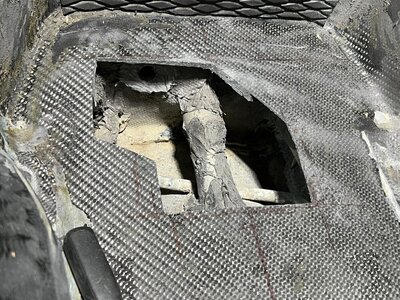
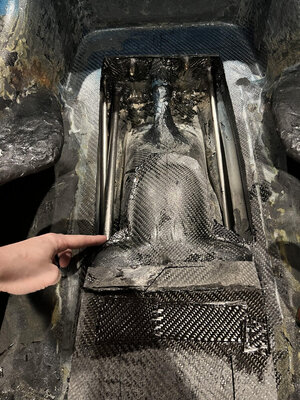
Currently I cut out a section of the tray to get to the midshaft inserts and have those areas mostly cleaned up. Trying to decide what to do with the aluminum lines while I have the tray open. Big thanks to Don for answering all my questions as I go and helping me try to make the right decisions on my next steps lol
I filled some holes in the rails with chopped carbon that someone had put extensions and also filled some bad chipped areas. I did sand the areas well and will sand it down further, just trying to do a solid first layer before a light coat to smooth everything out.

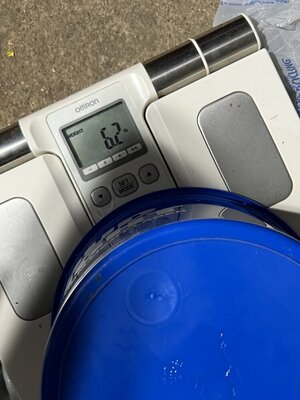
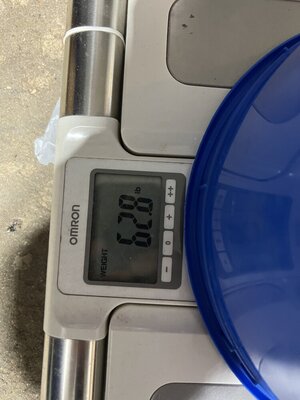
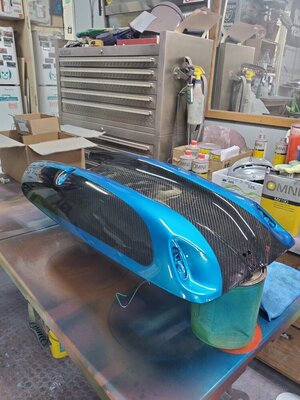
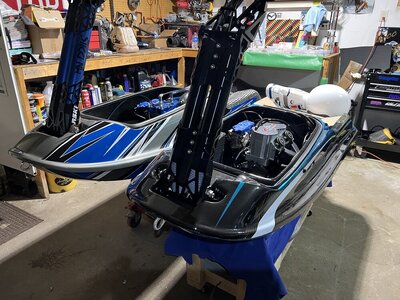
Also comparing my -7 superfreak titan pro to my circus there are a lot of differences I didn't initially notice. A few obvious things are the increased front rocker, shortened nose, shorter tray and footholds moved up. Things I didn't see right away is circus hood is lower and much lighter, circus has 3.5 exhaust outlet vs 2.5 on the titan pro, circus rear rails are cut and angled and the circus pump tunnel is not just a 155 with an integrated scoop but it scoops really low vs the titan just has a modified superjet grate....I will try to get some measurements of the differences but I also weighed everything last night. This is with a cold fusion battery box, a few straps and pads but nothing else. Hood weighed 6.2lbs and hull/hood was 62.8... also tried the circus hood on the titan you know for science.
 

Attachments

  • IMG_9132.jpeg
    IMG_9132.jpeg
    132 KB · Views: 68
  • unnamed.jpg
    unnamed.jpg
    223.8 KB · Views: 78
  • IMG_9303.jpeg
    IMG_9303.jpeg
    188.9 KB · Views: 54
  • IMG_9300.jpeg
    IMG_9300.jpeg
    110.6 KB · Views: 54
  • IMG_9295.jpeg
    IMG_9295.jpeg
    99.9 KB · Views: 55
  • IMG_9259.jpeg
    IMG_9259.jpeg
    192 KB · Views: 61
  • IMG_9235.jpeg
    IMG_9235.jpeg
    199.4 KB · Views: 66
  • IMG_9131.jpeg
    IMG_9131.jpeg
    283 KB · Views: 60
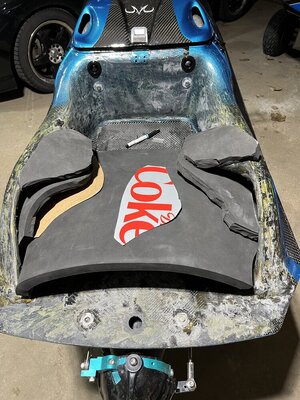
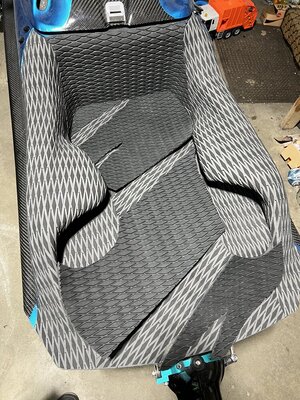
I have cut out all the lines, test "fit" some of the new stainless lines, also made turf templates as I was bored and didn't want to sand anymore. The hull is mostly prepped for paint, going to go over the bottom one more time with 220 and twice with 400. Going to do the carbon and lines after paint..hopefully that works out in my favor. Still haven't chosen a motor for this yet but am planning to steal the power factor from my other superfreak, also have to figure out electronics as I have an extra set of 760 electronics but no extra zeel and my fx1 still needs an msd enhancer..
 

Attachments

  • IMG_9423.jpeg
    IMG_9423.jpeg
    280.9 KB · Views: 60
  • IMG_9461.jpeg
    IMG_9461.jpeg
    190.8 KB · Views: 58
  • IMG_9566.jpeg
    IMG_9566.jpeg
    184.1 KB · Views: 51
  • IMG_9580.jpeg
    IMG_9580.jpeg
    207.4 KB · Views: 57
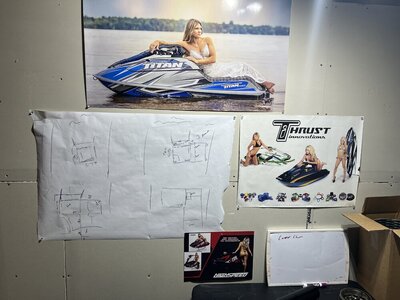
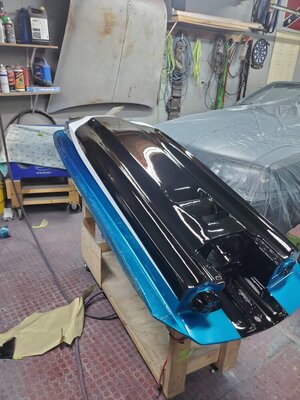
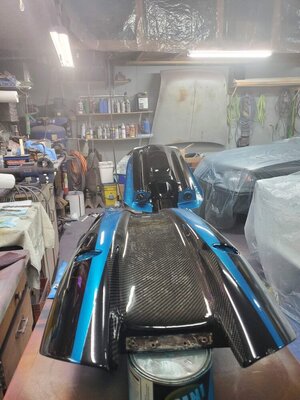
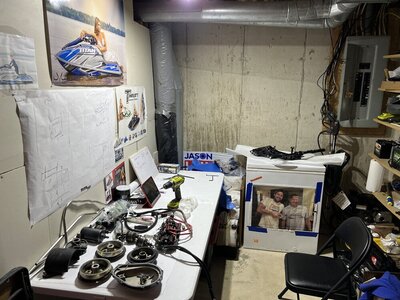
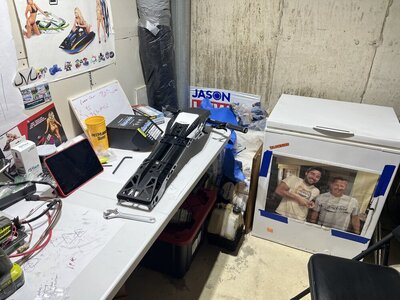
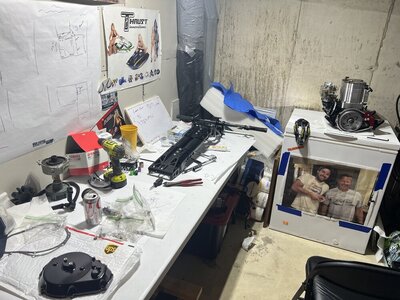
Paint is done and curing, doing some decals next. The teal looks really blue in pictures but it is very teal, I also included my picture for my painter that I did on my phone for laughs... currently swapping zeel and other parts from my other superfreak and assembling the pole/steering while I wait. Enjoy the workspace ;) A130B39C-1840-407D-8633-AA1372539020.jpeg
 

Attachments

  • 3C228D7D-99A2-49B5-9B58-34D457E76794.jpeg
    3C228D7D-99A2-49B5-9B58-34D457E76794.jpeg
    166.8 KB · Views: 37
  • 8B94AC4F-AF77-40B2-AA96-BFE265CF6B72.jpeg
    8B94AC4F-AF77-40B2-AA96-BFE265CF6B72.jpeg
    124.1 KB · Views: 34
  • B96BC8F3-0289-499B-A5FF-E5C14F6B9577.jpeg
    B96BC8F3-0289-499B-A5FF-E5C14F6B9577.jpeg
    170.5 KB · Views: 35
  • F4D7699F-7C10-4D77-A2B1-7355C8415C30.jpeg
    F4D7699F-7C10-4D77-A2B1-7355C8415C30.jpeg
    195.3 KB · Views: 39
  • AB0AB086-33C9-4735-B569-CFE4627E51F6.jpeg
    AB0AB086-33C9-4735-B569-CFE4627E51F6.jpeg
    166.6 KB · Views: 38
  • 2B72F70C-C257-4CB4-863C-15D6B0F0DA0B.jpeg
    2B72F70C-C257-4CB4-863C-15D6B0F0DA0B.jpeg
    156 KB · Views: 48
  • 91C30D19-840B-4165-A8A6-5E8BFE97DBB1.jpeg
    91C30D19-840B-4165-A8A6-5E8BFE97DBB1.jpeg
    187 KB · Views: 44
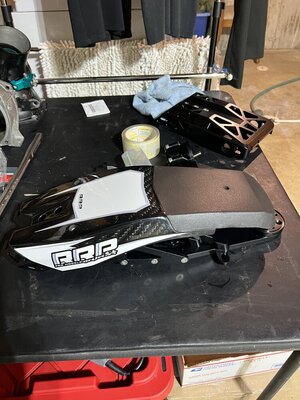
Got the ski home before Christmas, put the pole together for the most part, mocked up the lines and the midshaft inserts. Also got a new table for the "assembly room". Blue finished my 900R and having some friends pick it up in Daytona. My goal for January is to close the tray back up and start motor/exhaust mockup.
 

Attachments

  • IMG-0101.jpg
    IMG-0101.jpg
    149.4 KB · Views: 35
  • IMG-0115.jpg
    IMG-0115.jpg
    174.2 KB · Views: 35
  • IMG-0126.JPG
    IMG-0126.JPG
    181.5 KB · Views: 35
  • IMG-0134.jpg
    IMG-0134.jpg
    179.5 KB · Views: 37
  • IMG-0138.jpg
    IMG-0138.jpg
    241.7 KB · Views: 37
  • IMG-0144.jpg
    IMG-0144.jpg
    235 KB · Views: 45
I have been mocking up parts to check fit and finish the lines and midshaft inserts. I did chopped carbon/epoxy around the lines and inserts and did a carbon cap over the inserts as well. I took a picture of the piece I cut out of the tray and the little "wings" I did to hold the piece back in place again. Currently just doing the little things during assembly but should be done soon!
 

Attachments

  • IMG-0291.jpg
    IMG-0291.jpg
    172.5 KB · Views: 32
  • IMG-0445.jpg
    IMG-0445.jpg
    267.3 KB · Views: 32
  • unnamed.jpg
    unnamed.jpg
    287.3 KB · Views: 32
  • IMG-0454.jpg
    IMG-0454.jpg
    187 KB · Views: 34
  • Img 4.jpg
    Img 4.jpg
    144.9 KB · Views: 41
Finally done and have time to update. Been building the other superfreak and prepping the fx1s for summer while doing my best to chip away at the circus. The first design for the turf I didn't like but had already cut it so had to get creative ;) Thanks for all the help Don! Lol modified the oem FAs, got everything plumbed and did a test crank... need to get some race gas and do a break in at the water next!
 

Attachments

  • 9D5C3E5E-0ED8-4B70-8F06-2A40A45E3BD4.jpeg
    9D5C3E5E-0ED8-4B70-8F06-2A40A45E3BD4.jpeg
    237 KB · Views: 17
  • 0B3B9FC9-4AD3-480A-81C2-C78053CC3BAA.jpeg
    0B3B9FC9-4AD3-480A-81C2-C78053CC3BAA.jpeg
    207.1 KB · Views: 17
  • C723F989-AB4C-44C7-9EE0-5610B2F12477.jpeg
    C723F989-AB4C-44C7-9EE0-5610B2F12477.jpeg
    285.7 KB · Views: 17
  • 7A1335BD-78CC-41CE-8456-FB901FF69354.jpeg
    7A1335BD-78CC-41CE-8456-FB901FF69354.jpeg
    218.9 KB · Views: 17
  • 89128691-479C-4AA9-91F1-44162B002E10.jpeg
    89128691-479C-4AA9-91F1-44162B002E10.jpeg
    172.6 KB · Views: 17
  • 7F14633E-C317-4EE9-A589-F57FC9188477.jpeg
    7F14633E-C317-4EE9-A589-F57FC9188477.jpeg
    290 KB · Views: 19
  • 3614CD81-5C9D-475E-8CA5-E02CBBEEC9A6.jpeg
    3614CD81-5C9D-475E-8CA5-E02CBBEEC9A6.jpeg
    212.9 KB · Views: 21
  • 311AC852-D432-4CE5-8103-6C791E0AED72.jpeg
    311AC852-D432-4CE5-8103-6C791E0AED72.jpeg
    252.3 KB · Views: 19
  • 118D4F8B-87BD-4908-B683-9B8932D79DD6.jpeg
    118D4F8B-87BD-4908-B683-9B8932D79DD6.jpeg
    231.4 KB · Views: 19
  • 88A3EFAC-1405-415B-A110-643E795C8887.jpeg
    88A3EFAC-1405-415B-A110-643E795C8887.jpeg
    293.5 KB · Views: 25
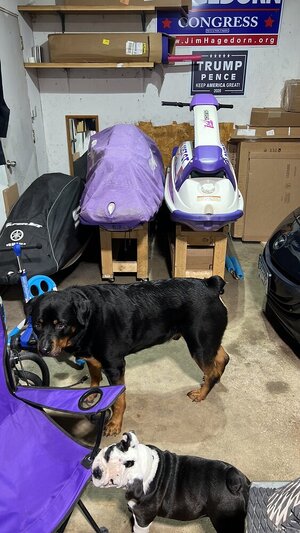
Also I'm super innovative and built a patent pending trim/knee guard... also my bulldog chews on everything, mostly turf scraps and chairs.
 

Attachments

  • 64B8892A-0FE3-4F79-B3FC-CFA39F666381.jpeg
    64B8892A-0FE3-4F79-B3FC-CFA39F666381.jpeg
    194.9 KB · Views: 24
  • 238EA0D6-B2A1-4086-847B-A6EF3E3828DF.jpeg
    238EA0D6-B2A1-4086-847B-A6EF3E3828DF.jpeg
    218.3 KB · Views: 23
  • 1AF41D1C-DC34-490B-B8D1-8069B7842B3F.jpeg
    1AF41D1C-DC34-490B-B8D1-8069B7842B3F.jpeg
    176.8 KB · Views: 23
  • C4B092D3-A428-4E66-AE69-DB31658040DF.jpeg
    C4B092D3-A428-4E66-AE69-DB31658040DF.jpeg
    213.9 KB · Views: 23
  • 532DE224-B940-4EED-A4FB-03C73D9ED2A6.jpeg
    532DE224-B940-4EED-A4FB-03C73D9ED2A6.jpeg
    154.4 KB · Views: 24
  • 63FC0B92-A804-4A0A-B0FA-6F842CD0BD19.jpeg
    63FC0B92-A804-4A0A-B0FA-6F842CD0BD19.jpeg
    142.9 KB · Views: 26
  • 42DB1FB3-947D-4E28-910F-B240DBC66DE1.jpeg
    42DB1FB3-947D-4E28-910F-B240DBC66DE1.jpeg
    274.8 KB · Views: 29
Top Bottom