Super Jet A teenager's first superjet rebuild

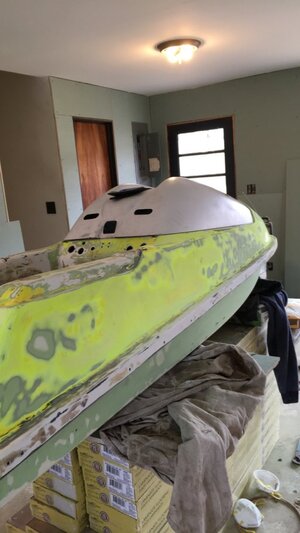
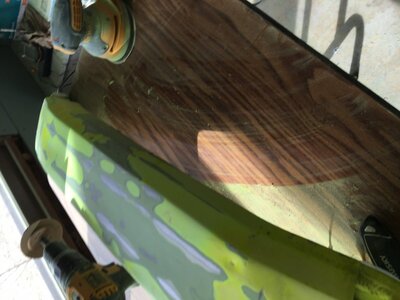
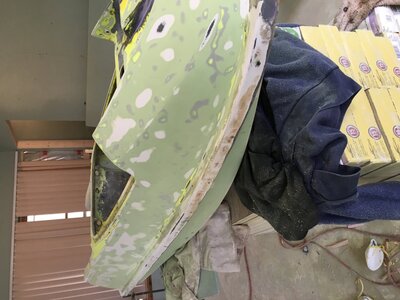
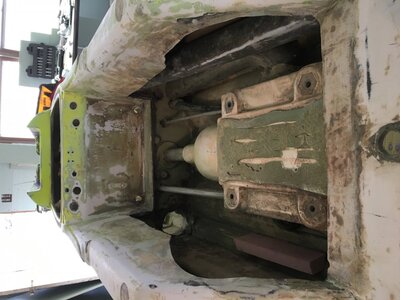
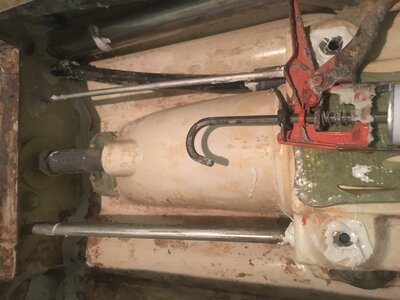
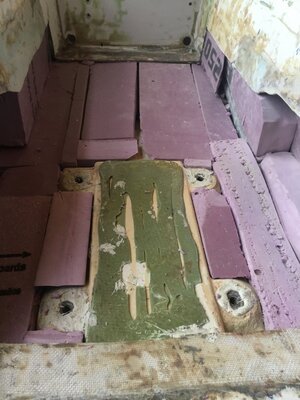
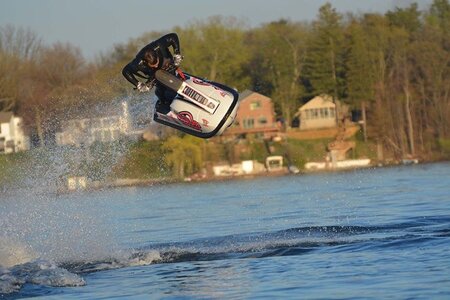
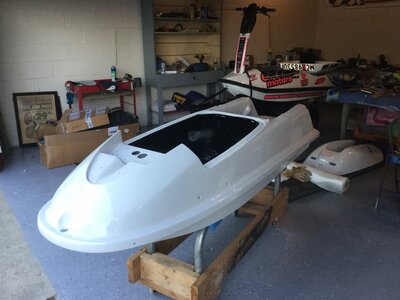
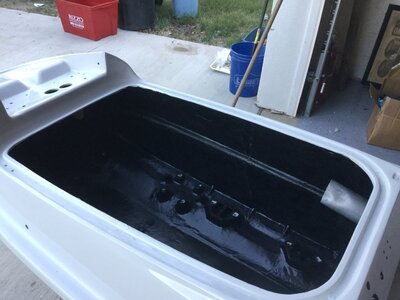
So I wasn't originally planning on making a build thread but after all the hours I've put into already I figured I might as well so others (and me) can learn from my mistakes. If anyone notices me doing something wrong please let me know lol. So I started competing last year in freestyle 800 pretty low key and found out from others that my foam with soaked. So far I've pulled all the turf, cut open the tray, defoamed all the tray and I'm now working on sanding down the hull, hand pole, and hood.

I was originally planning on using the pink foam insulation but I feel like it will be almost impossible to cut it around my scupper pipes and exhaust and everything else so now I am leaning more towards a 2 part foam. My dad had the idea of flex sealing the entire tray first to make a watertight barrier and the pouring the foam, then another layer of flex seal to make it like an M&M and prevent water saturation.
http://www.aeromarineproducts.com/p...MIl4ew1rCa2gIV3bjACh2L2A2NEAAYASAAEgKB6PD_BwE this is the foam I'm thinking of ordering.
 

Attachments

  • IMG-5725 (1).JPG
    IMG-5725 (1).JPG
    81 KB · Views: 215
  • IMG-5728 (1).JPG
    IMG-5728 (1).JPG
    92.2 KB · Views: 211
  • IMG-5729.JPG
    IMG-5729.JPG
    124.3 KB · Views: 198
  • IMG-5731.JPG
    IMG-5731.JPG
    121.5 KB · Views: 205

McDog

Other Administrator
Staff member
Location
South Florida
Use polystyrene. At some point it will leak again and 2part foam will absorb the water. The polystyrene may not fill every single square centimeter but it will displace most of the water in case of a leak (enough to keep ski bouyant) and it will never absorb water and have to be redone.
 
You could use a two part foam like Sika post fix or Fast2k that you can get at your local hardware store. They're waterproof...

From the Fast2k FAQ:
10. Does Fast 2K absorb water?
Contrary to concrete, once it is cured Fast 2K is waterproof, so it will not absorb water. Therefore Fast 2K helps to protect the wood post from rotting and metal posts from corroding.
 
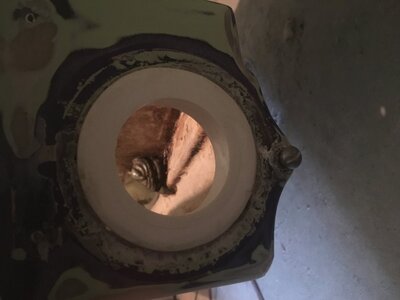
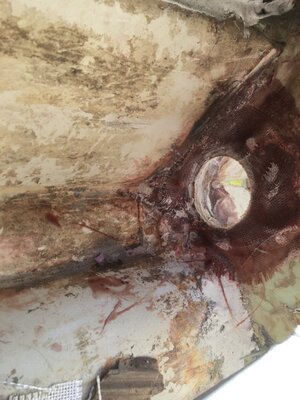
Today I power washed the tray and put 5200 on all the internal hoses and bond line Tomorrow Im going to work on fitting foam into the tray and adding my second versiplug pipe. Hopefully remember to take pics tomorrow!
 
I would highly recommend installing a tray drain on both sides.

Thrust makes a micro tray drain the size of a penny, things are pretty awesome.

I installed one each side of the hull.
 
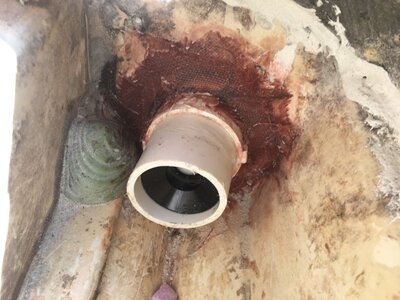
I couldn't do much today because the 5200 was still curing. Worked on fitting the new 2" pvc drain pipe into the old scupper hole with a 3x2 coupling cut flat. I also went over to a buddy's house and clean up some molds and try my hand and fiber glassing for the first time.
 

Attachments

  • IMG-5734.JPG
    IMG-5734.JPG
    67.4 KB · Views: 159
  • IMG-5738.JPG
    IMG-5738.JPG
    119 KB · Views: 158
  • IMG-5733.JPG
    IMG-5733.JPG
    112.7 KB · Views: 166
So I warmed enough to ride up here in Michigan and choosing between riding a dvx and a working on a superjet the dvx won pretty much every time so between a running ski and the end of my senior year (prom and graduation) this really fell on the back burner. But I broke the threads on one of my hand pole bracket bolts and I got some time to work on the superjet while the parts shipped.

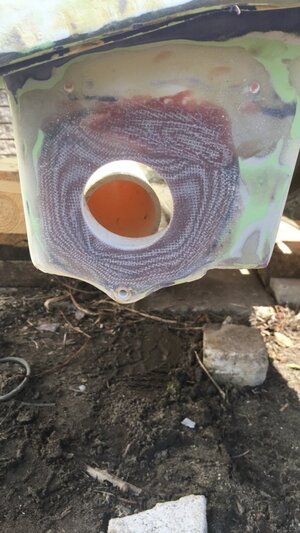
So I pulled my footholds, 1BFFFD4D-E0AE-4C02-97B3-3287396E73F8.jpegglassed in that pvc fitting to the back to versiplug max in (tired of my leaky scupper) 2257C202-4E86-4FCD-98B8-201505777C7F.jpeg
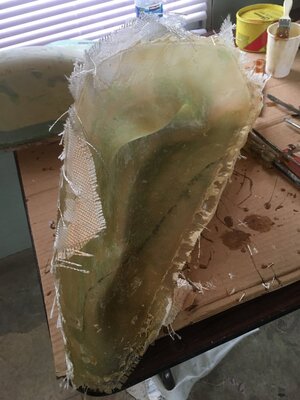
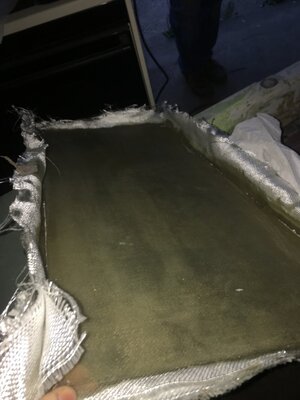
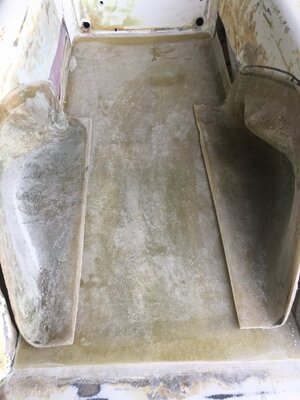
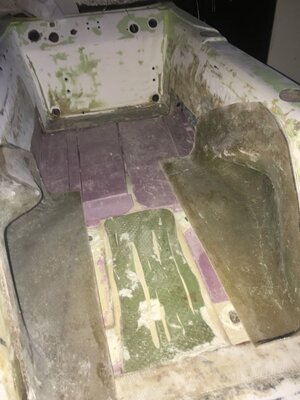
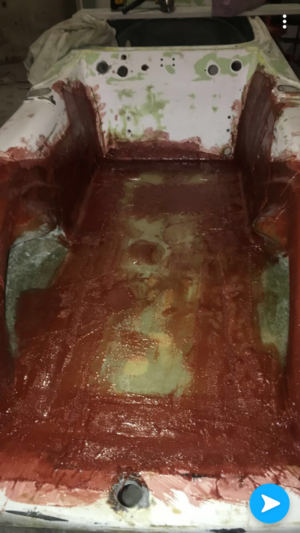
finished up my foam, the tray was in pretty bad shape I think this is hulls 3rd refoam now and had a large crack by the left foothold so i decided to just lay up fiberglass instead of try to use the old one. I couldn’t find anything i really wanted to leave in the tray to hold to fiberglass flat so I cut a piece of drywall to the size of my tray, threw some mold release and wax on that and pulled a decent tray I can reniforce and use to tie the footholds and actual Jetski back together. 2673C2CF-93B2-4068-A6A4-F5FB7DEDE5A2.jpeg
 

Attachments

  • D2B4DC7D-E0E5-4FCF-AE7F-02B3F28C8C4B.jpeg
    D2B4DC7D-E0E5-4FCF-AE7F-02B3F28C8C4B.jpeg
    128.1 KB · Views: 116
  • F4100C4E-A5BD-45AA-AFDC-1A50D2AA9466.jpeg
    F4100C4E-A5BD-45AA-AFDC-1A50D2AA9466.jpeg
    145.3 KB · Views: 110
  • DFA5FBA7-FBF8-4BC1-B1F8-0945A3401AF9.jpeg
    DFA5FBA7-FBF8-4BC1-B1F8-0945A3401AF9.jpeg
    118 KB · Views: 107
  • C3F8E53C-2051-4AA5-A8D0-0400E7457983.jpeg
    C3F8E53C-2051-4AA5-A8D0-0400E7457983.jpeg
    150.8 KB · Views: 107
  • CBBC9210-9C68-4E49-A4F2-A5B26A4FBC76.jpeg
    CBBC9210-9C68-4E49-A4F2-A5B26A4FBC76.jpeg
    135.8 KB · Views: 129
Here’s the tray and footholds fiberglassed back with a couple layers of glass, we were just trying to make sure everything lined up well and got everything covered. We used smc compatible for this but could we use just normal resin for reinforcing on top of this or is it a bad idea to use 2 different types? Here’s some pictures of my dvx too :D
 

Attachments

  • A0C66E5E-CDF7-45A3-8A17-A778D689FFF1.jpeg
    A0C66E5E-CDF7-45A3-8A17-A778D689FFF1.jpeg
    81.5 KB · Views: 138
  • 90C77D54-5E97-4B6D-9DD4-A57FB6EDCCD3.jpeg
    90C77D54-5E97-4B6D-9DD4-A57FB6EDCCD3.jpeg
    143.1 KB · Views: 135
  • 41742A27-09B1-4127-AE94-20F5DD99836B.jpeg
    41742A27-09B1-4127-AE94-20F5DD99836B.jpeg
    106.4 KB · Views: 135
  • 144215E1-77A7-4B27-B5B8-C28315310060.png
    144215E1-77A7-4B27-B5B8-C28315310060.png
    721.8 KB · Views: 146
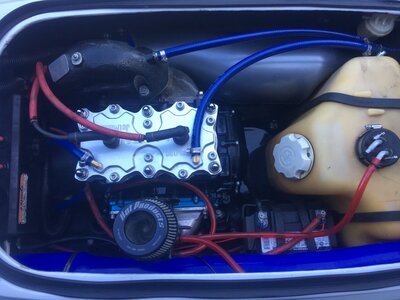
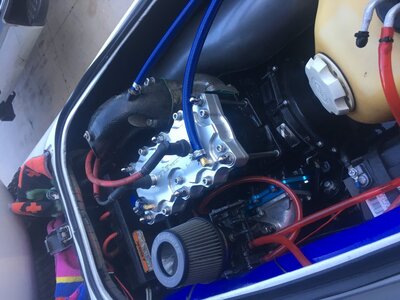
Got the ski back from with paint, reinforced the sized with 3 layers of fiberglass all the way up with additional around the rail. I used black appliance epoxy one spray can on my engine bay, just sanding no primer.
 

Attachments

  • image.jpg
    image.jpg
    111.1 KB · Views: 123
  • image.jpg
    image.jpg
    107 KB · Views: 130
Ski is done, I forgot to post pictures and keep up on posting but I was in a hurry for Detroit river days and to ride at that
 

Attachments

  • 471BF870-7AA0-4641-8B0E-98458D76541C.jpeg
    471BF870-7AA0-4641-8B0E-98458D76541C.jpeg
    163.8 KB · Views: 109
  • image.jpg
    image.jpg
    117.1 KB · Views: 103
  • image.jpg
    image.jpg
    126.6 KB · Views: 102
Top Bottom