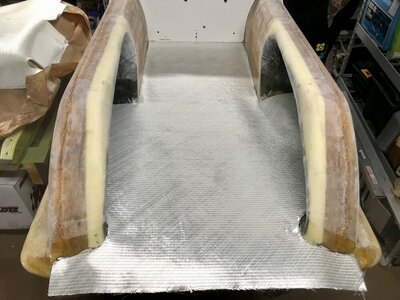
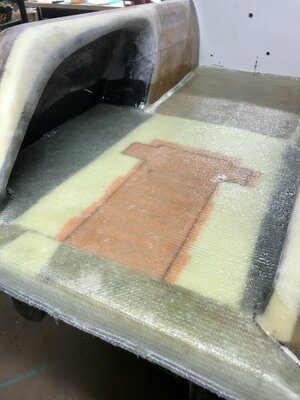
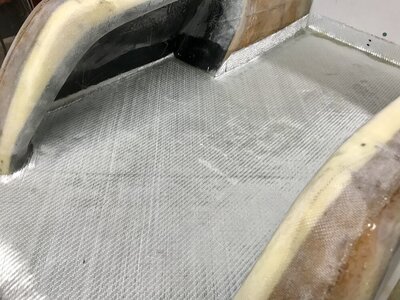
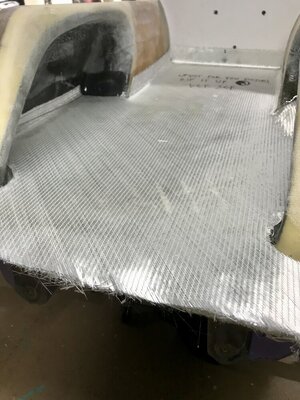
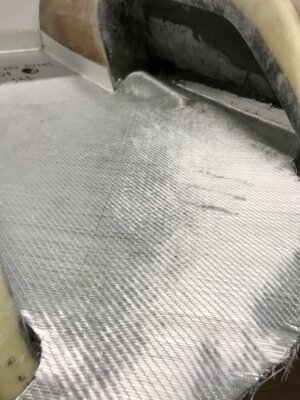
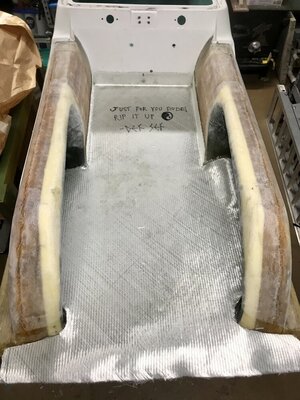
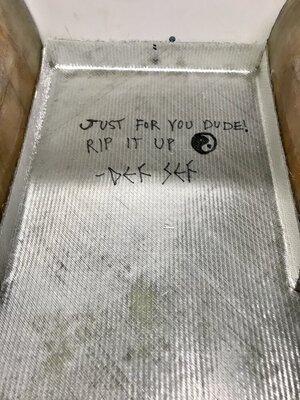
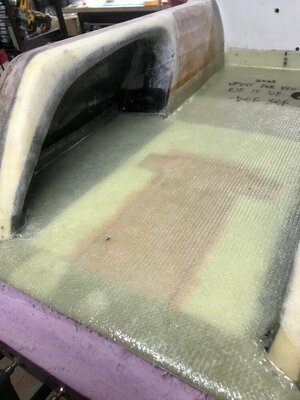
Have you started a build thread? Would love to see one!Excellent points! Thank you for the reply. I ride exclusively in fresh water, so I think I'd be fine. I could always paint the aluminum before I reglass my FX1 tray and put new foam in there. I was also wondering about the RN Superjet exhaust tube. It appears to be aluminum, but I wasn't sure.
You are using an out of date browser. It may not display this or other websites correctly.
You should upgrade or use an alternative browser.
You should upgrade or use an alternative browser.
Back From the Dead - Yamaha FX-2
- Thread starter brapperdoodle
- Start date
- Location
- OR
There's a noticeable difference with weight. The FX1 pipe is heavier than an aluminum super jet pipe.Excellent points! Thank you for the reply. I ride exclusively in fresh water, so I think I'd be fine. I could always paint the aluminum before I reglass my FX1 tray and put new foam in there. I was also wondering about the RN Superjet exhaust tube. It appears to be aluminum, but I wasn't sure.
- Location
- Buffalo, NY
I haven't, but I think that's a great idea! I'll start getting my info together and do that now.Have you started a build thread? Would love to see one!
- Location
- Buffalo, NY
Here's my build thread. Thank you for the motivation, everyone! https://www.x-h2o.com/threads/fx1-b...kawasaki-140mm-pump-swap.207046/#post-2125331
- Location
- OR
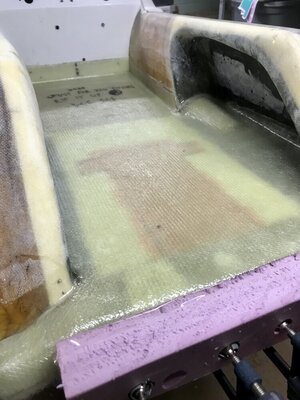
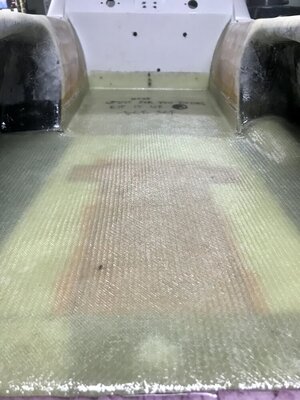
Where did you get these pump shims from?For what it's worth, when I set pump shoes I install the pump w/drive shaft , aligned w/ cold fusion tool to the bulkhead. I have the shoe just held with a bunch a bubble wrap around the driveshaft so I can flip hull over without shoe banging around. With pump and shaft aligned to bulkhead perfectly I then shim/center shoe to pump. The shoe maybe hanging out of the bottom of the tunnel, it may have massive gaps between shoe and tunnel but I always go for seal placement/squeeze out as priority one. That way your able to open id of shoe evenly, not trying to get all the increased diameter from one area. Then I shim behind shoe, build gaps up with epoxy and grind or belt sand anything hanging down. In the pics on this install you can see how much I had to grind off bottom of shoe after aligning to perfectly aligned pump.View attachment 419080View attachment 419081View attachment 419082
- Location
- Asheville, NC
- Location
- OR
Man.... You need to open a shop.
I think the main difference is that the stainless would be ultimate corrosion resistance, whereas the aluminum can corrode in the right conditions. Obviously the stainless would weigh a bit more also. Bust almost all the aftermarket hulls use an aluminum tube as well as the RN Superjet. If your tray is sealed properly, I don't think the aluminum tube will ever be a concern. Only if water, especially salt water is allowed to enter the tray and sit around and on the aluminum would it start to corrode. I believe that the oily coating inside the exhaust tube would pretty much make it impervious to any corrosion. I guess time will tell!
I defoamed a RN with the stock aluminum exhaust tube. It was waterlogged and over time the corroded pin holes in the pipe. The waterlines were starting to do the same. Ever since then I spring for good stainless.
Sent from my iPhone using Tapatalk
How old was the ski when you deformed itI defoamed a RN with the stock aluminum exhaust tube. It was waterlogged and over time the corroded pin holes in the pipe. The waterlines were starting to do the same. Ever since then I spring for good stainless.
Sent from my iPhone using Tapatalk
@vcolf l think your right when you say it had been soaking for a long time. And no where to go either. Most of these rebuilds are using the home insulation and drains in the bottom of the tray.So the exposure is a lot less. Also,if the aluminum is treated with a corrosion “resistant” coating, l believe the aluminum will last a lot longer.
- Location
- Asheville, NC
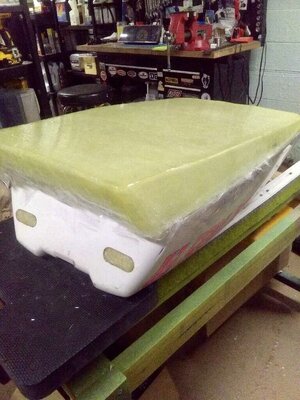
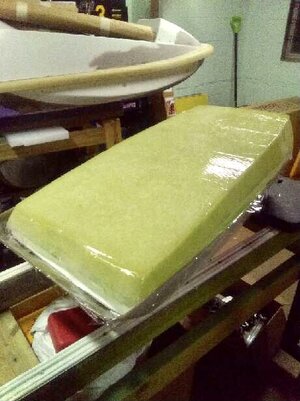
I can’t believe this thread is taking so long haaaaaa. Been really busy with all sorts of stuff, life comes at you fast and sometimes jet skis have to take a back seat. But I have finally made some progress. I swear this will be done over this winter, I can’t take it anymore hahah. I removed the stock hood liner from the hood, which was a major PITA! I got all the glue sanded out and made some modifications to the hood. I will explain those more during assembly but once I got everything the way I wanted, I made a hood liner from a roadside sign, and then taped it up with packing tape and laid up a glass hood liner.
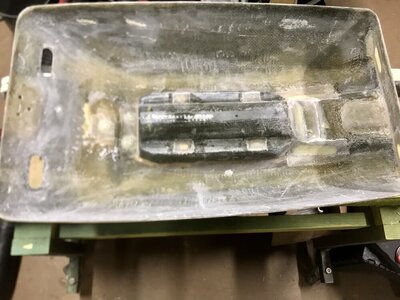
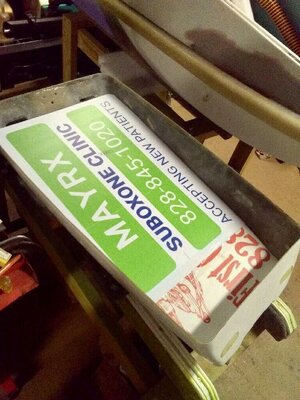
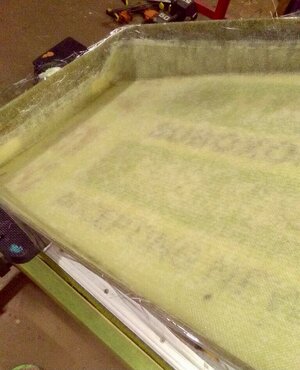
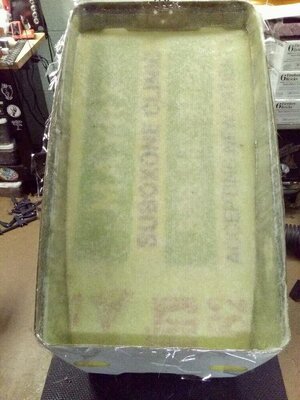
After it cured I pulled it out, not too bad.
Then trimmed it out and made it smooth…
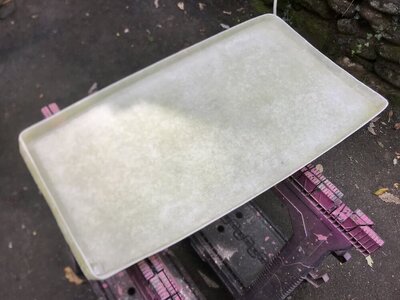
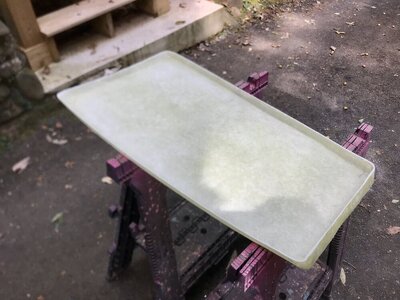
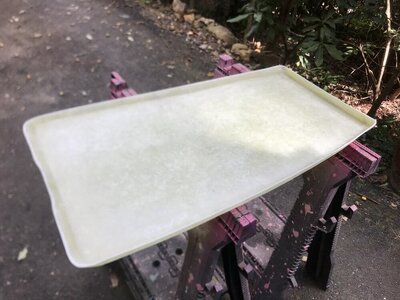
It fits extremely well!
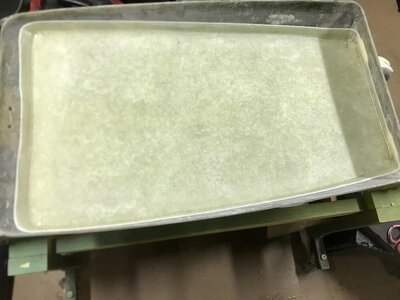
Debating on wether or not to make a mold of this piece before I punch my breather holes… seems like it could be a handy piece for any FX-1 builders… I know I would have liked to have this already made haha.


After it cured I pulled it out, not too bad.


Then trimmed it out and made it smooth…


It fits extremely well!

Debating on wether or not to make a mold of this piece before I punch my breather holes… seems like it could be a handy piece for any FX-1 builders… I know I would have liked to have this already made haha.
You should most definitely make a mold of that! I learned to fiberglass on my SN hood liner and it did not go well!!! Nice work!I can’t believe this thread is taking so long haaaaaa. Been really busy with all sorts of stuff, life comes at you fast and sometimes jet skis have to take a back seat. But I have finally made some progress. I swear this will be done over this winter, I can’t take it anymore hahah. I removed the stock hood liner from the hood, which was a major PITA! I got all the glue sanded out and made some modifications to the hood. I will explain those more during assembly but once I got everything the way I wanted, I made a hood liner from a roadside sign, and then taped it up with packing tape and laid up a glass hood liner.
View attachment 441131View attachment 441132View attachment 441133View attachment 441134
After it cured I pulled it out, not too bad.
View attachment 441135
View attachment 441136
Then trimmed it out and made it smooth…
View attachment 441138
View attachment 441139
View attachment 441140
It fits extremely well!
View attachment 441141
Debating on wether or not to make a mold of this piece before I punch my breather holes… seems like it could be a handy piece for any FX-1 builders… I know I would have liked to have this already made haha.
- Location
- Asheville, NC
WFO Speedracer
A lifetime ban is like a lifetime warranty !
- Location
- Alabama
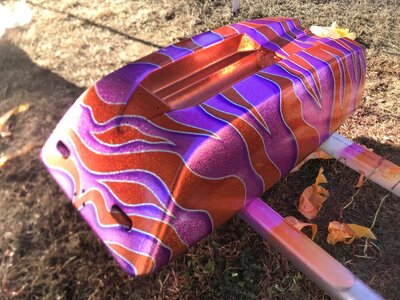
Paint looks amazing
Myself
manic mechanic
- Location
- Twin Lakes AR
OMG.........the hours of masking LOL!
- Location
- Oregon
Wow now that is some serious flake!
- Location
- OR
You need to start painting skis bro!

