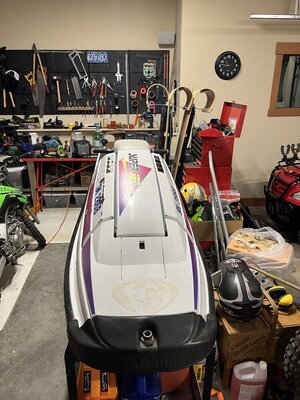
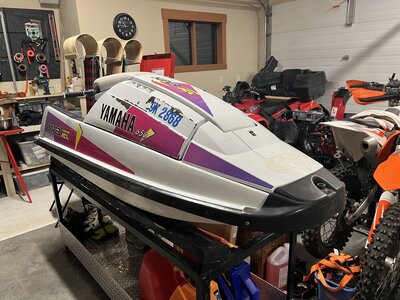
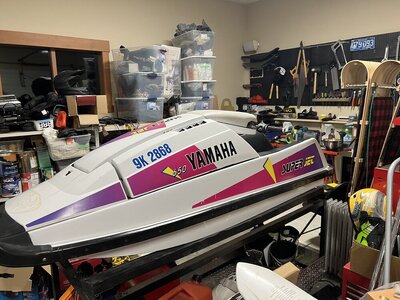
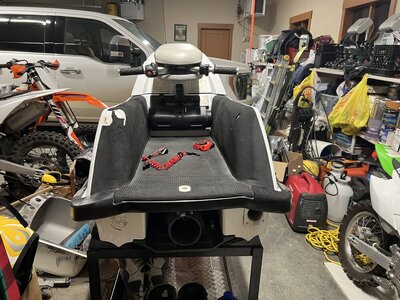
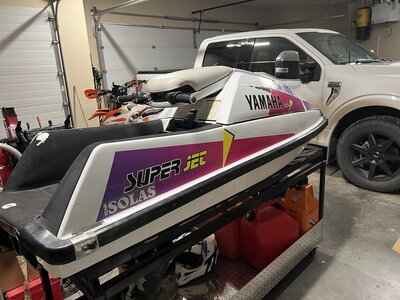
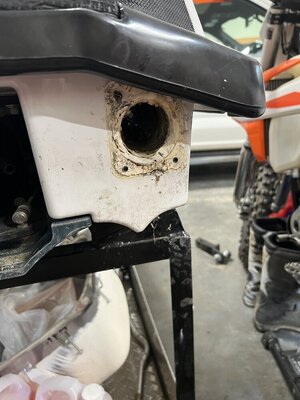
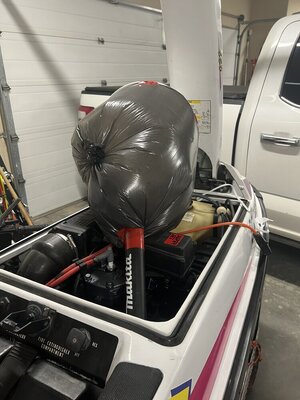
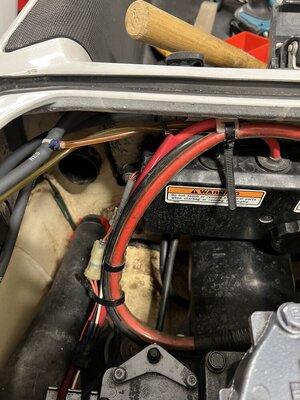
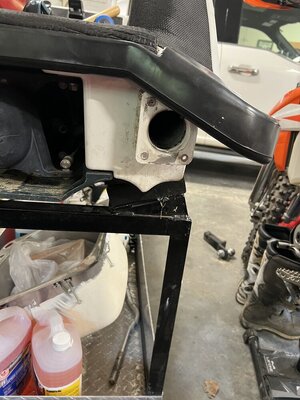
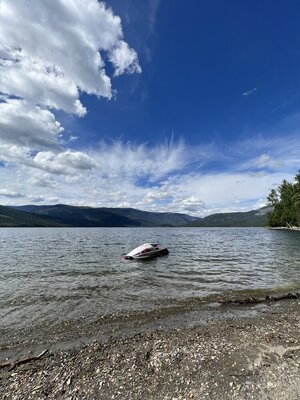
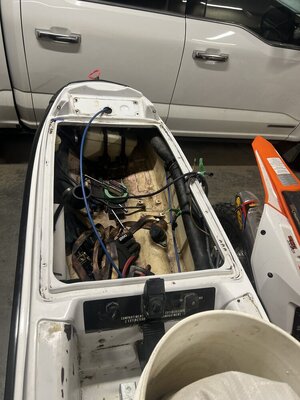
Figured id share my winter project, got this ski end of winter, rode it out with a few issues and wanted to wait until this year to do some work. As you read the title, yes this is a ballin on a budget! So I’ll start off with some pics after I got it. Feel free to put some tips and tricks or information that you think is handy! I’ll take any info you got.
You are using an out of date browser. It may not display this or other websites correctly.
You should upgrade or use an alternative browser.
You should upgrade or use an alternative browser.
Super Jet Broke college student SN superjet
- Thread starter kensun11
- Start date
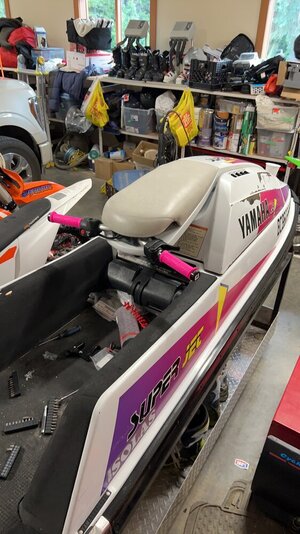
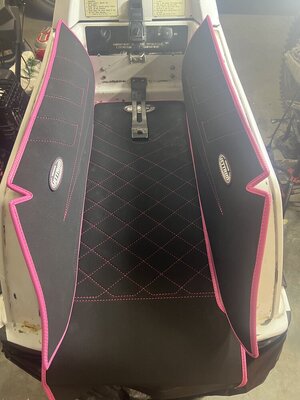
Next thing, do minor inexpensive things that add little to no actual value, so yes got new grips, put a 0 degree bars in, pink seems to be the color on this thing. It was originally a woman who owned the ski, so I figured screw it!
Attachments
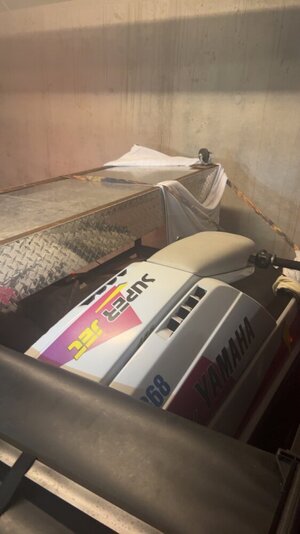
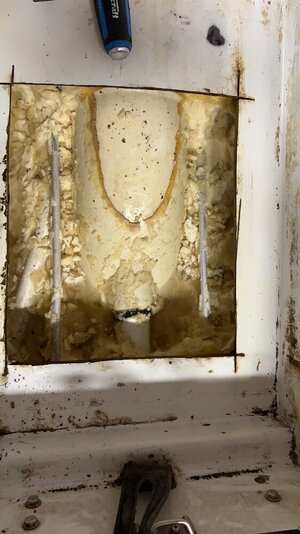
And… as some of you may know yes it had the classic square nose superjet foam issue. So I put a bandaid on it during the summer so I could get some more riding in. A fan, tuck tape and a garbage bag got it dried out a bit. But the thing still weighed a ton.
Attachments
Rode the crap out of it, got stranded a bit due to a bad battery (it was new). Still rode the rest of the summer out. Even got some fall riding in! Decided to get a hitch hauler ( it’s the only way to go!) decided that it was completely worth the money.
Attachments
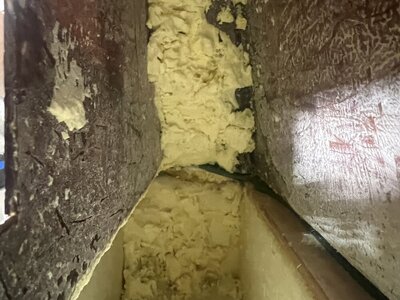
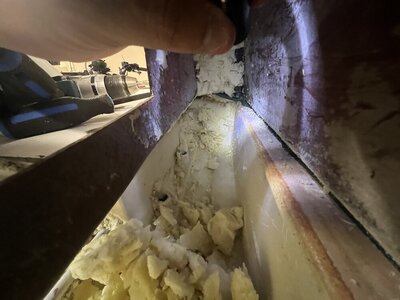
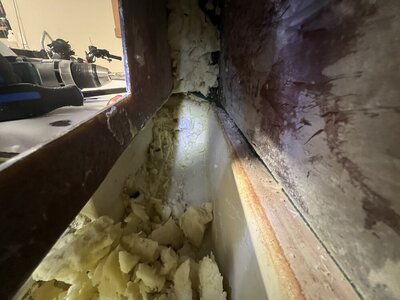
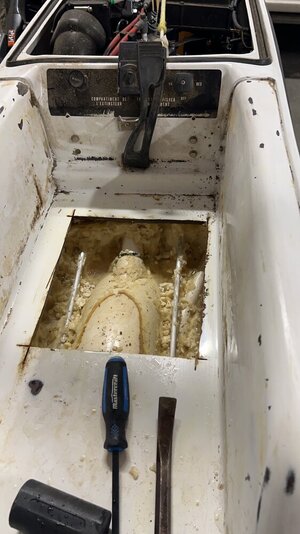
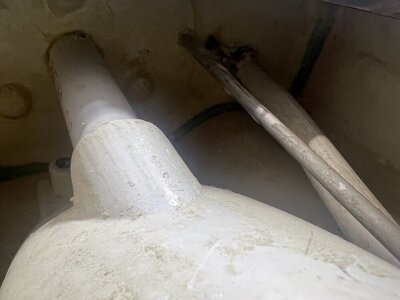
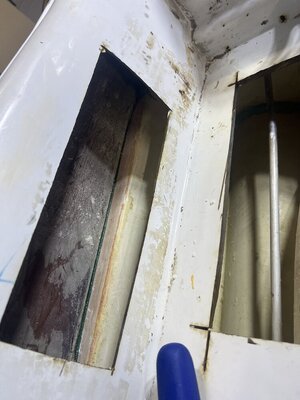
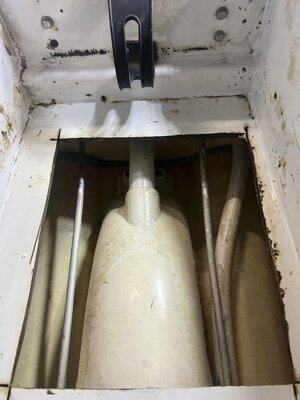
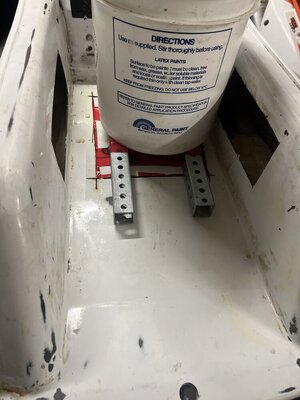
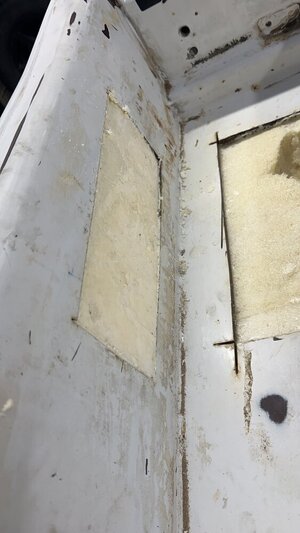
Now it’s winter, time to bust out the angle grinder out and rip a hole in the tray, plan for the winter includes the following, reseal tray, refoam tray with a mix of closed and open cell foam, redo graphics, paint. And a possible upgrade from the 650 to a 61x/61x this may not happen as I think I’m running out of time. I have the 61x just not sure if I want or need it, possible thing for next winter. Spent weekends pulling foam, it was a pool inside.
Attachments
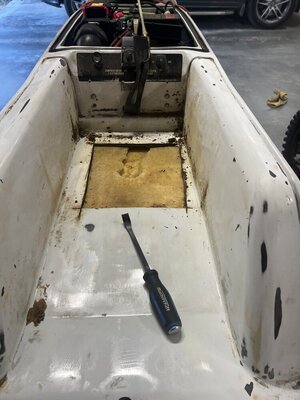
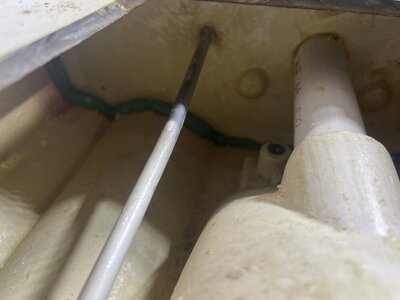
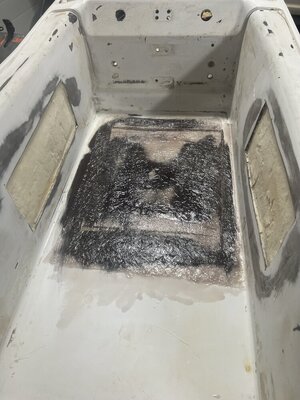
Finally after a few weekends and working about 3-4 hours on it every Friday and Saturday for 2 weeks we got the foam out, now it’s time to epoxy it up. I pulled all of the old epoxy that was around certain fittings that was rotten in order to get a better seal. Yes my hand hurt and fibreglass isn’t kind to one’s knuckles, good music and a real go getter attitude makes this job go a lot faster.
Attachments
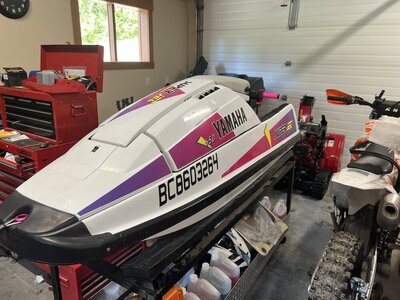
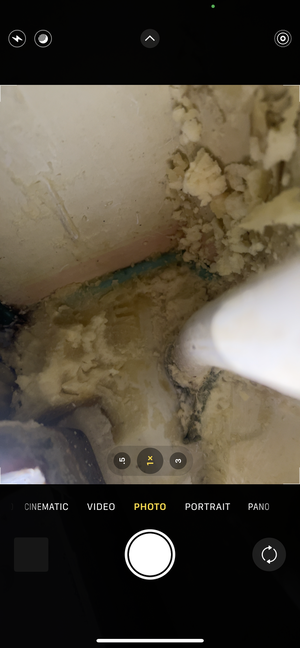
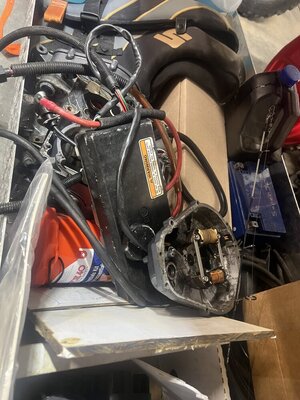
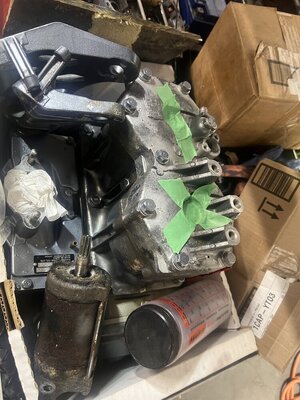
Now we wait for the 5200 to set, so this is gonna be about a week. Epoxy was also put into the seam line between the top and bottom half of the hull as that’s where some water was getting in I think at least, I hope I’m wrong. Multiple things came in the mail, jet trim traction mats came in, graphics kit came in, I’m sticking with the original ones that were on it. And 61x/61x motor came in, all was good I disassembled the 61x motor, if you can a suggestion is to stay away from a saltwater motor. 6 broken studs later I have it waiting to get a top end. **note this motor may or may not get put in this winter**. Had to bottom end swap the cases as this was the easier alternative. Got 61x electronics we could run the 61x as is but I don’t know how many hours was on it and getting towed in sucks, try and do things right even when on a budget. Sorry for the bad pictures
Attachments
Figured id share my winter project, got this ski end of winter, rode it out with a few issues and wanted to wait until this year to do some work. As you read the title, yes this is a ballin on a budget! So I’ll start off with some pics after I got it. Feel free to put some tips and tricks or information that you think is handy! I’ll take any info you got! It’s a 1993 Yamaha superjet 650 all is original when I purchased it. Came from a good family and they seemed to have taken good care of it.
- Location
- Ahwahnee, CA
How wet was your foam?
It was like a small pond, pretty much everywhere had water. Only place that was dry was on the top side of the tray and really only 1/3 of the top was dry.How wet was your foam?
Myself
manic mechanic
- Location
- Twin Lakes AR
Where are u at with this? I would mic out the top end of the 61x. Might be fine to hone and rering without breaking the bank.
got absolutely nowhere, lol. With exams and the Christmas not much got done, decided to paint it, and redo the graphics. still haven't bought the two part foam. so I'm far behind however with a few feet of snow here now. I'm not too worried.Where are u at with this? I would mic out the top end of the 61x. Might be fine to hone and rering without breaking the bank.
Myself
manic mechanic
- Location
- Twin Lakes AR
Ok, I'm gonna let it slide this time.....
Foam done last night and onto today, finally some fibreglass is down. Had to pull some of the foam out as it was soft even after 24hours so that set me back a bit. Knocking on the side of the hull gives a deep knock tone so the whole thing should be filled out!
Attachments
ok, So since I've got the 6m6 motor out, I'm starting to think its now or never with the 61x/61x, do you have any recommendations of who to send a jug to? I'm Canadian so sending across the border is a pain.Ok, I'm gonna let it slide this time.....
Myself
manic mechanic
- Location
- Twin Lakes AR
Maybe try an ad on Facebook or something first. Many of the 'old guys' restoring old cars or tractors have a mill at home. Boring a cylinder is a very simple machining process and can be done successfully by most people who own a mill.
- Location
- La Crosse, WI on the BIG River
Call up the local Marine Shops and ask who does their machine work. Many times they'll give you a number, if they don't call the next shop. It took me two months to find someone local to blind bore my mercury 25hp. The same guy bored my 650 engine. $100 hole, 15 years ago it was $50.ok, So since I've got the 6m6 motor out, I'm starting to think its now or never with the 61x/61x, do you have any recommendations of who to send a jug to? I'm Canadian so sending across the border is a pain.
Next Question for the pros, does a guy have to buy different exhaust for the 61x, as on Yamaha parts house the parts numbers are completely different from a 61x to a 6m6 (701 vs 650) can a guy get away with slapping the 6m6 exhaust system to the 61x? Does the water box have to get changed to a 61x ? I've heard of people putting on a 61x exhaust on a 650 but not enough info.

