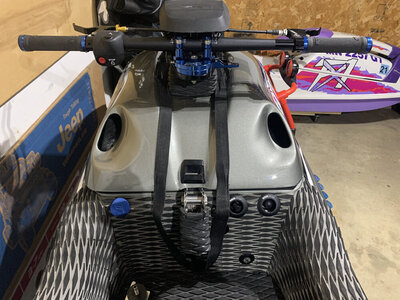
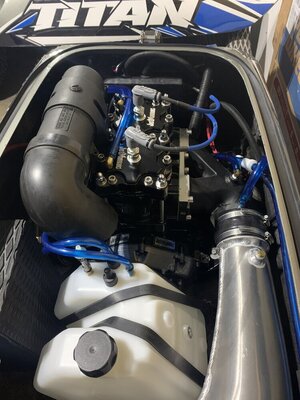
Carbon Superfreak Titan

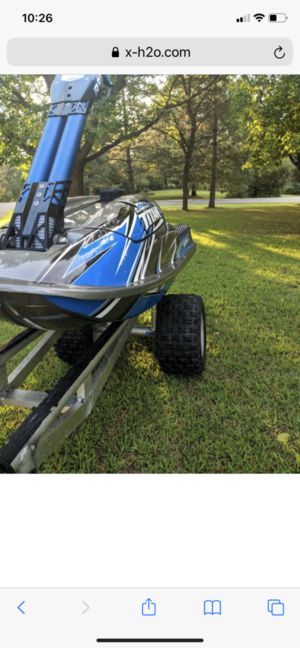
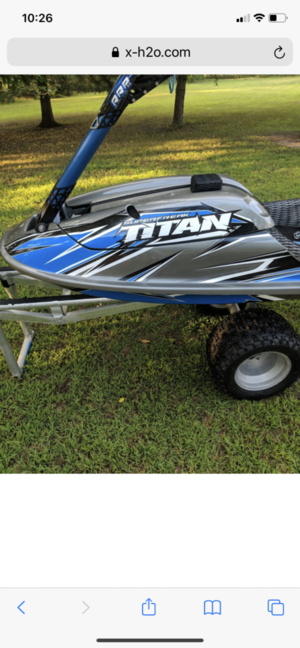
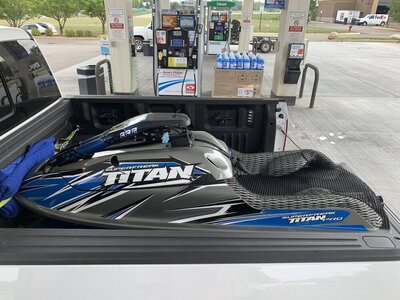
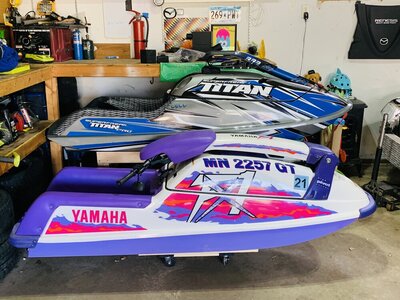
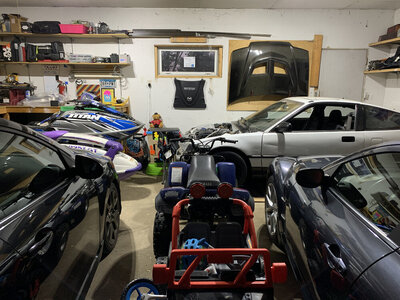
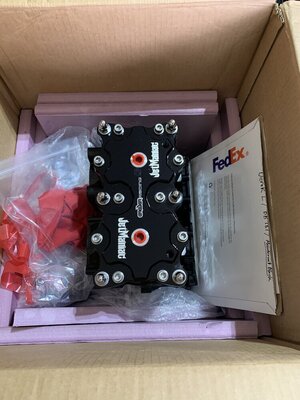
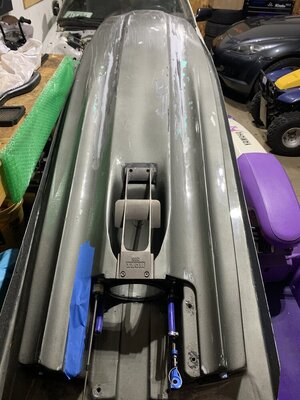
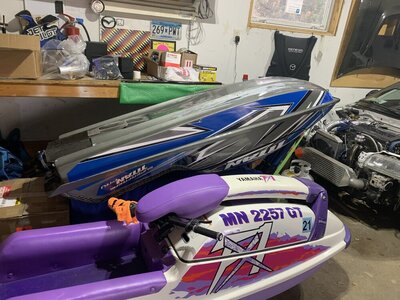
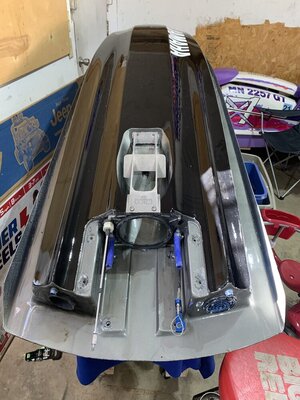
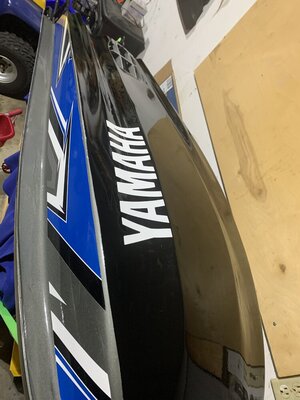
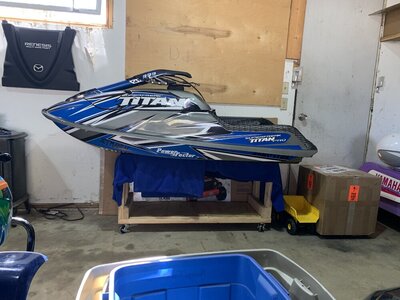
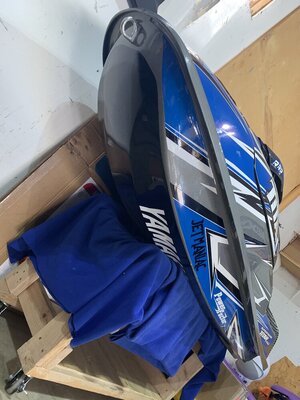
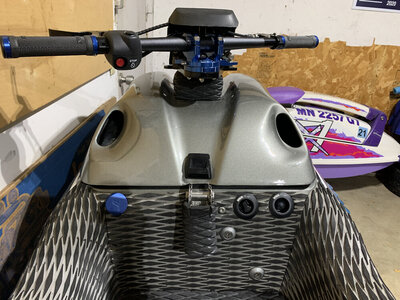
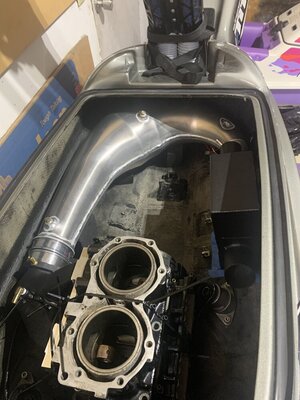
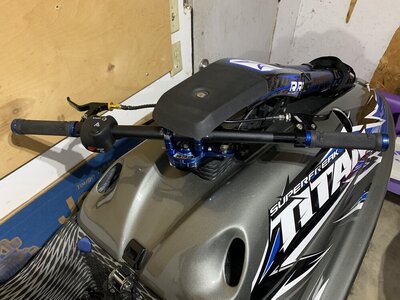
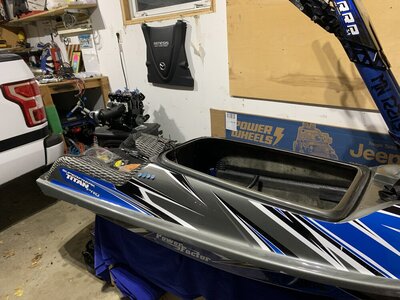
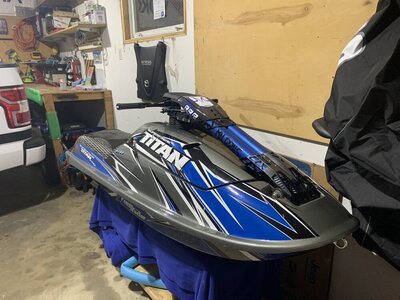
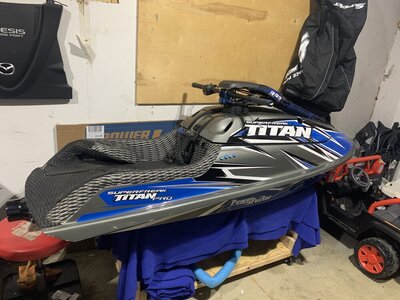
Hey guys, been on here a while, built a few different skis but always wanted a superfreak. Little backstory...In 2012 I sold my 650sx and 750sxi when I moved but held onto my superjet until I had to purchase a business and needed cash. Have been into cars since then building a few turbo Miatas and a few other turbo cars but always missed skis. This year we spent a lot of time at the lake and I bought a good condition Fx1 and had a blast. Ended up wanting to build another superjet bigger and better than my original but with prices so crazy I thought might as well go big and find a freak. Talked to a few people and finally found this carbon titan pro for sale just north of me. Owner was super cool, we negotiated what he wanted to keep and what I wanted for my build as I didn’t really want a big 1000cc motor that was in it originally. Brought it home and have been planning, cleaning it up and ordering parts. A brand new JM 781 BB fell into my lap as I was looking for motors so I had to pick that up.

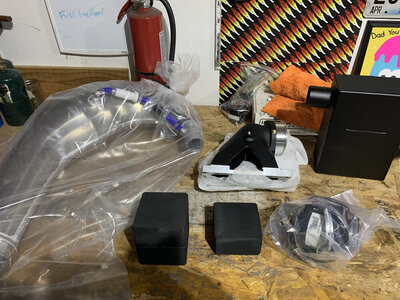
Huge thanks to Chris Jetmaniac for all the random bits, all my orders and answering all the questions.

Here’s the setup-
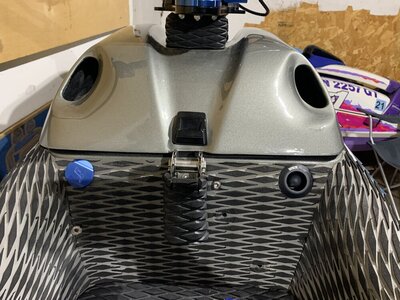
2016 Carbon superfreak Titan
RRP lightweight pole
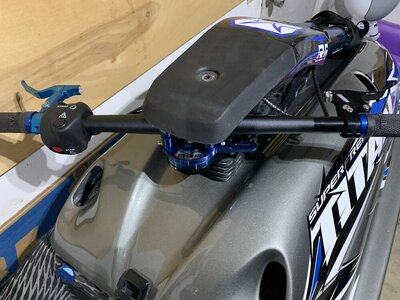
RRP bars/steering
148 setback skat mag
Thrust trim
JM 781 BB
Twin 38 carbs
Power factor pipe
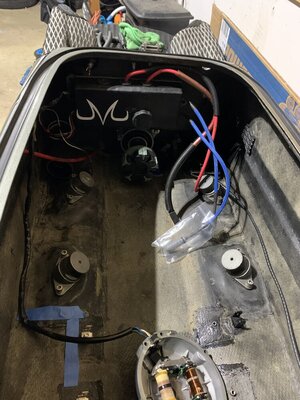
760 electronics with zeel
 

Attachments

  • 2FC856DD-C55B-4902-9F51-45000A9EA9F5.png
    2FC856DD-C55B-4902-9F51-45000A9EA9F5.png
    651.4 KB · Views: 239
  • 660E40B8-9152-43CE-8575-E3038F161FE5.png
    660E40B8-9152-43CE-8575-E3038F161FE5.png
    622.2 KB · Views: 200
  • 409BE6B0-8E89-4C0C-9BAB-64B87CAE3BC9.jpeg
    409BE6B0-8E89-4C0C-9BAB-64B87CAE3BC9.jpeg
    178.1 KB · Views: 169
  • D7C2F70C-819C-4ADE-BFE8-6AA2A3910C3F.jpeg
    D7C2F70C-819C-4ADE-BFE8-6AA2A3910C3F.jpeg
    181.2 KB · Views: 158
  • D0951A54-7A2C-40D4-B204-138E77431E46.jpeg
    D0951A54-7A2C-40D4-B204-138E77431E46.jpeg
    200.9 KB · Views: 147
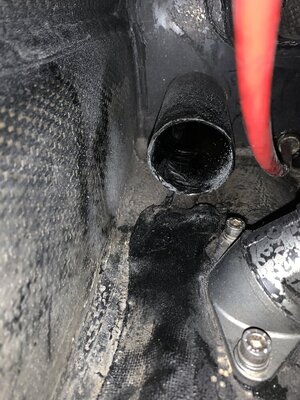
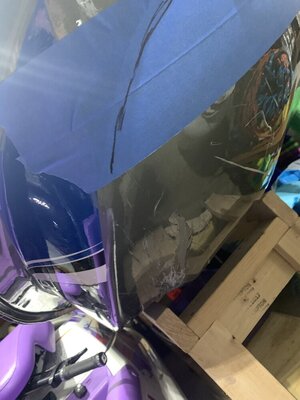
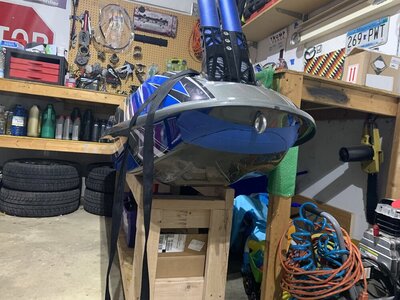
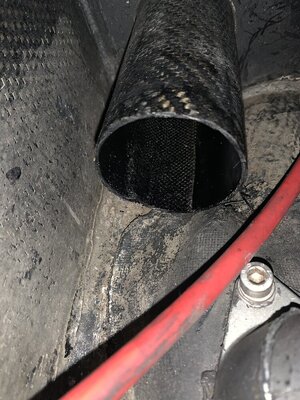
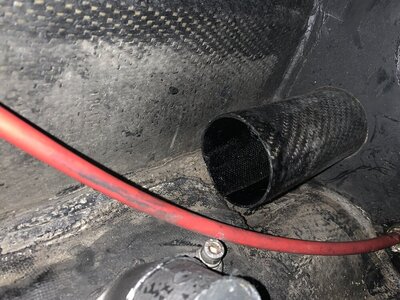
Just gathering parts, going through the ski and planning.

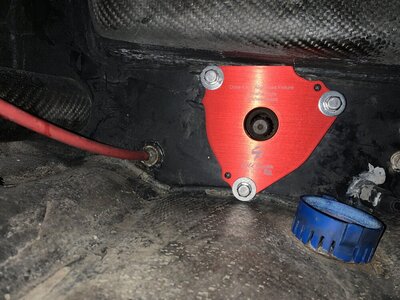
-The exhaust tube is cracked a bit, going to order some carbon and reinforce it.
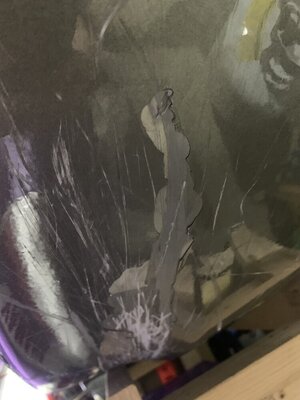
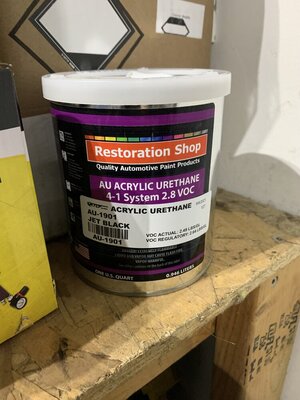
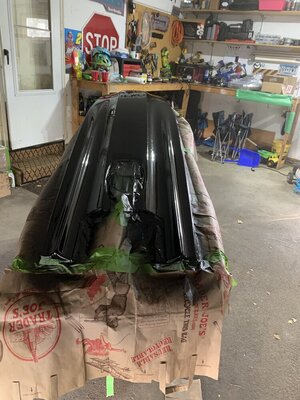
-The bottom of the freak is pretty scratched up as well, going to sand and paint it black like the old superfreak badass bottoms
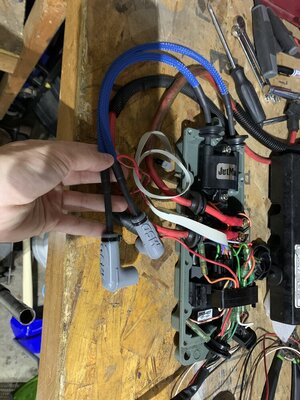
-Going through the ebox and installing zeel
 

Attachments

  • 7BC1D639-5623-42A1-AC9E-F77C9D7D9275.jpeg
    7BC1D639-5623-42A1-AC9E-F77C9D7D9275.jpeg
    121.4 KB · Views: 131
  • 740D40B2-8654-4B61-AC72-C91E3E94F1EA.jpeg
    740D40B2-8654-4B61-AC72-C91E3E94F1EA.jpeg
    205.3 KB · Views: 118
  • D8321AF6-B7C8-4010-A5A9-D3AC8CE8B2AB.jpeg
    D8321AF6-B7C8-4010-A5A9-D3AC8CE8B2AB.jpeg
    98 KB · Views: 110
  • 70563DEA-EA73-4C83-B51D-B1BBBE054659.jpeg
    70563DEA-EA73-4C83-B51D-B1BBBE054659.jpeg
    103.7 KB · Views: 104
  • A74E69D9-2CCB-47C2-8460-986E9A0C7E7E.jpeg
    A74E69D9-2CCB-47C2-8460-986E9A0C7E7E.jpeg
    180.5 KB · Views: 107
  • 92EE2CD9-7498-41CA-B6AB-75027922CF20.jpeg
    92EE2CD9-7498-41CA-B6AB-75027922CF20.jpeg
    204.4 KB · Views: 109
  • 25151B57-B0FF-439A-8828-B2524DA6C74C.jpeg
    25151B57-B0FF-439A-8828-B2524DA6C74C.jpeg
    204.2 KB · Views: 143
I'm a little jealous of that hull, I have a glass freak and was drooling over that one when it came up for sale. Was glad somebody bought it so I wasn't tempted any more!
Thank you, I’ve been very happy with it. It needs some TLC from being ridden but nothing I can’t handle. I always wanted one so it’s pretty cool it’s sitting in my garage right now :)
 
Spent the weekend pulling the pump, sanded the bottom of the hull with 220 then 600... did a similar bottom “style” to the old badass Superfreak’s. For my first paint job I would give myself a strong C+ lol could have been done a bit better but we will see how this holds up or now. Next step is finishing up electronics, letting the hull cure, then just waiting on parts
 

Attachments

  • F2DFCD52-6A67-42ED-AF1F-A35DFB5C9FF3.jpeg
    F2DFCD52-6A67-42ED-AF1F-A35DFB5C9FF3.jpeg
    153.9 KB · Views: 102
  • 8F699BDA-A9A3-431B-AAB1-B0543374BF49.jpeg
    8F699BDA-A9A3-431B-AAB1-B0543374BF49.jpeg
    182.2 KB · Views: 100
  • 0E4C076B-1A80-43C7-BD15-E9E0DB85FE1A.jpeg
    0E4C076B-1A80-43C7-BD15-E9E0DB85FE1A.jpeg
    124.3 KB · Views: 100
  • 8569560B-2C96-4A1A-9765-5E7D14ABBECA.jpeg
    8569560B-2C96-4A1A-9765-5E7D14ABBECA.jpeg
    161.4 KB · Views: 119
Little update- got the ebox cleaned up and zeel installed. Got all my decals in and put on, not sure how much I love them but wanted something low level to compliment the Titan decals. Also got a set back prop from jetmaniac but had to lightly sand some spots on it to get it to clear perfectly. A lot of light sanding and retest to get it perfect as it was low level binding in a few spots. Lastly prepped the carbon exhaust tube to repair that, once that’s all done I’ll start installing the motor
 

Attachments

  • 5741FCA9-1E22-4D1B-AC75-B52980301D97.jpeg
    5741FCA9-1E22-4D1B-AC75-B52980301D97.jpeg
    156.1 KB · Views: 94
  • 1F746D59-FA4D-4B70-8E7F-DD8715173247.jpeg
    1F746D59-FA4D-4B70-8E7F-DD8715173247.jpeg
    112.7 KB · Views: 102
  • 6A382C75-F3DC-4988-8F7A-D08DF8C81CBD.jpeg
    6A382C75-F3DC-4988-8F7A-D08DF8C81CBD.jpeg
    128.8 KB · Views: 100
  • 60FBC8C4-B954-4C91-B233-0511ACE8D8AF.jpeg
    60FBC8C4-B954-4C91-B233-0511ACE8D8AF.jpeg
    135.4 KB · Views: 99
  • D305F423-7684-4C7A-9B72-4E07E681E048.jpeg
    D305F423-7684-4C7A-9B72-4E07E681E048.jpeg
    184.2 KB · Views: 100
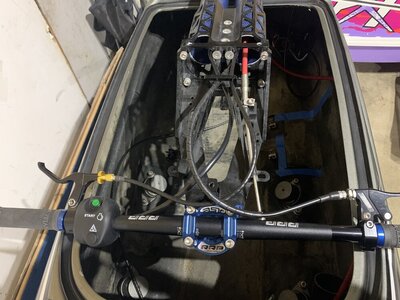
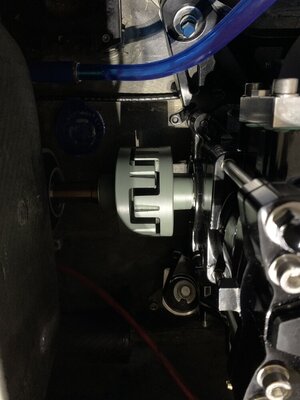
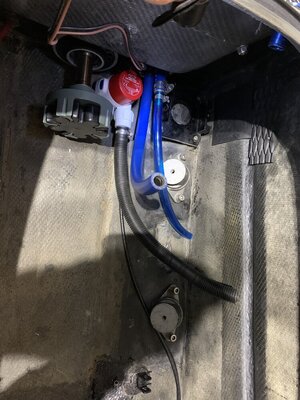
-Got my cold fusion parts to line up the driveshaft, got it pretty damn close, could be a little better with more shims but I think it's alright for now we will see how everything runs at the start of next year, it's a possibility I will pull the pump to inspect anyhow. Finalized reinforcing the exhaust tube, also swapped the bilge exit and installed a wax racing flush mounted primer so now the bilge exit will be closer to the pump and the primer bulb will be closer to the carbs. Also finally got the bars and steering mostly put together, not happy with the blue thrust trim on everything else being nice and minty so lets spend more money on a new thrust lever... Anyhow, next step is mocking up the exhaust, once thats done the motor can be put in...maybe?
 

Attachments

  • IMG-6849.jpg
    IMG-6849.jpg
    173.6 KB · Views: 74
  • IMG-6850.jpg
    IMG-6850.jpg
    196.7 KB · Views: 72
  • IMG-6874.jpg
    IMG-6874.jpg
    171.9 KB · Views: 73
  • IMG-6875.jpg
    IMG-6875.jpg
    146.8 KB · Views: 88
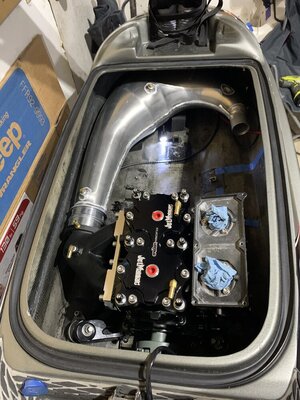
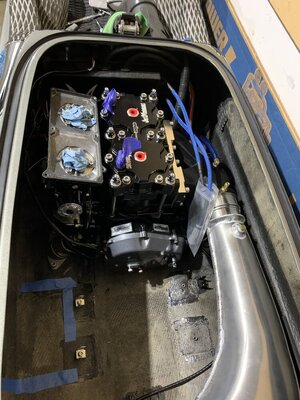
Mini update- was working on my FX1 and mocking up parts on the freak. Also got my new black thrust trim lever, the blue lever just didn’t go well with the ski. Picked up jetmaniac’s last thrust lever! Also decided against a handlebar bilge switch as they all didn’t look nice. Put another wax racing recessed fitting to house a bilge switch. Mocked up my motor to see how everything will lay out with the pfp vs the rrp that was in there as well. Just figuring things out and put in another order from Jetmaniac for the remaining gaskets and hoses needed. Should be doing final assembly soon!
 

Attachments

  • 73372FB0-349D-4A82-B80F-936854D12B87.jpeg
    73372FB0-349D-4A82-B80F-936854D12B87.jpeg
    196.5 KB · Views: 73
  • D3B8E121-6A83-42AB-8425-7715D7E4E8D3.jpeg
    D3B8E121-6A83-42AB-8425-7715D7E4E8D3.jpeg
    135.7 KB · Views: 73
  • 89BFC7CA-BF1E-49ED-A66C-EE460B56CF22.jpeg
    89BFC7CA-BF1E-49ED-A66C-EE460B56CF22.jpeg
    172 KB · Views: 73
  • 67F78A6B-6CA8-4D24-9603-A911E43A576A.jpeg
    67F78A6B-6CA8-4D24-9603-A911E43A576A.jpeg
    151.5 KB · Views: 76
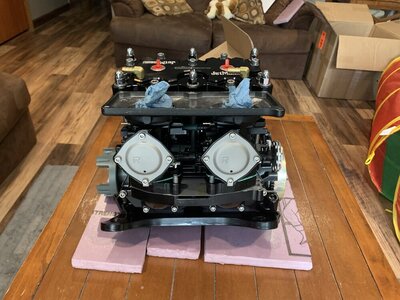
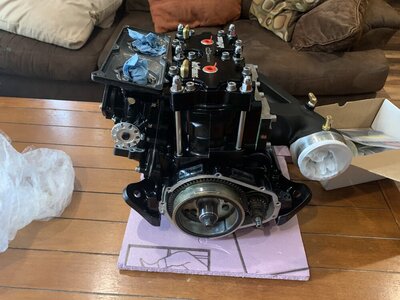
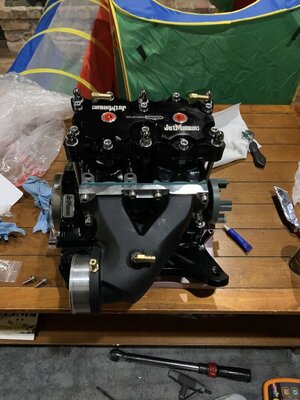
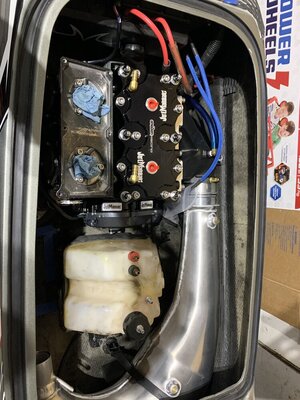
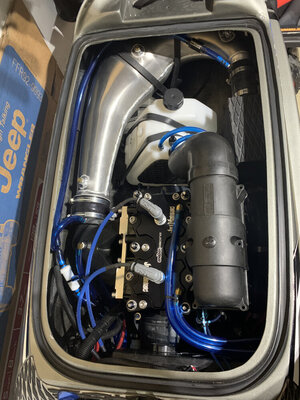
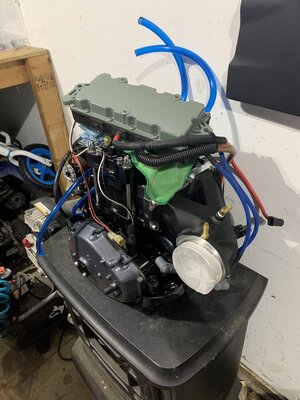
Got the rest of the motor parts, so got all the bolt ons put on. Decided to assemble it in my basement instead of a partially warm garage. Trying to figure out what is left to do before actually bolting the motor in so I don’t have to take it out a bunch of time. Going to replace my trim cable for sure, maybe do a little more carbon work on the hull filling little spots, then should be ready for final assembly! Huge thanks again to Chris at Jetmaniac, he re did my 38s and the whole motor looks better than new! Going for that oem+ on this and my fx1 and I think we are nailing it!!
 

Attachments

  • 2491FD5A-7B37-4106-9FEF-1BAE4011650A.jpeg
    2491FD5A-7B37-4106-9FEF-1BAE4011650A.jpeg
    145.2 KB · Views: 52
  • 34696C98-D16C-48F5-B4F7-75CF2E8C1574.jpeg
    34696C98-D16C-48F5-B4F7-75CF2E8C1574.jpeg
    142.4 KB · Views: 47
  • 157E6C8A-612A-4971-A293-B70E029421FC.jpeg
    157E6C8A-612A-4971-A293-B70E029421FC.jpeg
    148.7 KB · Views: 60
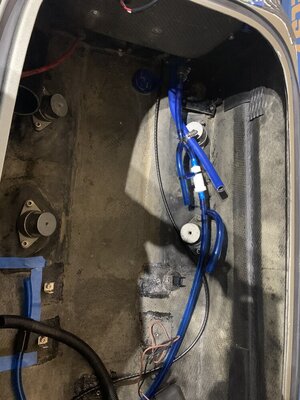
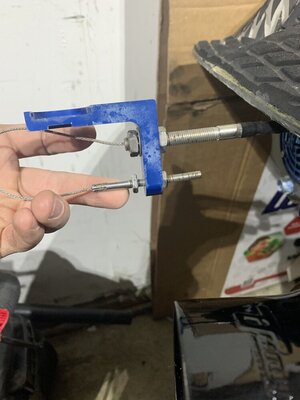
Ended up replacing the trim cable, so glad I did the old one was beyond on its last leg. Also it was completely frozen in the mount, good time to replace it. Started mocking up everything in the engine bay to see how everything will fit as I’m going to build a little hydro turf pad for the new gas tank and pfp waterbox. Also figuring out water line and electrical routing for the new switches and ebox. Finished up for the night with shimming the motor. Happy Thanksgiving!
 

Attachments

  • 3A6475AB-E8FD-4249-81A5-59ED89510BBF.jpeg
    3A6475AB-E8FD-4249-81A5-59ED89510BBF.jpeg
    94.7 KB · Views: 48
  • 7FE29E2E-52BC-44BA-AB86-0700DA2E5236.jpeg
    7FE29E2E-52BC-44BA-AB86-0700DA2E5236.jpeg
    149.7 KB · Views: 51
  • 569E8A34-CF41-4C68-BD9A-DE956E76E2DA.jpeg
    569E8A34-CF41-4C68-BD9A-DE956E76E2DA.jpeg
    172 KB · Views: 50
  • 4EC77419-3E47-4743-964D-B9D27C9C9DCE.jpeg
    4EC77419-3E47-4743-964D-B9D27C9C9DCE.jpeg
    173.3 KB · Views: 49
  • BB178BA3-8C54-497C-890E-FA4AF5F38038.jpeg
    BB178BA3-8C54-497C-890E-FA4AF5F38038.jpeg
    99.1 KB · Views: 48
  • 67303B9E-0344-422C-8C34-277F20614F7D.jpeg
    67303B9E-0344-422C-8C34-277F20614F7D.jpeg
    166.6 KB · Views: 62
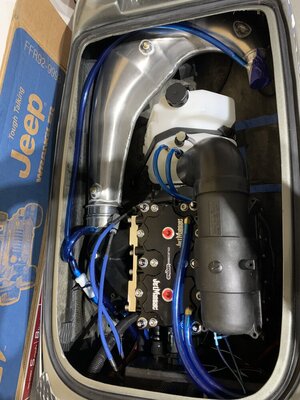
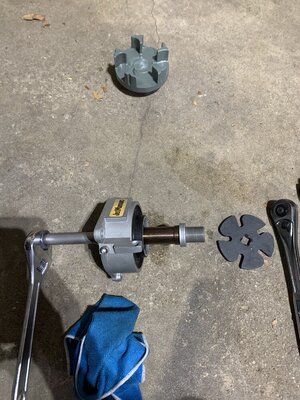
Over the last long weekend I ran all the fuel/cooling lines. Made sure everything fit well and cut templates for the padding underneath and around the pfp waterbox and gas tank. There was a significant gap that I couldn’t close up between the couplers so had to pull everything back out to add some thrust washers. Jetmaniac is the man, had a small shipment of washers and misc pieces out to me in two days. The weather recently has been making me want to dip this thing in the water and start it but I’ll hold off so it doesn’t have fuel sitting in it over winter, also gives me time to clean everything up during final install.
 

Attachments

  • E5343E1A-AC4D-4725-85CE-D77B56B05F01.jpeg
    E5343E1A-AC4D-4725-85CE-D77B56B05F01.jpeg
    164.1 KB · Views: 46
  • 7D87428B-2B3C-4CF6-999B-6D79DF9B9CF1.jpeg
    7D87428B-2B3C-4CF6-999B-6D79DF9B9CF1.jpeg
    167.3 KB · Views: 46
  • 7E267785-7694-4497-A81C-2F9C4B99A882.jpeg
    7E267785-7694-4497-A81C-2F9C4B99A882.jpeg
    162.7 KB · Views: 50
  • BA29E93E-E2B5-4B87-95B2-E506FB1F5A14.jpeg
    BA29E93E-E2B5-4B87-95B2-E506FB1F5A14.jpeg
    139.6 KB · Views: 51
  • DB98C696-322C-47F4-87B0-190BA780A143.jpeg
    DB98C696-322C-47F4-87B0-190BA780A143.jpeg
    161 KB · Views: 50
  • 75BD445C-5252-4AE3-A274-F0DF8DF027FA.jpeg
    75BD445C-5252-4AE3-A274-F0DF8DF027FA.jpeg
    204.9 KB · Views: 66
Alright guys... all done, basically lol still have to do the limiting rope and go back over everything make sure I’m not missing anything.
I put the battery in and everything works, turns over nicely but didn’t add any fuel so it wouldn’t sit in the carbs over the winter. Lastly I’ll do turf on the FX1 and then the superfreak this spring when it’s warmed up a bit more. It’s been fun to get back into skis and do this build. Get goin on your winter builds guys!
 

Attachments

  • 0A295C76-3DB0-48DC-B6D3-4AA22EFE713D.jpeg
    0A295C76-3DB0-48DC-B6D3-4AA22EFE713D.jpeg
    144.6 KB · Views: 48
  • AA9BFEA9-9E9A-4B5B-B7D4-F2EFA6A65A60.jpeg
    AA9BFEA9-9E9A-4B5B-B7D4-F2EFA6A65A60.jpeg
    152.3 KB · Views: 50
  • 0ECBA8D9-1972-4E2B-A1B7-CC46753293E8.jpeg
    0ECBA8D9-1972-4E2B-A1B7-CC46753293E8.jpeg
    198.9 KB · Views: 50
  • B92425B9-EBB7-4E74-95B6-A33CFE3F2D3C.jpeg
    B92425B9-EBB7-4E74-95B6-A33CFE3F2D3C.jpeg
    197.1 KB · Views: 50
  • 3E7365A9-1A6E-47C6-A5C7-4B0476CD2723.jpeg
    3E7365A9-1A6E-47C6-A5C7-4B0476CD2723.jpeg
    147.3 KB · Views: 50
Top Bottom