DR3
Xscream Braaaap
- Location
- palm harbor, Fl
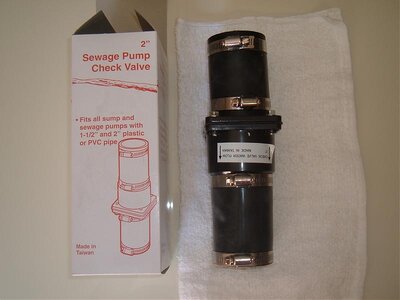
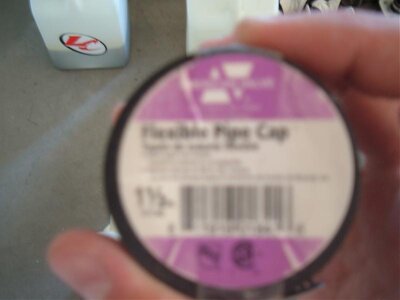
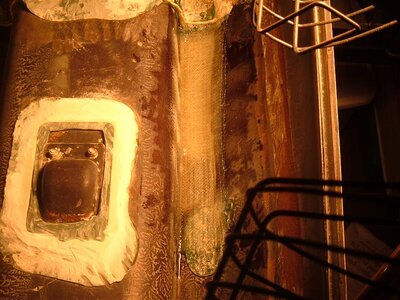
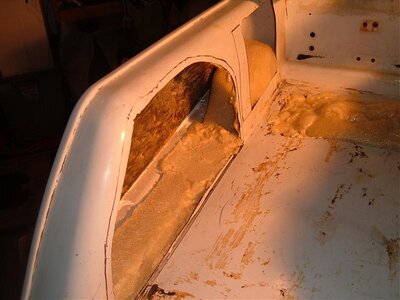
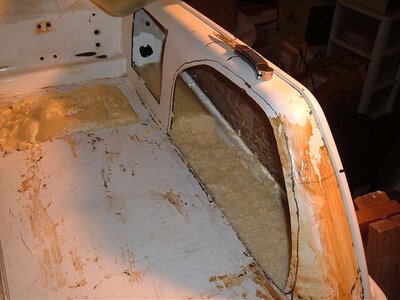
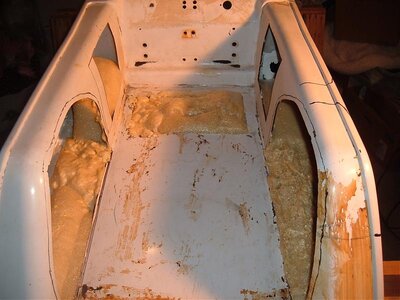
if u do a one way you dont need the scupper, itll save ya some money too
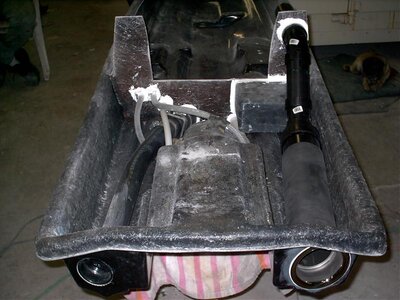
also since you have the tray cut out it would be perfect time to route the one way to the bottom center of the firewall instead of the side that way you get all of the water out...
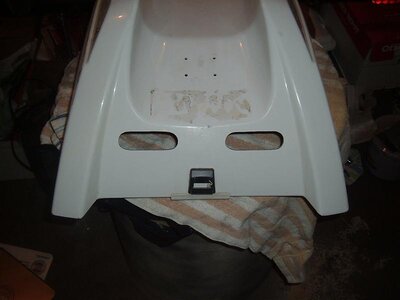
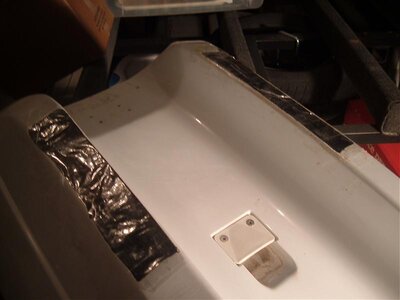
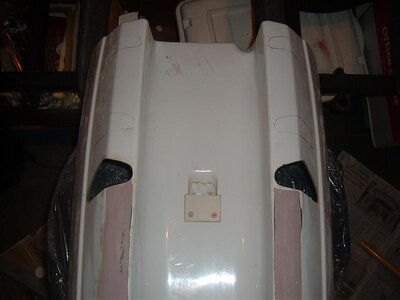
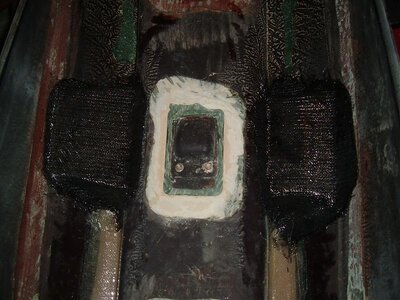
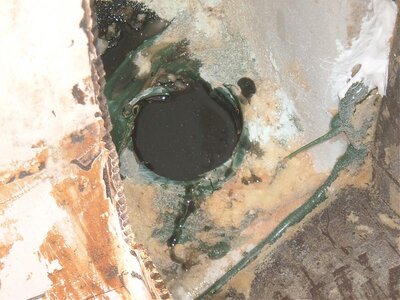
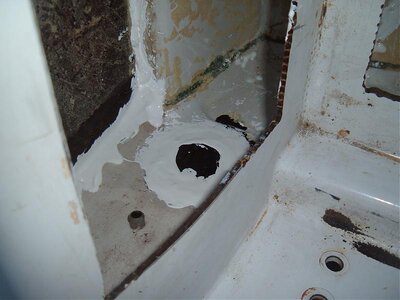
heres a pic of mine..... i dont even run a bilge (even though i will be putting one for backup) but the one way does just fine:smile:
also since you have the tray cut out it would be perfect time to route the one way to the bottom center of the firewall instead of the side that way you get all of the water out...
heres a pic of mine..... i dont even run a bilge (even though i will be putting one for backup) but the one way does just fine:smile: