650/X-2 First build

Location
RI
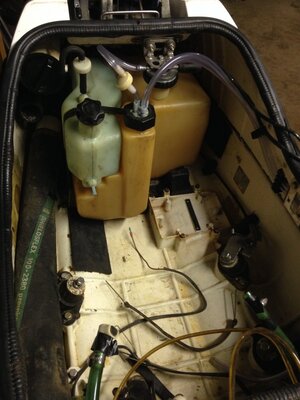
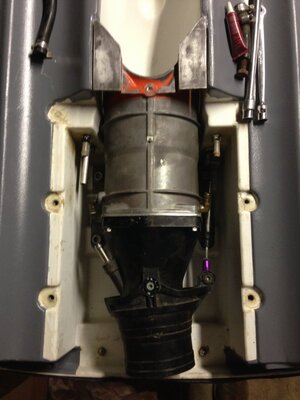
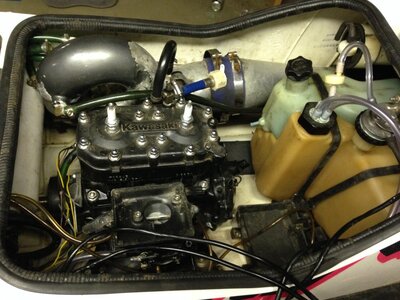
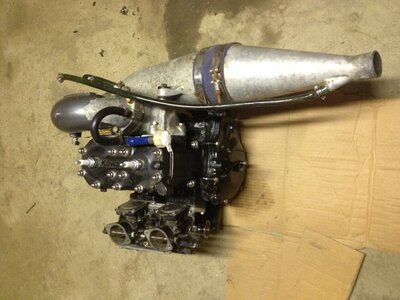
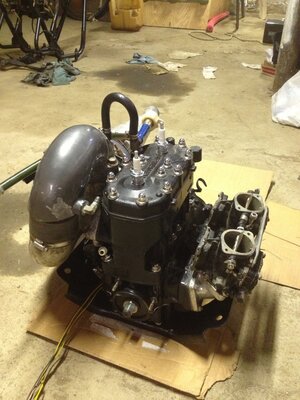
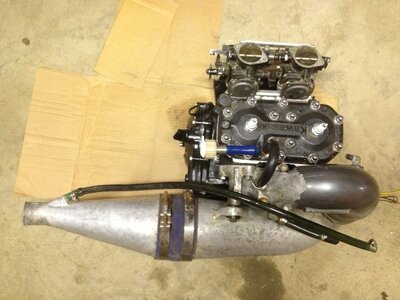
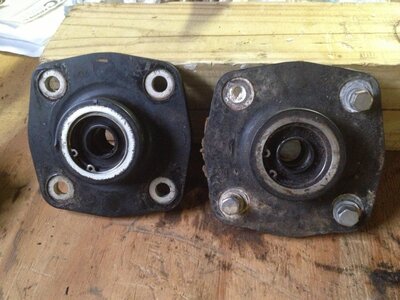
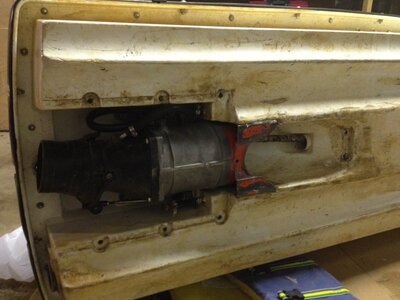
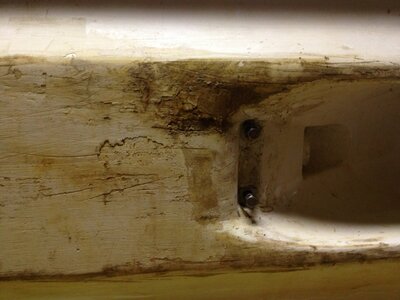
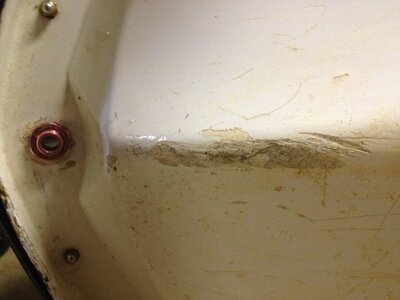
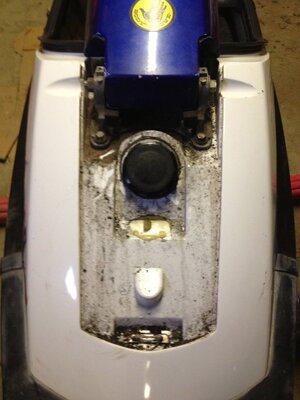
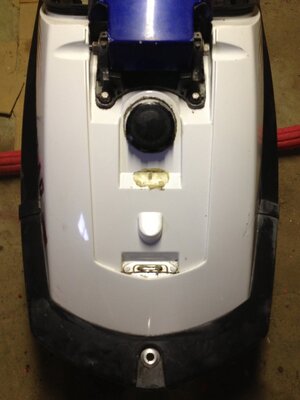
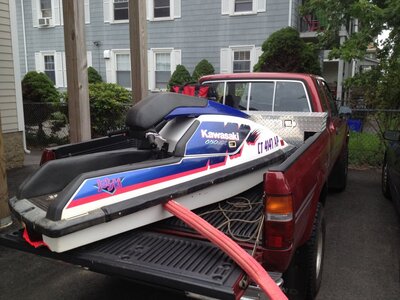
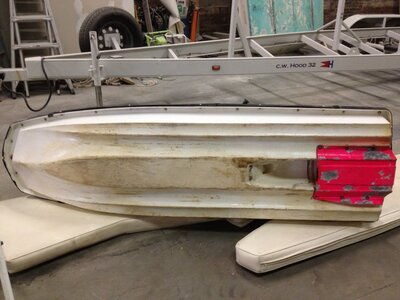
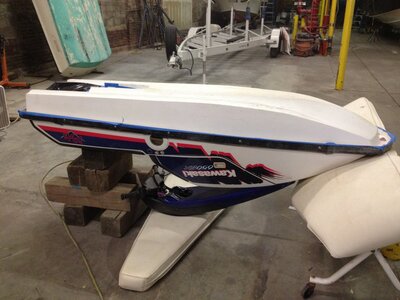
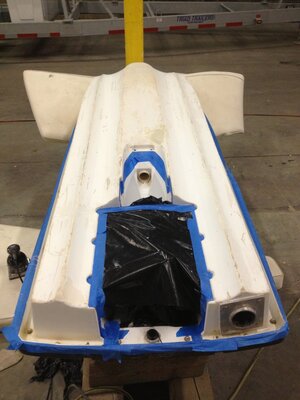
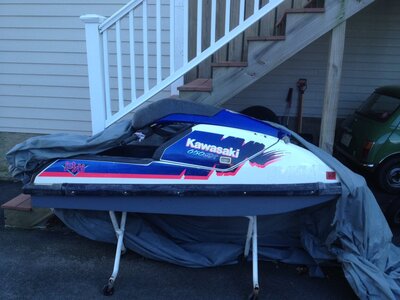
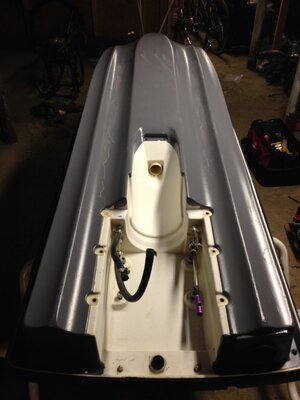
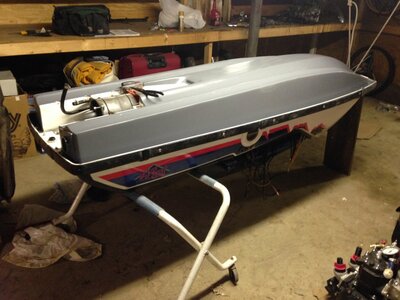
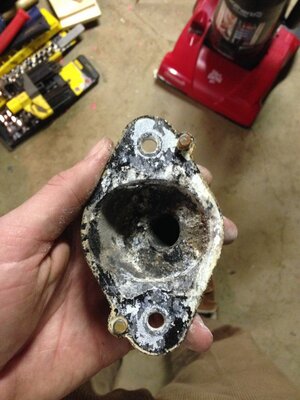
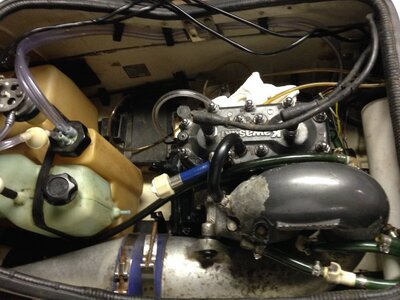
Just to give you an idea how corroded everything was, in order to clean the water separator I had to use channel locks to twist off the screw cap and then thoroughly clean the threads. They were full of gunk. So was the spare. Speaking of which, I have tons of spare parts if anyone needs anything. I will list them all out once I finish this build. Attached are a few random build pictures for now. Too many to go through at the moment.
 

Attachments

  • IMG_0046.jpg
    IMG_0046.jpg
    258.1 KB · Views: 56
  • IMG_0049.jpg
    IMG_0049.jpg
    237.8 KB · Views: 59
  • IMG_2943.jpg
    IMG_2943.jpg
    188 KB · Views: 55
  • IMG_2955.jpg
    IMG_2955.jpg
    118.8 KB · Views: 54
  • IMG_3064.jpg
    IMG_3064.jpg
    101.4 KB · Views: 56
  • IMG_3094.JPG
    IMG_3094.JPG
    148.9 KB · Views: 52
  • IMG_7160.JPG
    IMG_7160.JPG
    128.1 KB · Views: 48
  • IMG_7161.jpg
    IMG_7161.jpg
    152.6 KB · Views: 51
  • IMG_7162.JPG
    IMG_7162.JPG
    135.9 KB · Views: 50
  • IMG_7167.JPG
    IMG_7167.JPG
    149.3 KB · Views: 52
Location
RI
Some more pictures, there are more if anyone is curious about any aspect of this.
 

Attachments

  • IMG_7170.jpg
    IMG_7170.jpg
    114.2 KB · Views: 44
  • IMG_7198.JPG
    IMG_7198.JPG
    115.1 KB · Views: 44
  • IMG_7199.JPG
    IMG_7199.JPG
    88.8 KB · Views: 43
  • IMG_7521.jpg
    IMG_7521.jpg
    105.2 KB · Views: 47
  • IMG_7523.jpg
    IMG_7523.jpg
    76.1 KB · Views: 50
  • IMG_7545.JPG
    IMG_7545.JPG
    164.8 KB · Views: 49
  • IMG_7657.JPG
    IMG_7657.JPG
    125.2 KB · Views: 50
  • IMG_8097.JPG
    IMG_8097.JPG
    124.2 KB · Views: 51
  • IMG_8098.jpg
    IMG_8098.jpg
    109.6 KB · Views: 50
  • IMG_8174.JPG
    IMG_8174.JPG
    126.5 KB · Views: 53
Location
RI
A few more. Sorry for the lack of temporal order on the images.
 

Attachments

  • IMG_2450.jpg
    IMG_2450.jpg
    85.5 KB · Views: 50
  • IMG_2453.JPG
    IMG_2453.JPG
    123.5 KB · Views: 52
  • IMG_2956.jpg
    IMG_2956.jpg
    136.2 KB · Views: 50
  • IMG_3092.JPG
    IMG_3092.JPG
    159.4 KB · Views: 49
  • IMG_3099.jpg
    IMG_3099.jpg
    129.5 KB · Views: 49
Location
RI
Haha, thanks. It has been a learning experience and a fun one. I just ordered a rebuild kit today for my 38mm Keihin CDK-II, a new Rule 500 bilge pump and bracket, some heat shrink tubing, a bunch of 3" cable clamps, and a waterproof toggle switch for the bilge.

The bilge pump I had was looking pretty beat and needed a $12 screen and a new one altogether was $25. The good news is that there is already a bilge pump fitting and tube installed on the ski and the fitting is color matched to the graphic on the side.

I think I am still in need of a new gasket for between the carb and intake as well as the gasket between the carb and the flame arrester. I also need to purchase a fuel filter if anyone has any suggestions. Other than that I just need a couple of nuts and bolts and I should be all set!

I am going to try to solder and heat shrink the CDI wires to the ebox since they had been cut and poorly spliced in the past. I also might try to fit a stock flame arrester to the carb so that I don't have to buy one. I have two stock arresters and an aftermarket one that is looking pretty weary.

Total spent so far including a few things that have other uses (grease, sanding supplies, small tools, extra hose clamps, etc.) is at $1135.72. Pretty expensive for a free ski. I have also bought a bunch of other tools and used this project as an excuse to do so but they are very multi-purpose. I have worked on my truck and other vehicles with the torque wrenches already and those are the most specialized.

The main items for the rebuild were:

$225.96 Wiseco top end rebuild kit
$130 machine work on cylinders
$106 odyssey battery
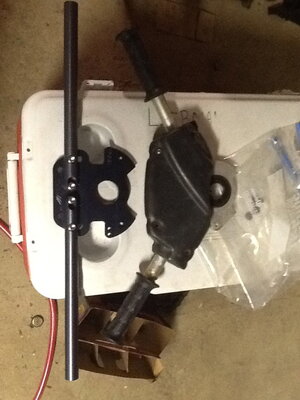
$101.80 JRE quick steer billet plate and bars
$93 skat trac impeller (16 degrees I think?)
$75 jet pump and drive shaft bearing plate
$35 carb rebuild kit
$31.98 wiseco wrist pin bearings
$27.64 crank seals
$25.50 bilge pump bracket
$25.45 rule 500 gph bilge pump

That brings us to $877.33 here so the rest just added up (oil block off plate, crankcase block off plate, manual, new coupler and bushing, small parts and supplies...)

I have really enjoyed working on this thing so I wouldn't count the time invested as an expense. Hopefully it doesn't blow up the first day I ride it!
 
ha ha it is a pretty price for a free ski but you cant put a price on the things you have learned. I think I should follow suit and do a build. I know so little about wrenching on these.... No better way to learn than to get your hands dirty. Keep up the good work. How long till you think it will be ready to ride?
 
Location
RI
I agree, it was a great learning experience. I feel like I could answer a lot of questions that people may have about these and yet I have never even ridden a stand up.

As for completion date, a lot of parts are coming in on Monday so I think I should have it ready in a week or two. Seeing things finally come together after all this time is very motivating. My friend is good at rebuilding carbs so he will help me with that.
 
Location
RI
Some small updates:

I'm still waiting on the carb rebuild kit and bilge pump bracket which should come in early next week. The bilge switch won't come in for a while so I will just disconnect it after each use if I get the ski going before then. Hopefully the switch will actually be waterproof, I am going to mount it where the choke used to be which has been fiberglassed over.

I also bought a $20 multimeter because I know the starter works but I think the relay might be bad. I only get a click when I hit the start button.

I also ordered and already received a fuel filter, a waterproof fuse holder for the bilge pump, and some dielectric grease for all of the electrical connections since I will probably be running this in salt water. I put marine grease on the starter relay posts in an attempt to waterproof them so that could be my issue there. Also, I may have to fix or somehow replace the spark plug cables because one of the boots just pulls right off and the end of the cable looks as though it has been hacked at in the past.

I wonder if spraying silicone spray into the ebox had any ill effects. Or if I need rtv sealant on the ebox gasket and rubber grommets and if so, what kind?
 
Location
RI
More on the electrical issue, need help:

I bench tested the relay by hooking up the battery to the solder points and it did "work" in so far as it made a clicking noise. This was repeatable. I know that this doesn't necessarily mean that the relay was good but a quick summary of all the words below is that no matter what I tried I couldn't get the relay to even click unless I hooked up the negative battery cable to the ground solder point on the relay (while the positive could be hooked up to either the post or the pos. solder point).

By the way, while powering the solder points and getting the relay to "work" I wasn't able to test the posts to see if the switch was actually working due to a lack of extra hands.

Anyway, I hooked everything back up after partially testing the relay but left the ebox out and open and the starter off of the motor so that I could continue to test everything. At this point (with the start button/switch wires twisted together so it was effectively always on) there was no click from the relay. There was a 12 volt drop at the battery post on the relay (good), a 12 volt drop on the positive solder point on the relay (good). However, there was a 12 volt drop at the negative solder joint on the relay (bad?), and a 12 volt drop on the ground inside the ebox that the neg. solder point was bolted to (bad?). The starter post on the relay was still 0 (bad). Again, there was no clicking. Why would this be?

So (repetitive, I know), the issue was that the relay would click when the solder spots were hooked up to 12 volts but it would not click when the posts were hooked up. I also don't understand why the neg. solder point would show 12 volts. I know that the rest of the circuit from the starter cable to the starter to the battery was good because I also tested the relay on its solder spots with that part of the circuit as the negative.

This all points to the starter post of the relay somehow being bad. I have to admit I tried to take the relay apart but this was after I realized it wasn't working. Does anyone know why the relay acted like this? It makes no sense to me. Should I just replace it and hope that that was the issue? I tried taking it apart again and I think I ended up breaking it so I am going to try to look up a replacement and hope that the relay was the issue all along.

All I can find for relay replacements are 1992-1993 650sx. I have an '88.

After I solve this issue I will have to fix the spark plug wires somehow and hope that I didn't mess up the timing.

Also, does anyone know how to check to see if the battery is getting charged if I ever do get this ski running?
 
Location
RI
Also, to test battery cables I was just hooking them up to the positive battery terminal and then testing the voltage from the other end of the cable to the negative battery terminal. If there was no voltage drop I considered them to be good. I tried testing the resistance but that wasn't as easy to do. Any thoughts on this? Is that a reliable method?
 
Location
RI
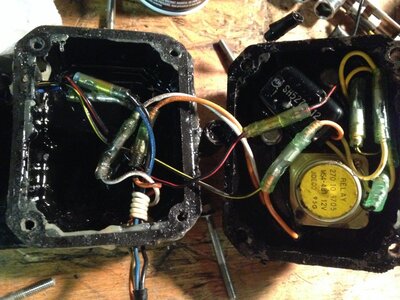
Everything iniside the ebox looks like it is in great shape too, no real corrosion on the parts or wires or connectors. I know the relay was working before I tore the ski apart a couple years ago and it worked for one click recently. I really don't know what happened.
 
Location
RI
I think I may have figured out why the relay wouldn't work. The previous owner had cut the five wires going from the stator to the ebox. When I pulled the ebox out I disconnected these again. The relay is grounded at one of the posts of the voltage regulator but maybe this wasn't a good enough ground because those five wires were disconnected. May have been that simple. I wish I hadn't tried to tear apart the relay, this is setting me back a few days.
 
Location
RI
Ok. I got the carb rebuilt and everything put together and ready to go. For the past week or so I thought I had an issue with the carb rebuild because I could get the ski started for a few seconds with a little fuel poured down the carb but otherwise there was nothing going in. In the end I think the issue was just that the carb needed more priming than the fuel pump could provide when dry. Meanwhile, my priming pump was shot and I didn't realize that was a huge problem or that I had an extra in my parts bin until today.

So I got the new primer on and kept priming the ski and it would run for a few seconds before dying, each time a bit longer. This is without a coolant hose hooked up by the way because I thought I could just shut the engine off once I finally got it running. Anyway, I finally fully prime the carb (the block is a little warm by now) and it starts to idle for the first time!

This is where things go south. The motor starts to rev up and the stop switch has no effect. It's revved up really high at this point and I pull the plug wires. Nothing, the thing just keeps screaming, we are dieseling now. Then I go to pull the fuel line but it takes me a couple tries and finally the motor sputters to a stop after what feels like too long and starts to give off a bit of smoke. It's not seized but that's all I know at this point.

Could this have happened because I overheated the head with repeated short starts and had the idle jet on the carb too lean? Or would this have to have been an air leak for an extreme lean condition like this? As I mentioned earlier, I did a leak down test before dropping the engine in and it seemed to do well. There was a very slow leak of 1 or 2 psi over the course of 5 min from just above 10psi. I never did a compression test but I will do one when I get a chance and that should tell me whether or not I ruined this thing I guess.

I was running the old carb gasket too. I have some new gasket material so I should cut a new one out at least. Any idea what material I should use? I have a variety.
 
Location
RI
Thought I would update if anyone ever finds this thread. This project has dragged on for years and I still haven't had much luck. I've ridden the ski once or twice but it was low on power, hard to start, and running poorly. I've always thought it was a carb issue since spark and compression seemed fine so I broke down and threw some money at the project, purchasing an SBN44 and intake off of ebay. Unfortunately that didn't seem to help much at all. What I was missing was that while the spark looked strong by color it actually wasn't very strong at all. A cheap spark tester brought the truth to light. So I started on the electrical system.

The CDI had already been sent off to be tested and to have new leads put on by jet ski solutions. Therefore, I tested and then replaced the regulator/rectifier which improved the strength of the spark quite a bit. Still, the spark wasn't great and that fix wasn't enough to really affect the ski.

So I tested the stator which was out of spec and which had a poorly soldered harness (my doing). I got a new/used stator which also has a cut harness so I am going to solder that better this time, install it with a new woodruff key as the old one was crooked, and am probably going to advance the timing slightly. I also replaced the old rusty engine bedplate while I was at it and ordered a kill switch lanyard too since why not.

If the new stator doesn't get this machine running then I am going to throw this boat off of a cliff. Will check back in with spark and another compression test and possibly some start-up attempts after I get the thing back together.
 
Location
RI
It's 2021 and it has been a few years with the ski in the back of the garage collecting dust. I'm pretty sure I installed the "new" stator since my last post without any increase in spark strength. If I do get to work on this again the earliest will be this summer. Next steps are to 1) try to improve the ground connection and see if that helps the spark and 2) pull all of the electronics and send them out to be professionally re-done (aside from the CDI which was already refurbished).
 
Top Bottom