- Location
- Adelaide, Australia
Hey guys. Bought a footrocket a few months back. Working away from home though makes it hard to find time to get things done on it though.
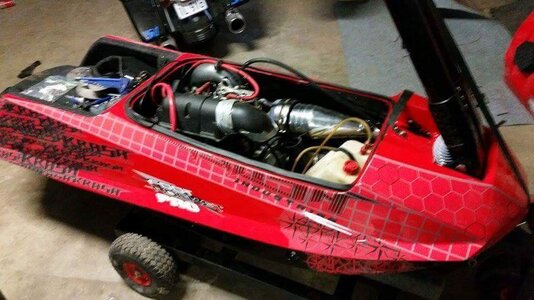
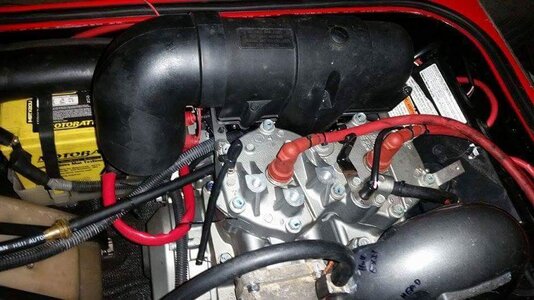
When I purchased the ski it had a stock engine / pump setup with a Coffman exhaust.
At first I had planned to just pop a Jetmaniac Top end kit on it and B pipe but like a lot of projects i'm sure most people could relate to, things started escalating.
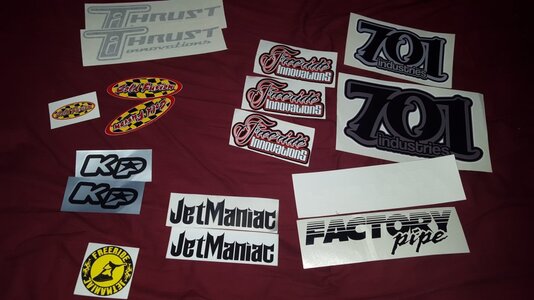
A quick thanks to Chris from Jetmaniac, Watty from RP crew, AJSP, Cold Fusion and anyone else who's helped me along the way with answering questions and their suggestions.
Parts list that I've ended up with broken down by supplier or brand
Jetmaniac:
720cc ported top end kit / pistons, new bearings / rings / gaskets etc.
JM Factory B pipe Head pipe SS bolts
Ratchet hood strap kit
V force 2 reeds
Thrust:
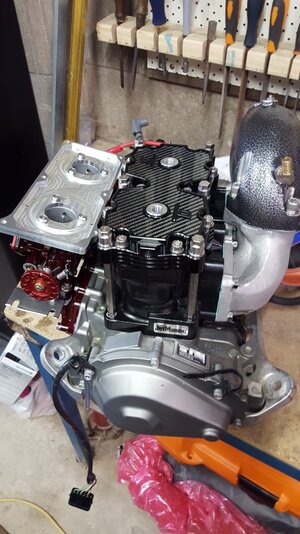
Black Carbon inlay girdled head (From RP crew)
Black pissers and Black Bildge outlets
Ezy pull trim (already had reduction nozzle and steering nozzle). Did not know it had a trim nozzle when I bought it and did not plan on running a trim system but seeing as half of it was in place, I figured what the hell I might like it.
Cold Fusion:
Fuel filters
Black fuel tank (Second hand)
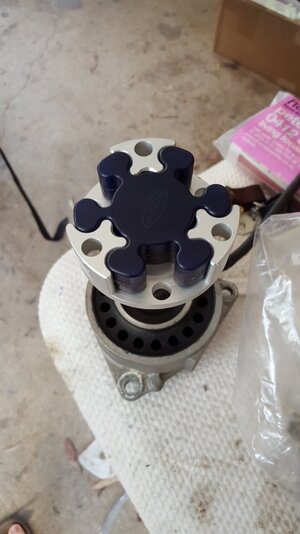
Coupler Kit
Flywheel holder tool
701 Industries:
Engine Mounts
Battery tray
Fuel tank and battery straps
Trim 'Duro' Nozzle.
New Hood seal
Pump:
Driveshaft was perfect so i'm using it but got an 11/17 prop, solas 12 vane and SS wear ring plus new bearings / seals from Rp Crew
Carbs:
Rebuilt stock 38's with genuine Mikuni parts, added bulb type primer kit.
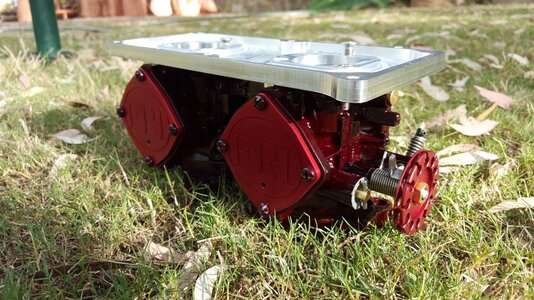
Freeriderz Inc dual 38's airbox adapter plate
Painting the carburetors and intake manifold with Dupli-Color
Added a fuel selector as I like having reserve fuel
Freeride Innovations:
FRI fuel selector knob
FRI carb covers and throttle drum
FRI Bilge switch knob
Exhaust:
Brand new B pipe (couldn't find a second hand one) from AJSP
Krash Industries Waterbox
Jet works flow control valve for stinger
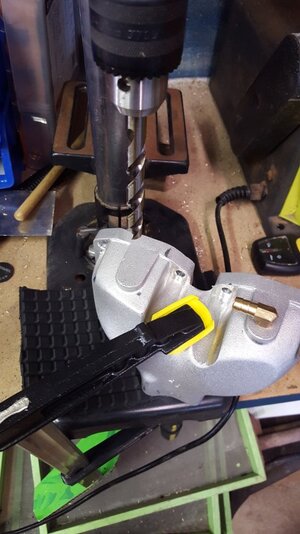
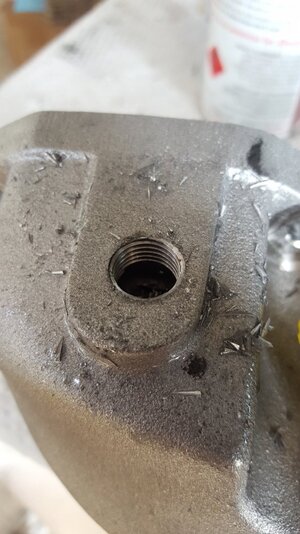
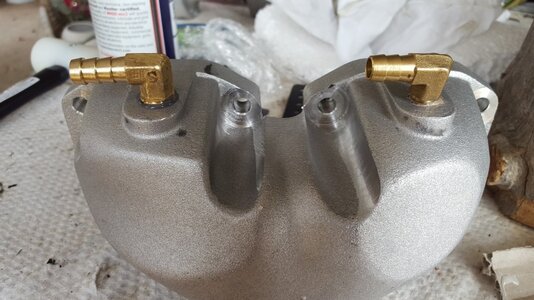
Added second water cooling fitting to the exhaust manifold. My first time drilling / tapping threads went very well.
Steering / Controls:
ATP finger throttle
ODI lock on grips
ATP steering / pole (already installed when I bought it)
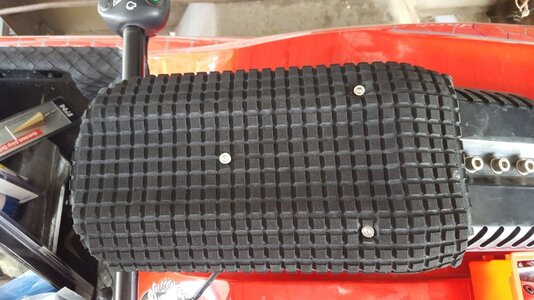
Turfed my Chinpad as the ATP one is quite bland I thought and had some surface paint cranks.
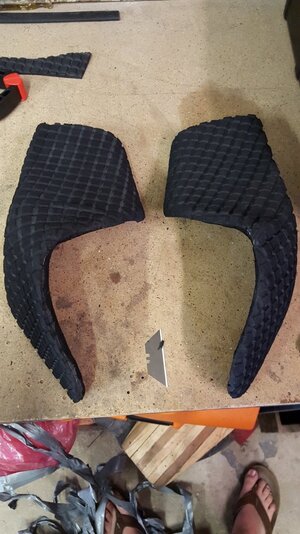
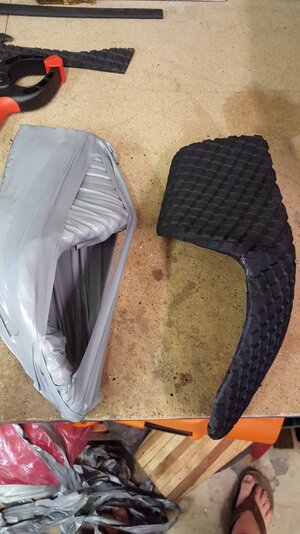
Also turfed the outside of my footholds to add a bit of softness to them.
Electrical:
Dual rule bilges
MSD enhancer and boot terminal kit
Three way bilge switch mounted in dash.
All other electrics stock.
Jeeze when I break it all down, it's quite a list....
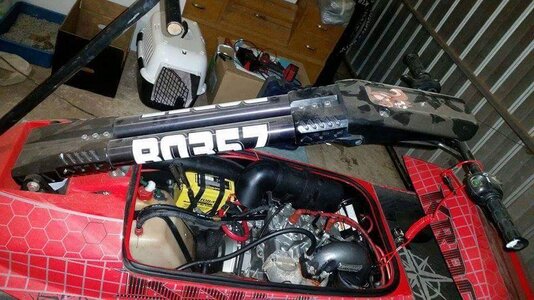
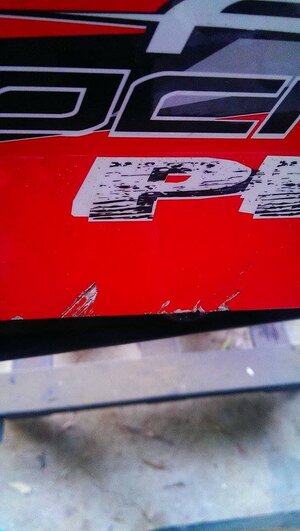
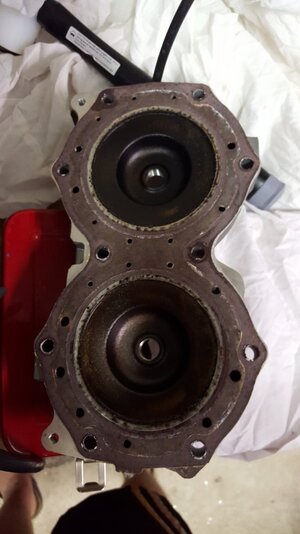
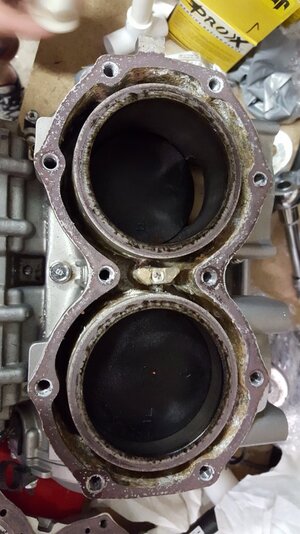
First pics are of how I purchased the ski. More pics to follow in the next post.
Attachments
Last edited:

