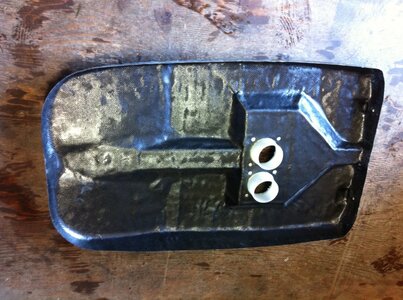
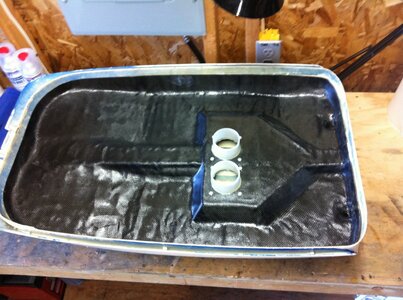
- Location
- Victoria BC
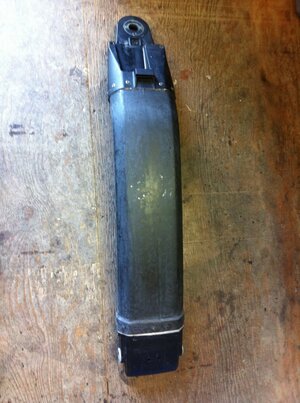
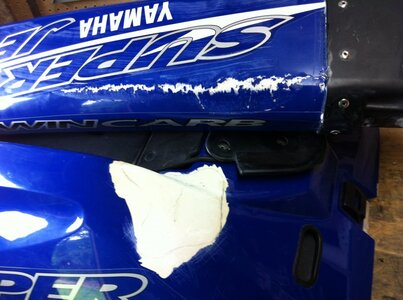
So I broke my pole (and hood) in an unfortunate incident at the boat ramp. Throttle cable was in the wrong hole on the throttle drum, it was one spot advanced. So I had a bit of throttle when I started it up. I was standing beside the ski and it decide it wanted to hop up onto the cement pier and between some metal railings beside the boat launch.  and somewhat defeated.
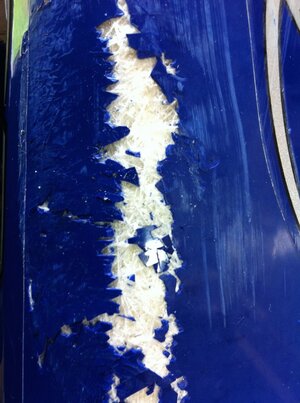
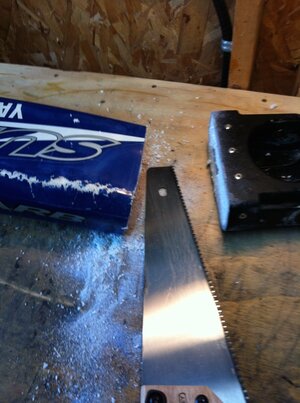
So I am going to buy an Xmetal pole when the tax man pays me. But in the mean time I want to ride.
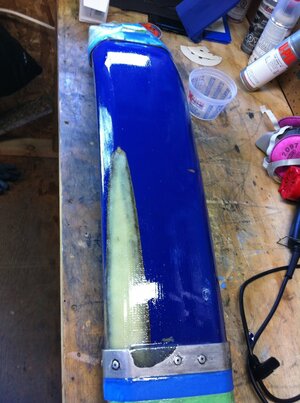
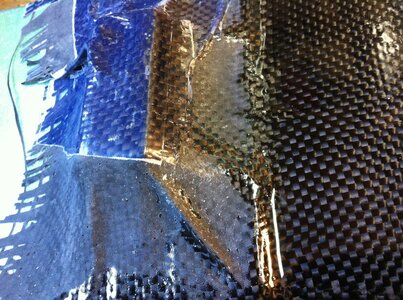
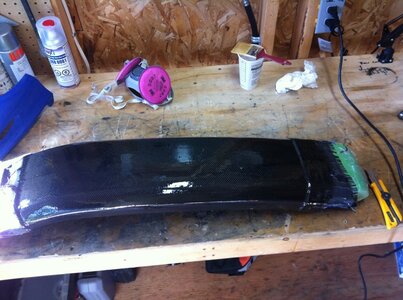
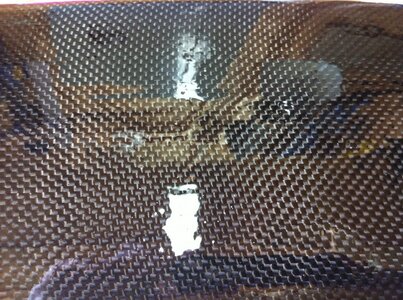
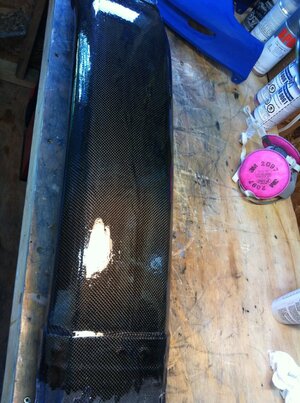
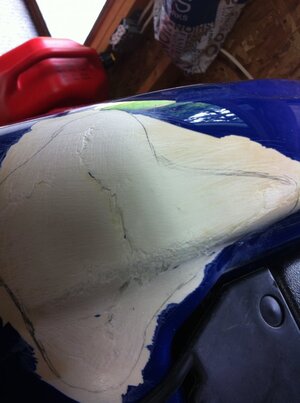
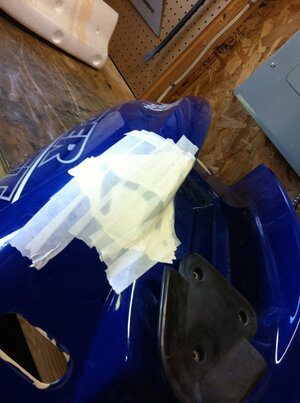
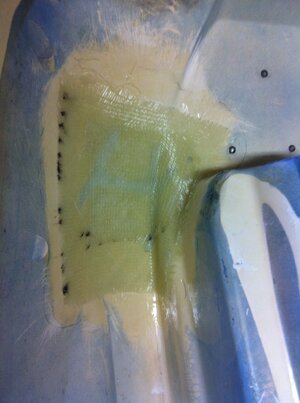
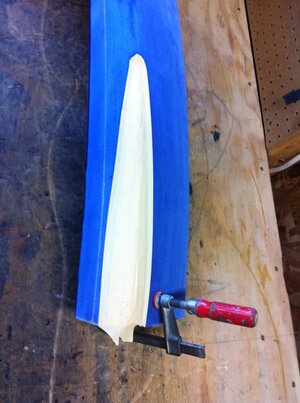
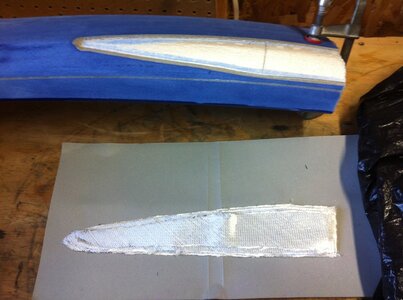
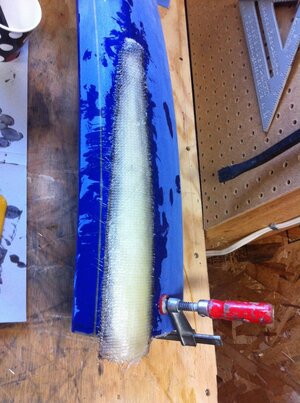
Onwards with the repair. Ground out and flared. Template made with tape. I epoxied in 3 layers of 17oz biax to get a close match to stock thickness.
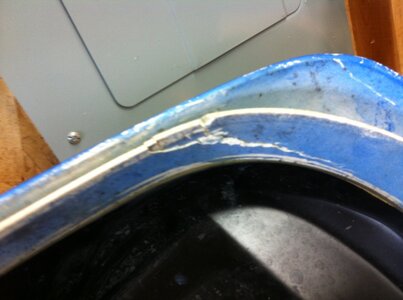
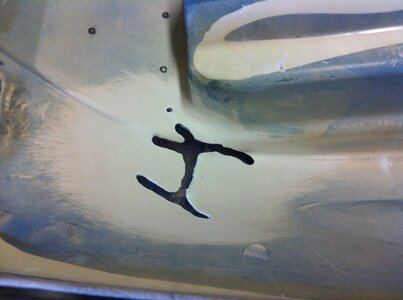
I also broke the lower bracket trying to straighten it out . I think it was already cracked from the incident. I Dremeled the broken face and got a nice smooth finish. Hopefully avoiding a crack in the future. I sanded the inside with 80 grit and cleaned well with acetone. Then I sanded in some west systems epoxy to get a nice bite into the epoxy and avoid oxidation. I added some filler to the remaining epoxy and pounded the bracket home.
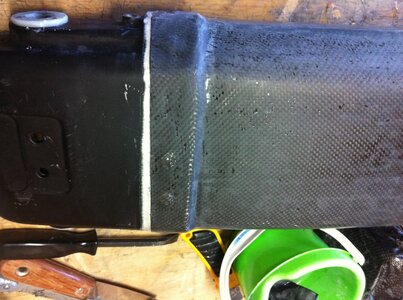
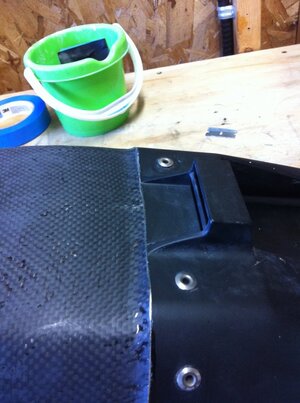
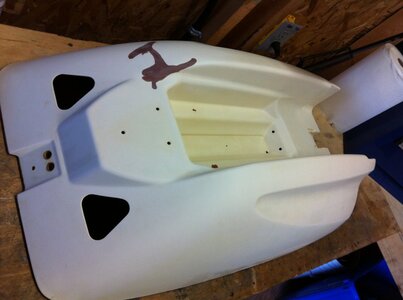
I made sure to install the pole on the ski with the hood in place to make sure it was straight. I then added rivets and cleaned up the excess resin.
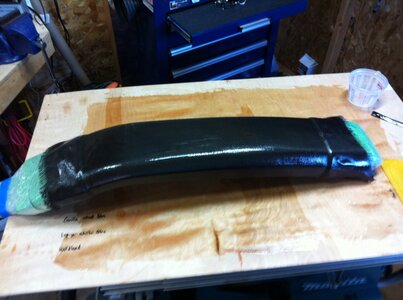
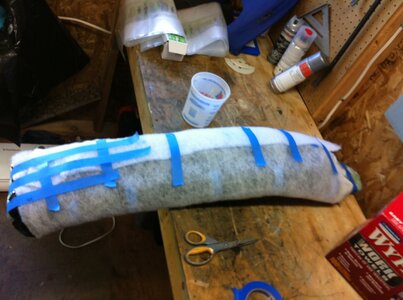
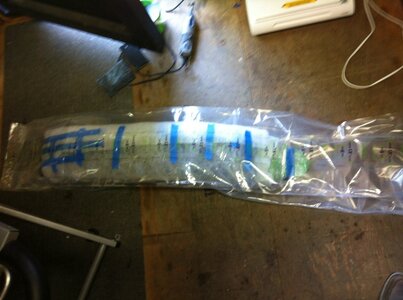
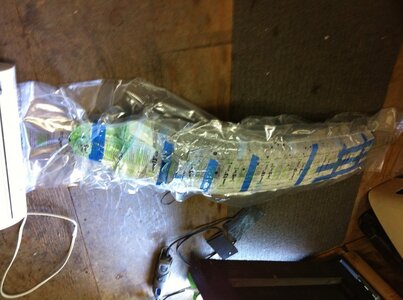
I filled in the missing bracket area with 3 layers of 17oz biax. When that set up I wrapped the top and bottom bracket with tape and saran wrap.
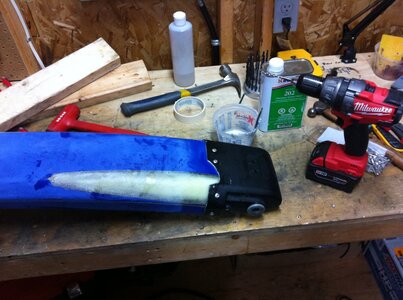
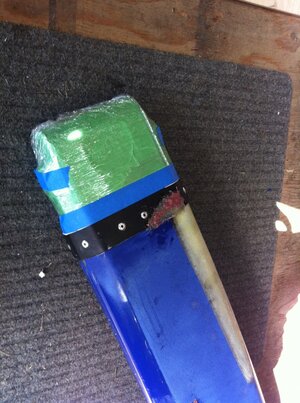
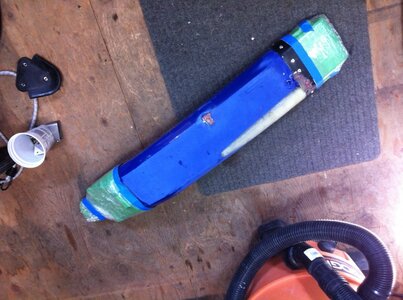
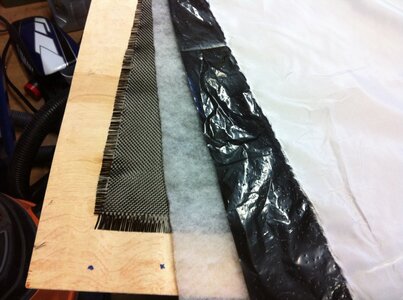
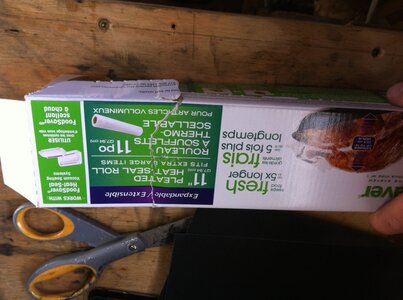
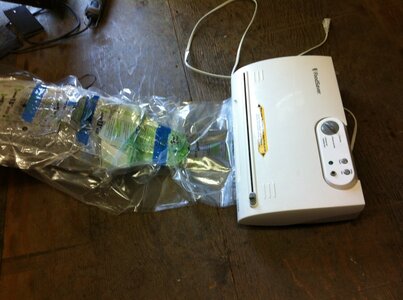
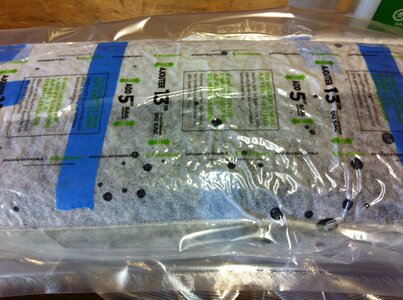
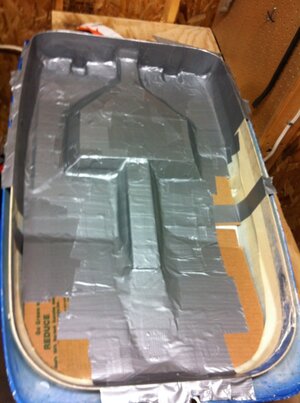
I wasn't able to find release film locally, so taking a cue from the model airplane guys I did this.
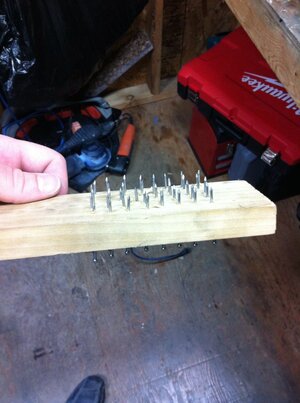
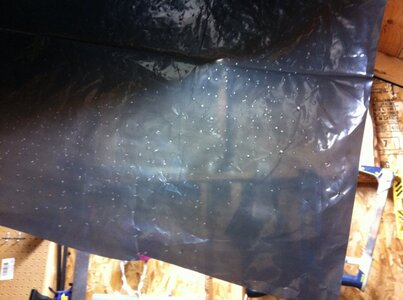
Yeah thats a garbage bag and a piece of wood with finishing nails.


So I am going to buy an Xmetal pole when the tax man pays me. But in the mean time I want to ride.
Onwards with the repair. Ground out and flared. Template made with tape. I epoxied in 3 layers of 17oz biax to get a close match to stock thickness.


I also broke the lower bracket trying to straighten it out
I made sure to install the pole on the ski with the hood in place to make sure it was straight. I then added rivets and cleaned up the excess resin.
I filled in the missing bracket area with 3 layers of 17oz biax. When that set up I wrapped the top and bottom bracket with tape and saran wrap.


I wasn't able to find release film locally, so taking a cue from the model airplane guys I did this.


Yeah thats a garbage bag and a piece of wood with finishing nails.
Last edited:

