How to rocker/big pump tunnel(155) your ski. A triple WB1 build thread

This thread will be long. At the same time it's long overdue but Mr. Carter B himself asked me to post my build. Before I begin...a big thank you to my wife Leslie, the Lake Powell crew(James, Jeremy, and Eric) and Carter himself.

I had NO knowledge of building skis before this. I had never worked with fiberglass. That changed drastically...so let's go...

My blaster in 2014 was a stock blurple 701 with a pipe. In 2015 it was a 1200cc 65u swap with a stock tunnel and some prop. At the end of 2015 I decided to whip up that work and build MY dream ski. I spent 2016 doing just that...

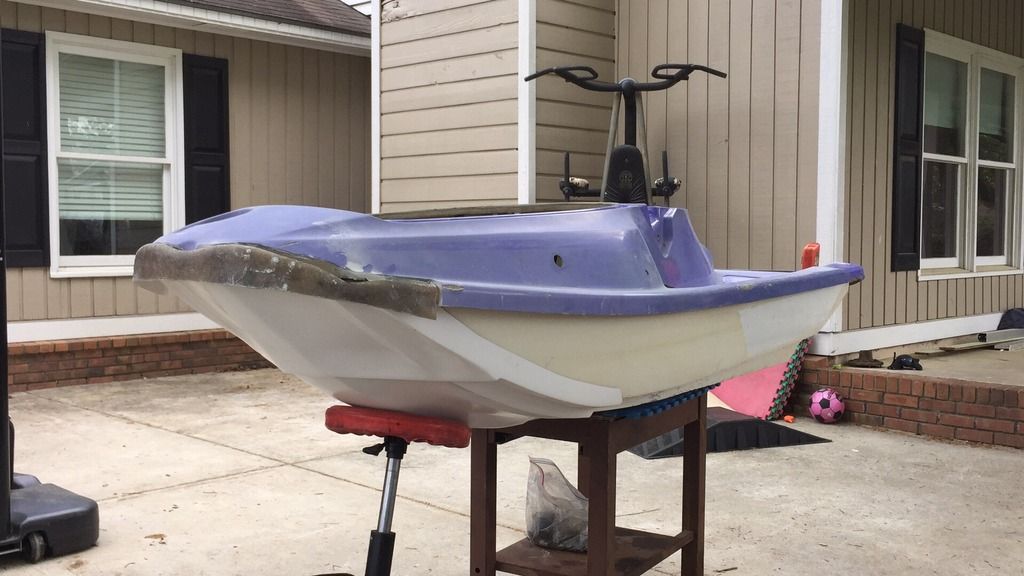
Stock and tired in 2014
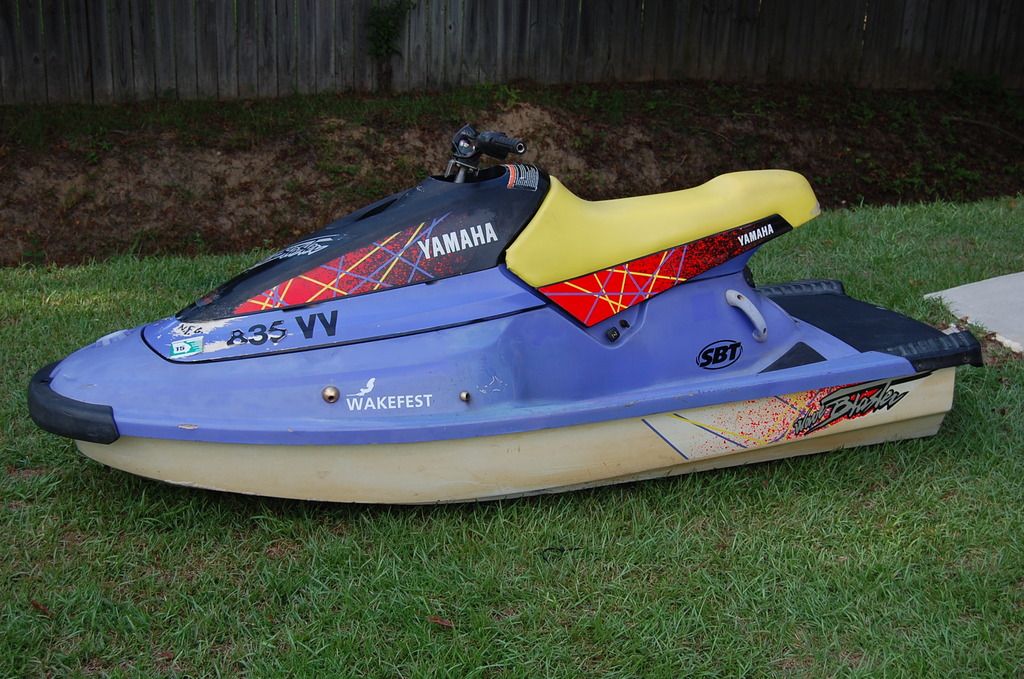
DSC_0325_zpsnnx4ff3t.jpg


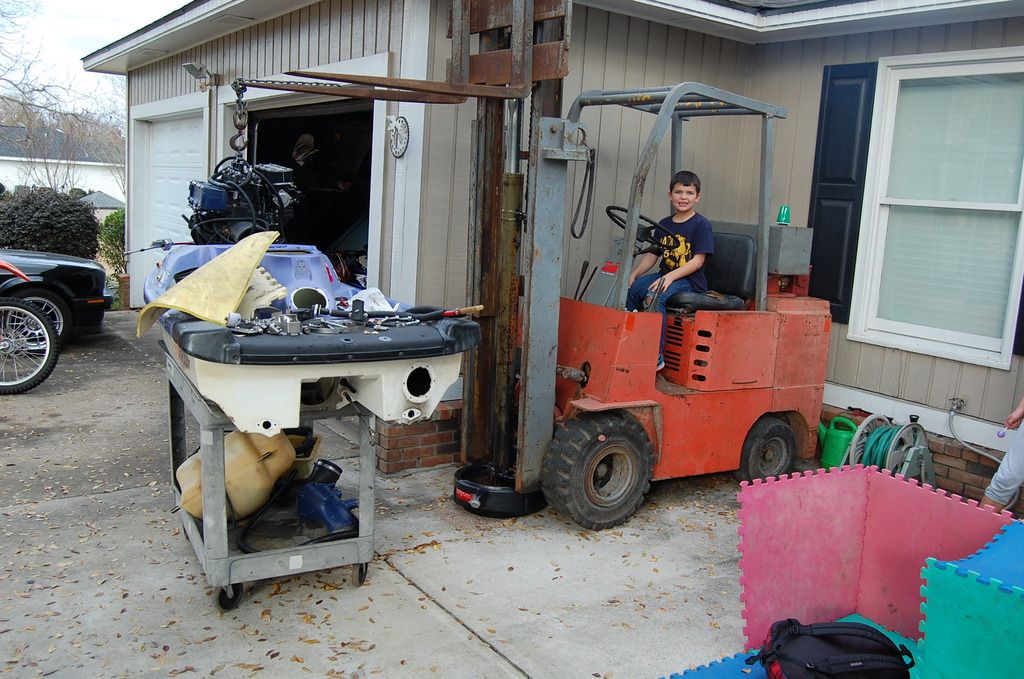
At this point I'll fastforward through building a 1200. It's pretty damn easy. Let's jump to the destruction. Family always helps here...
waveblaster%201_zpspo8cdwxv.jpg

waveblaster%202_zpsqucv6op9.jpg

waveblaster%206_zpseetlpjhv.jpg


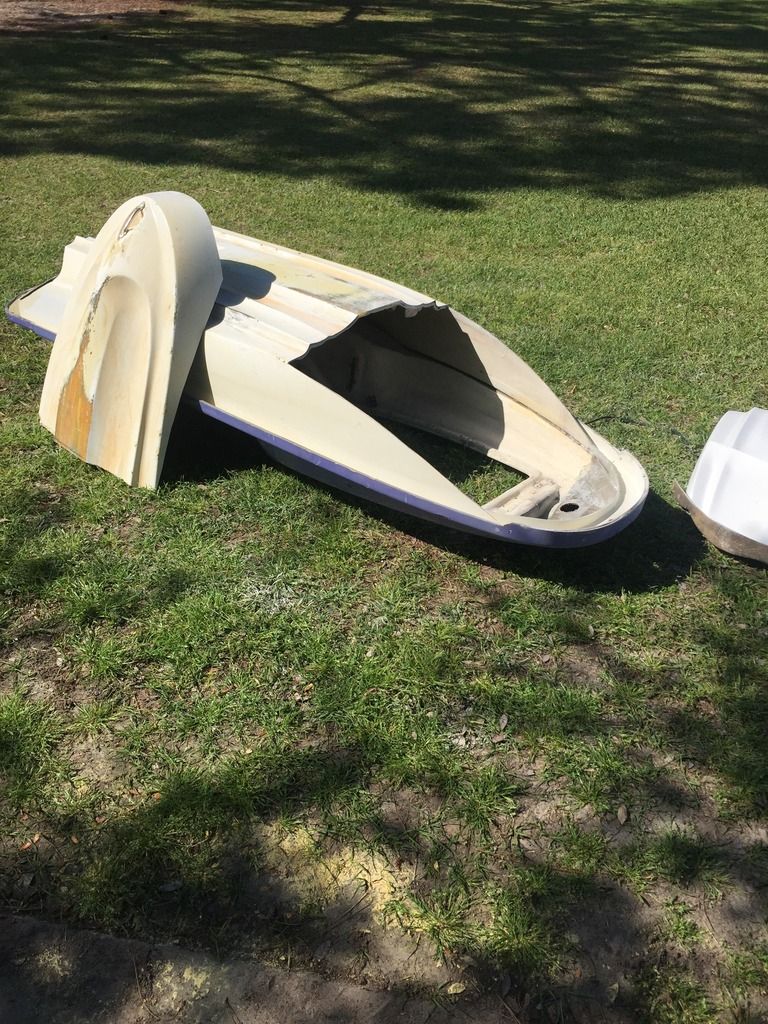
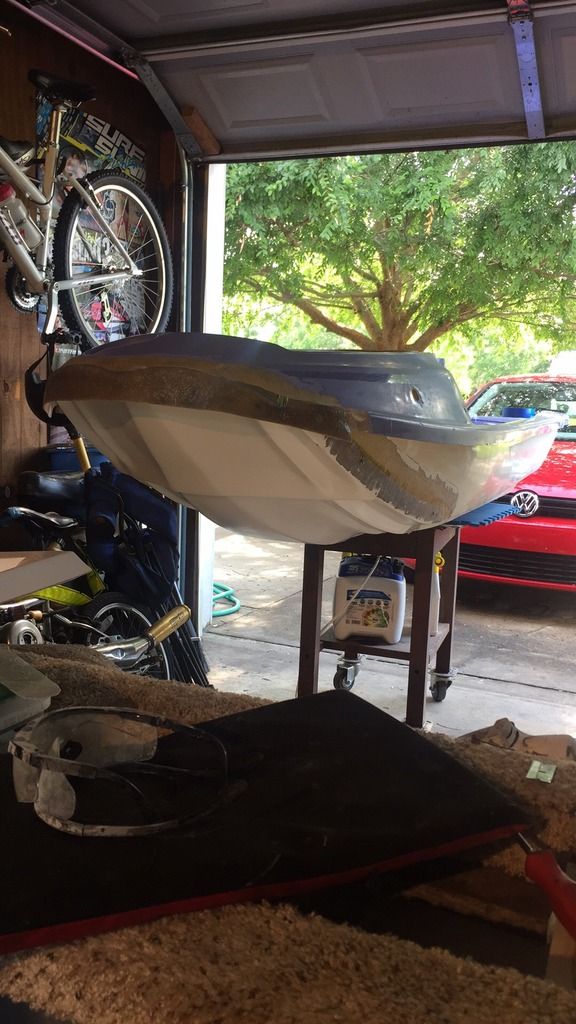
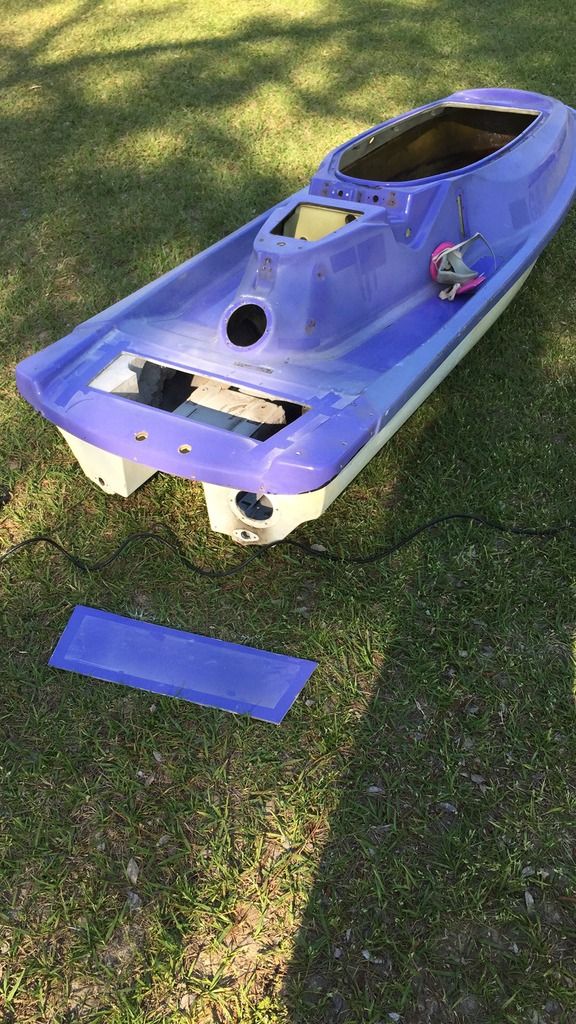
So I have built some cars and I like to start from a blank canvas! The blaster was stripped COMPLETELY. Every rivet, every fastner, everything! was removed. And then it was time to cut! Carter sends templates. Use them. So it begins...The first cut
waveblaster%207_zps8xefn52x.jpg


The nose:
waveblaster%208_zpsce47alxg.jpg


I don't have a picture of the just the tails cut off but if you use the templates...it's pretty self explantory.

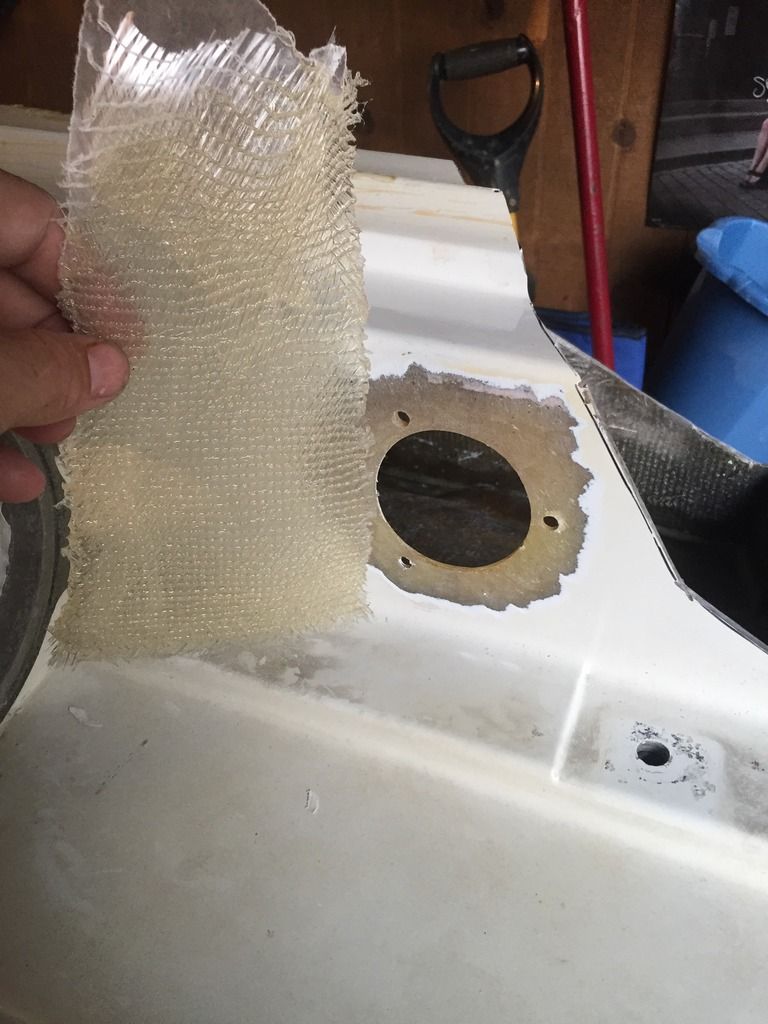
No be reminded...I have NO fiberglass skills at this time. I have never mixed resin at all. So I experimented a little and decided to make my first piece to block off the old exhaust hole...let the fun begin...
waveblaster%20102_zpsufohfbzz.jpg


While we are discussing fiberglass. I mainly used 12oz biax everywhere. I used a little 6oz for finish work. I started with west systems epoxy but ultimately ended up with jamestown products. Their resin and fairing compound is EXTREMELY easy to work with and price friendly. I will not dare to tell you how to work with the fiber glass. That comes with time, humidity, angles, etc. Just jump in! The good thing with fiberglass is that anything can be repaired.

With that said...it's time to fiberglass....
 
Last edited:
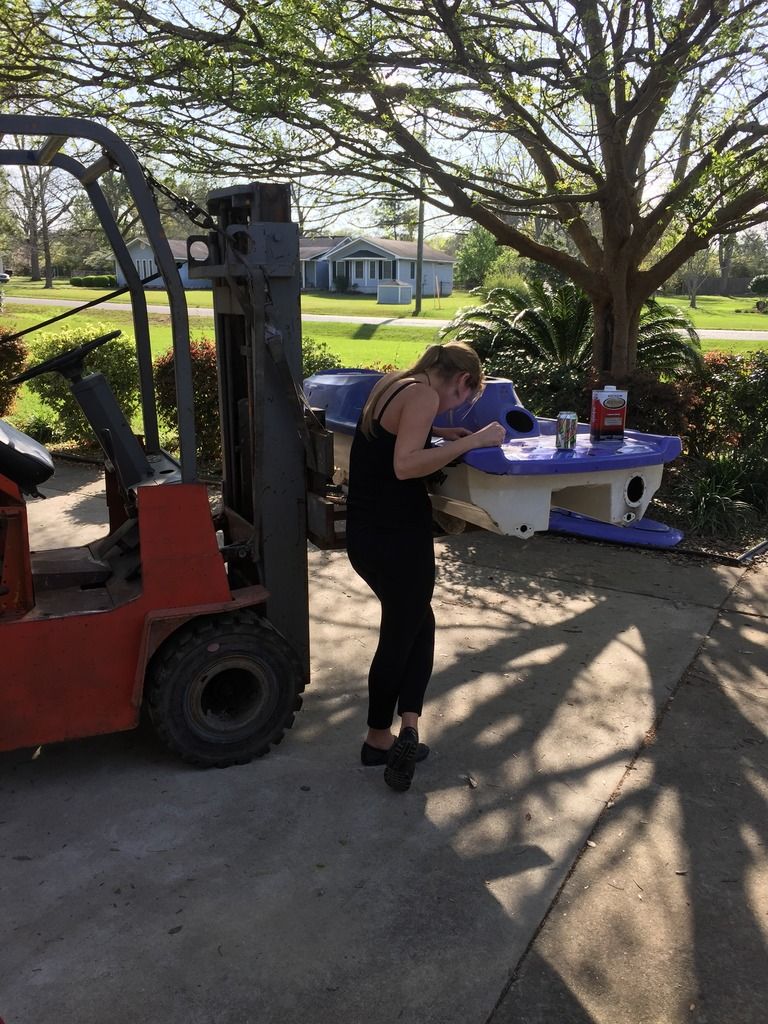
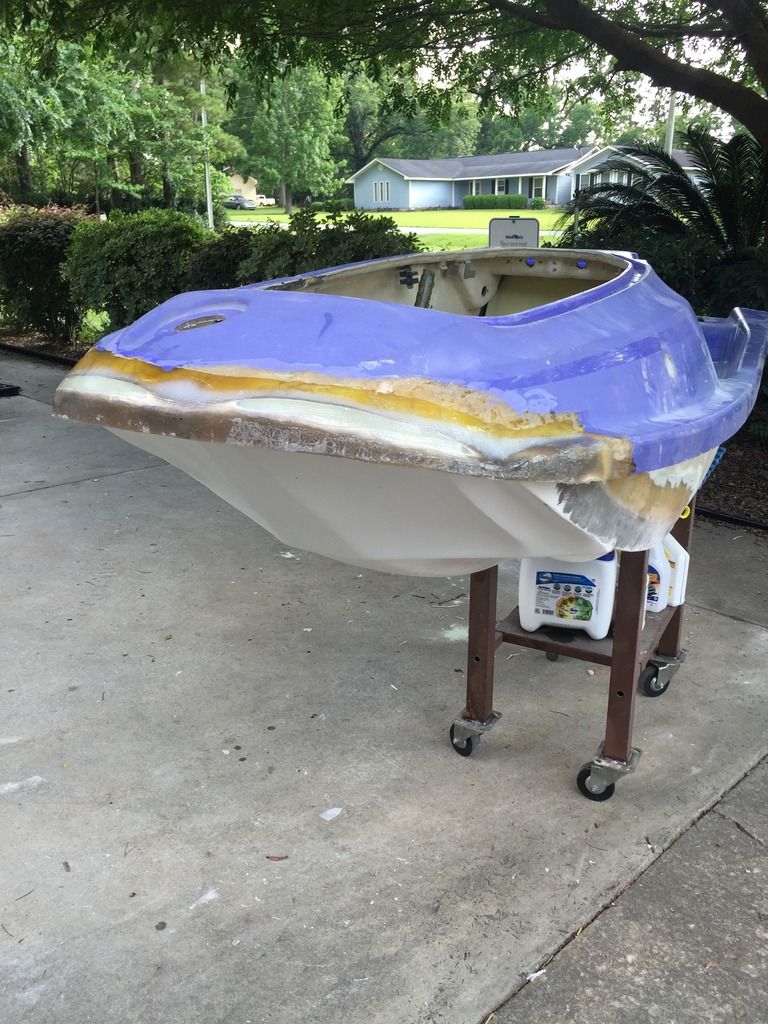
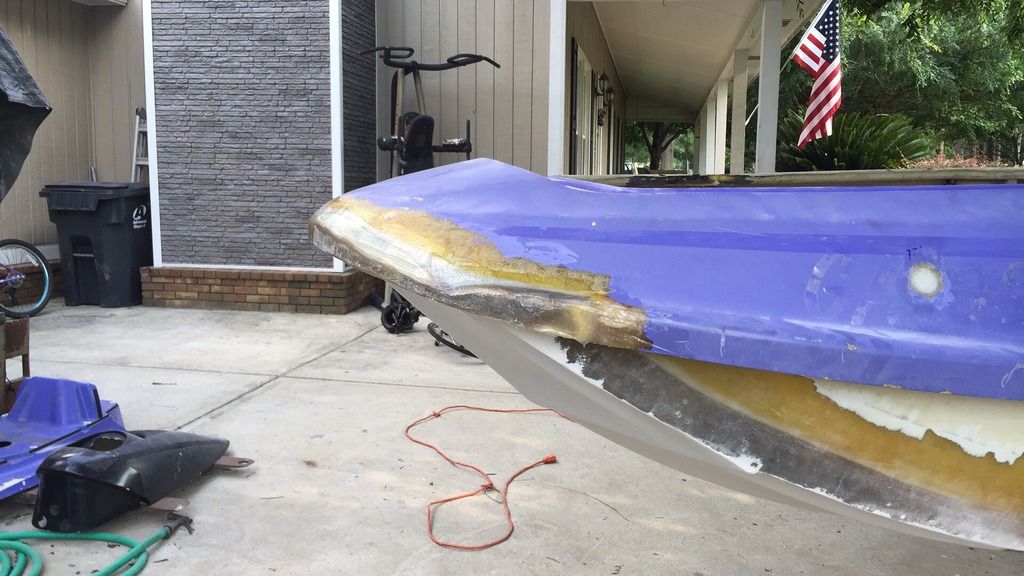
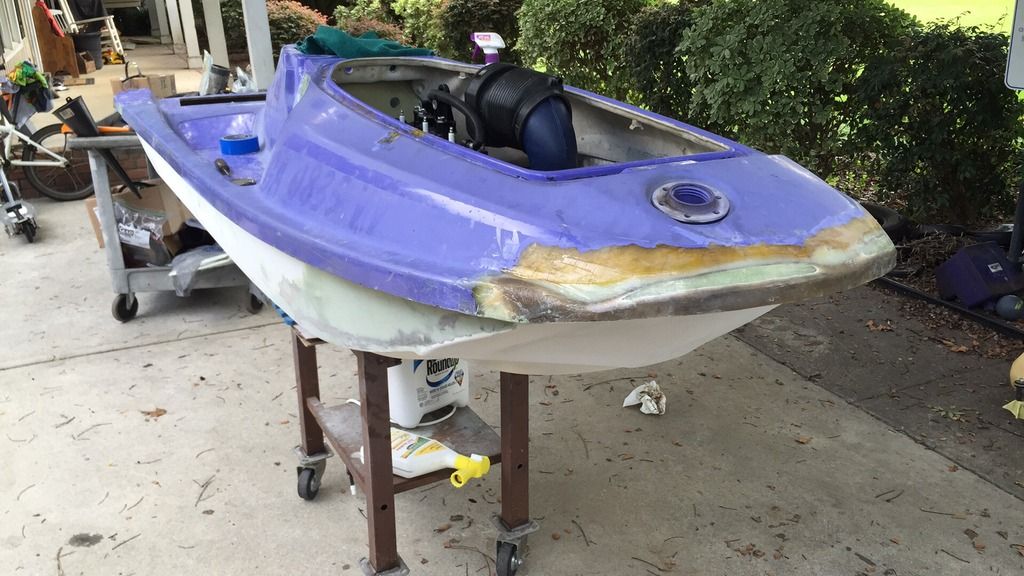
So take your nose and put it up to the blaster. Pull out the 4 1/2 cut off wheel (works PERFECT) and trim up the nose to get Carters nose on fully. I kept the bond line which is the main reason for the Gen 3. I used machine screws to hold it on make sure I liked it...
waveblaster%209_zps1gnlt5s9.jpg

waveblaster%2011_zpsl8htp2tx.jpg


One you are comfortable with the fitment, clean up ALL surfaces. I really like using the sanding disc on my air sander. Carter's front end MUST be reinforced so don't worry if you make it thinner. You just need to bond it...

waveblaster%2022_zpsfanhstqw.jpg

waveblaster%2023_zpsibq5vg7g.jpg


As you can see above. The sides were sanded down. I used a mixture of cabosil(ground down fiberglass) and epoxy that is the consistency of peanut butter. Its HARD AS ROCKS when dried. Once I had it positioned...I used the machine screws again and locked it down. After it dried, the screws backed right out. To the fill the gaps in the front, I stuck tape on the inside and used more peanut butter with chopped fiberglass (tigerhair) and filled in the voids. Before I did that I ground down Carter's nose to get the shape of the bond line I wanted. Lots of time will be spent here.

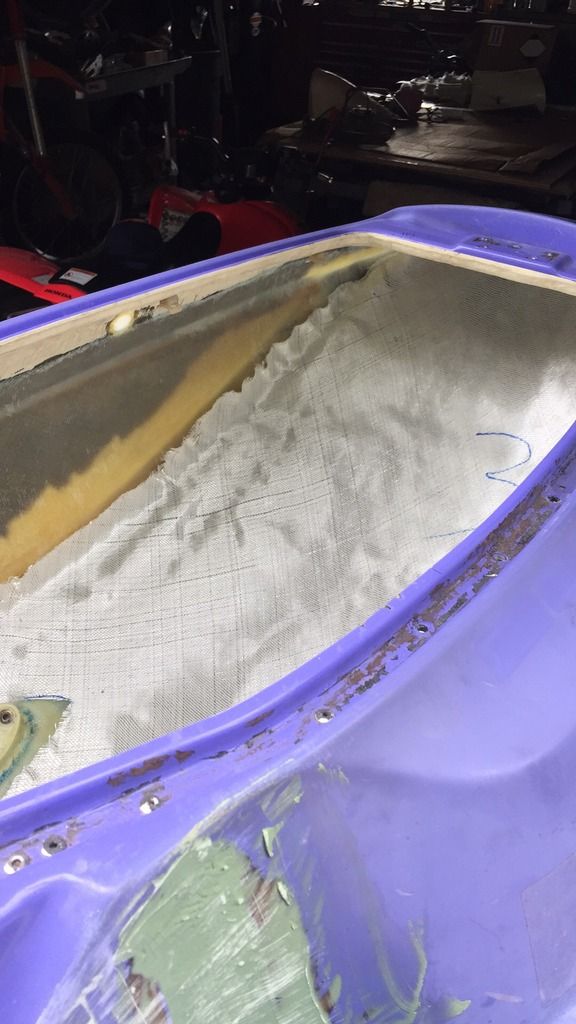
So move to the inside and being to lay in glass. Ensure your humidity is GOOD! My epoxy did not like high humidity. I actually premade fiberglass templates and numbered them so when it was go time...I was prepared. Each template was larger than the last.

IMPORTANT NOTE!!!...Blaster bed plates suck dick and most likely have water under them. You have to get that water out. Be creative here.

Back to glassing in the nose... In this picture you can see I have already done the side wall and am setting in another bottom piece. I tried to do one large piece but it didn't work so well. Also not that I used a little peanut butter on the seam and took the fiber glass ABOVE the seam. This will help with seperation.
waveblaster%2030_zpsqiaronhl.jpg


So I had some air bubbles in my work. I blame south GA humidity, my timing, and lack of a vacuum but it works and is stupid strong:
waveblaster%20106_zpsoqg1bvqs.jpg


Lots of those bubbles were gone after I ground it all smooth anyway.

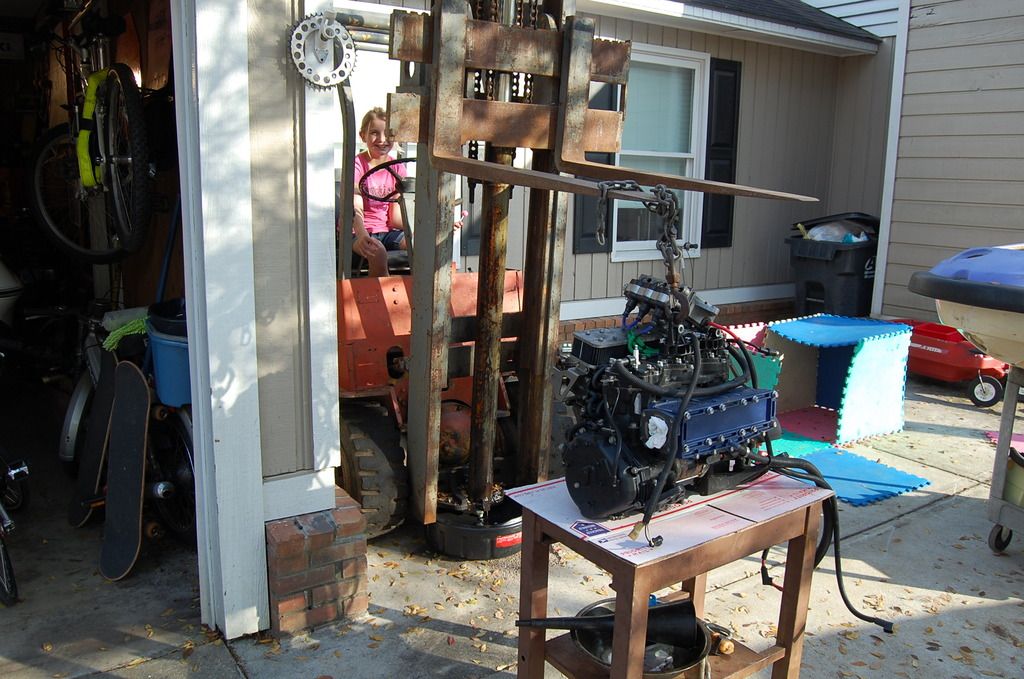
So staying with the nose..I needed to know where my gas tank would go. This was a BIG decision for me because I needed FUEL for the 1200 plus this boat is used to cruise rivers and lakes. I test fit a few tanks and in the end...the stock tank was the best for what I needed. So because I like OEM I wanted it to fit like OEM. No straps here. I test fit the 1200 and worked on the mounts
1200 goin in...
waveblaster%2066_zpsjgvsszqf.jpg


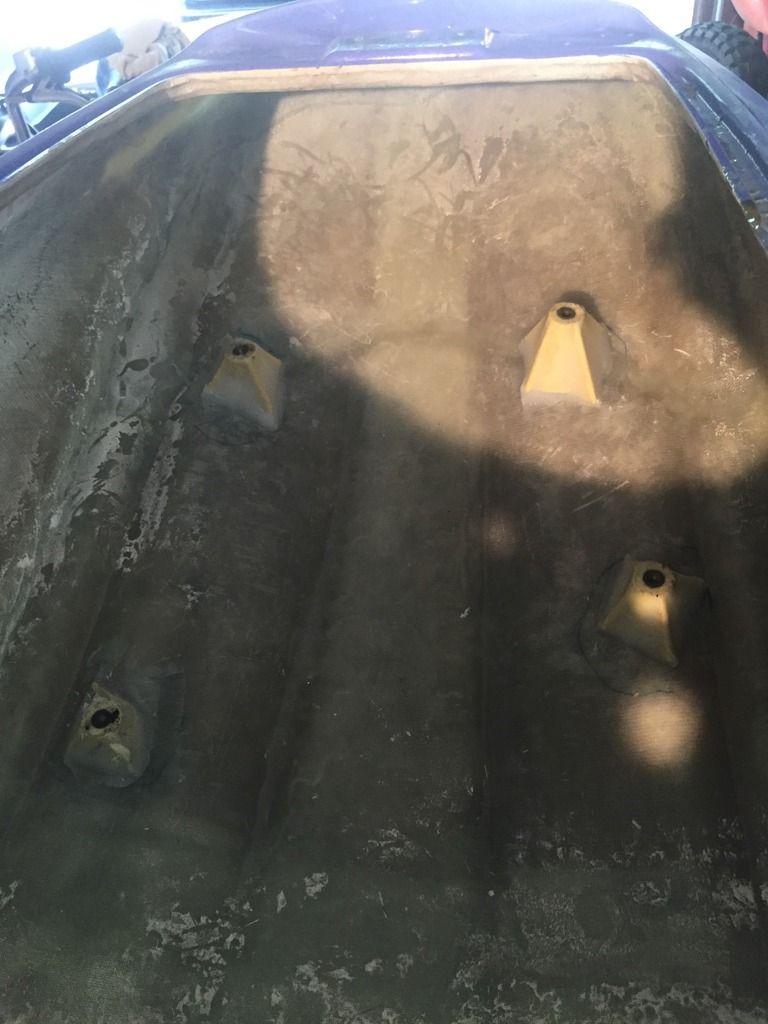
While it was in fit the exhaust as the stock tank and the exhaust fit for room. As you can see I also wanted external fill! So my demands grew which ultimately meant I was fitting for room. Lots of the shaving the the gas fill, cutting the fill tube, moving and modifing hood strunts, etc were caused by my need for more fuel. Anyway...here's the mounts glassed in. Each of them still uses the stainless risers and I had to toy around with different sizes on those too!
waveblaster%2069_zpsh8wjotjx.jpg


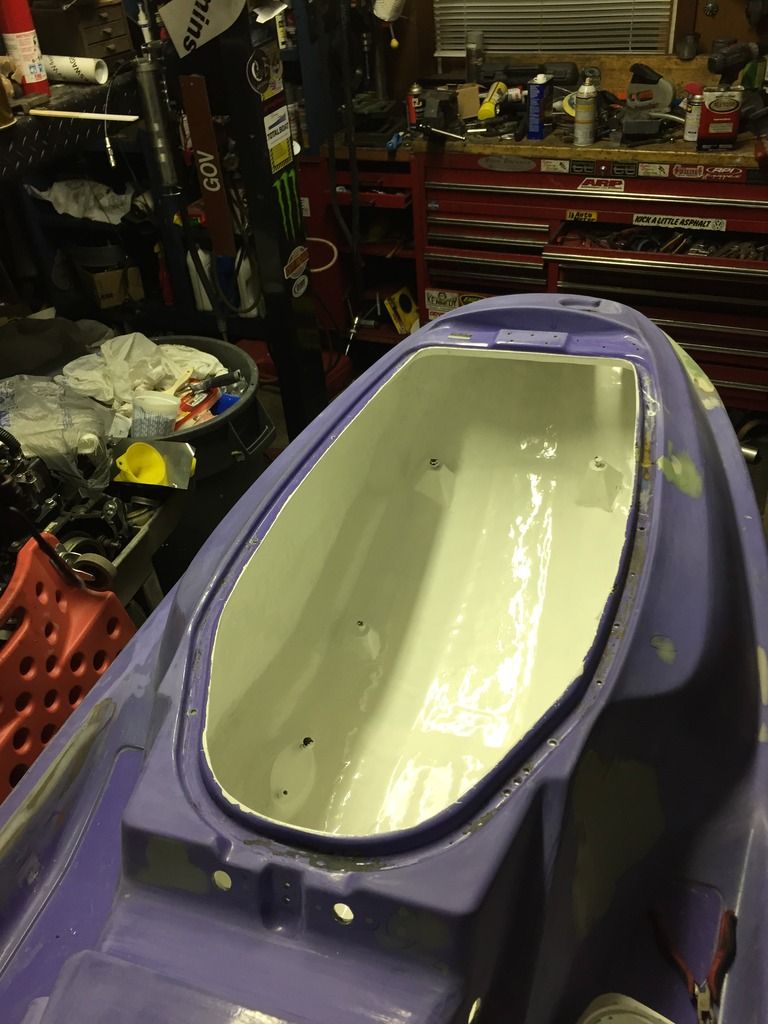
So that wraps up the nose. The inside was completely smoothed and painted with interlux bilge paint. The stuff is AMAZING. I ended up down two coats.

waveblaster%20107_zpskmuayeho.jpg


Of note...I think I used 2X 12oz biax on the keel, 3X 12oz on the bottom, 2X 12oz on the side walls each, 1X 6oz on the entire thing to smooth it out.

For the exterior...I used only 6ozs and faired as required. It's disgusting how strong it is. Ultimately...it's much lighter too though. The OEM nose is just so fat!

Next up...the hardest part of the build but definitely the one that makes this mother licoriceer RIP!...the pump tunnel
 
Last edited:
  • Like
Reactions: KMN
Location
MN
when you say jamestown products do you mean the totalboat stuff? i ask because i'm just about to make a order with them for the totalboat epoxy fairing compound and 5:1 epoxy resin.
 
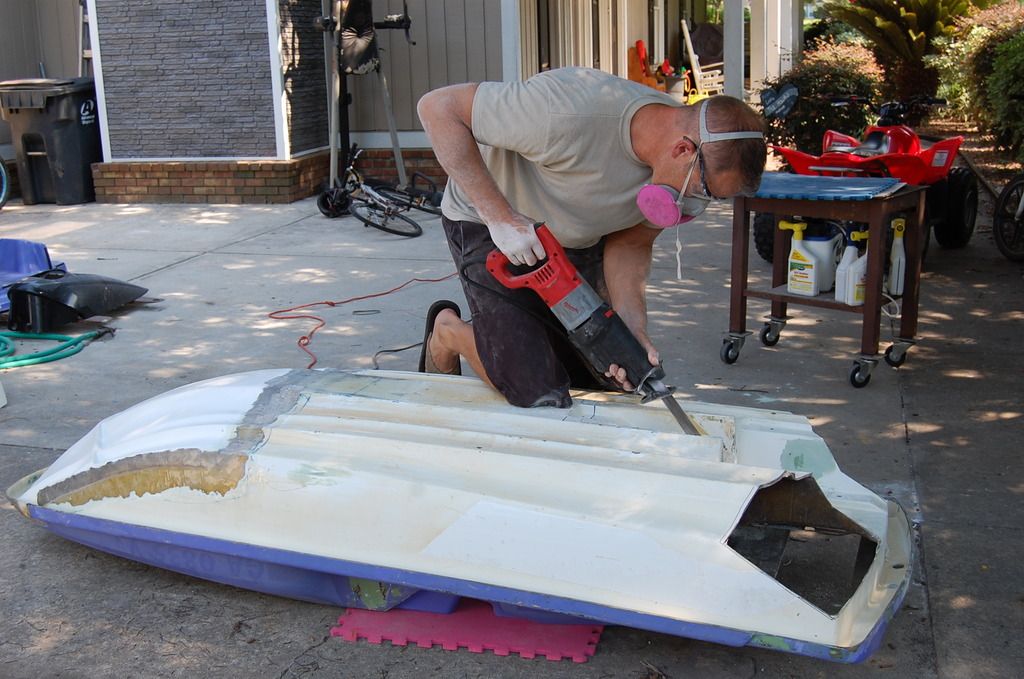
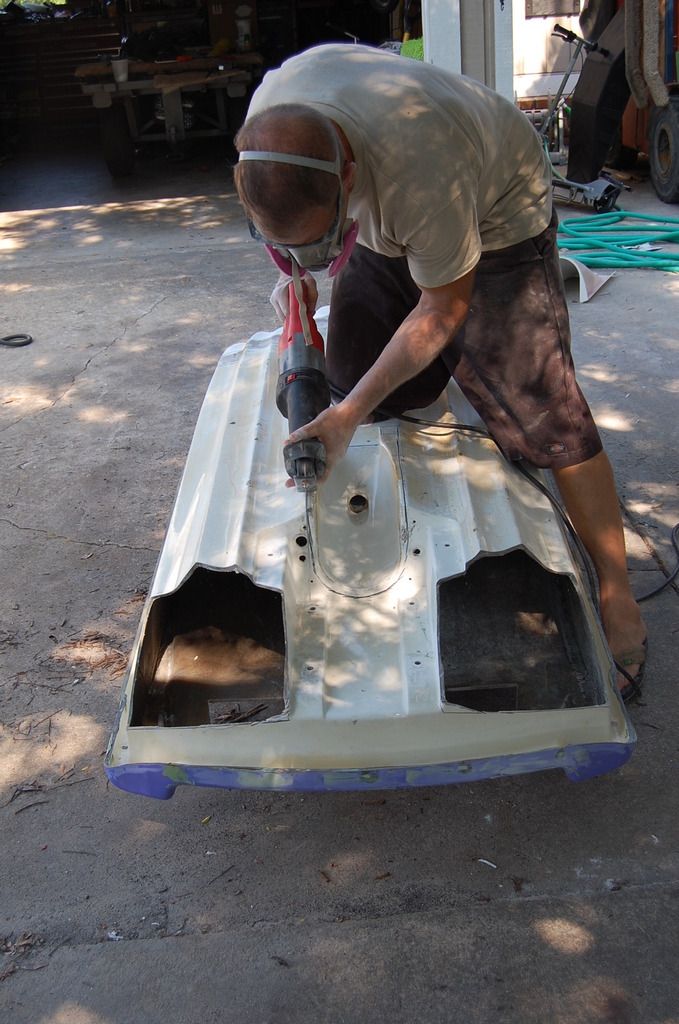
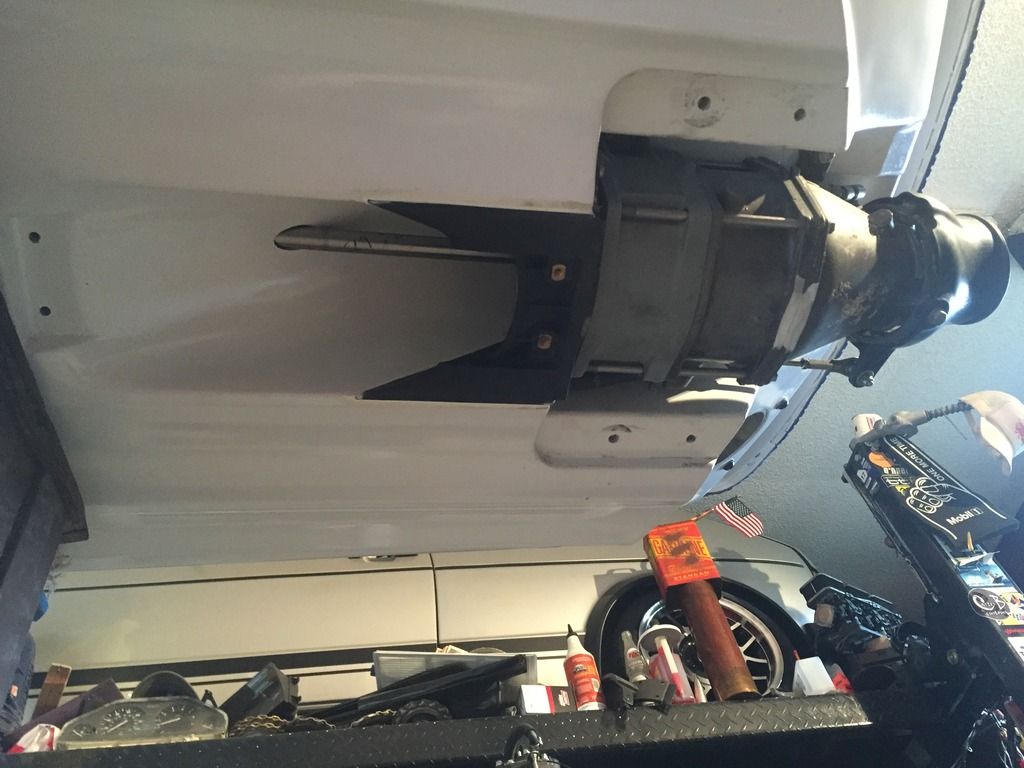
So at this point I was certain of a few things...I wanted a 1200, I wanted a rocker(front and rear), but I was holding back on doing the pump tunnel. The reason being...It would increase my cost tremendously(I had only five rides on my Impros prop for the 1200), it would increase my workload(as if we don't have enough to do, and basically I was scared. After getting my head screwed on straight...I pulled the trigger. I will say this. If you are doing a 1200, a pump tunnel should be mandatory. If you can do it...a mag pump should be next. 1200s need water! Feed them. My ski is god damn rocket...and I attribute that to the pump tunnel.

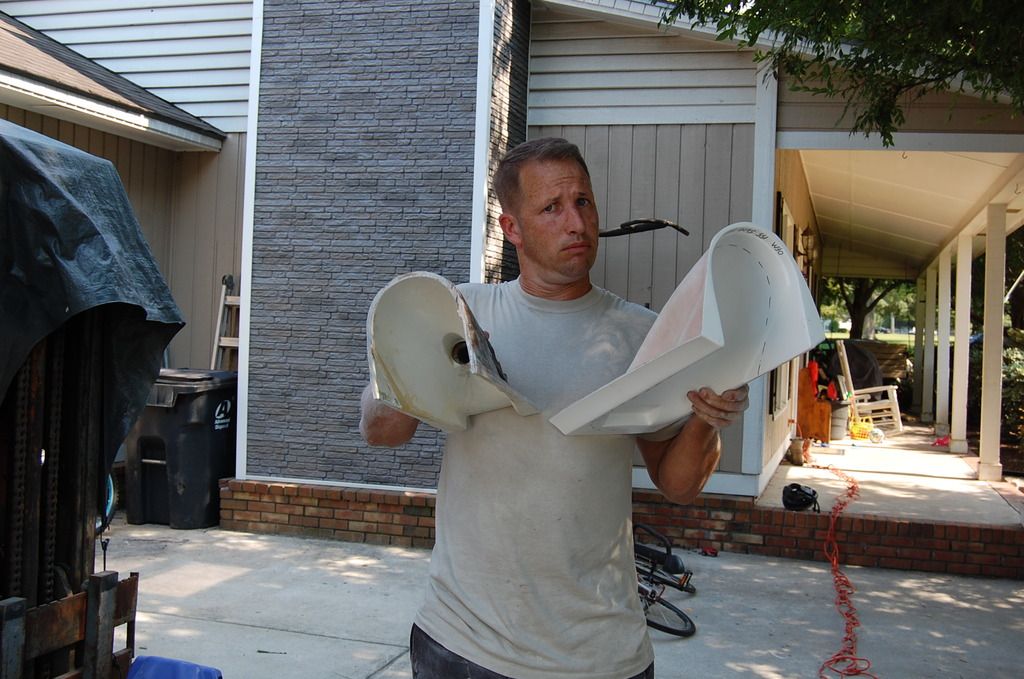
So pull out the sawzall and cut that puny ass pump tunnel out. Don't let your girlfriend see how small it is...she will certainly laugh at you...
waveblaster%2017_zpscroe63rx.jpg

waveblaster%2016_zpsfyhhzkzb.jpg


stock tunnel on the left...Carter's tunnel on the right
waveblaster%2020_zpslvigwqqd.jpg


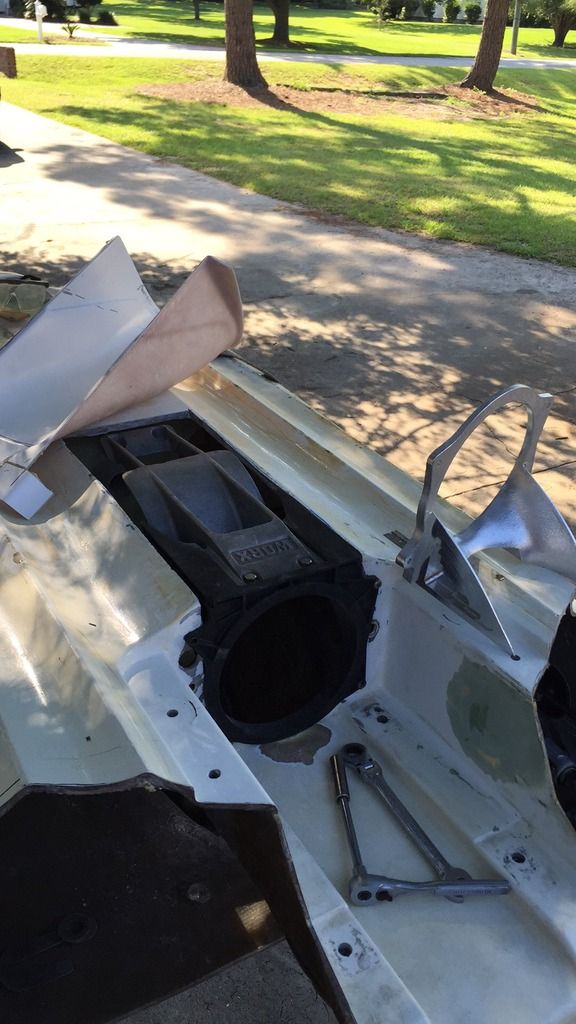
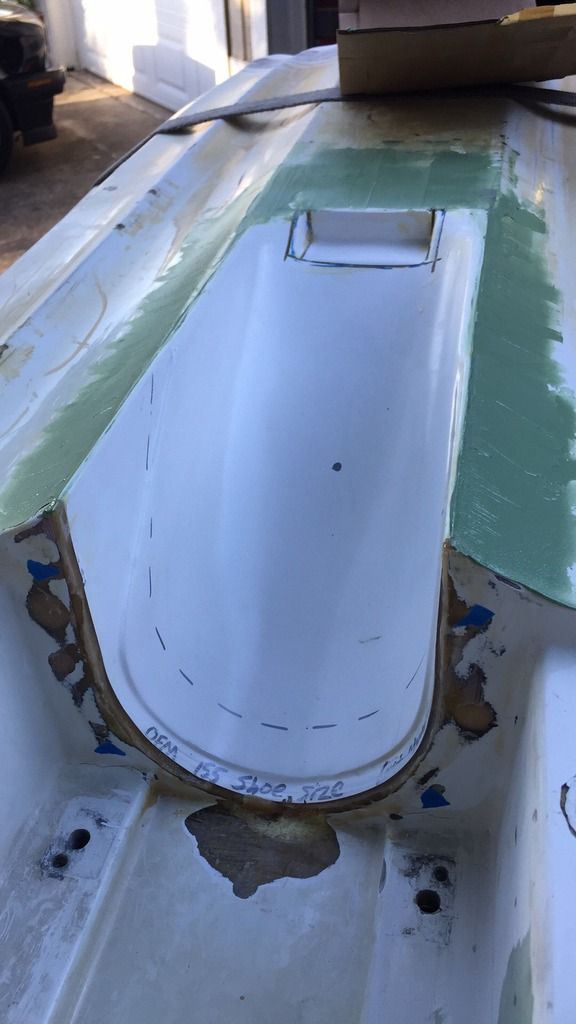
So here's why this was the hardest part of my project...ALL THE THINGS. It just takes time to get the tunnel where you want it. To get the pump where you want it. To get the pump alignment perfect. ETC ETC ETC. At this time I knew 2016 wasn't goin to happen so I dug in to do it PERFECT.

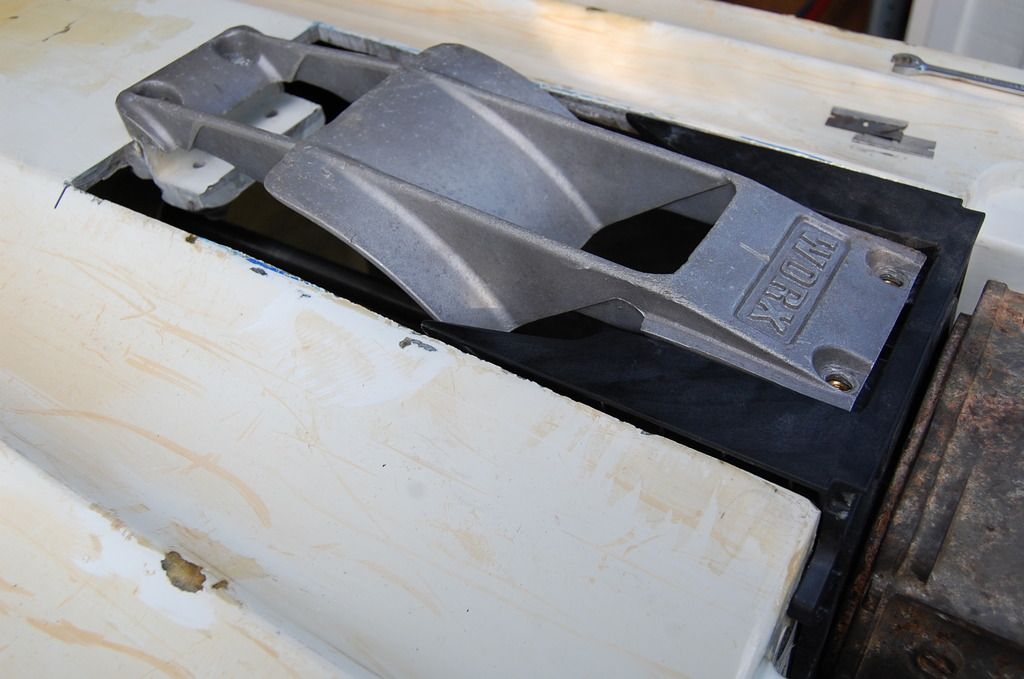
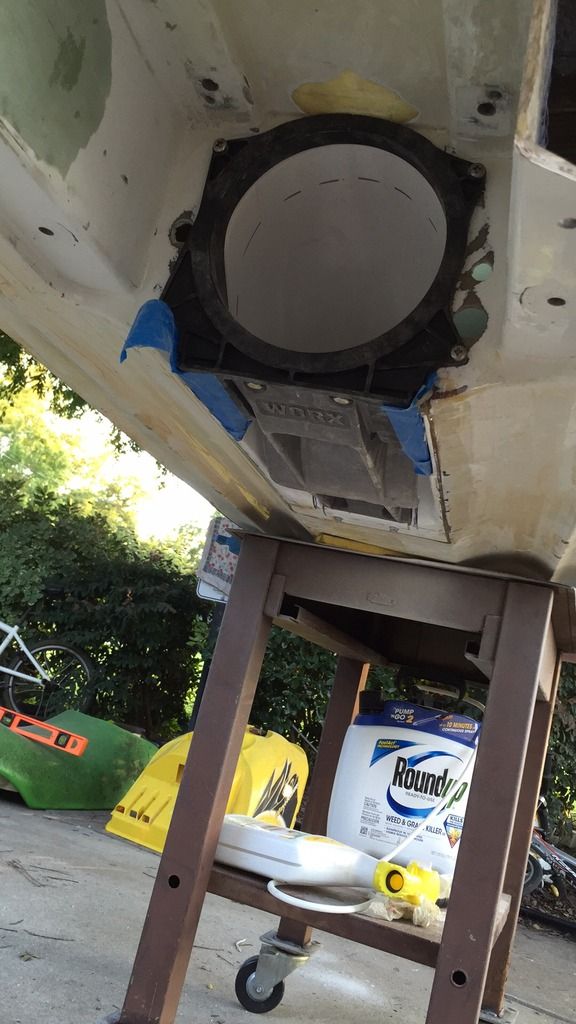
Let me ADD...only cut the entire tunnel out if you plan to use a WB2 155 plastic shoe. I went this route because the fitment to carter's tunnel is perfect, the pump centered in the show perfectly during testing and basically...I didn't like the aluminum shoes. I did however order both so you can't say I didn't try...
waveblaster%2039_zpslear4wgq.jpg

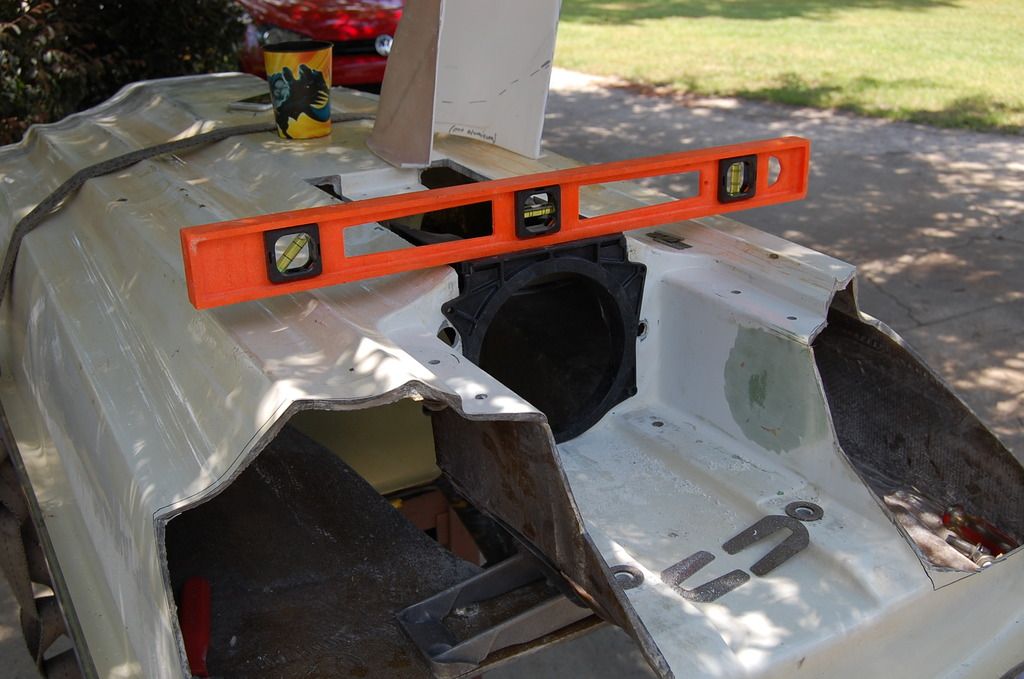
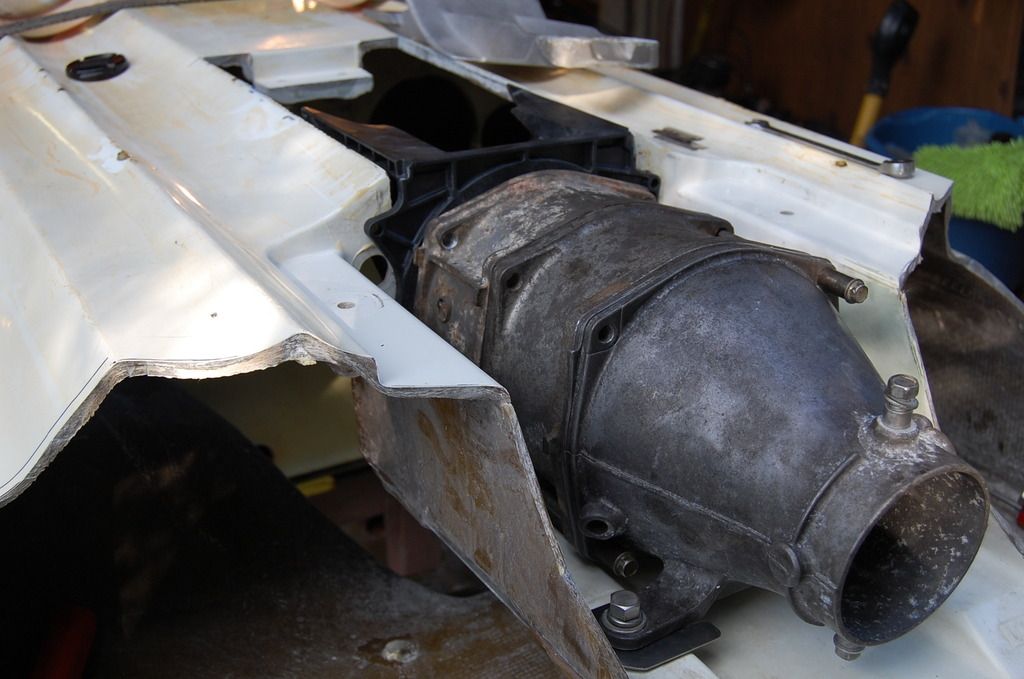
So because I use the WB2 shoe...like I said...EVERYTHING got pushed forward. I used the intake bolted to the show as a guide where the tunnel would go.

I made sure the hull was level and then use a level to make sure my shoe was in sqaure.
waveblaster%2034_zpsbrkwswvn.jpg


Using a beat ass pump for constant alignment
waveblaster%2032_zpstbhrj9os.jpg


This picture shows my front inserts had to get moved forward. Not that big of a deal...
waveblaster%2033_zpsqo2qh5rm.jpg


Finally, I trimmed the tunnel up and used some peanut butter to get it roughly in...
waveblaster%2040_zpssl0hvgyr.jpg

waveblaster%2041_zps3pn5v2o2.jpg


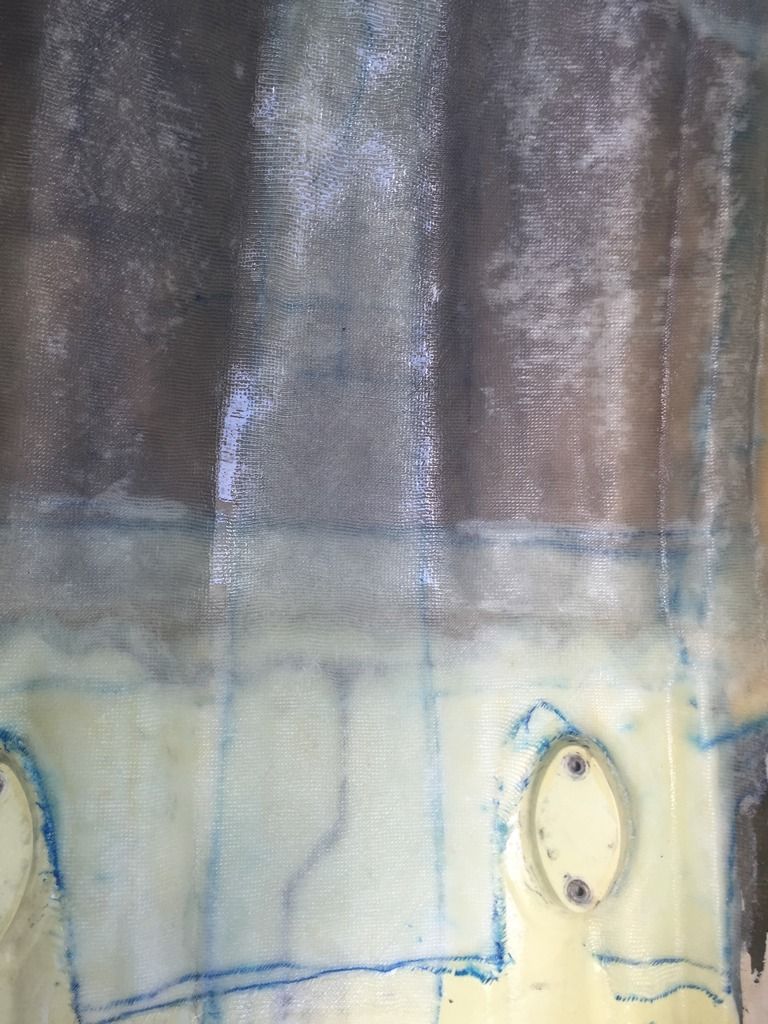
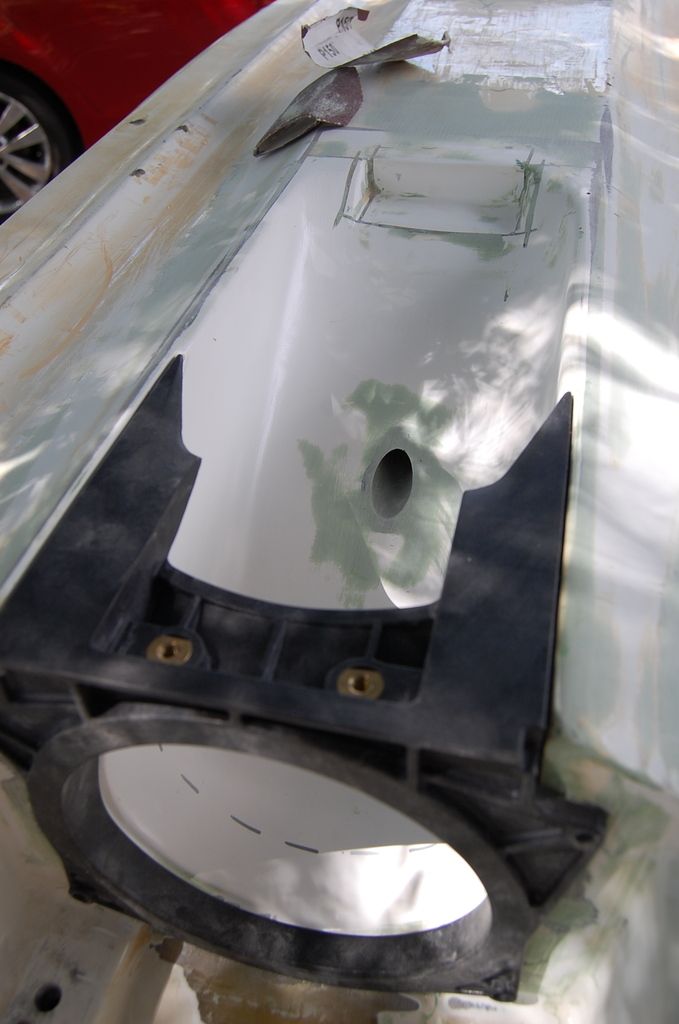
The outside was only faired. The inside was fiberglassed like I had an endless supply. Here's the outside with a little bit of epoxy fair
waveblaster%2045_zpsbyraczsz.jpg


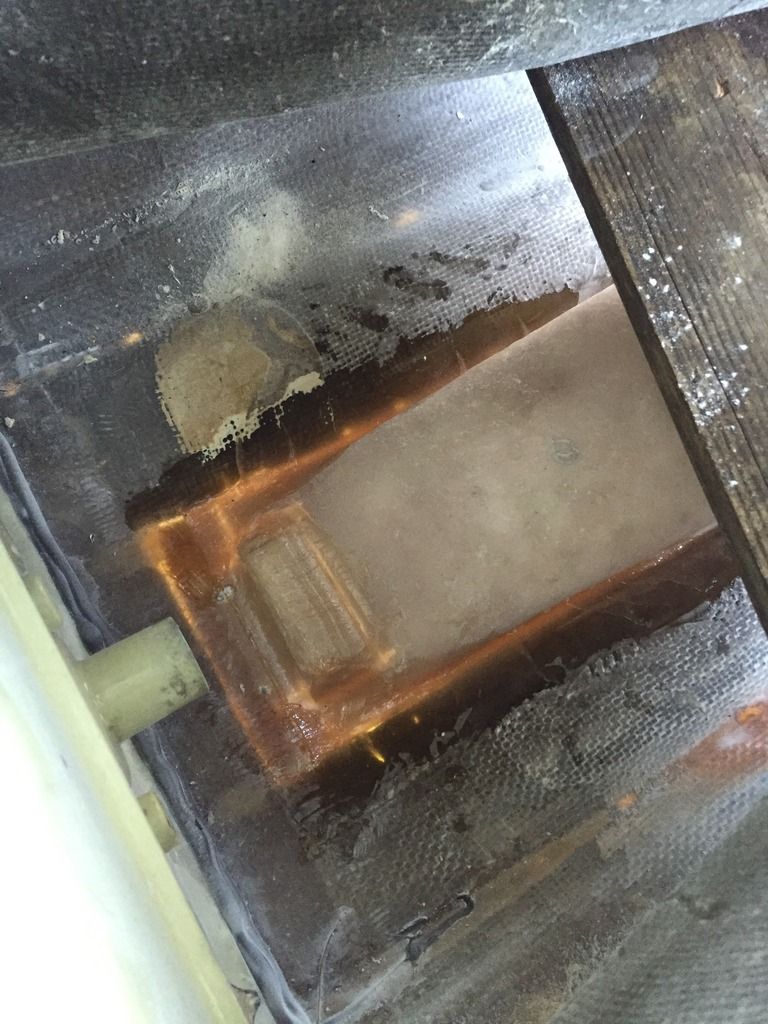
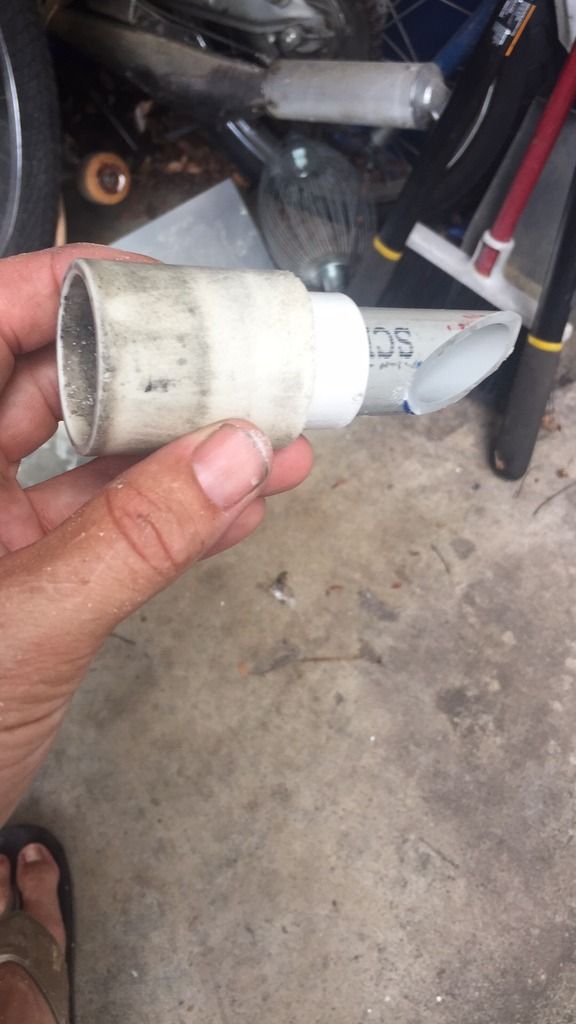
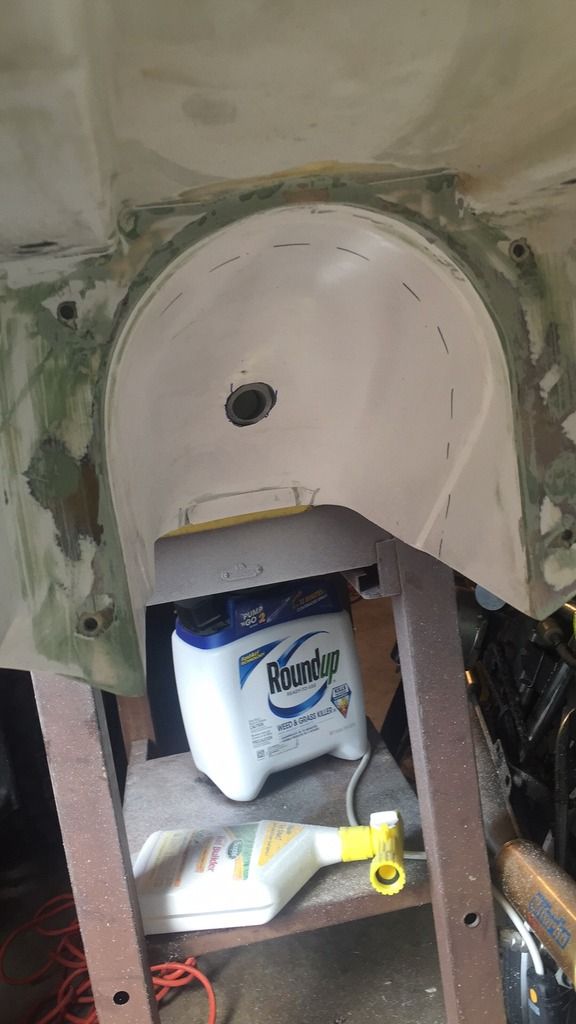
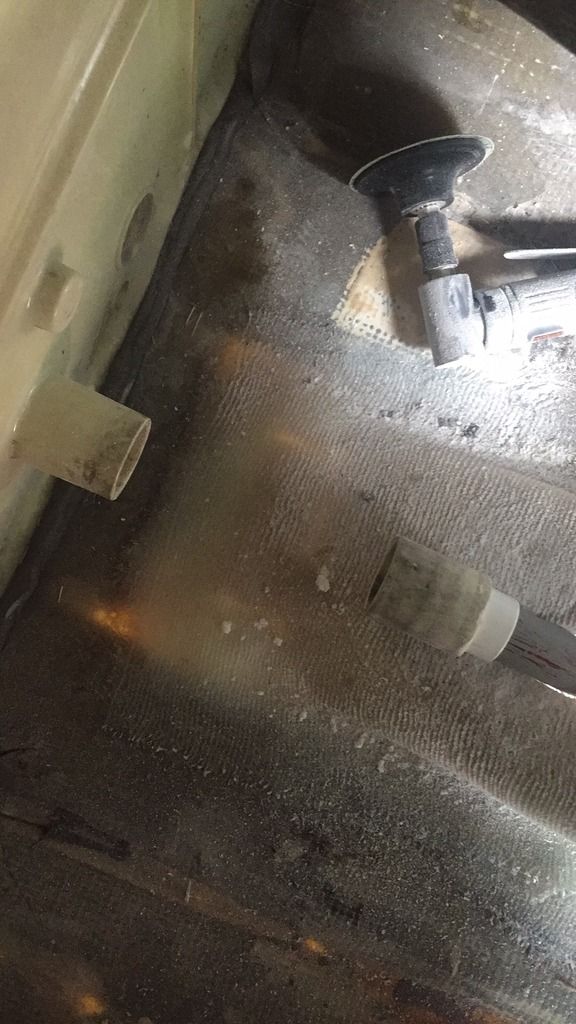
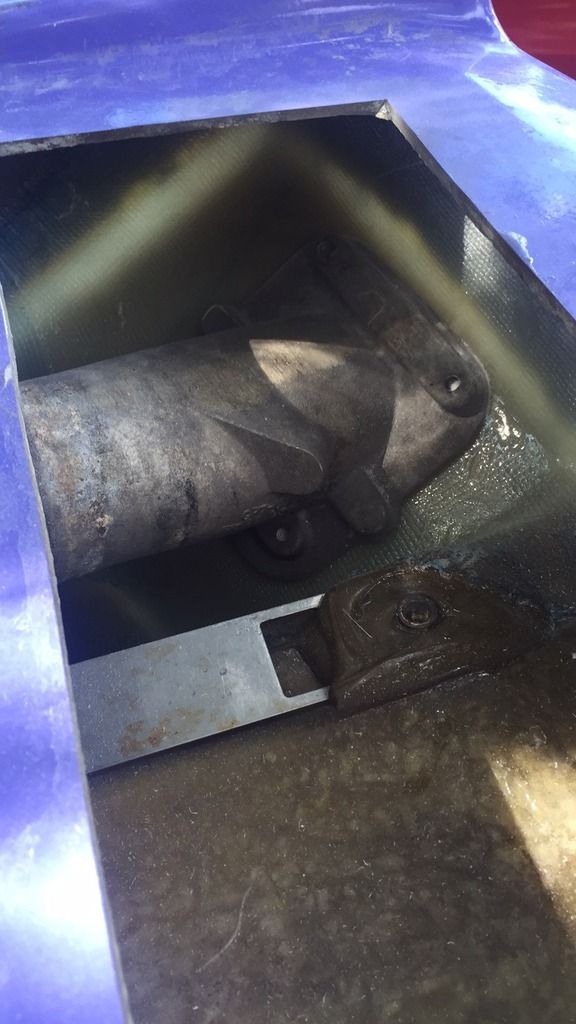
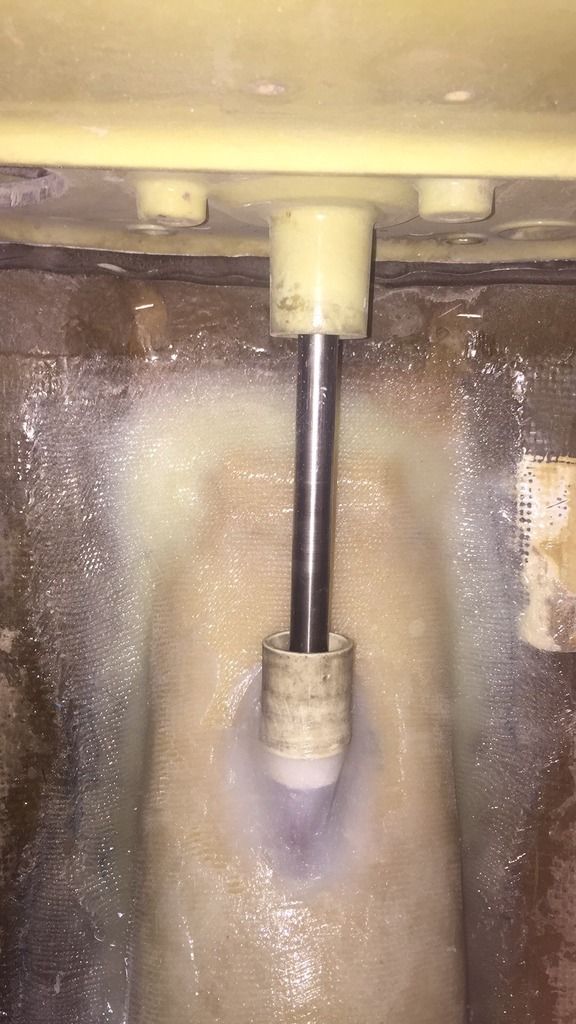
At this point there is no hole for the driveshaft but you can see where Carter marks the center. I used a simple hold saw and punched through. I then cut off the old tunnels extension and use piece of PVC that would because my new driveshaft hole.
waveblaster%2047_zps3he1iy1f.jpg


I temp installed a pump with a driveshaft and ensured that when I epoxied in the new coupler it would be centered. If you don't have a cold fusion driveshaft alignment tool...don't do this project. Your pump will never be in straight. It will destory the midshaft and driveline plus rob horsepower and make some nasty heat.

waveblaster%2048_zpsajdjzywf.jpg


waveblaster%2049_zpsdjwqxjwb.jpg

waveblaster%2051_zpsmf2bgnjq.jpg


From the outside...smooth it out...
waveblaster%2053_zpsipaor57l.jpg


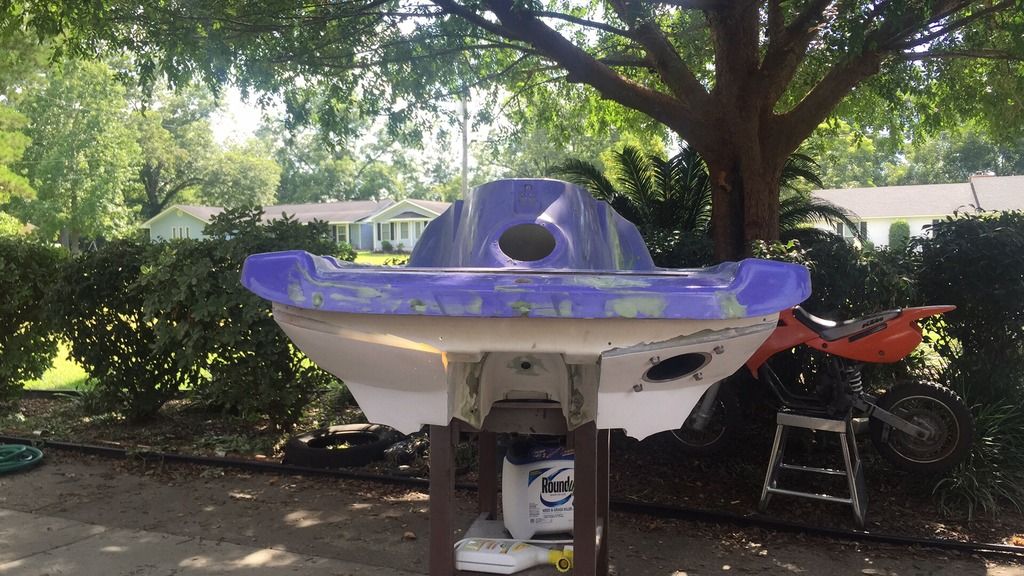
So that's pretty much the pump tunnel install. I learned everything by trial and error. Make sure you DO NOT put the tails on first and then try to do the tunnel. The extra access was invaluble. Speaking of the tails...lets get some:)...
 
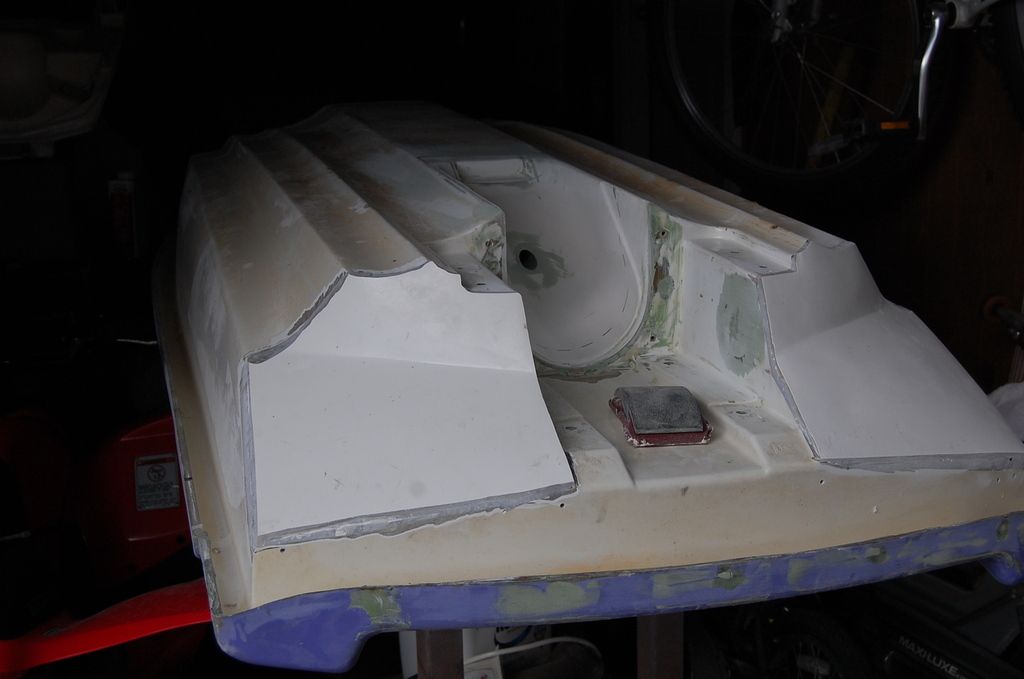
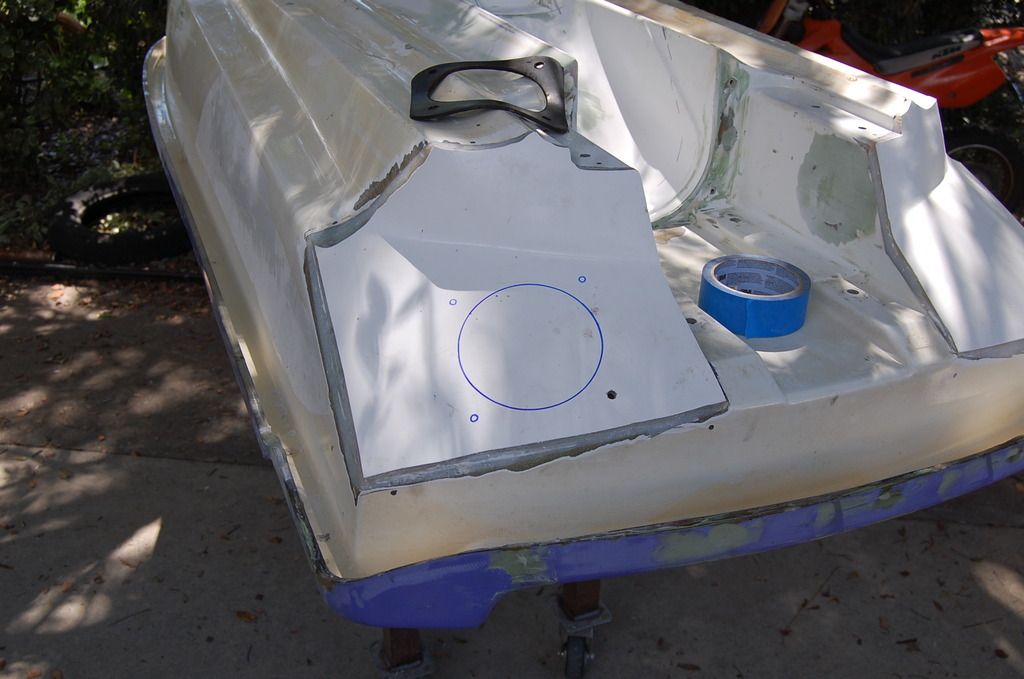
The rear rocker is by far the easiest of the fiberglass work. Carter will supply the templates and tell you were to cut. Additional trimming will be required but it's nothing to hard. Once you have the holes, slap the tails on and screw them down. I used a pretty good amount of screws but remember they all back out.

I don't have good pics of the tails because honestly...they went so fast. Just screw them on, peanut butter them in initially, and then remove the screws, trim the extra off, fiber the outside(very little...maybe one layer) and then fair. On the inside....add about 3 full layers of 12oz on the entire piece and extra at the seams!

You can see below the screw holes are still there but at this time I have only trimmed off the extra. No fairing at that time...
waveblaster%2054_zpsyjjzv1f2.jpg


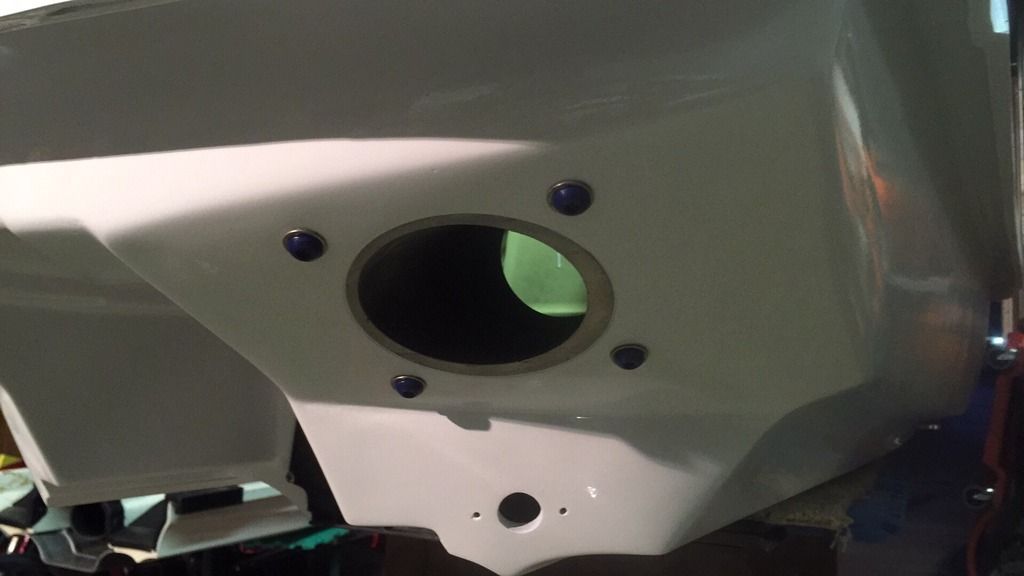
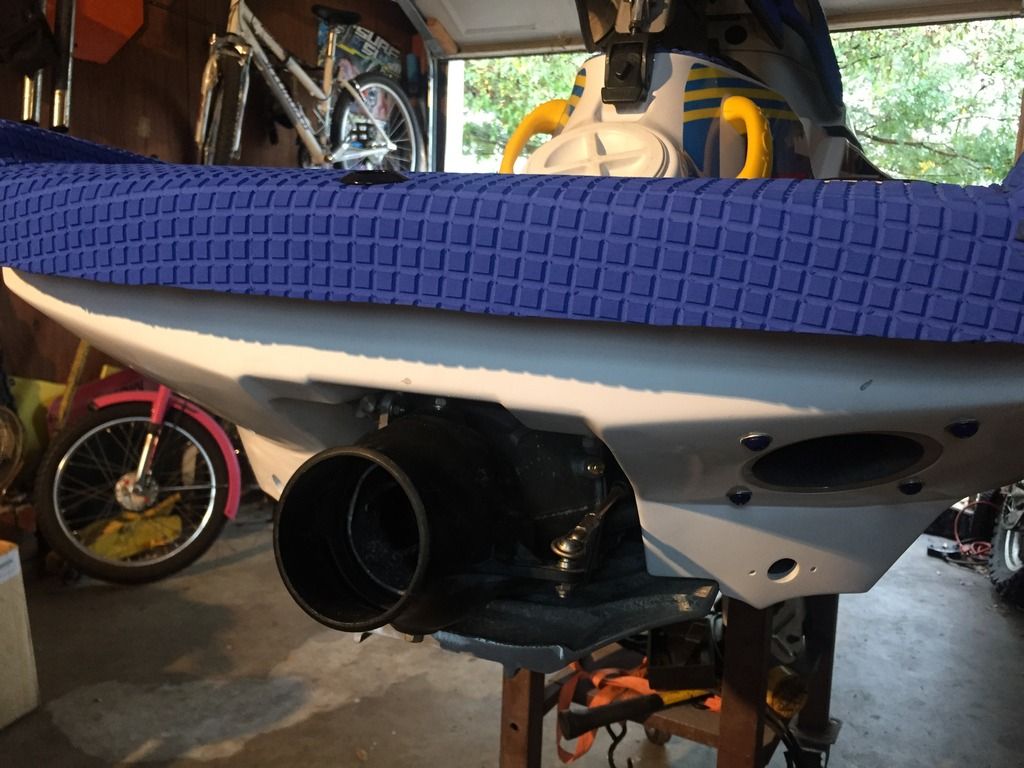
So here's a first...since I'm using a GP1200 engine and I'm a whore for OEM, plus not exhaust outlet would work with the rocker AND was 3 inches....I came up with my own idea. I used a stripped down GP1200 outlet. I used the rubber gasket as an outlet and went to work:

waveblaster%2058_zpssgrbwzyj.jpg


waveblaster%2060_zps12aqzjsn.jpg


That also really shows the glass work inside. I had got much better at glassing at this point.

And from the outside...just to see what it looked like. this made me happy!
waveblaster%2059_zpsggc8tehy.jpg


And that's the tails. Not to bad on the inside and simple fairing on the outside. But before the deck can go back on...you must work the ride plate nut inserts...Finally hull fiberglassing coming up...
 
This section will only have one picture. Simply because it's easy.

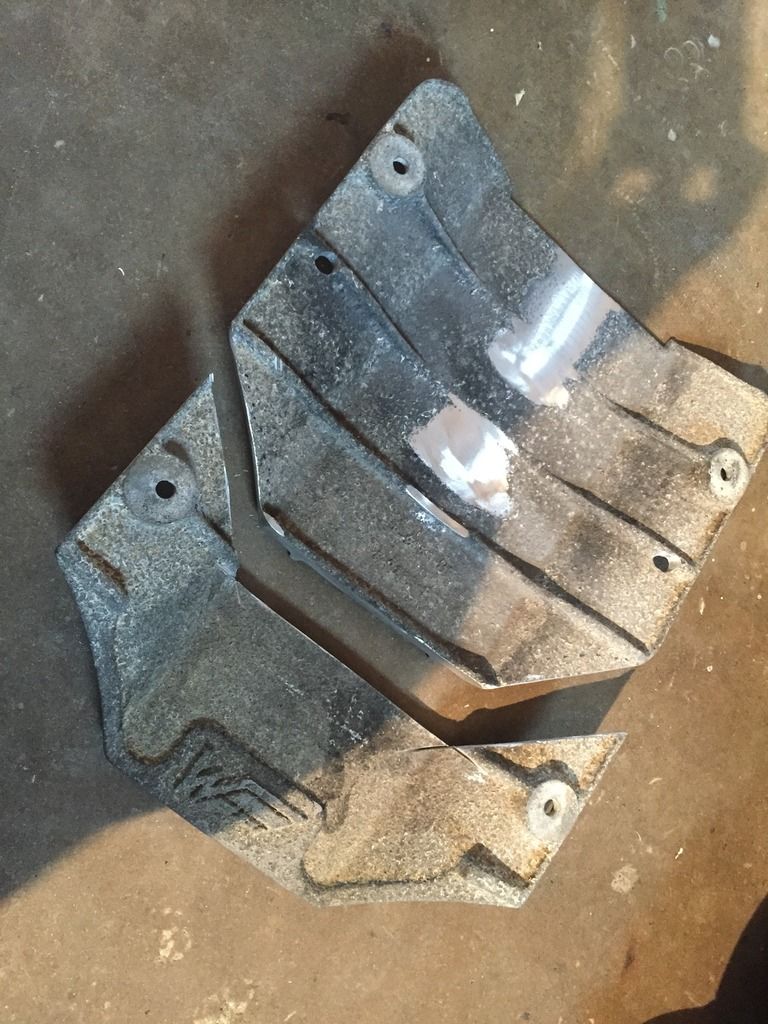
First off...ride plates need four bolts. I do not recommend skimping and doing two. It's begging to be ripped off.

So you already have two left. When you cut the tails you removed the old bolt holes. I drilled my new holes as far out as I could and used the old nutserts. I first used 5200 to hold them in. While I was glassing in the tails I put some peanut butter around them and then glass.

Carter also suggest using some 1/2 aluminum and just drilling/tapping.

Once I had my bolt holes...I made my plate match and then cut it down...
waveblaster%2095_zpshvrrjm17.jpg


You can see the extra clearancing needed for the pump. That translated to the pump itself too. TONS of clearancing. I have NO room.

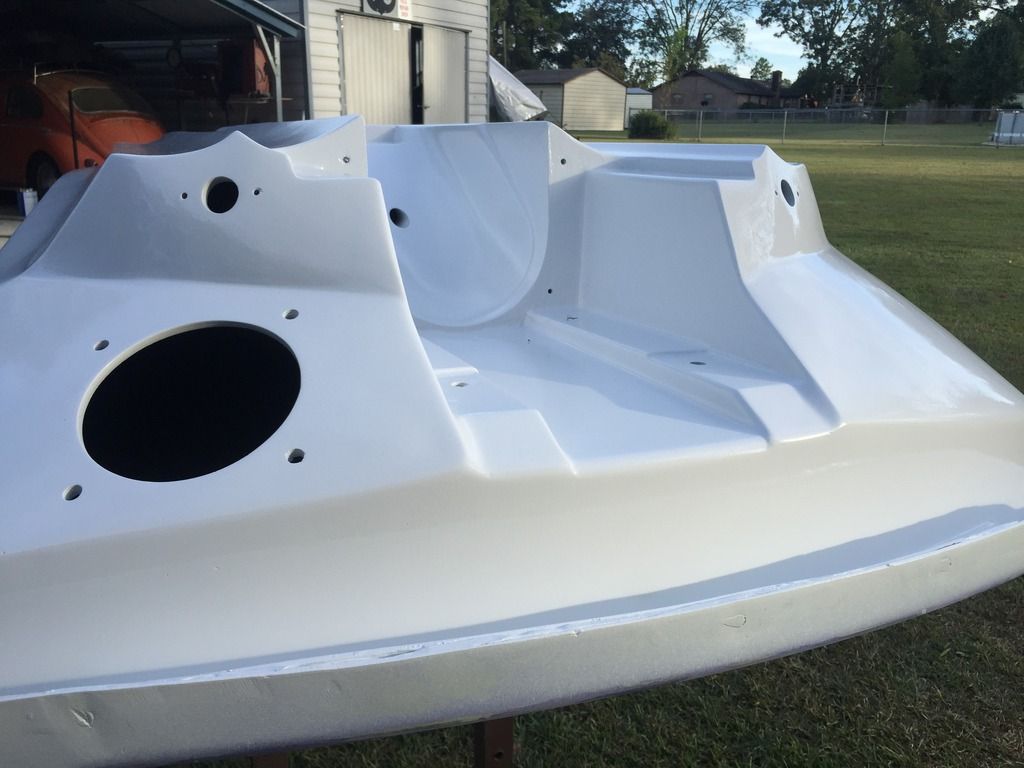
Well anyway...the fiberglass is done. I used some boxes to hold up the tray and glassed it back in. I then sanded...and sanded...and SANDED. I clearned and sanded a million times over. Then I waited for the humidity to drop so I could paint this thing...
 
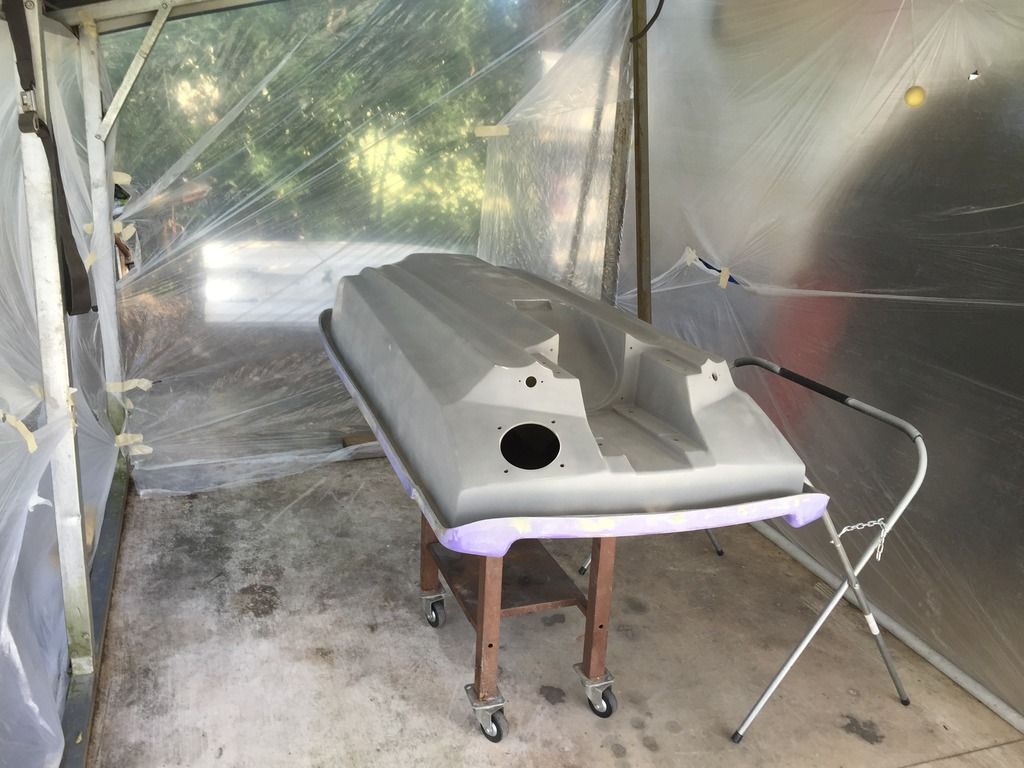
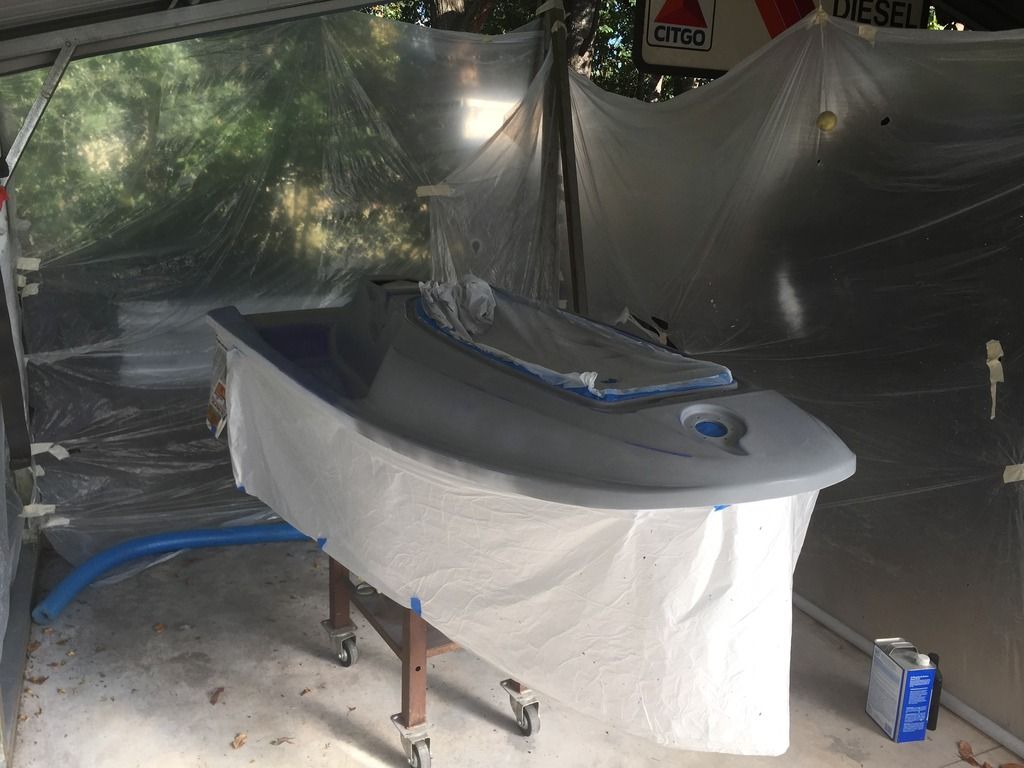
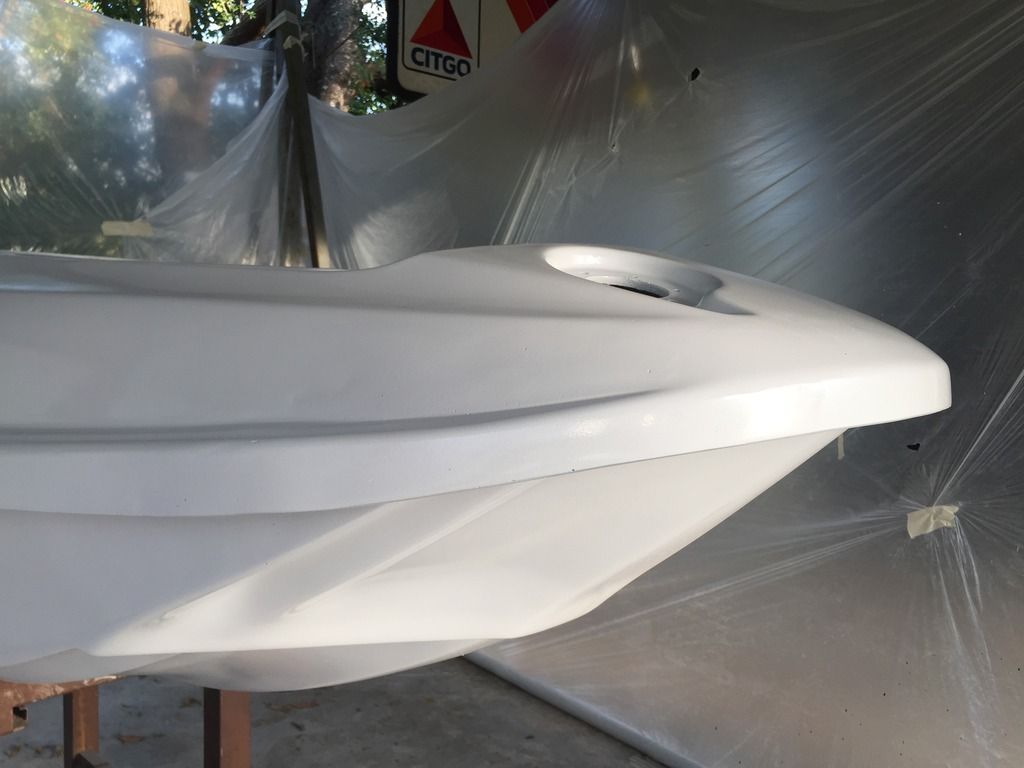
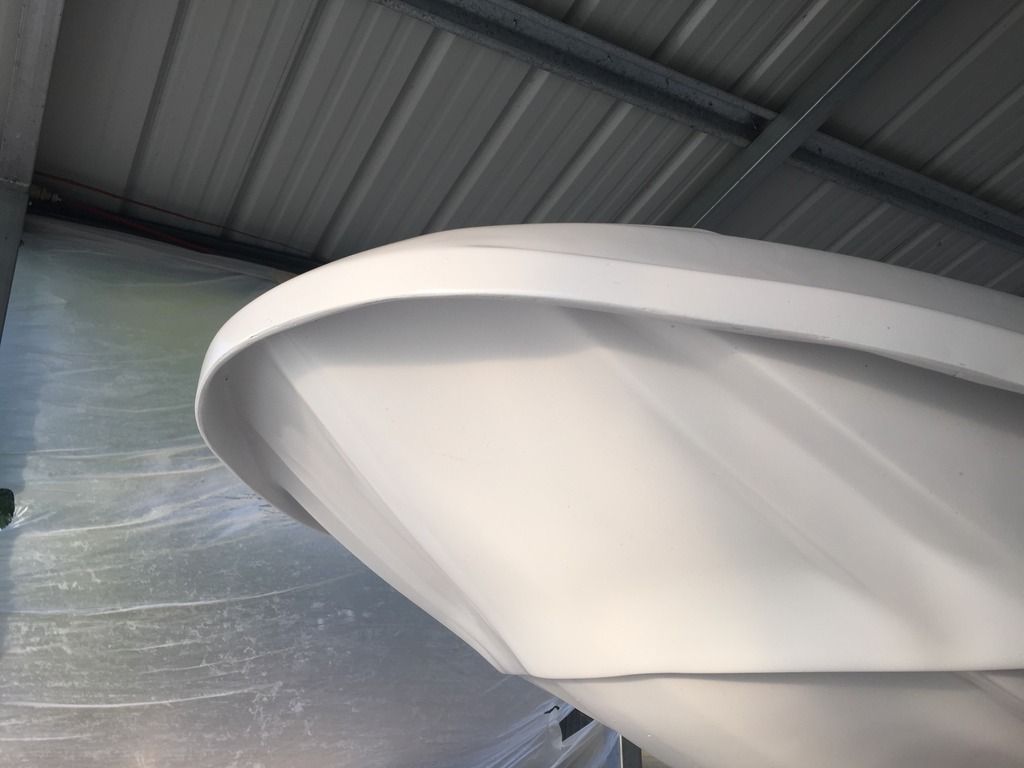
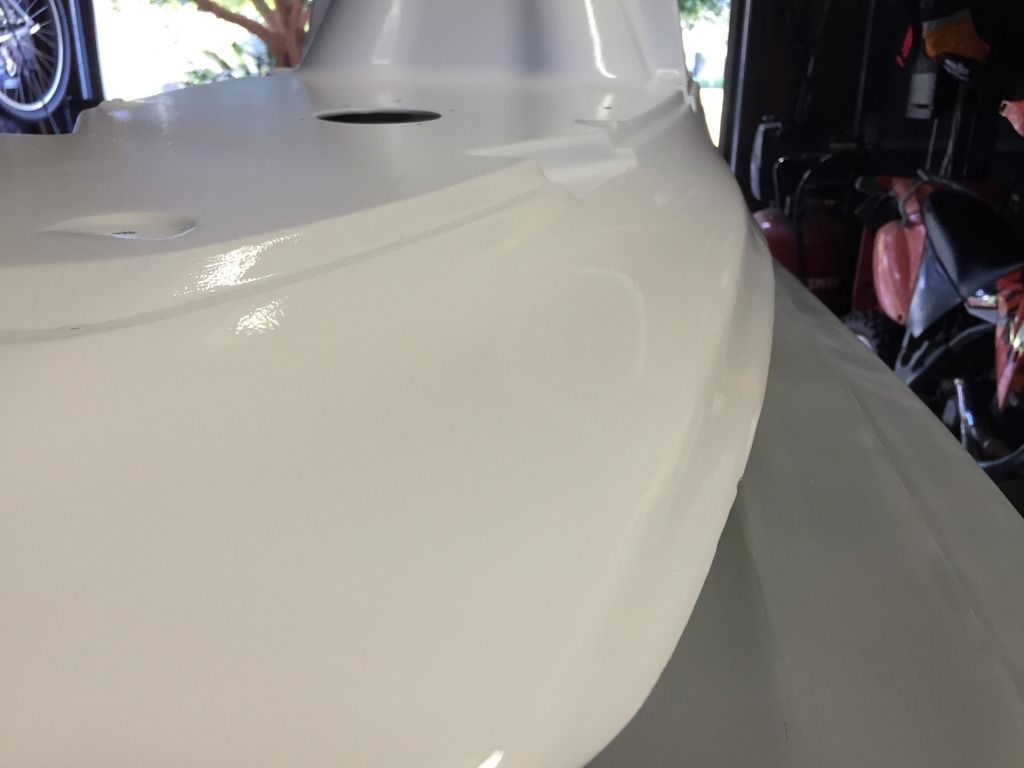
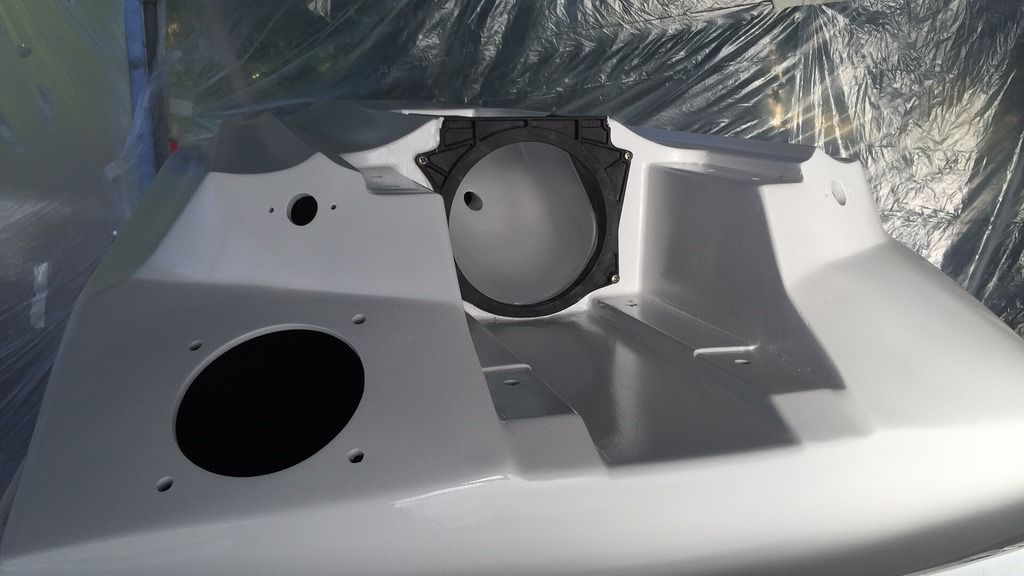
I don't I can stress enough how much sanding I did. It was ludicrous. I probably faired and sanded for a month or so. I wanted the bond line perfect. I wanted the keel smooth as could be(which is already trashed from the river! haha). I wanted it perfect. Once I had it perfect...I primed the bottom. In the end....good ole rustoleum primer was sprayed on right out of the can. It's cheap, easy to work with, readily available and perfect since our boats don't stay in the water. If you boat stays in the water....well....that's kinda wierd.

waveblaster%2076_zpsl4nanyb2.jpg


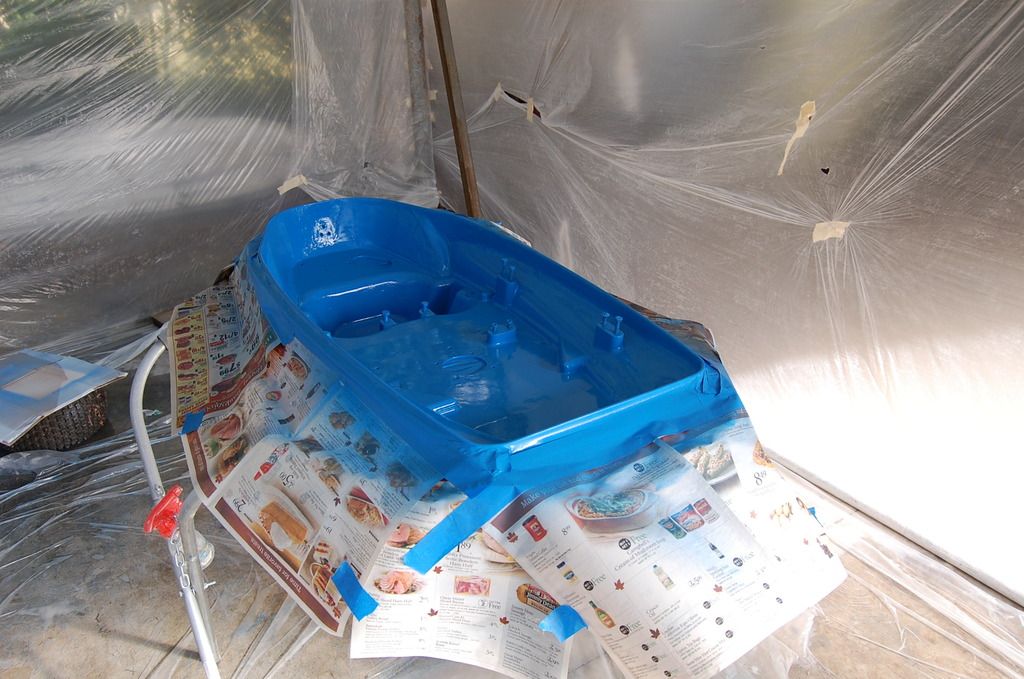
Dig that home made paint booth! I have never sprayed in my life but I certainly did for this project and it came out great. For the record I sprayed good ole rustoleum that was thinned and had hardener added. So with bottom primed and sanded...I laid down some paint...

waveblaster%2082_zpsd4fhgk35.jpg


After that...I flipped the girl over and had my way with her on top....


waveblaster%2086_zps0klba4jv.jpg


Paint time....
waveblaster%2087_zpsh7rrafbt.jpg


waveblaster%2088_zps2p6teehq.jpg


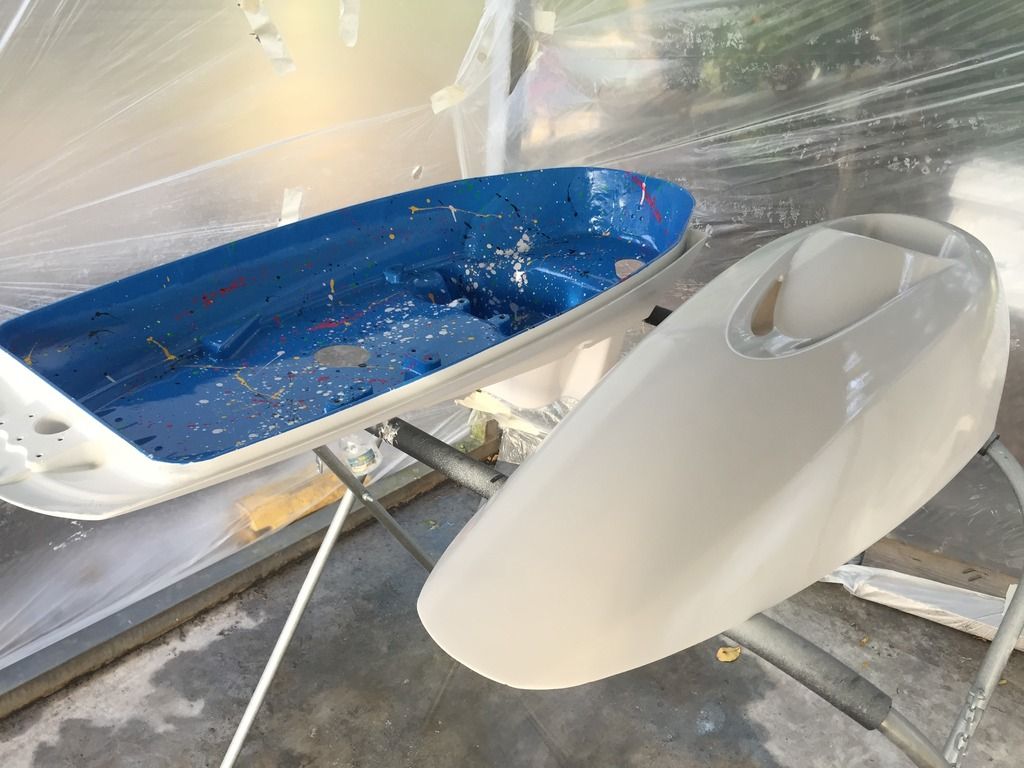
I also painted the hoods white...

waveblaster%2074_zps0rot2ghi.jpg


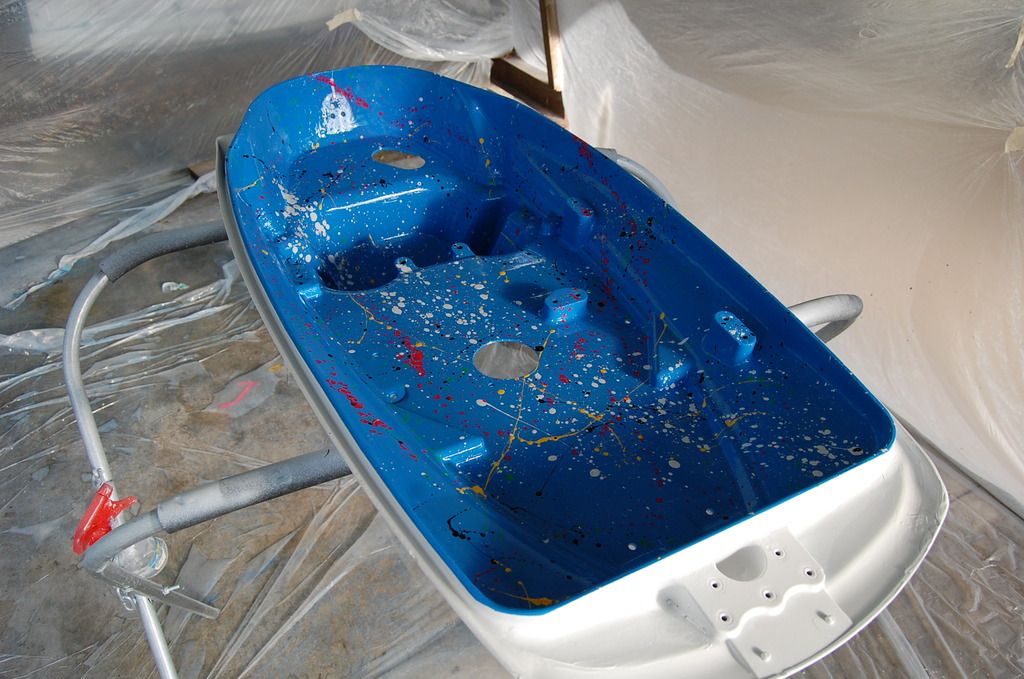
I had an idea though to break up the white and paint the inside of the hood blue. This hood was cracked BAD! I added 2 strips of 12oz around the entire sealing area and beefed up the back where they commonly crack(they are THIN). Anyway...here's the blue...
waveblaster%2078_zpszwvihgyu.jpg


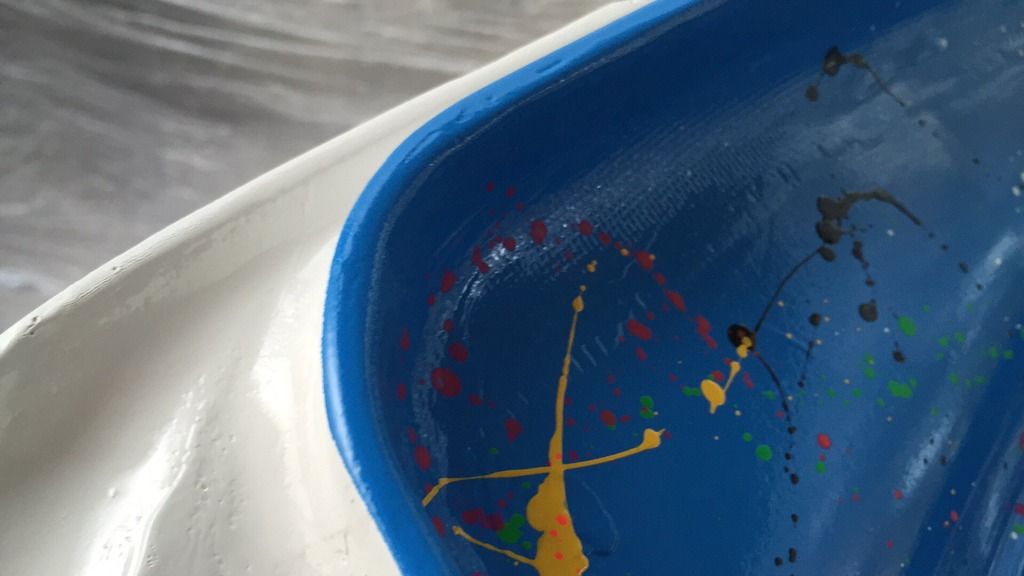
Since I had some left over colors and I'm a sucker for the 80s...my wife and I had some fun...

waveblaster%2081_zpsbnxhwofi.jpg


This picture really shows how thick the walls are...
waveblaster%2084_zpsg19djtkz.jpg


And the mid hood with the top hood. All rustoleum folks...
waveblaster%2083_zpsjfkdzs9b.jpg


Next up...assembly:)
 
Thanks for following so far...time to put this girl together...

The first part in was the pump shoe...
waveblaster%2085_zps7jbjjixs.jpg


Followed by the exhaust outlet:
waveblaster%2089_zpsubcxwllf.jpg


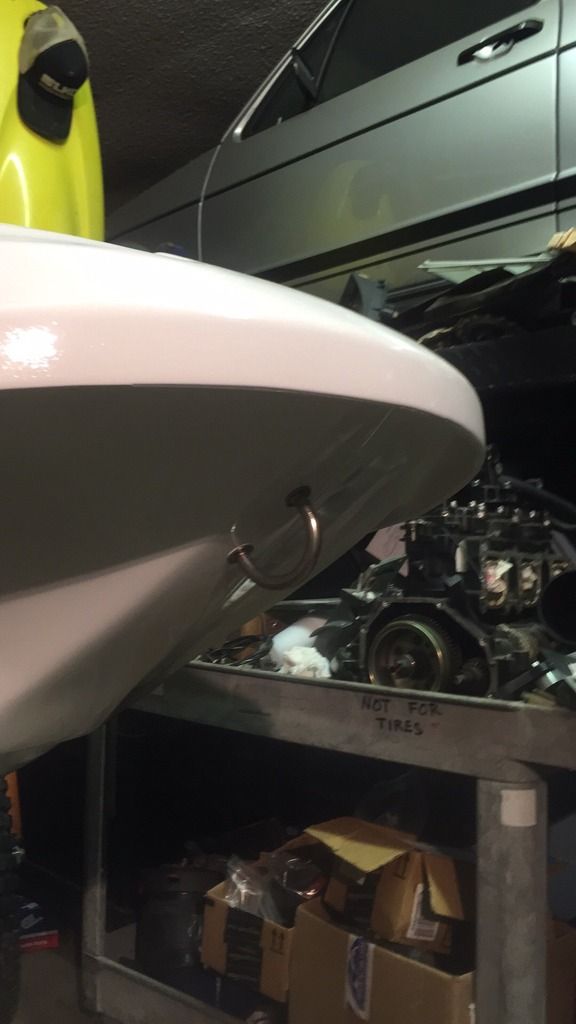
And then a nice couch eyelet. All OEM and readily available:
waveblaster%2090_zpsm8c1rpwz.jpg


After that...the snowball effect happened HARD. I started slapping it together and quick. One area that required specific attention was I needed a new driveshaft. After having one made....I put the pump in...

waveblaster%2096_zpsxkfmjnjc.jpg


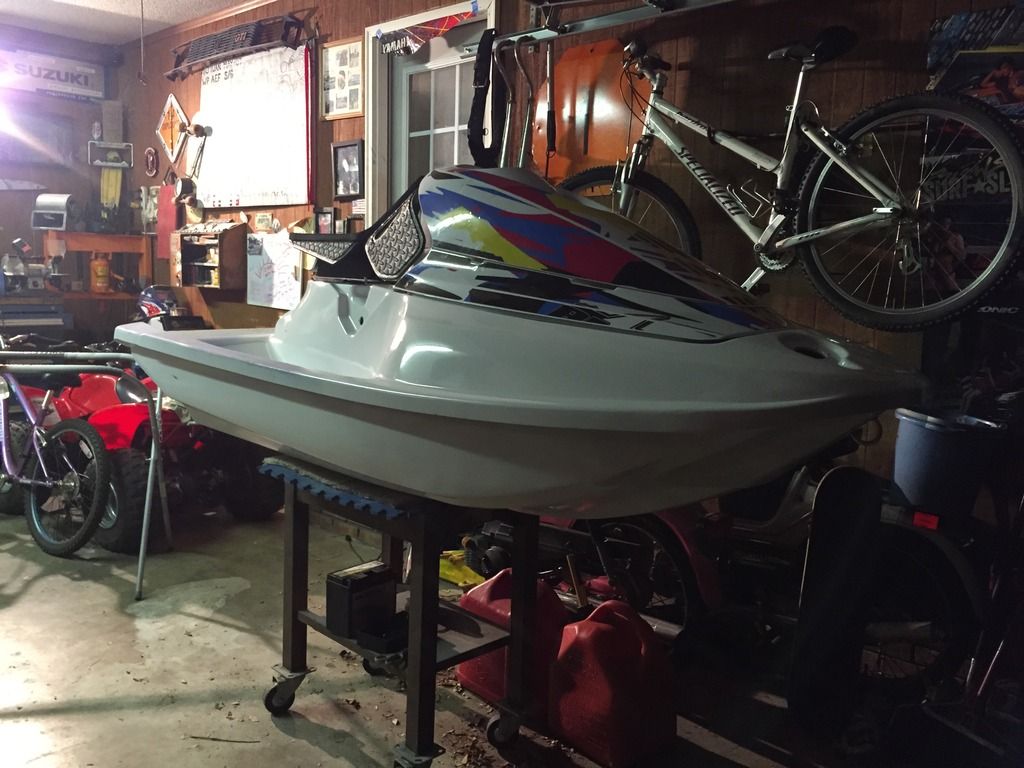
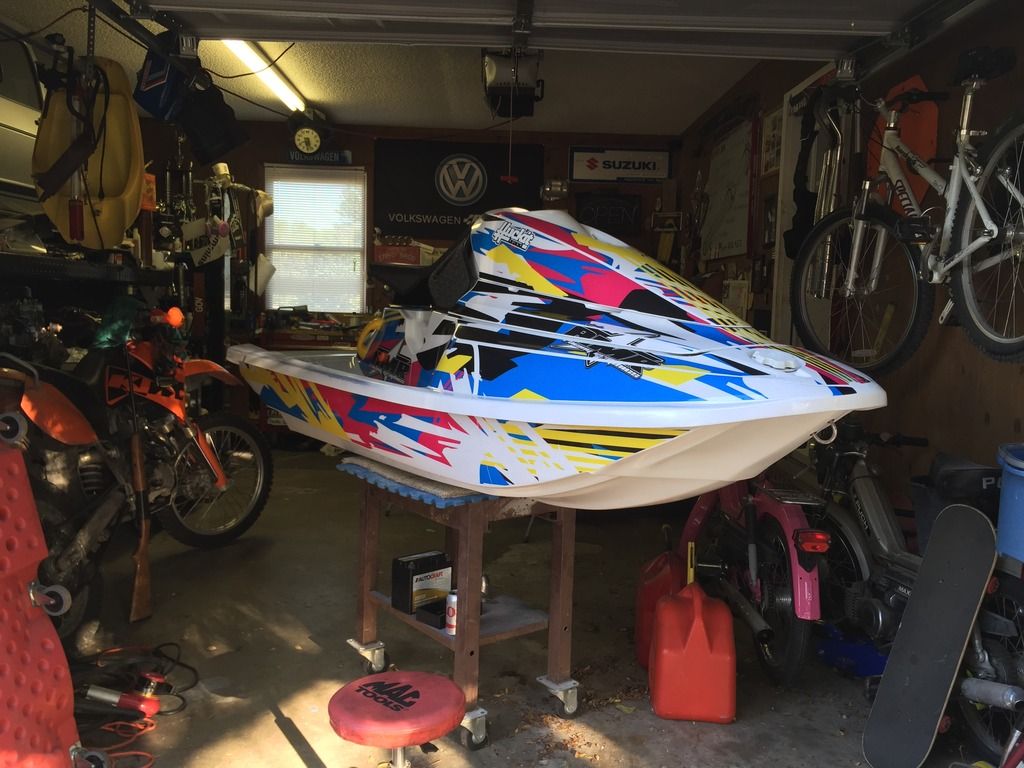
Graphics went on next. I changed my mind a few times but love them now. They needed some love and trimming but we got there...
waveblaster%2092_zps9edsioth.jpg


She's starting to look good!!!!!!!!!
waveblaster%2093_zpsv2mb5dt8.jpg


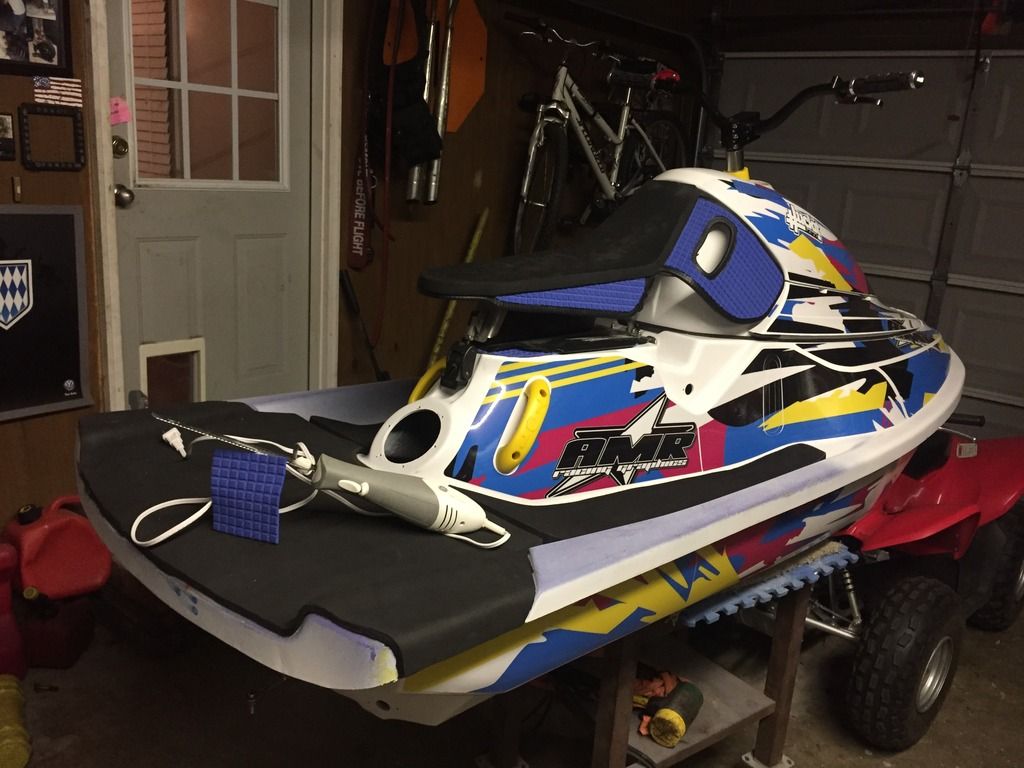
At the time...the 701 seat was still wearing its stock turf. That changed too to match my other turf goin on. Also before the turf went on..I added TONS of padding. Padding on skis is a blessing from the ski gods!
waveblaster%2094_zpsivulnnr2.jpg


waveblaster%2097_zpspnfyubu9.jpg


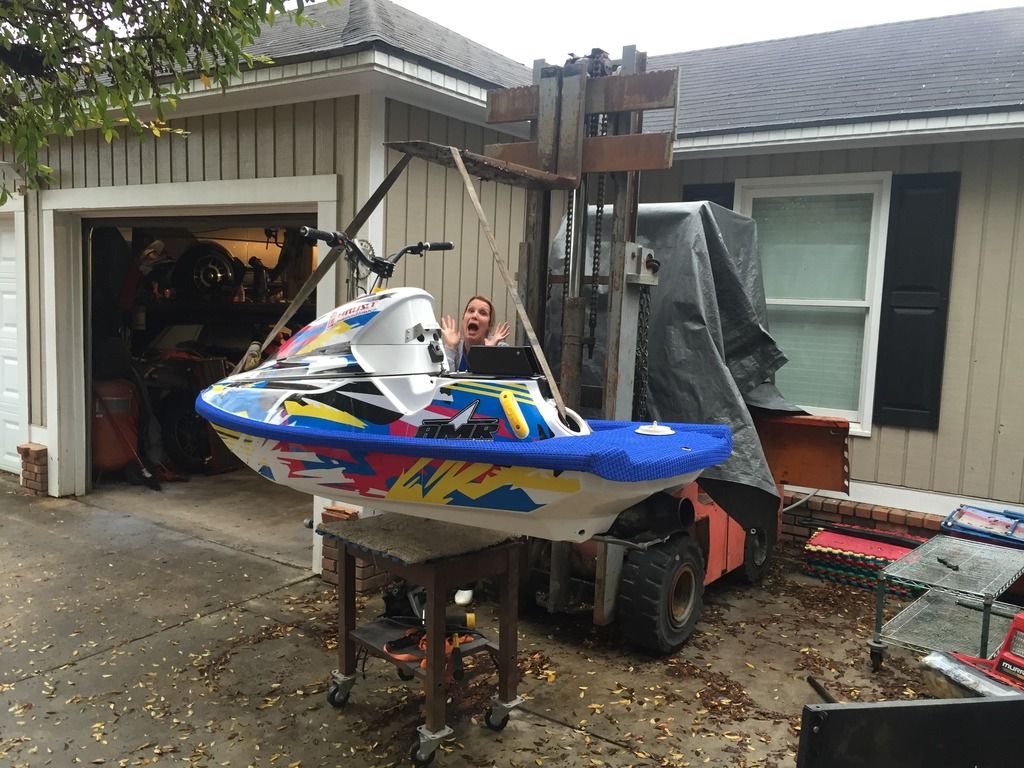
After the padding came the turf and foot straps. At this point the ole girl was getting heavy for my little stand so after a LONG ass time...she was moved to the trailer...

waveblaster%2098_zpserrvvst1.jpg


Don't mind Leslie...she was just in a full on panic. LOL. Lots of whiskey and rum consumed during the building of this slut.

And with that....we conclude...
 
So the pic taking stopped.

I just wanted it done and I wanted to ride it. Remember It's a pretty stock 1200 and showing you putting a motor in is kinda pointless. There are probably a ton of things I forgot but she came together perfectly and makes me smile everytime I ride it! With that said...Thanks Carter for all the help bro. Leslie thanks for letting me do me, spending WAY to much money and time on this girl, and being the best wife ever. James, Jeremy, and Eric...thanks for the advice, parts, help, etc. I sincerely appreciate it.

See ya'll out there...
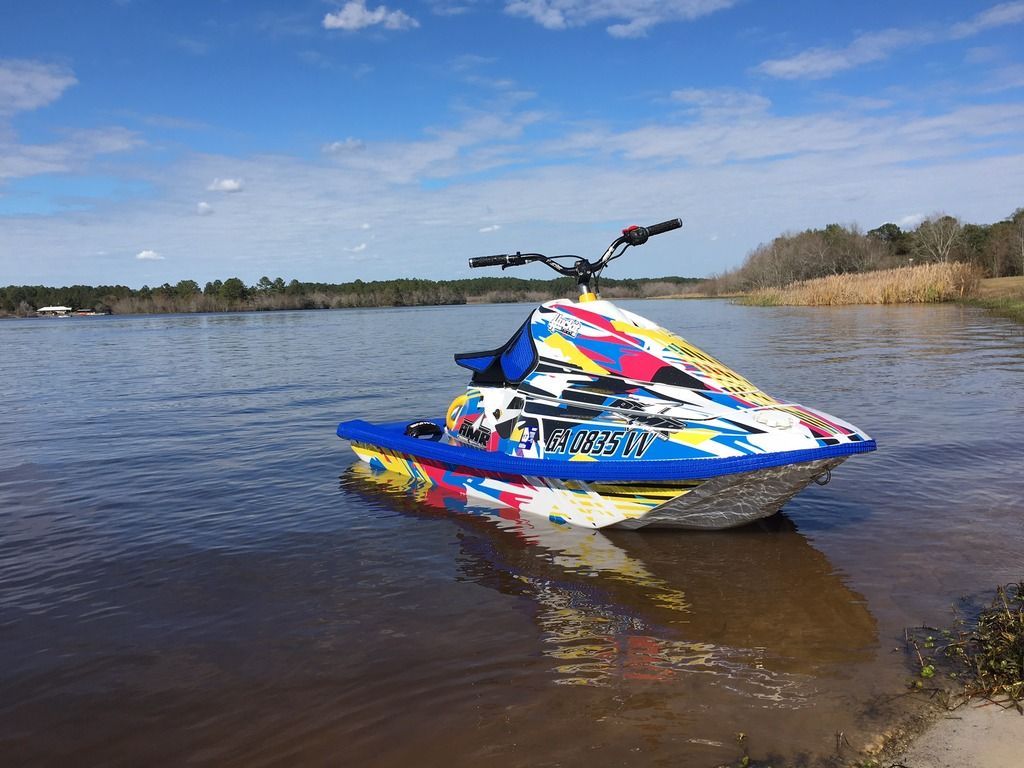
waveblaster%20100_zpskowwka76.jpg
 
This was the second time to the lake. It still didn't have a bilge at this point but the trim was situated...

Here's a quick walkaround of the girl. I had ridden it a handful of times by now...

And the man himself...Mr. Carter B came up to GA and got a ride on it. My man made my head swell the compliments that day...
 
Last edited:
Very nice. That is a crazy amount of work. Did you have this in Daytona this year?

Yeah but it wasn't operational at the time. I broked it in the next weekend!

when you say jamestown products do you mean the totalboat stuff? i ask because i'm just about to make a order with them for the totalboat epoxy fairing compound and 5:1 epoxy resin.

Yes Sir...that's the stuff.
 
Great work. Love the build but i have to ask... Why the rocker hull (freestyle) then throw a triple in it...? Do you plan on getting a hopped up 2 cyl?

Thanks sir...I have an awesome 62t/61x with thrust porting, a mod pipe, etc sitting on the shelf....that will never touch this ski. I built this ski because.
1. The weight argument is complete hype. If it were...body weight would be discussed but never is.
2. I rockered the ski not because I wanted a freestyle ski...but because I didn't way to plow the water and wanted to carve HARD. Top speed means nothing to me. Where you ride and how far you ride determined the build.
3. Carter rode it....and is now building a triple rocker! Haha
 
Top Bottom