Custom/Hybrid Hull extension/ride plate for Superfreaks

McDog

Other Administrator
Staff member
Location
South Florida
I have a -9 Titan at the moment that I will be using mostly for freeride with the occasional lake day thrown in. I decided that I wanted the hull longer for surf but I didn't want to have to redo the entire rear section of the ski and that it would be nice to switch the length by changing the rideplate similar to what tigercraft does so that it will be a -4 in the surf and easily switched to -9 for the lake.2917-thickbox_default.jpg
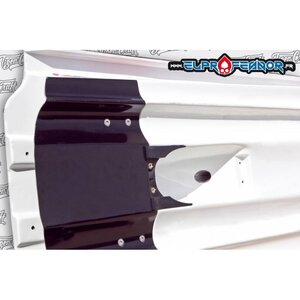
With this as an inspiration I proceeded to make a mold of a -4 Titan that I'm rebuilding for my son.

I want to thank @air blair and @Nate_D for advice on materials and techniques that got me started on this.
 

McDog

Other Administrator
Staff member
Location
South Florida
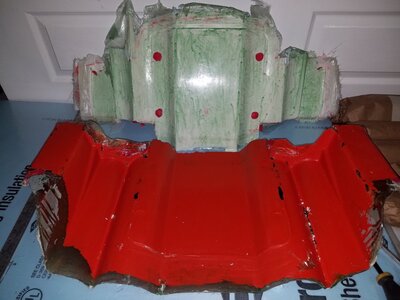
First of all let me say this is the down and dirty method with very little prep to ensure a perfect finish or a mold that will last forever. I did no prepping of blemishes on the hull before I made the mold. I should have. 1st mistake. As you can see in the photo the chines are in rough condition and that carried over to the mold and must be addressed. I should have filled and shaped them first to avoid the work ahead of me to repair the mold.

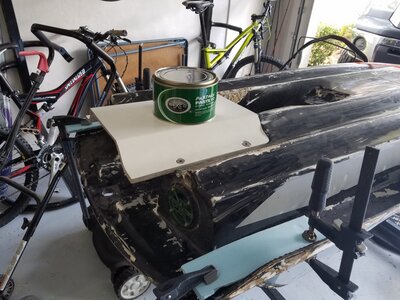
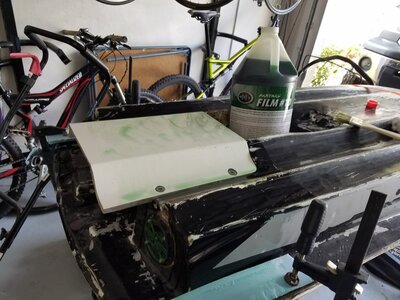
Hull and rideplate was waxed with 4 coats of wax designed for mold release that I purchased from us composites:20170228_142814.jpg
 

McDog

Other Administrator
Staff member
Location
South Florida
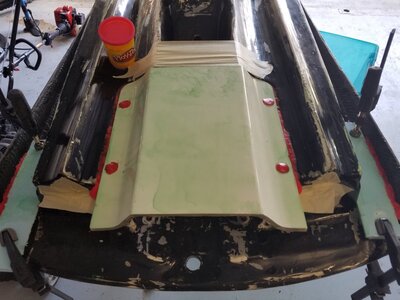
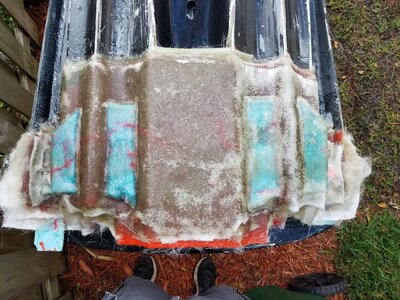
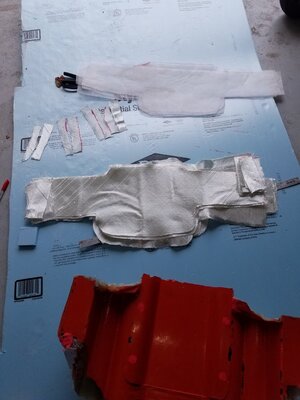
Next I painted PVA on everything with a chip brush. Then filled some voids with play dough around the rideplate bolts and the crevices around the rideplate to make the mold release easier. I also ended up putting masking tape accross the pump shoe area to hold the glass in place. More pva coats afterwards. I think four coats in all just to be sure. It dried completely between every coat. The blocks of foam under the bond rails are to create a negative space for the part because I plan to bring it all the way up to there to be bolted to the hull in addition to the rideplate bolts. 20170228_145256.jpg 20170304_103147.jpg
 

McDog

Other Administrator
Staff member
Location
South Florida
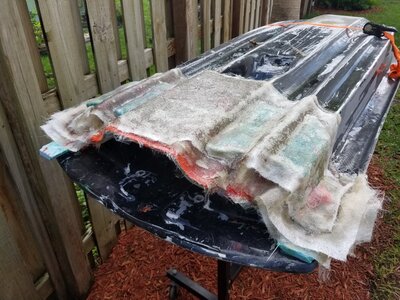
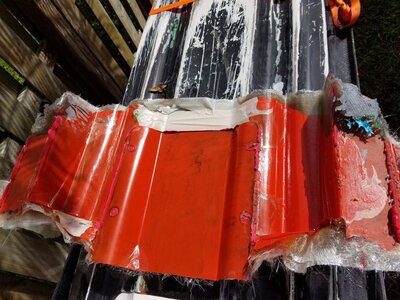
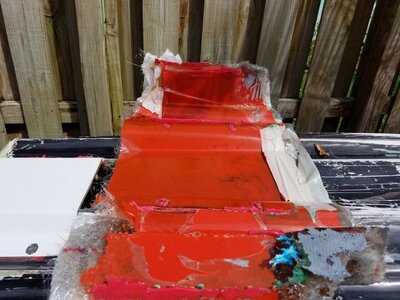
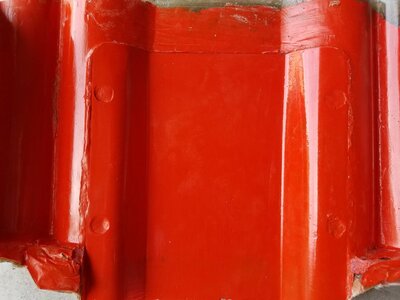
Now it was time to make the mold. I used tooling gelcoat and painted it on really thick with a chip brush. Once it kicked off after about an hour I started adding layers of 1/2 ounce chop with polyester resin. I used five layers of 1/2 ounce chop then 7 layers of 1.5 ounce chop and let it dry overnight. Afterwards I read that I shouldn't have done so many layers at once because it can build up too much heat and somehow cause problems. Hopefully it didnt. The next day I added some foam blocks and 3 more layers of thick chop to stiffen the mold up more. I would have done more but I ran out of resin. I had purchased a gallon kit. The mold should be three times as thick as the part to be made. It isn't in some areas but the foam pieces I hope will make a big difference in how stiff it is. The next day after that I pulled the mold. It came off very easily by sticking pry bars under the foam blocks at the rails on each side and popping it up. It was very rough when first pulled but I cleaned it up a little. I plan to dremel out the chine areas a bit to smooth them out along with a few other areas. I will also have to wetsand and polish some but I will probably skimp on it because I am going for function more than form at this point. I can always make another mold of the finished part later and pretty everything up.20170305_092330.jpg 20170305_092339.jpg 20170305_135905.jpg 20170305_135913.jpg 20170305_145635.jpg 20170305_145642.jpg
 

McDog

Other Administrator
Staff member
Location
South Florida
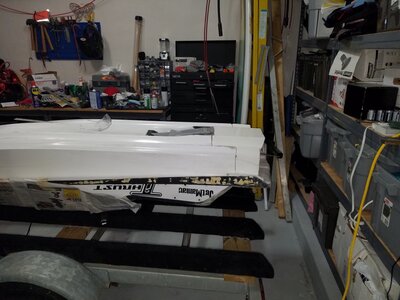
This is as far as I have got so far. After a little mold work on chines and filling a few areas like the bolt marks I will make the part next with epoxy and biax and surface veiling and white additive. Then I will have to trim it for an exact fit to add five inches to the rear of my ski and put inserts in to bolt it to the bond rails. Pics when I do.

Feel free to hit me up if you may want one for your freak at some point. If it's just a few I'll probably just make more off same mold but if a lot want one I will make another mold off my finished part. We will see how they end up looking but I can promise they will function and be strong. No idea on pricing for sure but I'm thinking around $200?
 

McDog

Other Administrator
Staff member
Location
South Florida
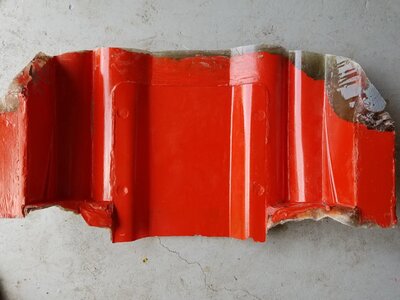
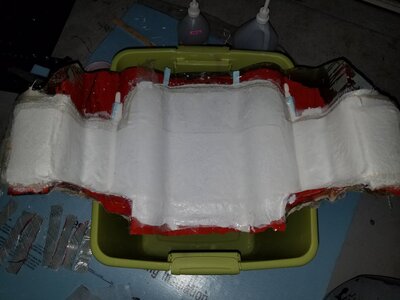
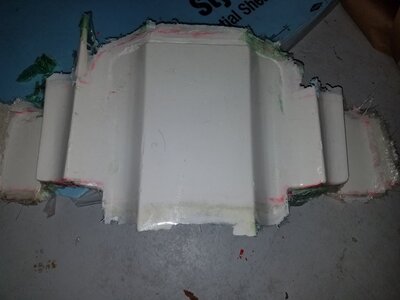
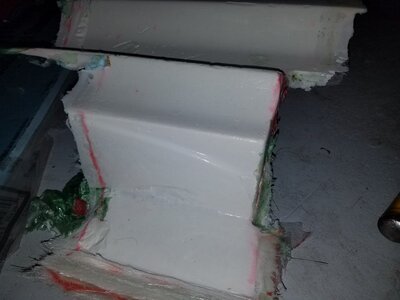
Mold grinded on and sanded and wetsanded and waxed and pva'd. Part laid up with epoxy resin, white coloring, surface veiling, 8 layers of 1208 biax and more surface veiling. The part will be unveiled tomorrow. I know you're excited.20170317_104733.jpg 20170317_104804.jpg 20170317_104828.jpg 20170317_133432.jpg 20170317_194838.jpg
 

McDog

Other Administrator
Staff member
Location
South Florida
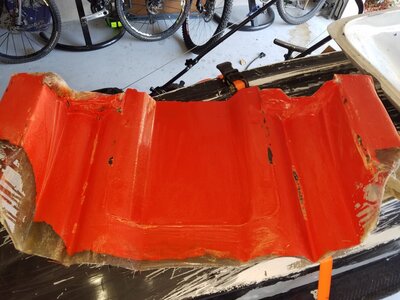
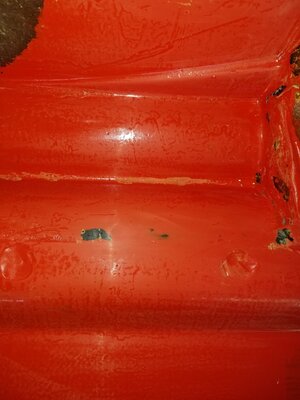
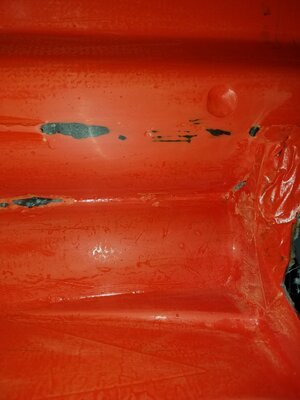
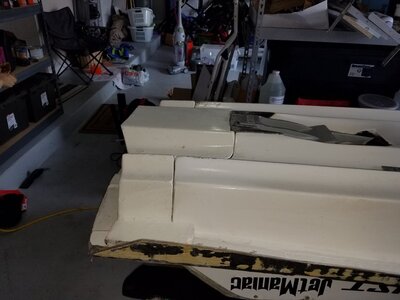
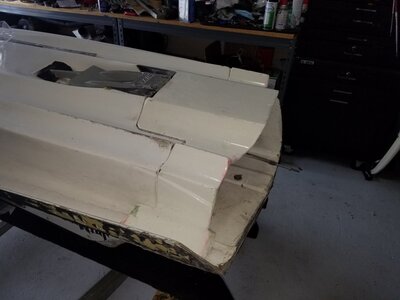
Lol. It's ugly. But it works and it could be uglier for sure. There are some air pocket issues in the outer finish and some hairs in the epoxy but otherwise I'm happy with the results so far. 20170318_083232.jpg 20170318_083834.jpg 20170318_083901.jpg 20170318_120850.jpg 20170318_120858.jpg
 

Big Kahuna

Administrator
Location
Tuscaloosa, AL
I have seen stuff that was sold as new that is uglier than, I mean not as pretty as that plate!

Sent from my SAMSUNG-SM-G930A using Tapatalk
 
Top Bottom