- Location
- Sacramento California
You are using an out of date browser. It may not display this or other websites correctly.
You should upgrade or use an alternative browser.
You should upgrade or use an alternative browser.
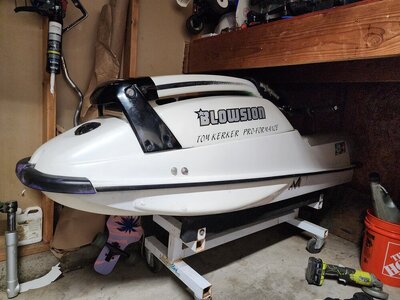
Just picked up an fx-1
- Thread starter Random?
- Start date
E350
Site Supporter
- Location
- Sacramento Delta
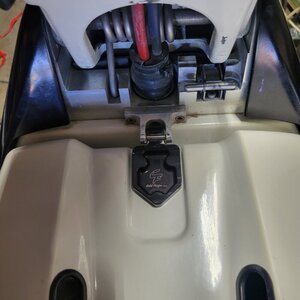
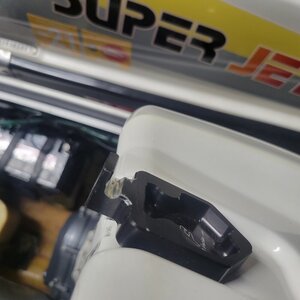
Understood, the OEM original front hood latch was uniquely defectively designed and definitely too cool for school. My ski arrived used with it broken. So, I researched the heck out of the issue and have been really happy with the Cold Fusion. You have to drop the hood in first to get the hood tubes oriented in their right places, then dip the front of the Cold Fusion front hood latch hook under the catch on the pole mount, then latch the rear, then the hood is solid as a rock on the front. (I know I still need to add straps or something to better secure the rear of the hood to the hull, but at my level of riding, it is not necessary quite yet (I hope).
- Location
- Sacramento California
E350
Site Supporter
- Location
- Sacramento Delta
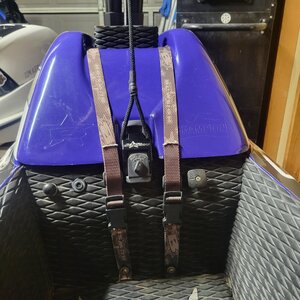
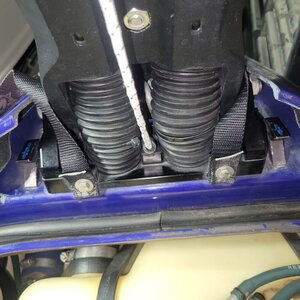
I was just looking at it today. I think I may make a 1/16" flat aluminum spacer to go between the handle pole bracket and the hull with cut outs for the straps and burning a hole through the straps to slide over whatever bolts hold the handle pole bracket to the hull.
That way in the front, the straps would be low, same height as the hood.
Let us know what you come up with.
That way in the front, the straps would be low, same height as the hood.
Let us know what you come up with.
- Location
- Buffalo, NY
I have the same aluminum aftermarket pole mount (mine is a UMI) and I was worried and aftermarket hood latch wouldn't work well with it. What was the issue with yours? Was the hood still loose with the Cold Fusion bracket?Gt my cold fusion front latch in. Next up i plan on buying a set of blowsion hood straps just for added piece of mind. I don't EVER want this hood flying off again!
- Location
- Sacramento California
@E350 I plan on setting it up the same way my round nose is set up. Which will require me drilling/tapping two holes into my pole bracket and running them that way or the other way I could unbolt the latch side of My billet pole bracket and run the off that, that would be much easier. May go that route @E350 this is how my round nose is set up.
Attachments
- Location
- Sacramento California
@jpswift1 the issue with that billet bracket and the cold fusion was when I put it on my hood, then went to put hood on, it felt bound up like it was going to break something just putting hood on. I think this a/m pole bracket has a bigger pin then stock one. So I had to file a groove for the pin to rest in so it fit correctly. Fits beautifully now hood is nice and tight. I did also just install a new Watcon hood seal purchased from @JetManiac. Hit him up he has the cold fusion front mount.The hood straps will be extra security since I learned first hand how fast these sink! Here is a pic of what I had to do to make it fit.
Attachments
- Location
- Sacramento California
- Location
- Sacramento California
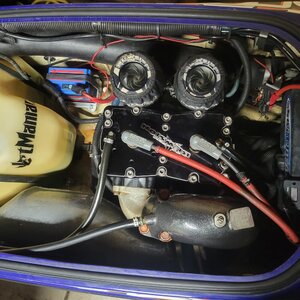
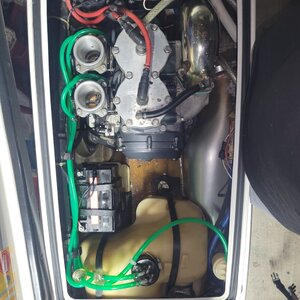
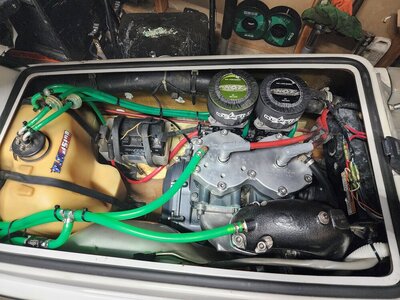
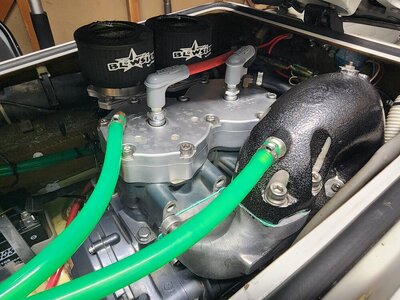
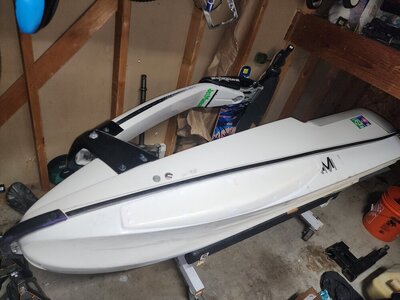
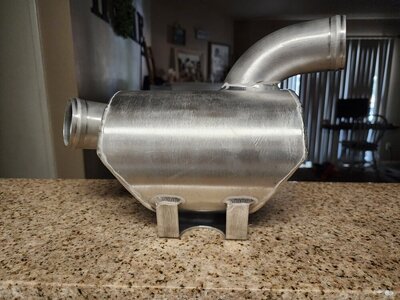
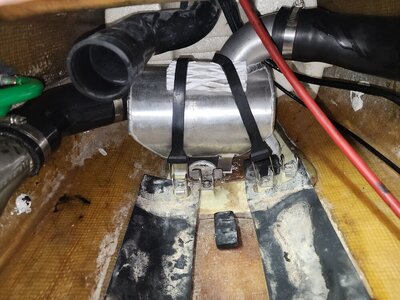
New cooling lines installed, blowsion fcv, tubbie 1s, and a jet dynamic plate.. waiting on a rad dudes water box. Also installed new intake/exhaust gaskets on her amd put all stainless allen bolts on the motor.If anyone has a green or a black hot products flame arrestor for sale lmk please. Looking for one so they can match.
Attachments
Last edited:
E350
Site Supporter
- Location
- Sacramento Delta
Cool! How did you adhere the tubbies?
And please post up your ride report.
And please post up your ride report.
- Location
- Sacramento California
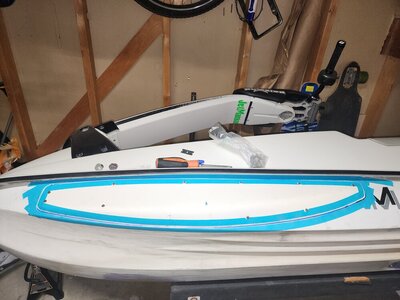
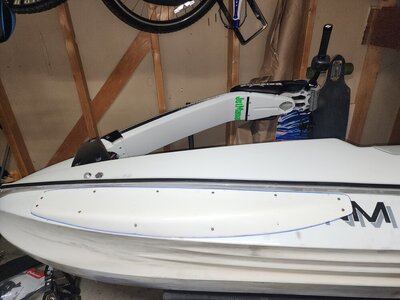
I haven't ridden it yet. Hoping to on Sunday. Waiting on bpipe to waterbox coupler to get here. Should be here tmrw. As far as the tubbie install, I got them lined up where I wanted them, then 1 hole at a time I drilled my pilot hole the set a #8× 1 1/2 stainless screw thru each hole starting from the rear then finishing up front. Once screwed in I traced the tubbies onto the hull. I then layed painters tape on the hull and tubbies leaving only where I wanted my bead to be exposed. Next I unscrewed the tubbies, removed them. Caulked the line I had traced out with a nice thick bead of bostik 920fs(blowsion recommendation) installed tubbie back onto hull with screws. Next I did a finger wipe on the caulk line and wiped the excess off. Then removed the tape. Next took a card from a deck of playing cards. Cut the corner of a card at a 45 degree angle and did a final clean up pass on the line and that was it.
Last edited:
- Location
- OR
Definitely pump swap that thing in winter.
@jpswift1 will give you his opinion on the kawi pump swap from recent experience.
There are plenty of pump swap options. I glassed in an sj tunnel I bought from @tom21. I’m really happy with how it turned out. I have a build thread on here as well, you can check out. Let me know if you have any questions.
Last edited:
- Location
- Sacramento California
The biggest difference between a Kawasaki 140 with stock inlet and a complete 144 pump/inlet swap is low speed thrust. The fx1 turns on the edge like old Kawasaki’s. Riding a Superjet will make it harder to learn.Is @tom21 still making parts? That will be on to do list. I have a hard time stomaching anything kawasaki related on my jet ski. So if I do end up swapping, it very likely will be a yamaha pump.even tho seems like an easier swap.
- Location
- Buffalo, NY
Definitely pump swap that thing in winter.
@jpswift1 will give you his opinion on the kawi pump swap from recent experience.
There are plenty of pump swap options. I glassed in an sj tunnel I bought from @tom21. I’m really happy with how it turned out. I have a build thread on here as well, you can check out. Let me know if you have any questions.
I started out going the route of a Kawasaki 140mm pump swap, but I like to do things to factory OEM quality and the Kawi 140mm pump swap seemed like a mod where it seemed too much of a half a$$ kind of thing. I took @DrewOregonian 's advice and went with the @tom21 pump swap and I am currently in the process of finishing it up. It is a lot more work, but it is such a better, much more higher quality piece and it is totally worth it.
- Location
- Sacramento California
- Location
- Sacramento California
Got her out on the water today and all I can say is WOW!!!! HUGE improvement over how it rode before. It's actually rideable now. Doesn't death roll around 40 and throw you off. It tracks very well now even in rough water. Carves like a champ. It's not fully on rails but it holds nice when carving. The tail will still break loose if you want it but doesn't kick out hard like it did before. I love how it rides now. Night and day difference.
- Location
- Sacramento California
It's STILL sketchy to ride but the sketch level went from about a 10 down to a 6 or so. It'll still roll on ya but it's WAY more forgiving. It will let you correct it before you fall where before once it started leaning over and rolling you just had to brace for impact.

