Justin's 760cc freeride SN build

JustinB

Proof I has a brain \l/
Location
Oxford, MS
I started this ski last year at the end of the season, but lost interest after my mother died. I recently started back on it trying to get it ready for this summer. This will basically be a wake jumping machine I can also ride in the surf. It is as follows:

90 Square
Ricters
64x 760 cylinder and cases
62t intake with double 38's
Westcoast/Wetjet pipe [powder coated]
round nose pole on stock square bracket
rotary bilge switch
lightweight battery

Coming:
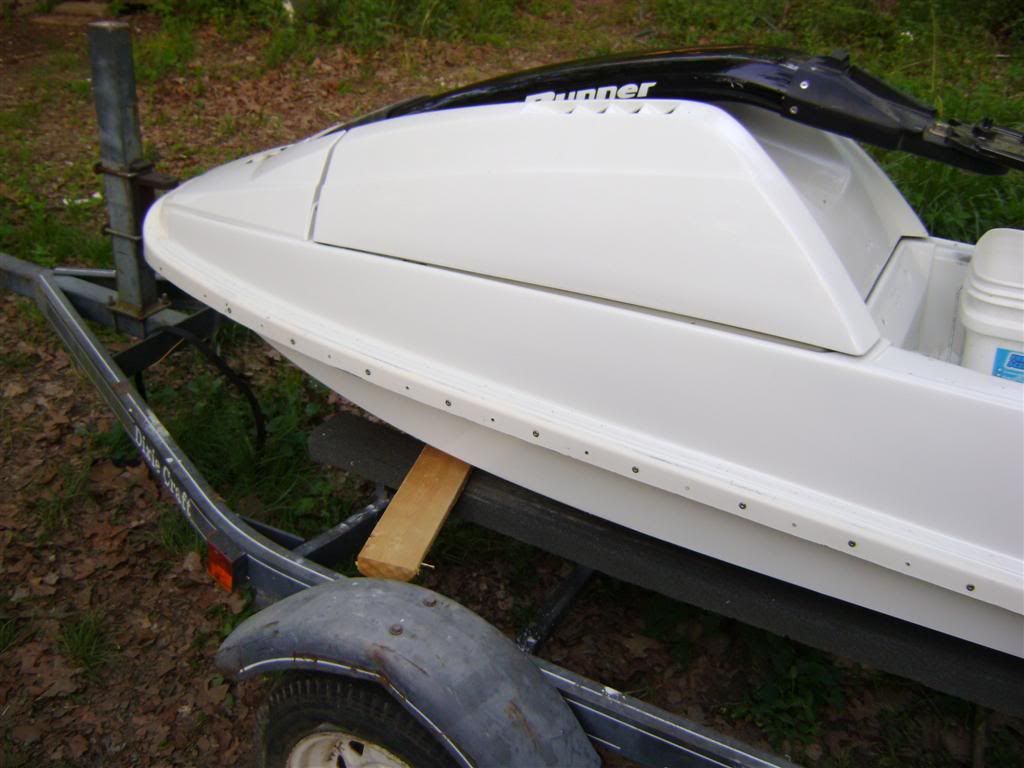
paint- DONE
turfed rails and nose- DONE
0 degree bars- Keeping stock, but polished.
milled head
graphics (by me)
billet throttle- DONE
155 pump conversion

Here are the pictures:

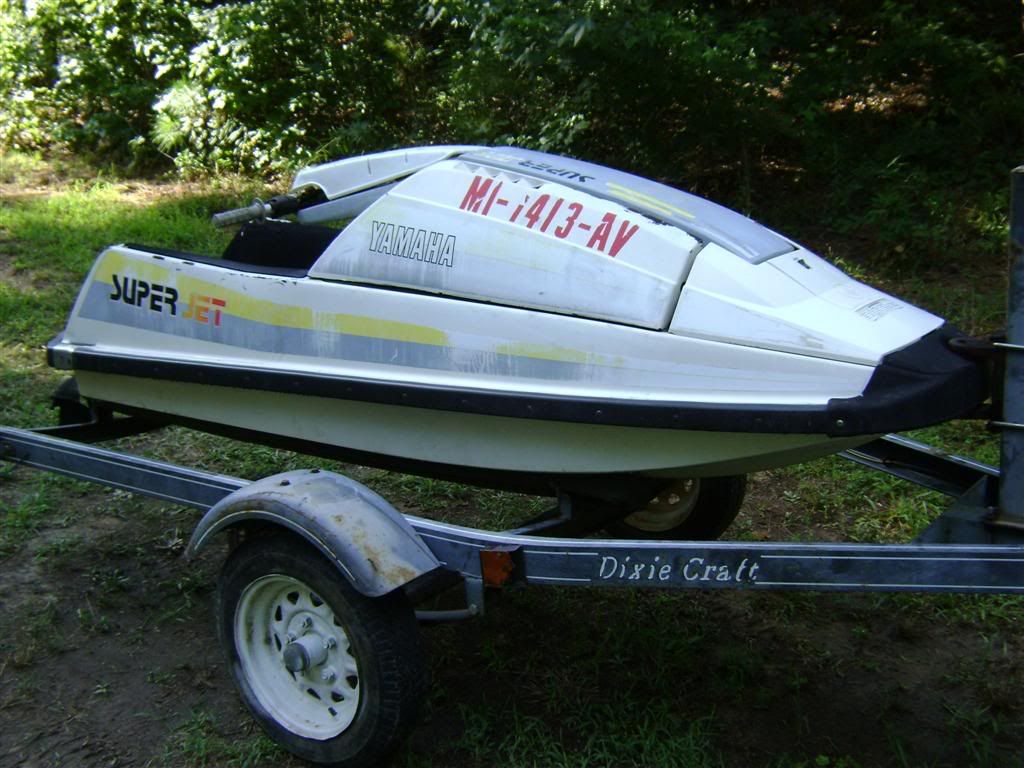
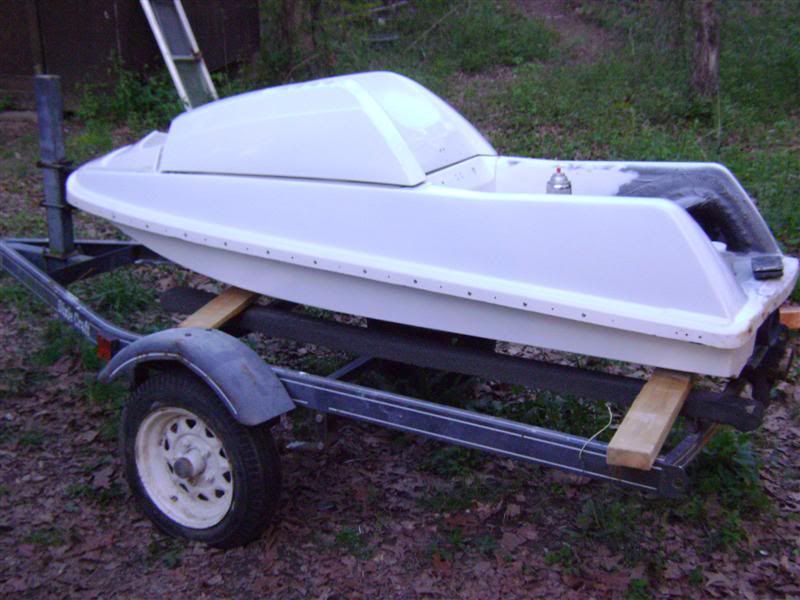
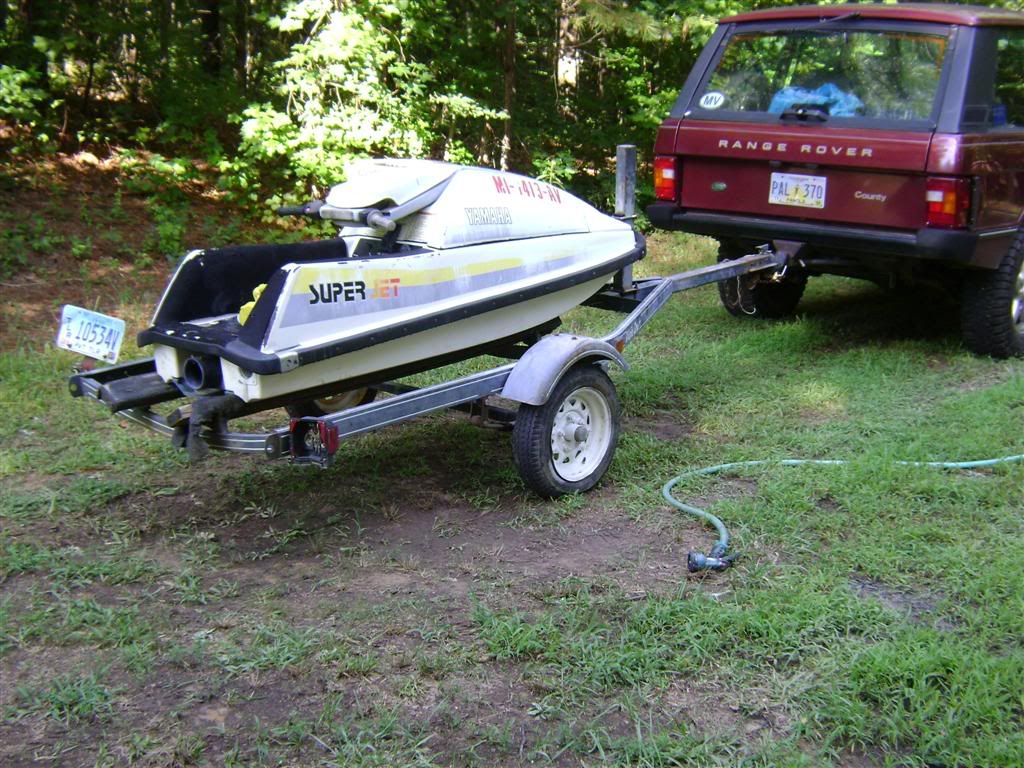
The day I brought it home. It has been out in the weather for a while..
DSC01001Large.jpg

DSC01006Large.jpg


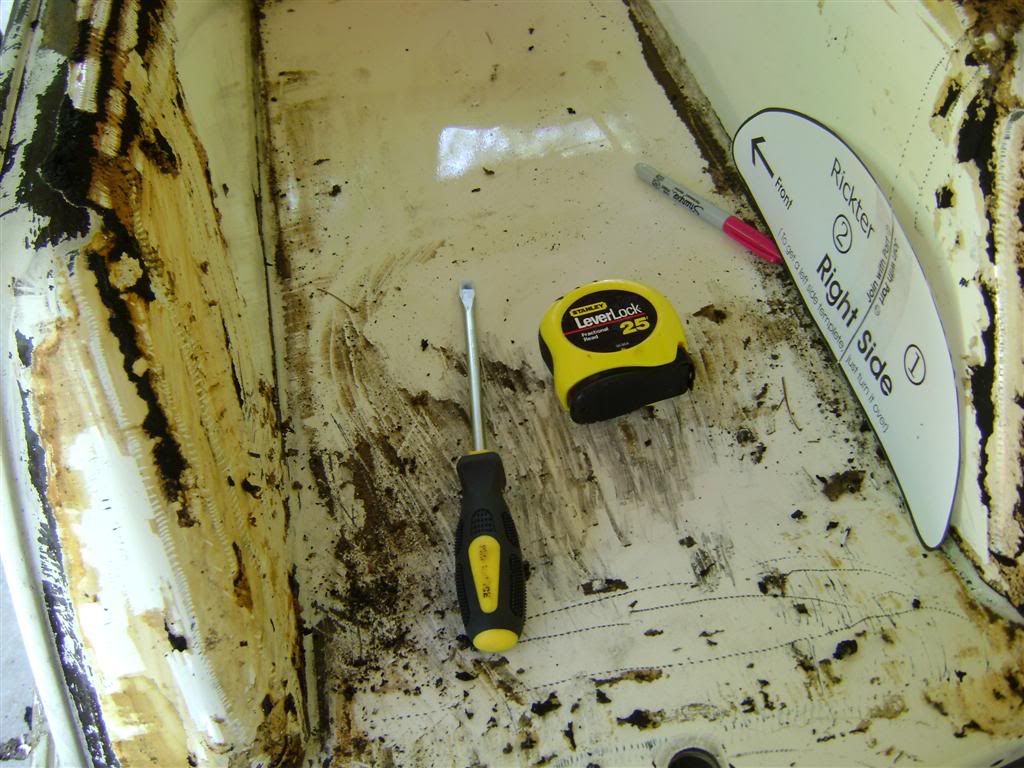
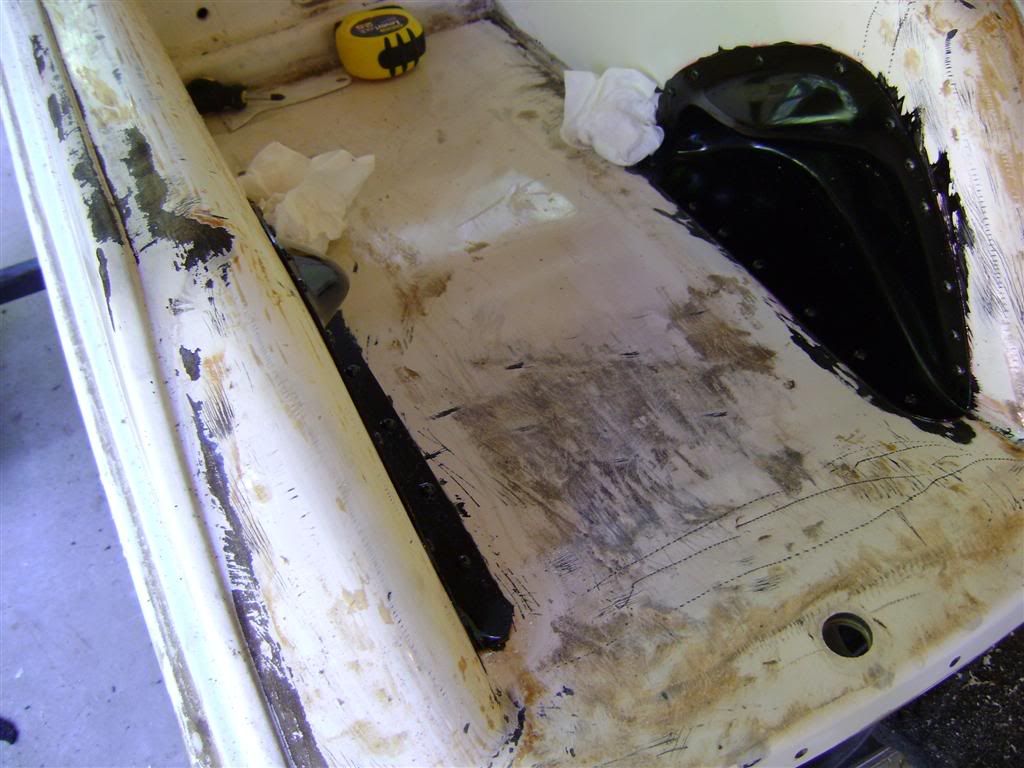
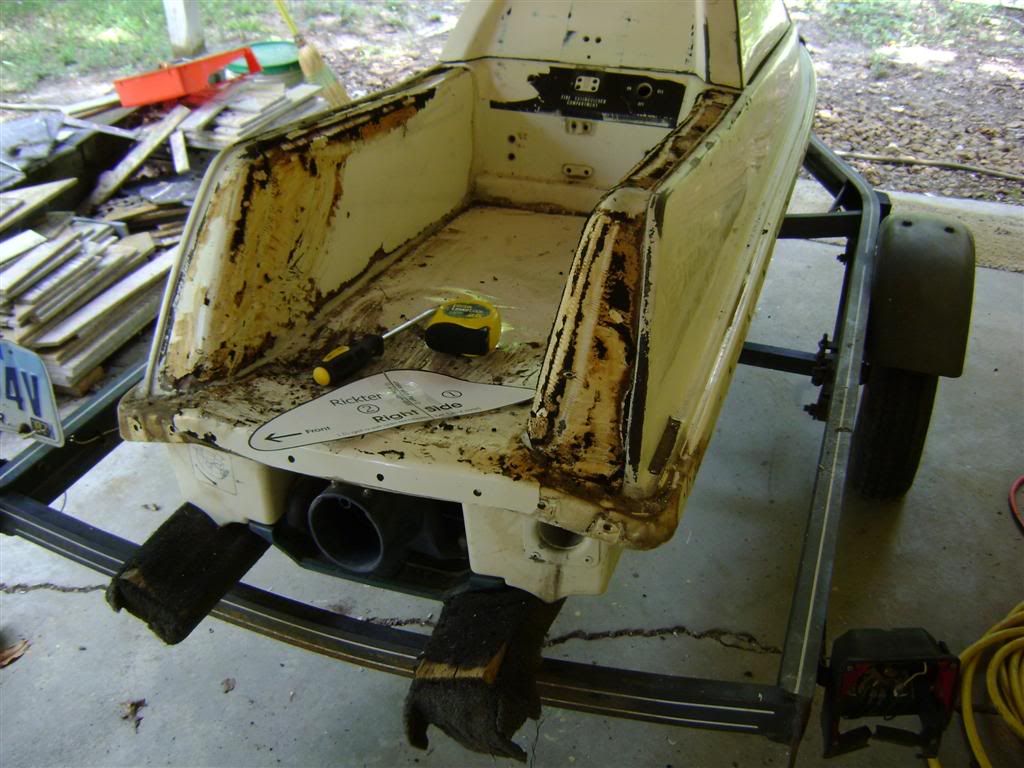
I got the mats stripped and ready for the foot holds...
DSC01083Large.jpg


DSC01085Large.jpg


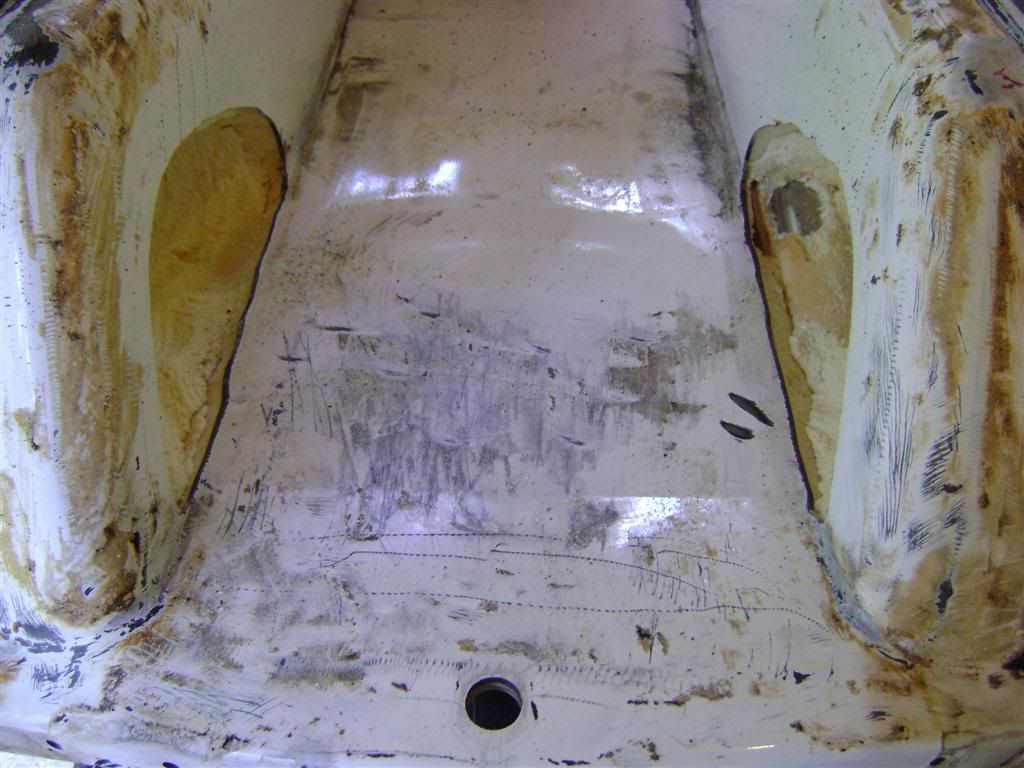
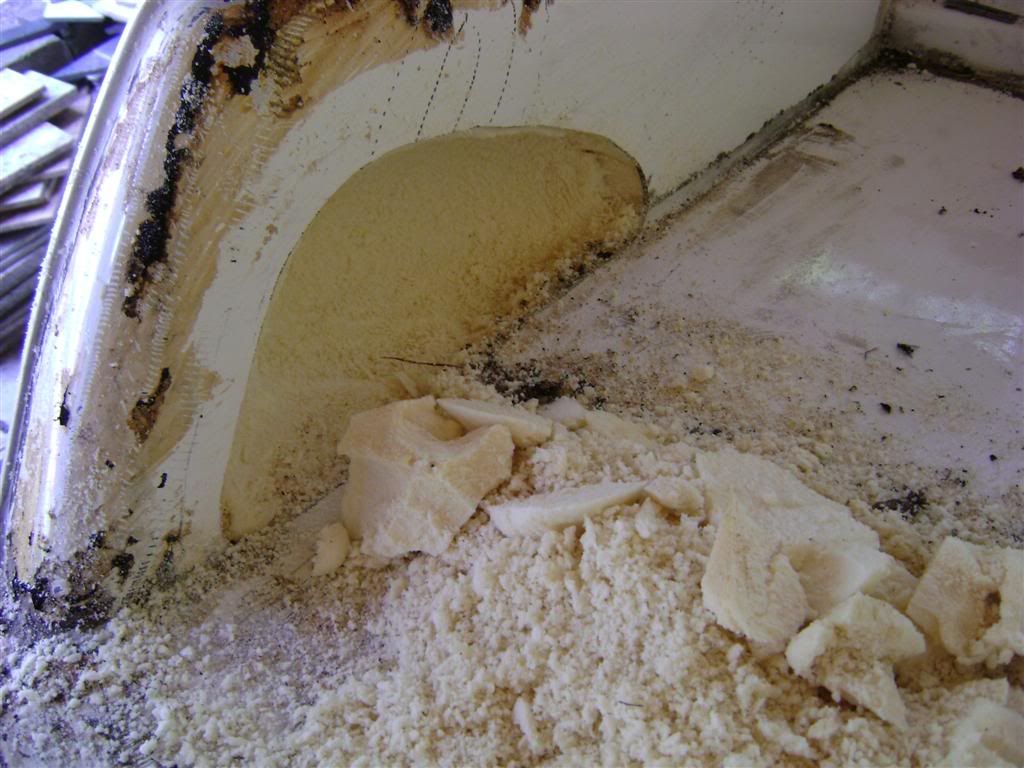
Holes cut and foam removed....

DSC01087Large.jpg


DSC01086Large.jpg


Footholds epoxied in...

DSC01088Large.jpg


DSC01088Large.jpg


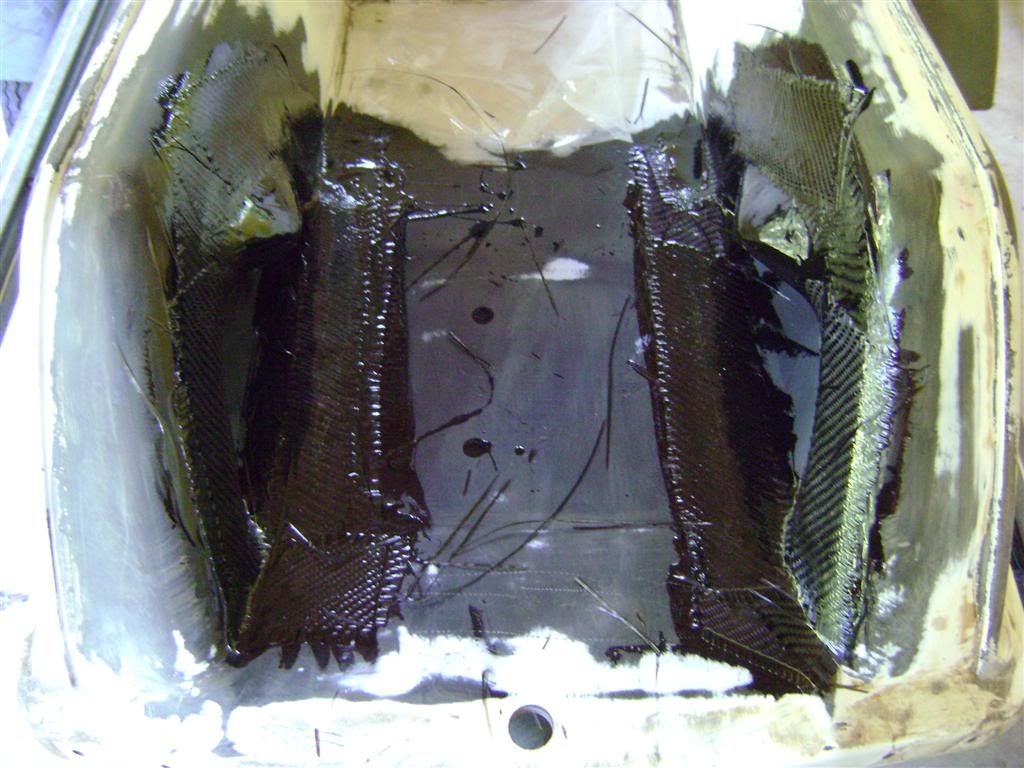
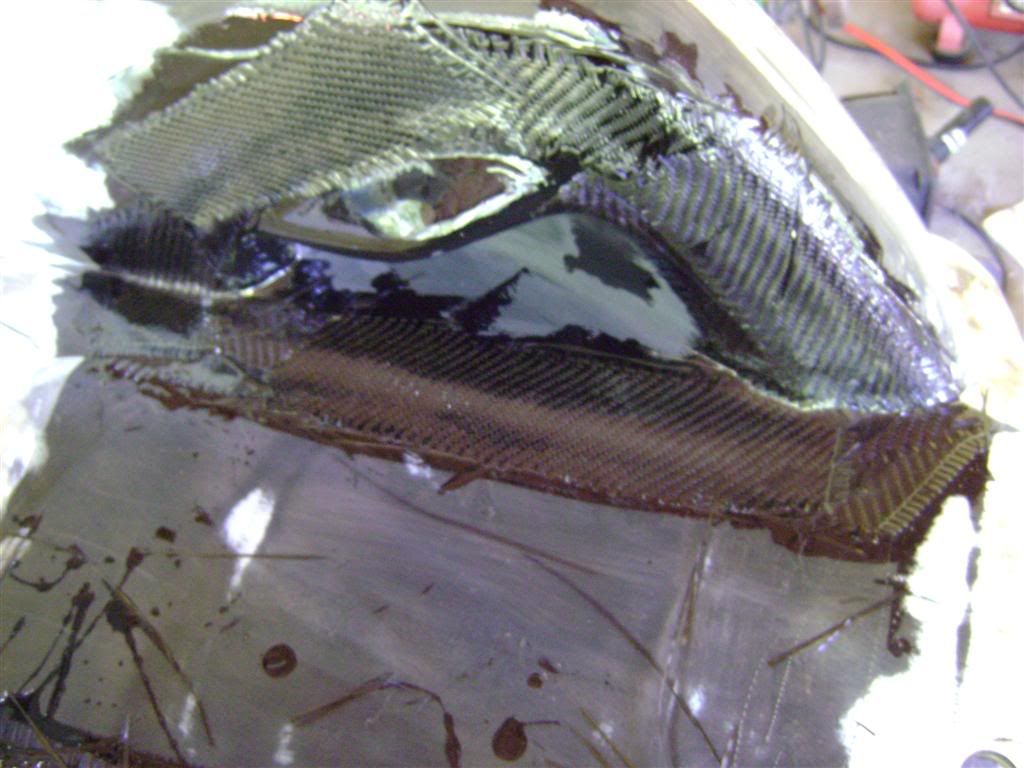
Two layers of carbon holding them in (used what I had)..
DSC01092Large.jpg


DSC01093Large.jpg


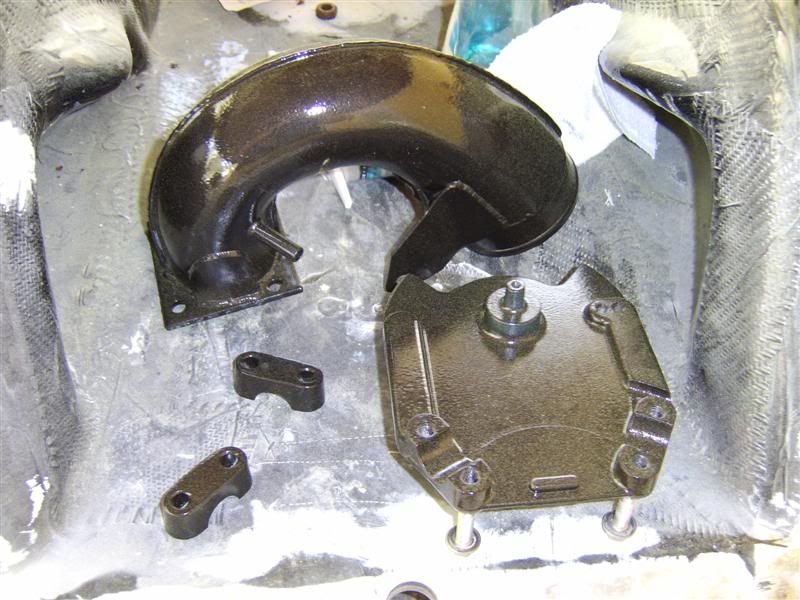
A few parts done in hammered black metallic finish...
STA71222Medium.jpg


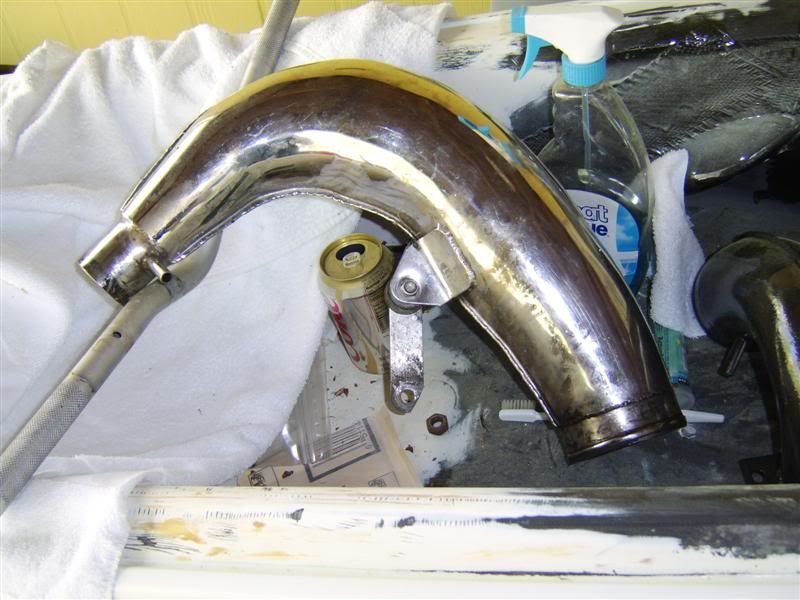
pipe chamber...

STA71225Medium.jpg


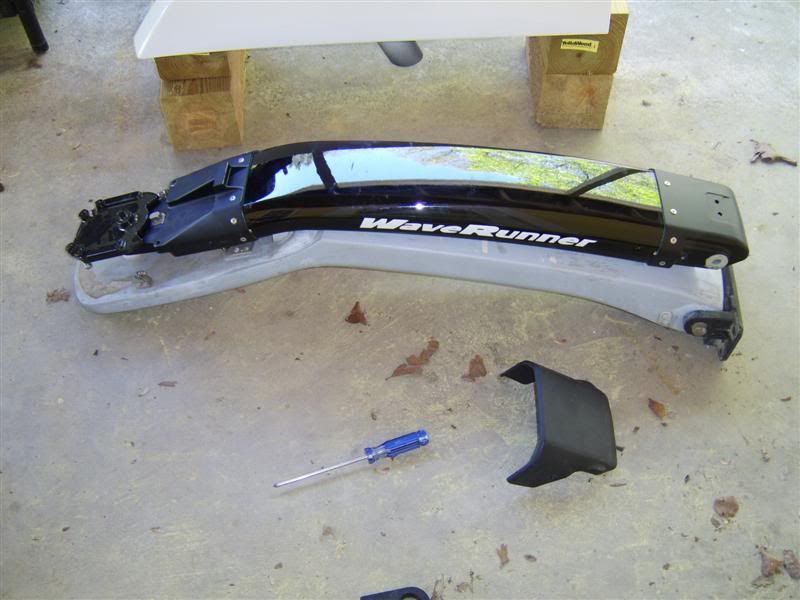
RN pole vs. SN pole. I moved my steering components over...
STA71229Medium.jpg


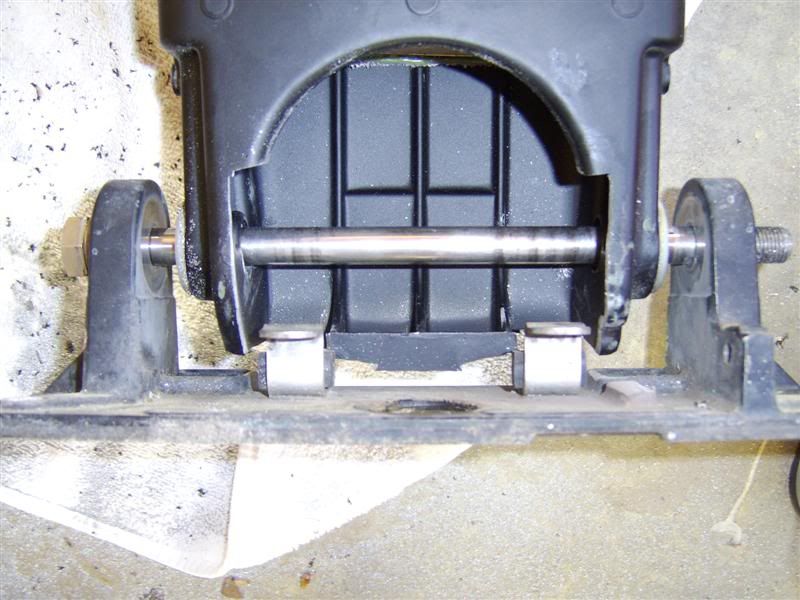
pole modified to fit on the square bracket....
STA71230Medium.jpg


More coming soon :cool2:
 
Last edited:

JustinB

Proof I has a brain \l/
Location
Oxford, MS
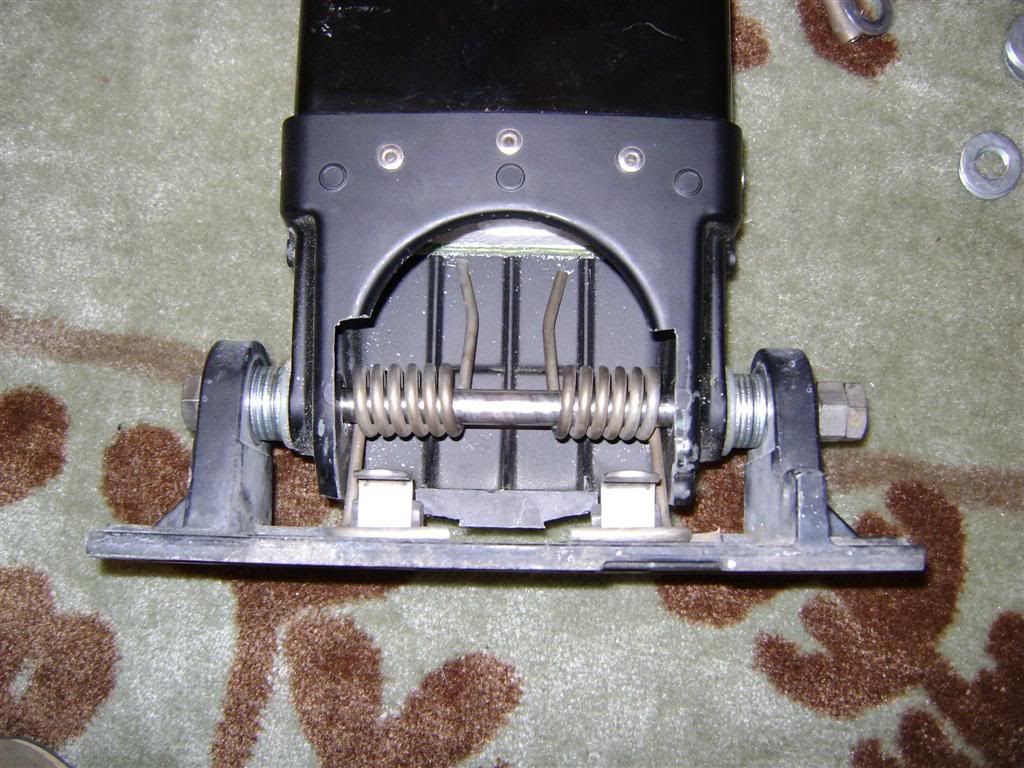
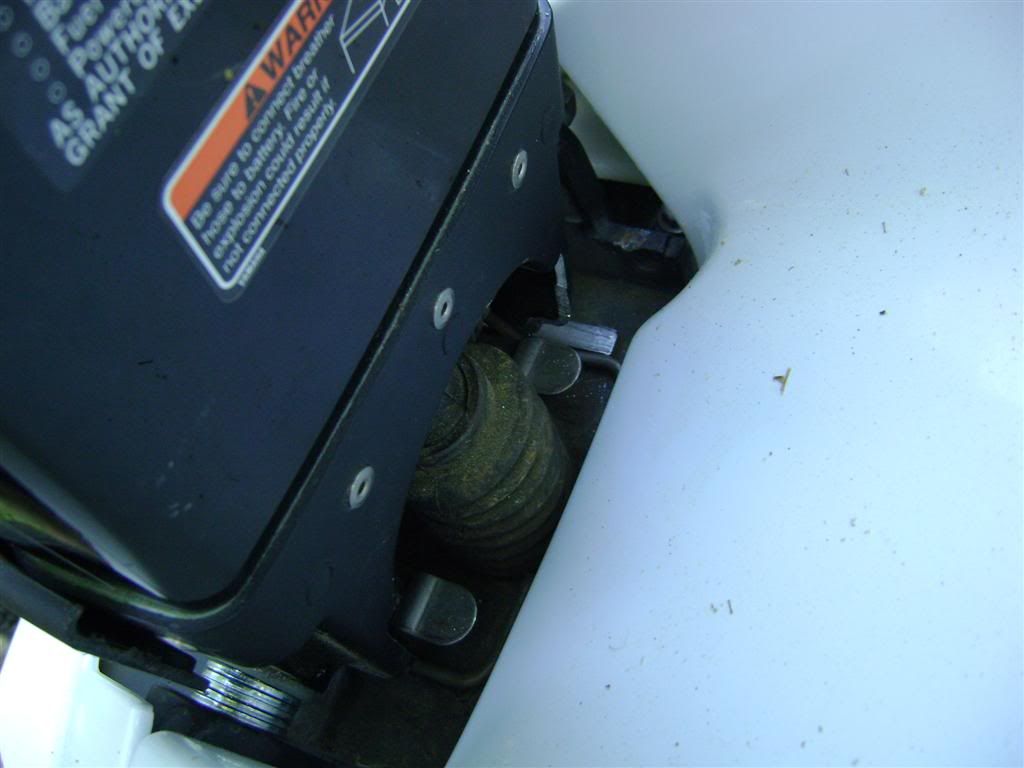
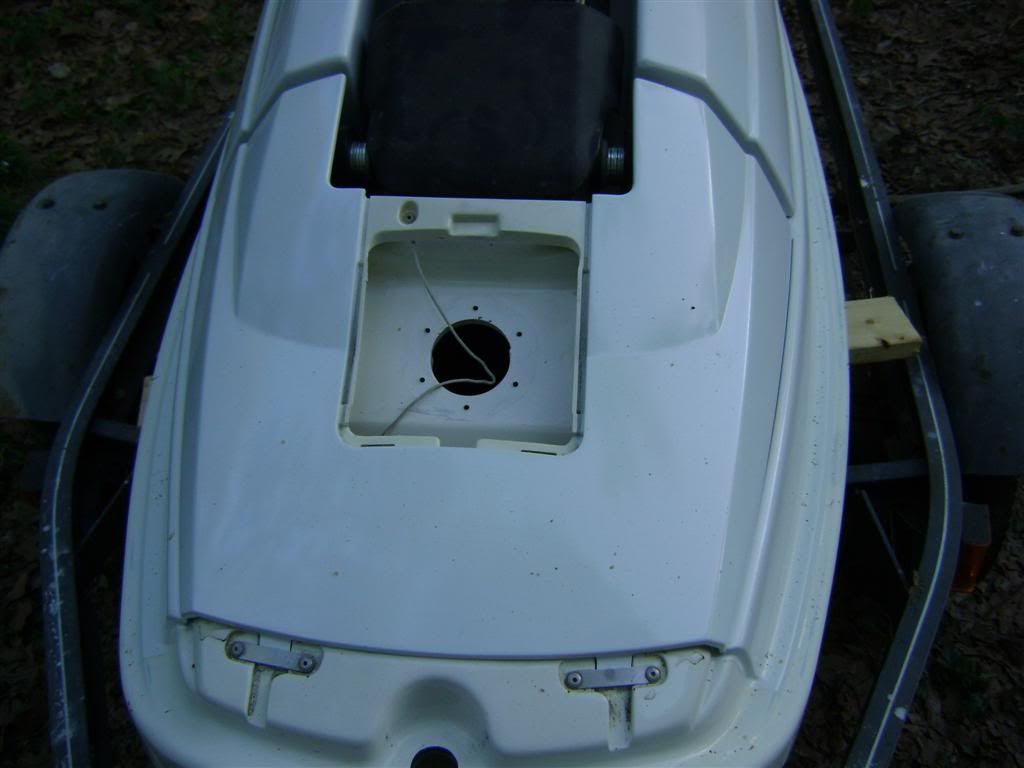
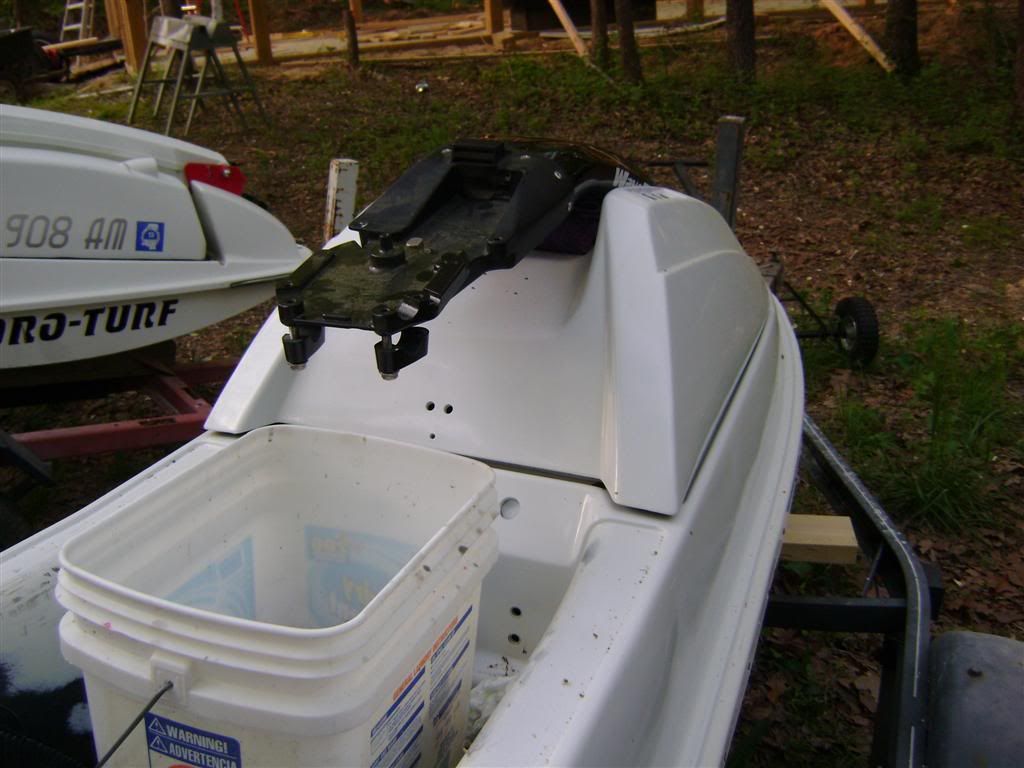
I got the pole mounted to the bracket and on the ski. I used the SN springs and cut about 2" off of them. They dont hold the pole up (because they were already weak), but they take some of the weight. It took 5 (9/16") washers per side, but I may add one more once I see how it tightens down. My install is the first I have seen that uses the hood hooks in the stock location. I was a litle worried about cutting the aluminum to make room for them; but there looks to be plenty of meat left.

That is dirt in the pictures, not crap in the paint- I have been letting it sit in the sun to cure before I wetsand and polish it.

DSC01386Large.jpg

DSC01391Large.jpg

DSC01390Large.jpg

DSC01392Large.jpg

DSC01389Large.jpg
 

JustinB

Proof I has a brain \l/
Location
Oxford, MS
Update on the engine; It will be a complete 64x 760 with 62t 38's. I also bought the matching 62t exhaust manifold for my pipe, since it was only $100 from Protec.

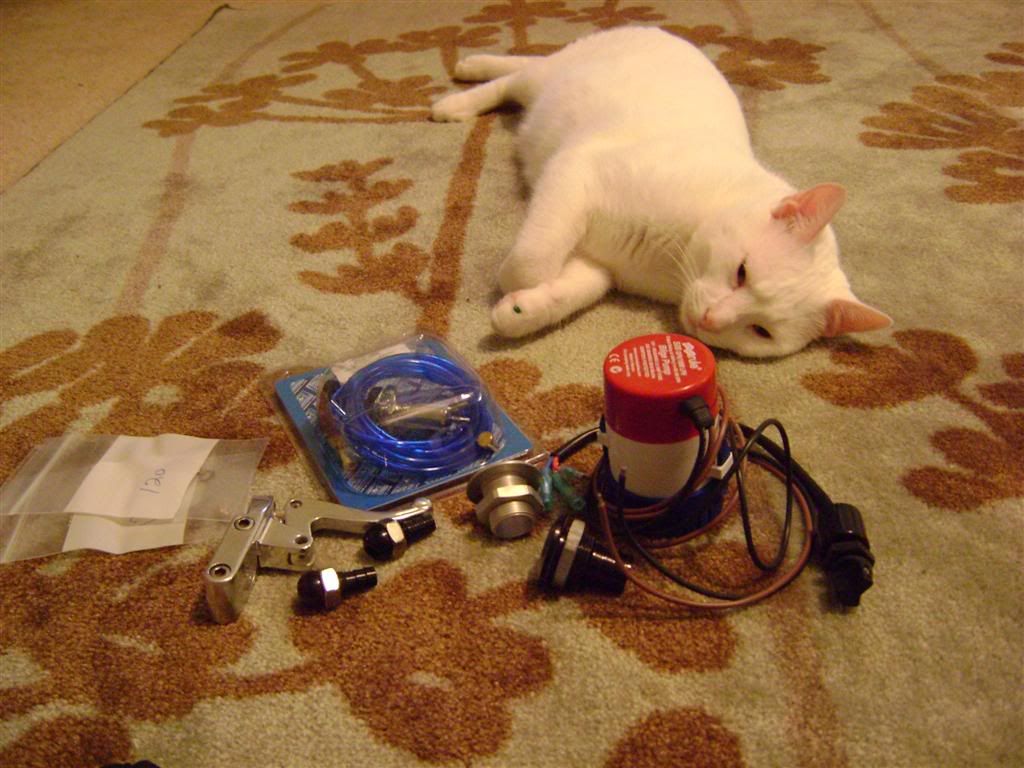
Here's some more hardware. I will probably be adding a second bilge pump...

DSC01399Large.jpg
 

WAB

salty nuts
Location
coastal GA
Looking good man! You have made a bunch of progress since from the way it used to look. You will LOVE the RN pole on it!
 

JustinB

Proof I has a brain \l/
Location
Oxford, MS
Thanks for the compliments guys.

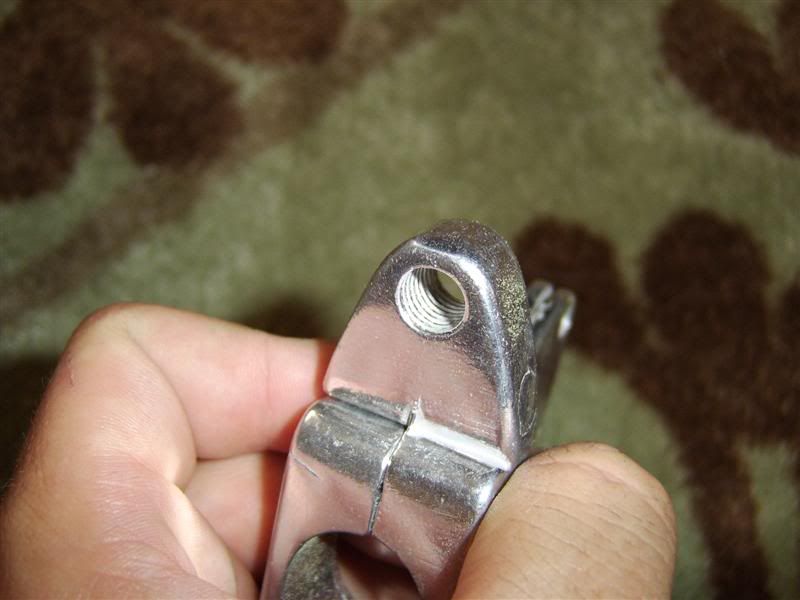
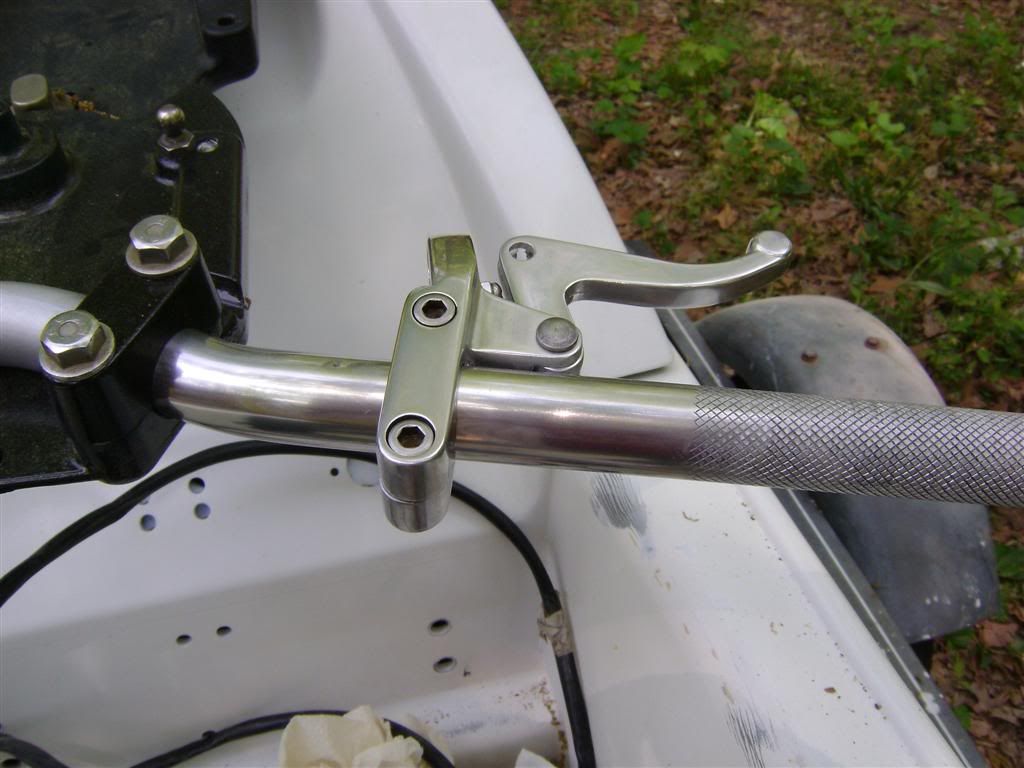
I have had this finger throttle for a while thinking it had Seadoo threads in it. After trying to sell it, someone sent me a message saying they had the same throttle, but it was the 86-95 Kawi threads. So to verify, I found an old Kawi throttle cable- and sure enough, that is what it is. That means all I will need to make it work on the SJ is a standard throttle cable adapter (and I may have to cut a slit in the top to get the throttle end through).

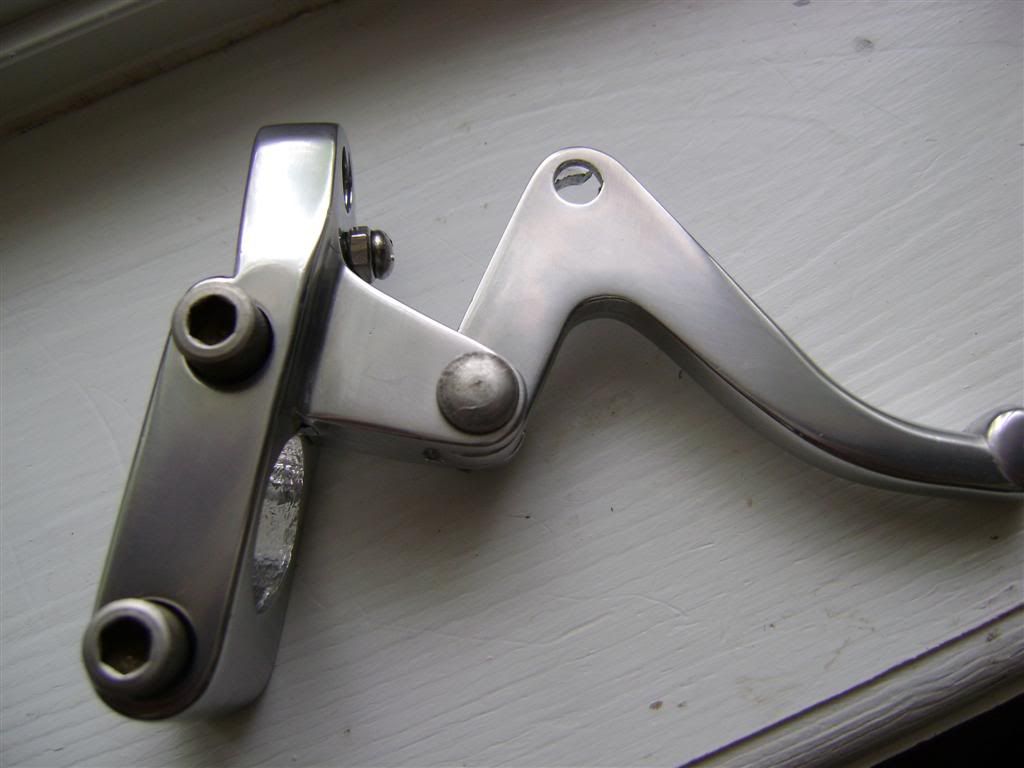
I didnt really like the finish of the throttle, because it is a cheap cast unit. So I spent about 30 minutes this morning making it look nicer. I started with 220 on a DA sander to smooth it out. Then went with a 400 grit wet to further smooth it. Then I stepped straight to 2000 grit and rubbing compound by hand. This way, it gets polished, but it wont have a mirror finish. It gives a clear anodized looking finish.

Before picture:

STA71217Medium.jpg


After polishing:

DSC01405Large.jpg
 
Last edited:

JustinB

Proof I has a brain \l/
Location
Oxford, MS
Lever looks good, but if that thing is cast aluminum, it will be worn out by the end season like mine.

What is worn on yours? I wouldnt think it would wear any faster than any other aluminum throttle. If you are worried about the aluminum on aluminum at the pivot point, you could gring it a little and add some cheap plastic or brass bushings.
 

JustinB

Proof I has a brain \l/
Location
Oxford, MS
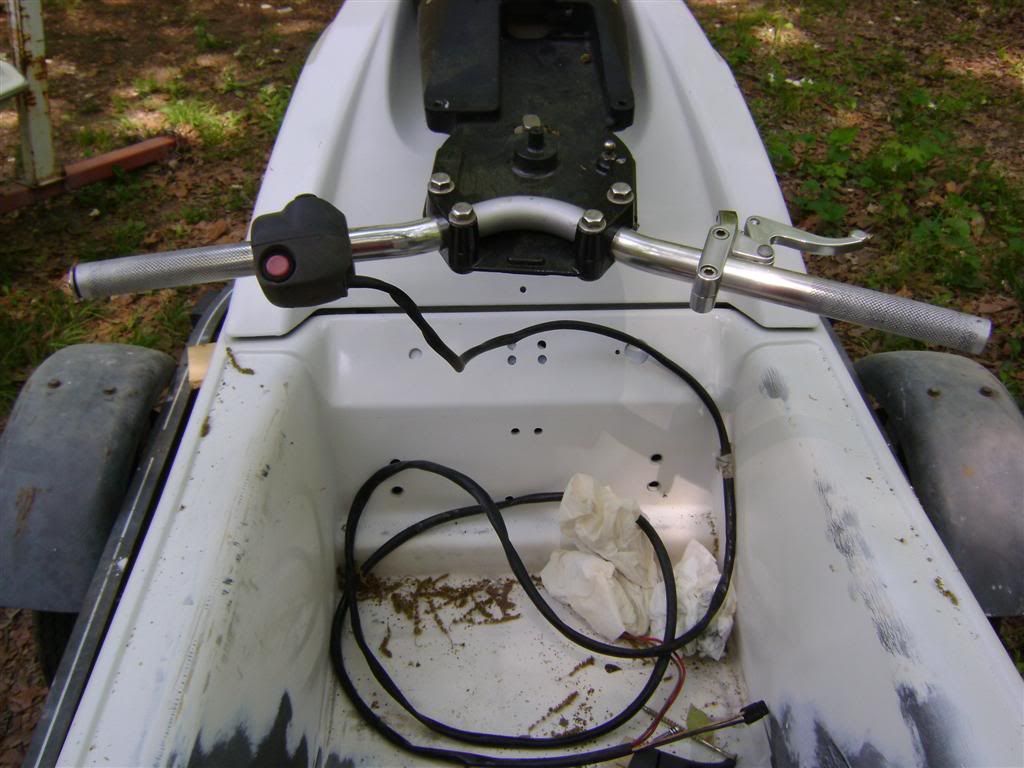
I took a few more pictures. I polished the stock bars (except for the center section) and mounted the throttle and start/stop pod.

DSC01410Large.jpg


DSC01412Large.jpg


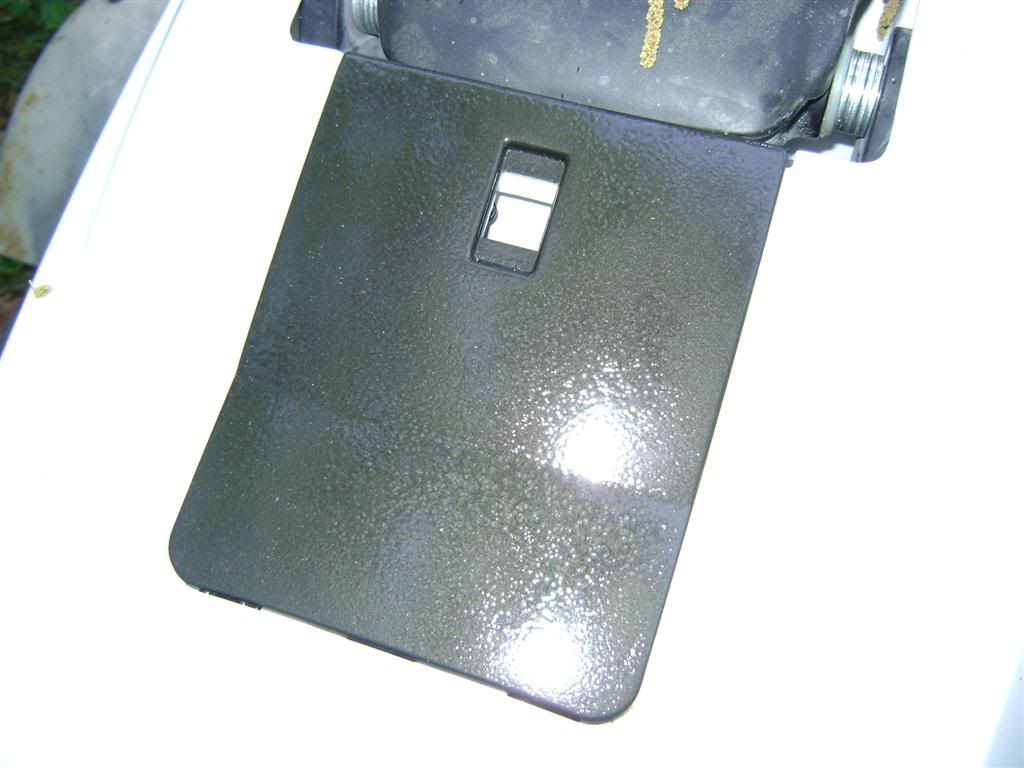
And I painted the fuel door in hammered paint...

DSC01408Large.jpg
 

5810

WHERE-THE-SEAT-AT
Location
Knoxville TN
Everything, the sides are paper thin where the pivot bolt is and i can move the lever up and down about 1.5" lol, its custom. I got it cheap and I'm not worried about it to much LOL.
 
Last edited:

JustinB

Proof I has a brain \l/
Location
Oxford, MS
NICE, are u going to run hood straps?? I would IMO

I was going to, but I have been thinking about doing a double hood latch mod. I would install latches on either side of the dash. I am ready to put the hardware back on, so I need to make a decision soon about it. Really, I am waiting on my Watcon hood seal to put it all back together.
 

Pwgsx

Go big or go home
Location
DFW-Texas
You could do 2 safety straps on both sides and use your stock hood latch as well OR remove the stock latch and put on the ratcheting strap, you can make your own or buy it - there is a guy on here selling them. Just a though to prevent a hood from falling off and sinking your ski.
 

JustinB

Proof I has a brain \l/
Location
Oxford, MS
I came home tonight to find a box from Protec. It is the manifold to make my pipe work on a 62t cylinder- well, it was supposed to be. I am not sure if they sent me the wrong part or if I just got some bad information from Protec. I called them to verify that the manifold worked with my pipe and ended up buying it on the same call. My pipe was originally designed to work with the stock 6m6/61x manifold, before the 62t cylinder existed. The guy told me they started producing this manifold after the 62t cylinders were released so the A body stainless pipe could be used on 62t engines.

The problem is that my pipe has the even spaced holes where it meets the manifold (like a stock 61x manifold), and the manifold I received has uneven spacing, like the Mach pipes.

I called Protec and found out my pipe wont work with the manifold. If the guy had taken the time to make sure my pipe would work on the manifold, I could have saved some money. It turns out some 650's used a smaller bolt pattern on the connection to the manifold, and I have one of those pipes. So I have sold the pipe (already) and am looking for something else.

Ideally I'd like to find another Protec pipe so I can utilize this 62t manifold I bought. I also found a WB2 Riva Red pipe on here that looked like it might possibly fit, but was quickly told by a few that it wouldnt. I am not sure if they were giving me opinion, or if they had first hand experience trying to fit one in a SJ.

So the brap search continues..... :brap:
 

JustinB

Proof I has a brain \l/
Location
Oxford, MS
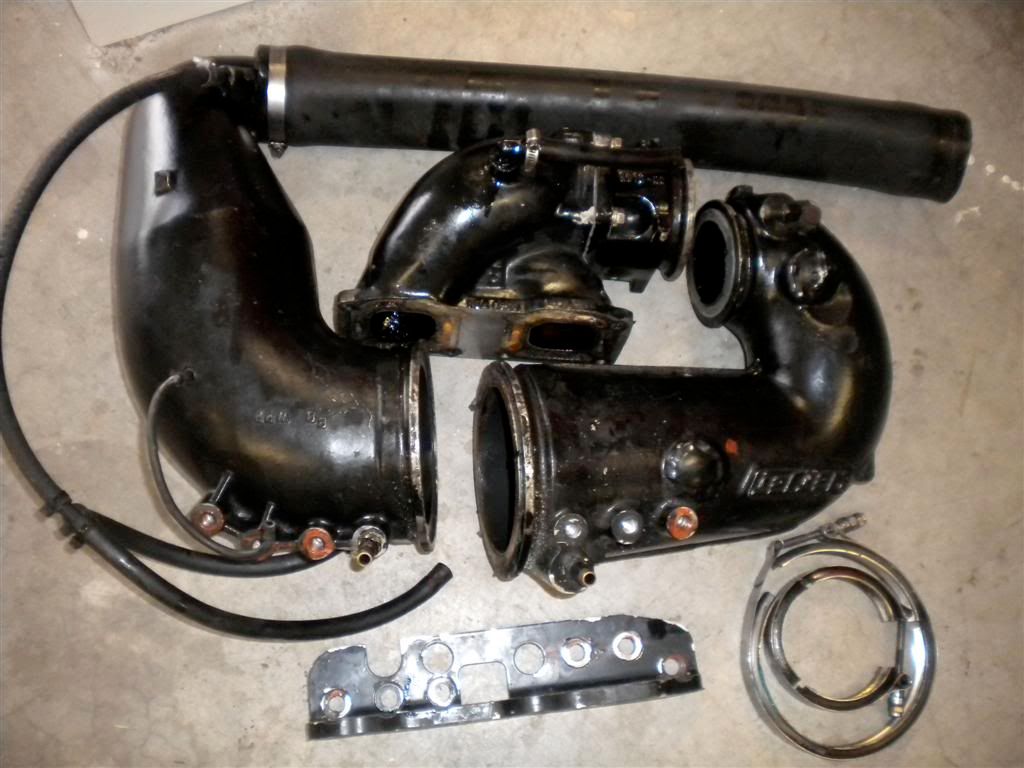
I sold my Protec pipe, and have a Westcoast/Wetjet pipe I will install. It is a little ugly at the moment, but I will probably have it powdercoated.

8Large.jpg


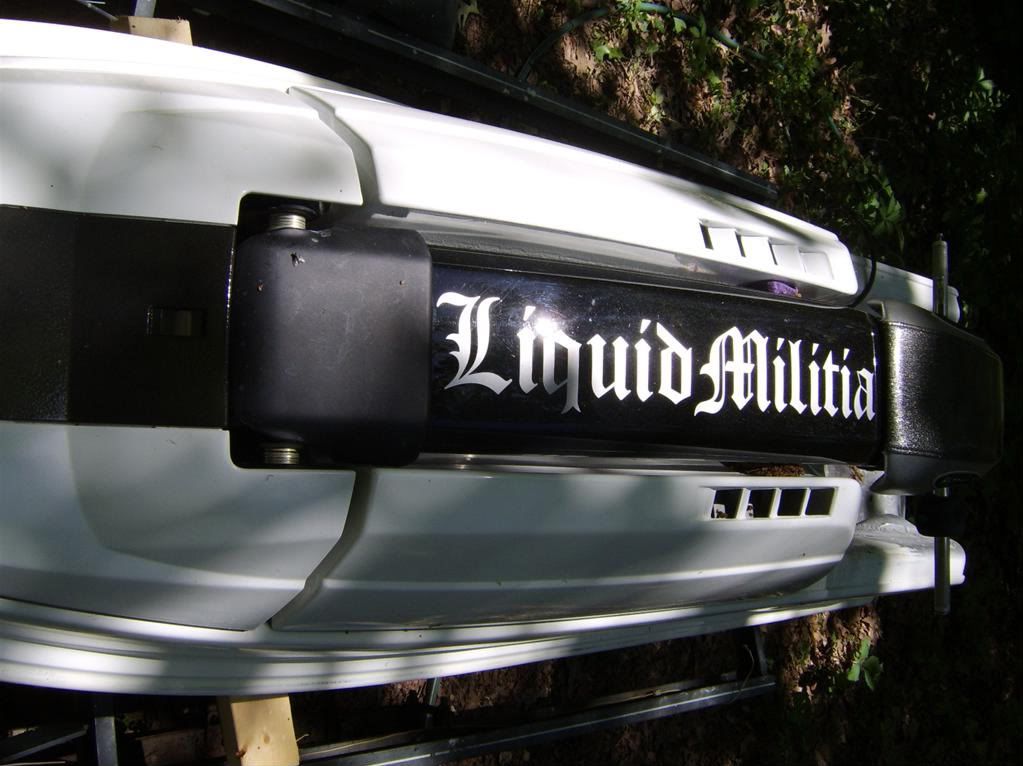
I got bored with all the bad weather Friday and made a decal for the pole :)

STA71319Large.jpg


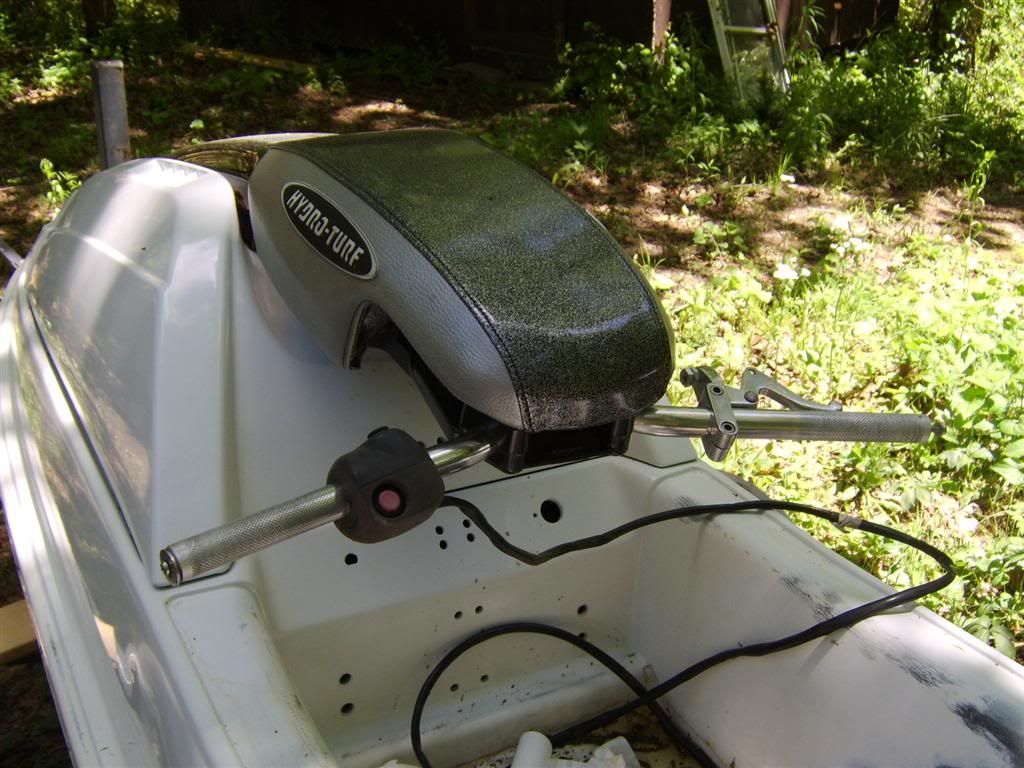
I got the chinpad installed...

STA71320Large.jpg


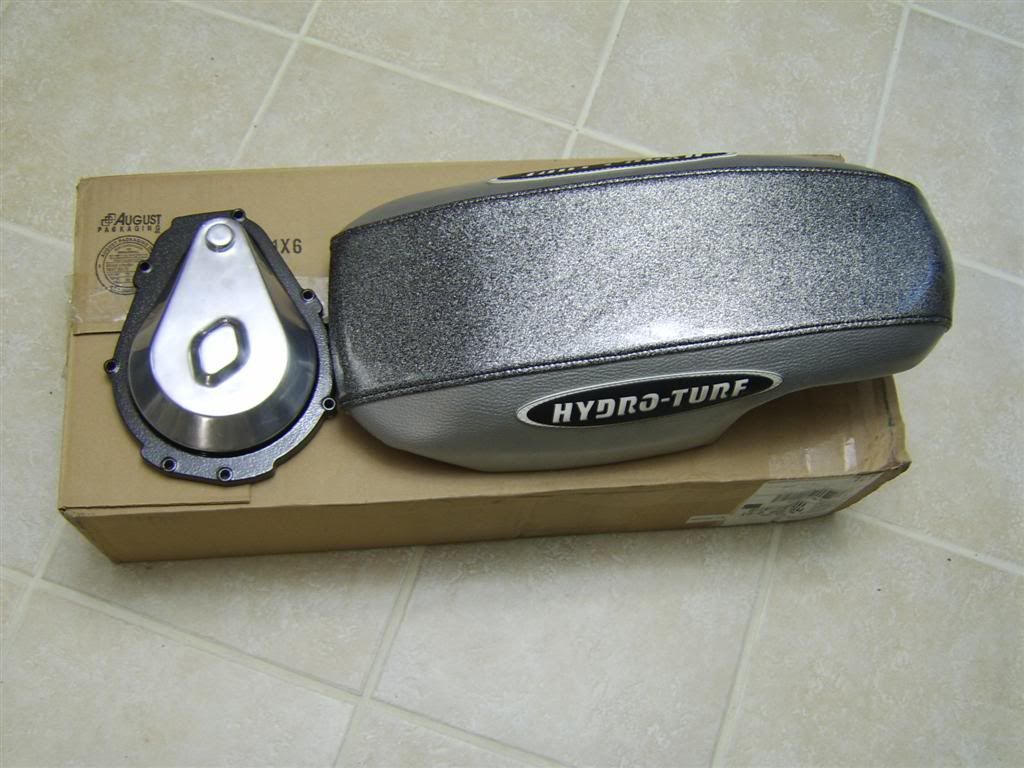
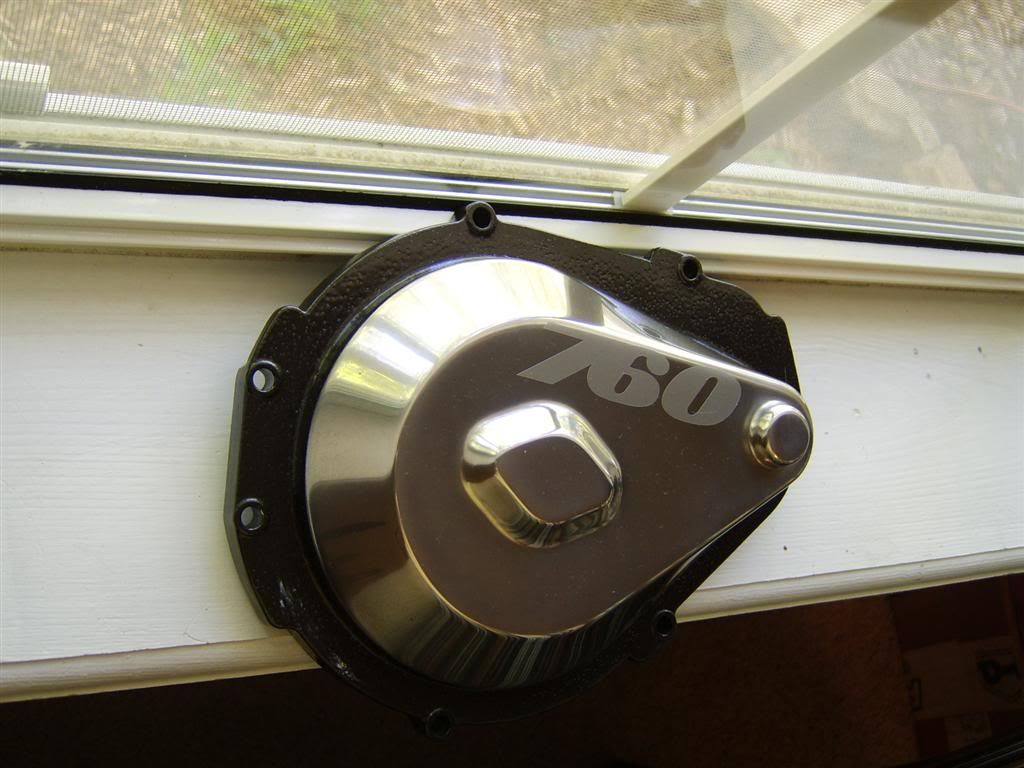
and lastly, I changed the timing cover a bit...

STA71326Large.jpg
 
Top Bottom