"Holeshot"_Howie
CEO of Rickter money on a 650
- Location
- London ON
Hello All. In May of 2022, I got tired of staring at photos on my dad's garage wall of him and his boys riding their Superjets, Fx1s and 650s way back in the 90s, way before I was born. After a couple of months of restless searching and nagging from my dad that I shouldn't settle for a Kawasaki because they are unreliable, boring etc... I bought a 1990 650sx for $2700 Canadian ($1966 American). A low enough price on what looked like a solid engine was enough to get my dad to cave in.
Riding the jetski was tough the first couple of times until I finally started to get the hang of it. A couple of nose dives and tail stands from my 200+ lbs dad told my 135lbs self at the time I had a long way to go. However, the Ski was running like a stocker, which confused me. It came with a Westcoast exhaust and manifold. A round Mikuni 44 and intake with ocean pro flame arrestor to match. I would later find out that what looked to be an aftermarket impeller was a 10/18 Skat. The most I got out of my Ski was 53km/h for most of the summer. That was enough to keep me excited to run a standup with my dad, who admits his old body taps out on a Seadoo Spark Trixx (couch) these days. Still, I knew more to come from these 650s, so I wanted to mod the crap out of it to get the 80km speeds that one could only dream about getting out of a 650 motor.
Watching videos like these didn't help: 92 World Jetski Finals
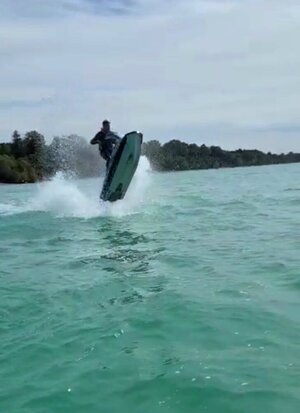
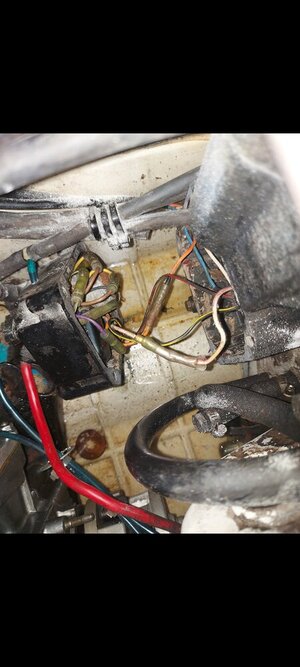
Once I lost my nose trim and gas cap during a submarine gone wrong In July, and I was prompted to look into more of the Ski. I had almost sunk It after only riding around for two months. We found the ignition coils had a bad connection to the boots, and on the summer's last ride, I was nearly doing barrel rolls and Rickter inverts on the Ski. In 5ft chop, I got the old girl up to 70km/h. Now that was what I was talking about!!
The Ski is sitting completely torn apart in my garage for the winter, and I will rebuild the machine, mainly to keep me from going crazy. After talking with many other 650 guys, reading an endless amount of forums and watching about every video on youtube I can find, I decided to Write down everything I'm doing to the machine so that maybe it could be helpful to anyone who stumbles across it.
All the Best!!
Hotshot Howie.


