Making a tubbie (start to finish )

WFO Speedracer

A lifetime ban is like a lifetime warranty !
Location
Alabama
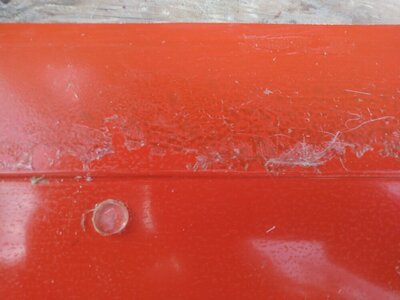
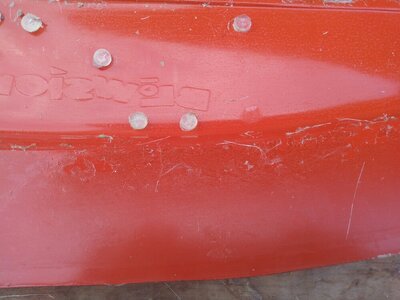
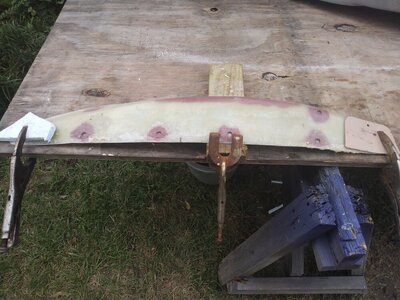
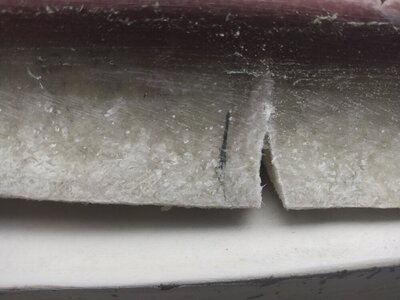
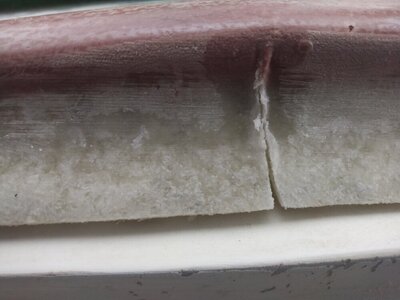
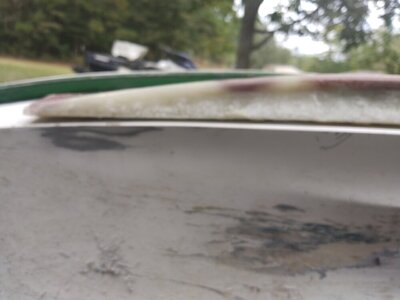
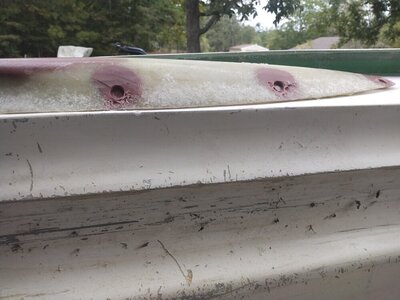
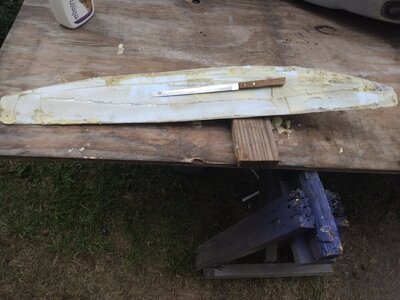
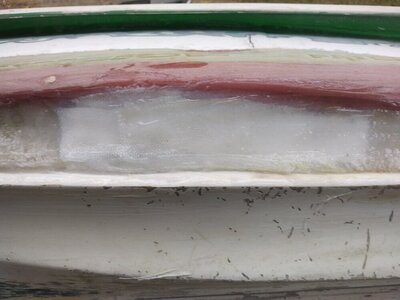
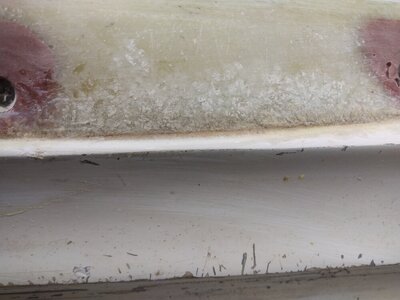
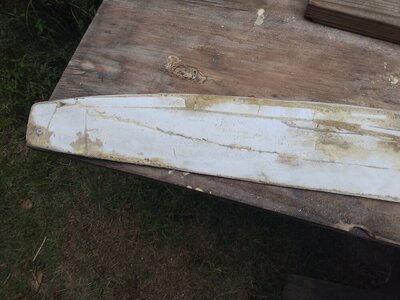
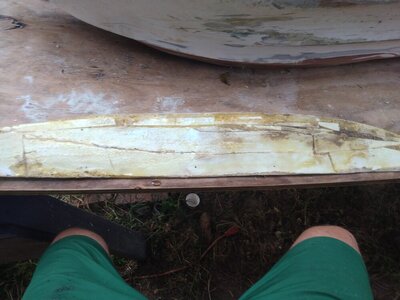
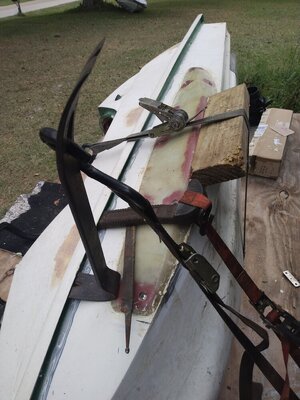
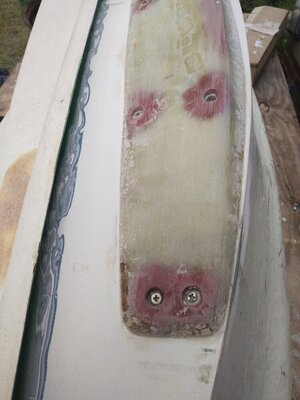
So that has to dry a bit before doing anything else , now I am going to show you what no one else ever does , the aftermath.

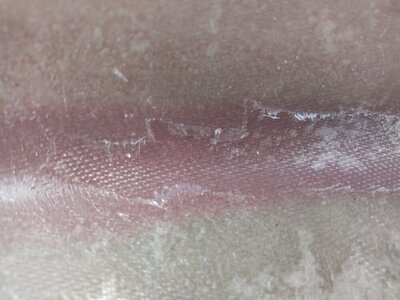
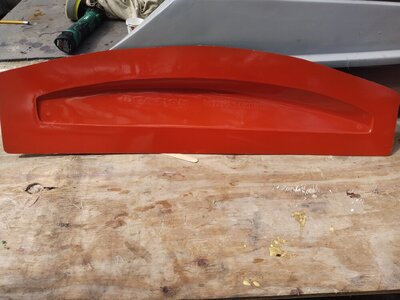
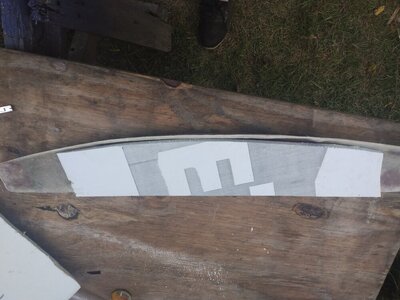
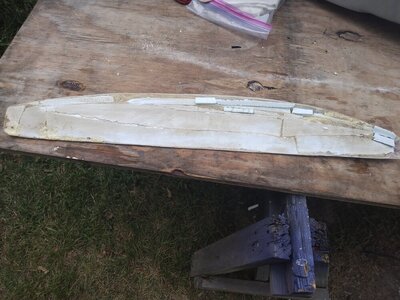
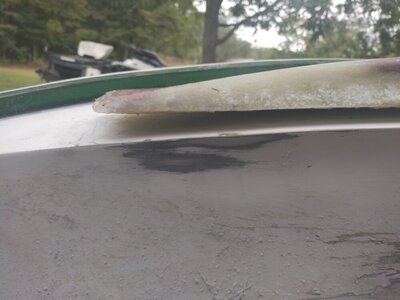
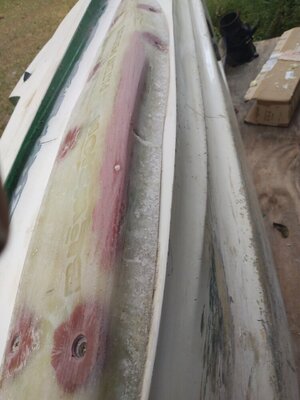
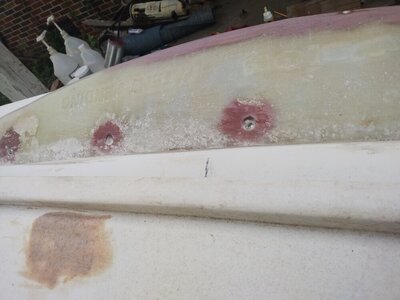
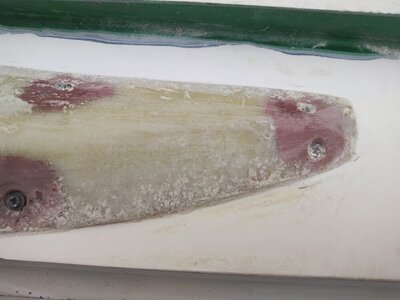
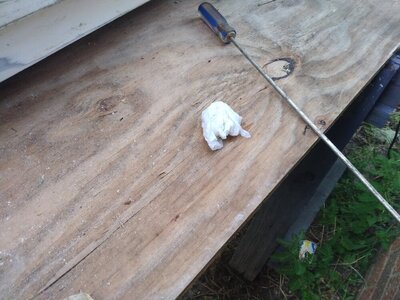
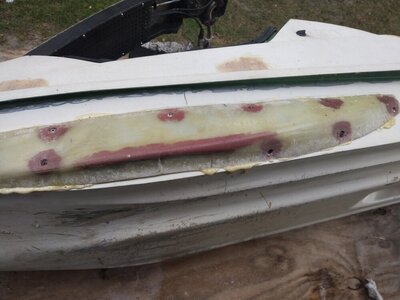
I know all the waxing and PVA seems like overkill but there is a damn good reason, that reason is stuff still gets stuck to the molds , most of it comes off with a Bondo spreader, the PVA comes off with hot water, the rest you peel off with your finger nail or in really bad spots with a sharpened tongue depressor and acetone.

The molds are coated with a special mold gelcoat, it is usually green, black or orange, it is very hard, which also make it hard to sand and buff but moast things won't [put a dent in it.

Boat mfgs have a whole dept that just repairs and prepares the molds , I know I have been to the Mastercraft and Cobalt boat plants.

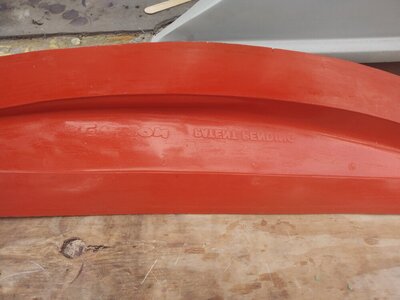
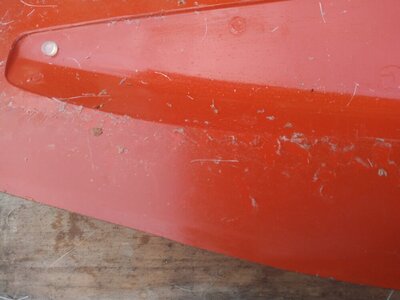
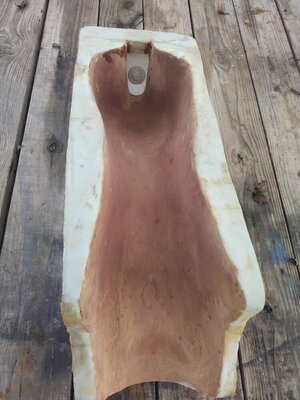
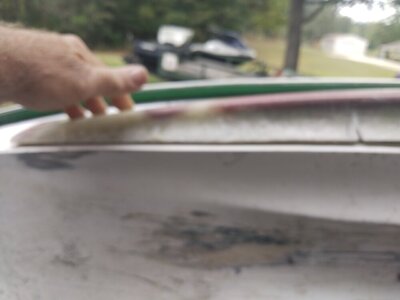
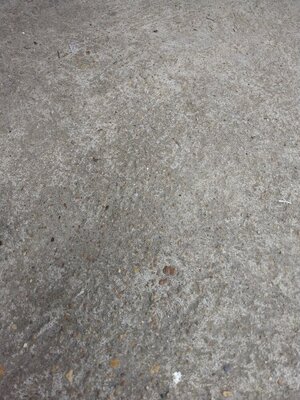
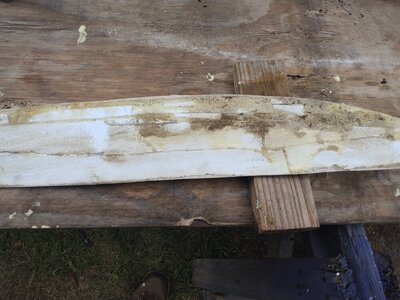
I will try to get the pics in the right order , first and second pics are what's left after pulling the tubbie , third pic is after scraping with the plastic spreader , last pic is after cleanup with hot soapy water.

Of course to pull another tubbie out of this mold the whole process has to start completely over.
 

Attachments

  • IMG_20230926_075309297_BURST000_COVER.jpg
    IMG_20230926_075309297_BURST000_COVER.jpg
    81.3 KB · Views: 29
  • IMG_20230926_075305680_BURST000_COVER.jpg
    IMG_20230926_075305680_BURST000_COVER.jpg
    102.9 KB · Views: 30
  • IMG_20230926_080356854_BURST000_COVER.jpg
    IMG_20230926_080356854_BURST000_COVER.jpg
    87.7 KB · Views: 22
  • IMG_20230926_075313655_BURST000_COVER.jpg
    IMG_20230926_075313655_BURST000_COVER.jpg
    81.2 KB · Views: 19
Last edited:
WFO Speedracer

A lifetime ban is like a lifetime warranty !
Location
Alabama
Now a couple of more points I want to address here , I skipped a few steps , I know all the steps I just chose not to do them , if it was something really important you wouldn't want to.

The first step is installing breather mesh, which what I have used in the past is just fine plastic netting you can get from McMaster Carr , the breather mesh keeps the bleeder fabric and the plastic away from the glass and gives channels to pull air out of, the second thing is bleeder cloth which is basically quilt batting you can but at Walmart, I didn't use either here.

The garbage bag I used has a pattern on the inside, that creates a surface for secondary bonding if you needed it, you can see it pretty well in the pic below , that also gives it some really small air channels to pull all the air out , not to shabby for a home brewed solution.

Usually you would use peel ply and perf ply if you wanted to do secondary bonding, I don't need to I got it right the first time.

All of this stuff is available from US Composites on their website if you want one stop shopping.
 

Attachments

  • IMG_20230926_083015365_BURST001.jpg
    IMG_20230926_083015365_BURST001.jpg
    98 KB · Views: 23
Last edited:
WFO Speedracer

A lifetime ban is like a lifetime warranty !
Location
Alabama
If I ever did decide to sell sponsons I would make my own molds and there are some changes I would make, I would make them not quite as wide which would put them at more of an angle , I would put the screw recess in them and I would taper the ends more, that's a big if ATM .

This is a mold I am making for a TLR 200 trials bike fuel tank cover, I made the plug from a rusty stock fuel tank and a rear seat piece I hade already made from scratch.

I made the mold, the plug was metal and bondo then painted with 2k urethane and the mold pulled off of it, I could not do the gelcoat inside because it was a painted tank and would have created a giant mess so I am having to spray the gelcoat into the mold and then sand and buff it all out, it is now ready to spray mold gelcoat into .

These are not made anywhere in the USA and I didn't copy or splash anything so yes I may eventually be selling them., the first one will be carbon fiber but not visual, I do plan to do a small amount of visual on the sides in the pinstripes on the paint job
 

Attachments

  • IMG_20230926_090703372_BURST000_COVER.jpg
    IMG_20230926_090703372_BURST000_COVER.jpg
    129.8 KB · Views: 25

WFO Speedracer

A lifetime ban is like a lifetime warranty !
Location
Alabama
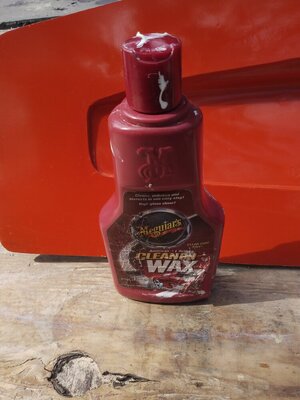
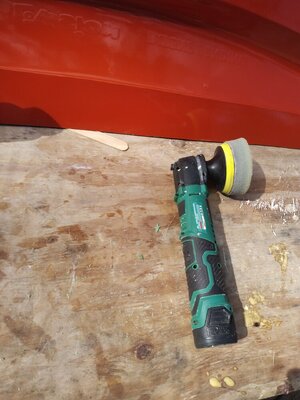
Mold is cleaned up, as usual it took acetone a sharpened tongue depressor and some elbow grease to get it clean, I followed up with cleaner wax and a mini buffer .
 

Attachments

  • IMG_20230926_101623858_BURST000_COVER.jpg
    IMG_20230926_101623858_BURST000_COVER.jpg
    106.9 KB · Views: 14
  • IMG_20230926_101618632_BURST003.jpg
    IMG_20230926_101618632_BURST003.jpg
    121 KB · Views: 13
  • IMG_20230926_101549445_BURST000_COVER.jpg
    IMG_20230926_101549445_BURST000_COVER.jpg
    122.7 KB · Views: 14

WFO Speedracer

A lifetime ban is like a lifetime warranty !
Location
Alabama
Part is dry and trimmed , I also ground the edges because it is getting glassed onto the ski.

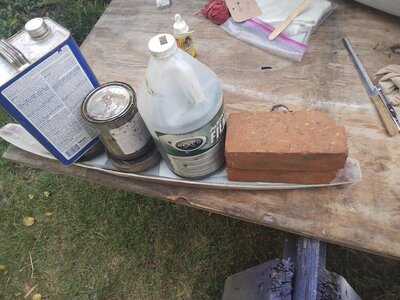
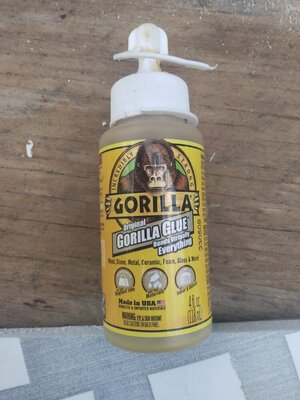
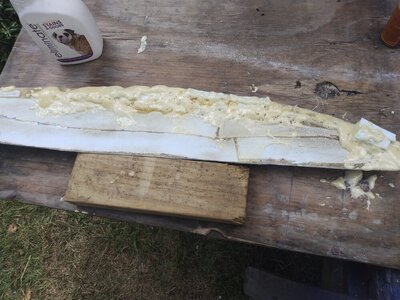
Next up is foaming the tubbie, you would normally usually use pour foam, I don't have any, what I do have is blue Dow foam and Goreilla glue so here it go , at least I know it will not absorb water ever !

The foam is easily cut with a razor knife or a serrated kitchen knife , choose your weapon and go for it.

All glued up and weighted down with whatever was handy , Gorilla glue is one part moisture activated Polyurethane foam , it expands but not like two part Polyurethane foam , it dries pretty hard , as with any polyurethane foam don't get it on anything you don't want it on , cleanup sucks.
 

Attachments

  • IMG_20230926_171317660_BURST002.jpg
    IMG_20230926_171317660_BURST002.jpg
    126.1 KB · Views: 13
  • IMG_20230926_172027620_BURST001.jpg
    IMG_20230926_172027620_BURST001.jpg
    185 KB · Views: 11
  • IMG_20230926_171403850_BURST002.jpg
    IMG_20230926_171403850_BURST002.jpg
    125.1 KB · Views: 14

WFO Speedracer

A lifetime ban is like a lifetime warranty !
Location
Alabama
It"s 95% foamed , there are a few voids and the pieces are cut and laid in, anything else will be filled with Gorilla glue and won't matter, it is a different way of foaming a tubbie, the results are the same.

One side of what you are gluing has to be dampened with water, if you want maximum expansion of the glue dampen both sides , I just use water in a spray bottle if I am gluing a lot of pieces up like this.

Right now I am out of Gorilla glue and I hear a Hardees sausage Frisco calling my name so it continues later today .
 

Attachments

  • IMG_20230927_080136041_BURST000_COVER.jpg
    IMG_20230927_080136041_BURST000_COVER.jpg
    156 KB · Views: 11

WFO Speedracer

A lifetime ban is like a lifetime warranty !
Location
Alabama
I decided to go ahead and skip forward a bit, nobody wants to watch glue dry

Thes are Superjet tubbies and of course they don't really fit anything especially not a 300SX , the usual installation involves screws ratchet strap and a lot of bending things into place, on the last install that created an issue because it buckled in one place and I had to go back and fix it.

As is par for the course I am doing it different this time, the Dow foam is not only waterproof it is also thermoformable, heat it to 194 degrees or so , bend it and when it cools it retains that shape, so I am thinking why the heel not.

So I laid the tubbie where it goes on the ski and took some measurements, it looks like it lays basically flat till 16 inches from the front, at the rear it's basically flat till 19 inches from the rear , I made two marks.

In between the two marks is where most of the bending will take place, I fitured it up on my plywood worktable and heated some water, of course boiling is 212 degrees and you start losing temp as soon as you remove it from heat, I figured with a fudge factor of a few degrees we could pretty much it 194 on the head.

I poured the water onto the foam with a giant economy size mixing cup and clamp it down, within a few minutes you can remove it and check it on the ski for fit..

It buckled in one place so I made a relief cut there, problem solved but it's still not exactly where I want it so repeat the process.
 

Attachments

  • IMG_20230927_091734566_BURST002.jpg
    IMG_20230927_091734566_BURST002.jpg
    84.2 KB · Views: 5
  • IMG_20230927_091010012_BURST002.jpg
    IMG_20230927_091010012_BURST002.jpg
    106 KB · Views: 4
  • IMG_20230927_090846365_BURST001.jpg
    IMG_20230927_090846365_BURST001.jpg
    131.3 KB · Views: 6
  • IMG_20230927_090507217_BURST002.jpg
    IMG_20230927_090507217_BURST002.jpg
    166.7 KB · Views: 8
  • IMG_20230927_085702260_BURST000_COVER.jpg
    IMG_20230927_085702260_BURST000_COVER.jpg
    96.1 KB · Views: 8
  • IMG_20230927_085655408_BURST001.jpg
    IMG_20230927_085655408_BURST001.jpg
    53.4 KB · Views: 10

WFO Speedracer

A lifetime ban is like a lifetime warranty !
Location
Alabama
Try number two, this time I got two giant pots of boiling water , the first one I poured over the foam , then I flipped it and poured the next one onto the epoxy and immediately put it back in the bending fixture.

Here we have a tubbie that damn near perfectly fit's a 300SX , notice that the relief cut I made almost completely closed up , when you actually pull it all the way down it actually does.

I will dig some foam out put in a repair from the back with f-glass tape cabosil and epoxy and fill it back in with foam, the front side will take care of itself when I glass the tubbies onto the ski.

To get this perfectly fit to the ski now requires only light hand pressure no ratchet straps , cussing, throwing stuff or acrobatics needed ..

I will still glue it and screw it before glassing it in.
 

Attachments

  • IMG_20230927_095845989_BURST003.jpg
    IMG_20230927_095845989_BURST003.jpg
    45.3 KB · Views: 13
  • IMG_20230927_095845989_BURST002.jpg
    IMG_20230927_095845989_BURST002.jpg
    86.1 KB · Views: 10
  • IMG_20230927_095831258_BURST001.jpg
    IMG_20230927_095831258_BURST001.jpg
    59.8 KB · Views: 11
  • IMG_20230927_095837849_BURST001.jpg
    IMG_20230927_095837849_BURST001.jpg
    114.9 KB · Views: 14
Last edited:
WFO Speedracer

A lifetime ban is like a lifetime warranty !
Location
Alabama
I've used the white gorilla to glue crashed rc foam airplanes back together. Stuff works great in small gap filling.

I am actually going to be gluing the tubbie onto the ski with it later on in this thread , that is exactly how I did the other one, IMO epoxy does not stick to foam that well , I have used it in the past on foam plane parts as well , so how good is the bond really, 5200 is what it is, I personally don't care for it in this application.

Nothing bonds foam together as well as more foam , with the amount of surface area here it won't go anywhere and I leave the screws in and glass over it anyway.
 

WFO Speedracer

A lifetime ban is like a lifetime warranty !
Location
Alabama
Finishing up the tubbie foaming , if you want max expansion spray the surface , pour the Gorilla glue, then spray the glue, it acts pretty much like any two part polyurethane foam in that it does not like to be messed with or it doesn't expand properly.

I usually give it an hour or so to cure I won't be doing any filling after that., I am using the same glue to glue it to the ski , that will fill in anything that's left.
 

Attachments

  • IMG_20230927_140017821_BURST000_COVER.jpg
    IMG_20230927_140017821_BURST000_COVER.jpg
    156.3 KB · Views: 11
Last edited:
WFO Speedracer

A lifetime ban is like a lifetime warranty !
Location
Alabama
Glue is dry so I used a large serrated kitchen knife to cut it off, in the past I have also used hand saws and hacksaw blades with a duct tape handle , whatever works.

After I cut it off I sanded it, sanded with what you ask, simple the concrete patio makes an excellent foam sander, I follow that up with 80 sandpaper.

Now I have to put this knife back in the kitchen drawer before she notices it's missing.
 

Attachments

  • IMG_20230927_151907259_BURST003.jpg
    IMG_20230927_151907259_BURST003.jpg
    130.8 KB · Views: 9
  • IMG_20230927_151931510_BURST001.jpg
    IMG_20230927_151931510_BURST001.jpg
    234.1 KB · Views: 7
  • IMG_20230927_152115057_BURST000_COVER.jpg
    IMG_20230927_152115057_BURST000_COVER.jpg
    155.5 KB · Views: 7
  • IMG_20230927_152340336_BURST002.jpg
    IMG_20230927_152340336_BURST002.jpg
    133.8 KB · Views: 9

WFO Speedracer

A lifetime ban is like a lifetime warranty !
Location
Alabama
I went ahead and glued her on, I had already traced an outline when I had the tubbie positioned correctly and the hull was already down to 80 grit but I wanted more so I hit inside the pencil line with a grinder and flap disc.

I drilled the first hole and screwed it down, then I went to the other end and screwed it down , then I drilled the rest of the holes.

I had all the short screws here but no long ones, I used long drywall screws for those and I will swap them out for stainless later.

I applied the Gorilla glue , spread it out evenly with the Bondo spreader and using a wet paper towel lightly dampened the ski , on this I want minimal expansion, that is why you only lightly dampen one side LIGHTLY.

I said I wouldn't need ratchet straps, I lied I ended up using three as well as some very creative ways of holding everything down.

I will say if I had used 5200 or thickened epoxy I wouldn't have needed the straps , with the Gorilla glue you are constantly fighting against expansion.

I used a Bondo spreader , my favorite tool , to scrape up the excess glue when it pushed out, less mess to clean up later.
 

Attachments

  • IMG_20230927_163216468.jpg
    IMG_20230927_163216468.jpg
    111.9 KB · Views: 9
  • IMG_20230927_163221446.jpg
    IMG_20230927_163221446.jpg
    149 KB · Views: 11
  • IMG_20230927_164145778_BURST001.jpg
    IMG_20230927_164145778_BURST001.jpg
    100.1 KB · Views: 10
  • IMG_20230927_165956431_BURST002.jpg
    IMG_20230927_165956431_BURST002.jpg
    142 KB · Views: 13
Last edited:
WFO Speedracer

A lifetime ban is like a lifetime warranty !
Location
Alabama
I cut the excess glue off and sanded it to get it clean which is necessary for the next step of applying epoxy- cabosil to the edge of the tubbie to seal it, realistically since I used Dow blue foam in it then it doesn't matter that much .

I left some room on the bottom for fiberglassing , shaping and fairing it into the hull .

I may skip the fairing part for right now , I wanted the tubbie installed onto the ski so I can ride it , it is on and I have very little riding time left this year , I plan to take advantage of it, plus I have something else up my sleeve which will need the tubbie pretty much like it is for right now.

I got a referral to the orthopedic surgeon for a hip replacement yesterday so we will see what happens after that.

I will come back to this thread with a ride report and to continue the rest.
 

Attachments

  • IMG_20230927_175901741_BURST000_COVER.jpg
    IMG_20230927_175901741_BURST000_COVER.jpg
    101.4 KB · Views: 11
  • IMG_20230927_175911155_BURST002.jpg
    IMG_20230927_175911155_BURST002.jpg
    95.5 KB · Views: 9
  • IMG_20230927_175938185_BURST001.jpg
    IMG_20230927_175938185_BURST001.jpg
    91.1 KB · Views: 11
  • IMG_20230927_175955508_BURST002.jpg
    IMG_20230927_175955508_BURST002.jpg
    95.6 KB · Views: 12
Last edited:
WFO Speedracer

A lifetime ban is like a lifetime warranty !
Location
Alabama
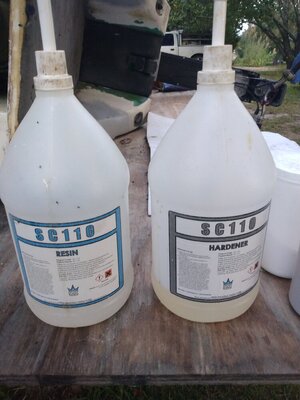
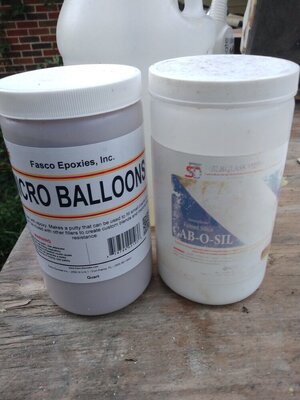
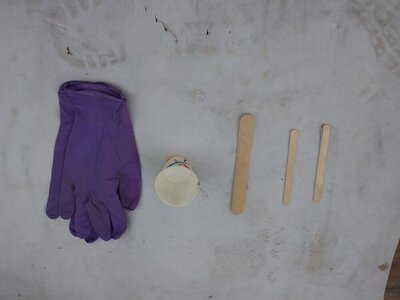
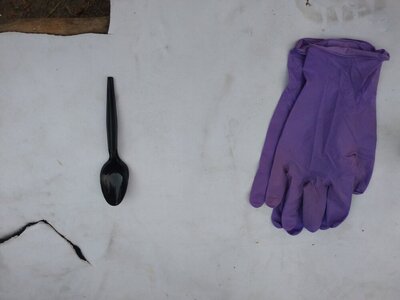
If you are going to do any kind of glass -epoxy work there are a few things you will need , dixie cups for mixing small quantities of resin and filler, latex gloves, popsickle sticks and tongue depressors are at the top of my list , the last two are used for everything from mixing to applying, I bought a giant box of them at dirt cheap for $5.00, I got the gloves at Mikes Merchanise in Montgomery for like $4.00 , the point is I am always looking for deals on stuff I can use for making composites.

So I mixed up the cabosil and epoxy, for measuring small stuff I use a plastic spoon, this epoxy mixes 2:1 , how much filler you add depends on what you are doing with it, I mixed it up to mayonnaise consistency for laying up some f-glass cloth where I cut the relief at, that area also ended up being a little bit low.

After I got that laid up I put more filler in the mix to get it to peanut butter consistency for filling the edges and shaping in the area I laid the glass up in, get it as close as you can when you pull it because it is not nice to sand and shape.

I filled in all the screw recesses except for the three I have to change the screws out on , obviously I leave the screws in and cut off the excess inside with a grinder, Dremel whatever.

You use different sticks for different purposes, , I usually use the tongue depressors for mixing and applying the filler , they leave a nice contoured edge , but that's not what I want today, today I want to use the popsicle stick because I want a nice sharply defined edge, you will see why later in the thread.
 

Attachments

  • IMG_20230928_064126840_BURST000_COVER.jpg
    IMG_20230928_064126840_BURST000_COVER.jpg
    109.3 KB · Views: 7
  • IMG_20230928_064137540_BURST000_COVER.jpg
    IMG_20230928_064137540_BURST000_COVER.jpg
    108.6 KB · Views: 7
  • IMG_20230928_064151054_BURST001.jpg
    IMG_20230928_064151054_BURST001.jpg
    56.1 KB · Views: 6
  • IMG_20230928_064324258_BURST000_COVER.jpg
    IMG_20230928_064324258_BURST000_COVER.jpg
    58.9 KB · Views: 9
  • IMG_20230928_072407889_BURST002.jpg
    IMG_20230928_072407889_BURST002.jpg
    90.5 KB · Views: 9
  • IMG_20230928_072412723_BURST000_COVER.jpg
    IMG_20230928_072412723_BURST000_COVER.jpg
    93.5 KB · Views: 9
Last edited:
Question about using Paper(?) Dixie Cups...

Most Paper Cups and Bowls come with a Wax Treatment for water-proofing. Won't the Wax contaminate the Epoxy-Resin Mixture?
 

WFO Speedracer

A lifetime ban is like a lifetime warranty !
Location
Alabama
I have never seen an issue with it, on vinyl ester or polyester resin it would not be wise because of the styrene , just like the styrene will melt a plastic cup , I suppose if the epoxy got hot enough to melt the wax there could be an issue but if it got that hot you have bigger issues on your hands than what kind of cup it is in. PS you can also get plastic dixie cups.

There is no telling how many paper dixie cups we used at the Ski Nautique dealership I worked at and at the Ski Nautique plants and Mastercraft plants I visited.

At any rate after mixing epoxy with any type of filler you need to get it out of the cup, container whatever and spread it out because its exothermic and builds up heat when in mass quantities .
 
Last edited:
Top Bottom