My 1995 square build...

demolition_x

Not After Fame & Fortune
well might as well start a build page. nothing too interesting yet.
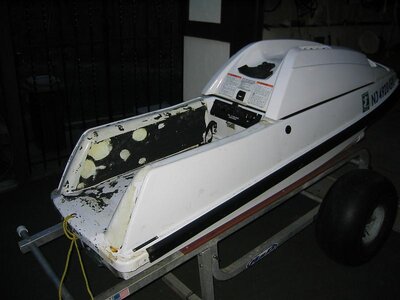
as far as i can tell my ski was pretty unmolested. but after every time i would ride the corner of the ski would drip for a few days, so i knew there had to be some water in it.

so its time for me to start since winter is here... :Banane01:


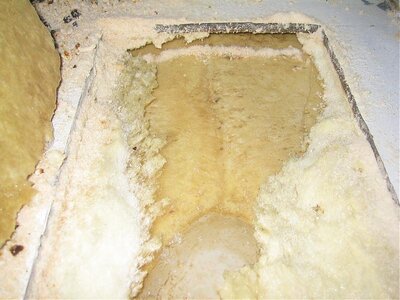
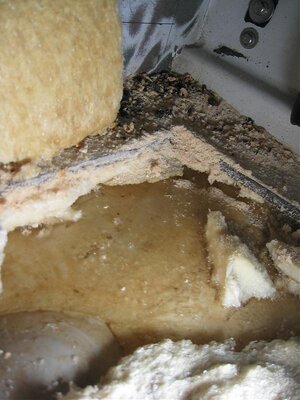
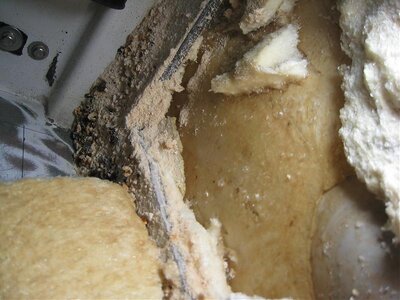
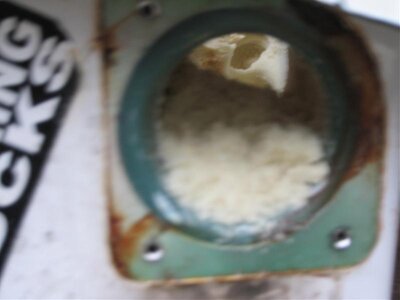
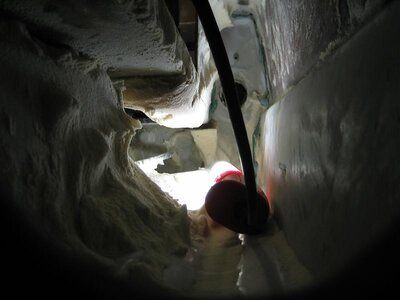
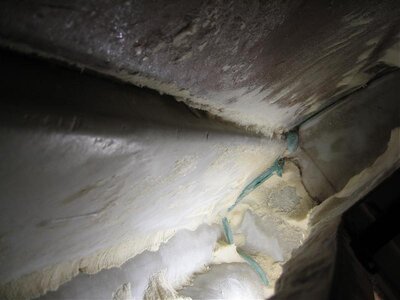
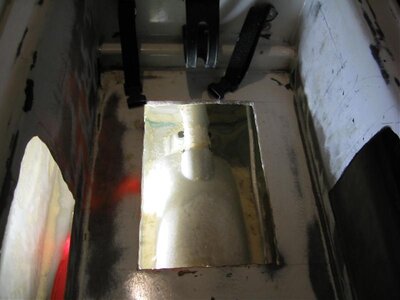
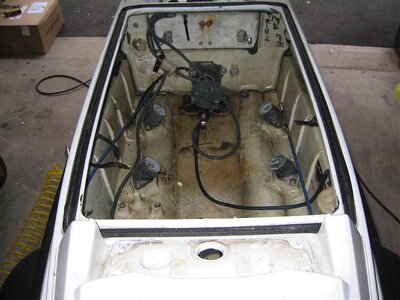
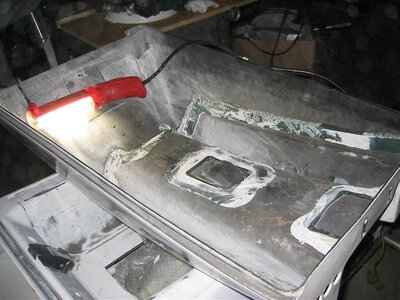
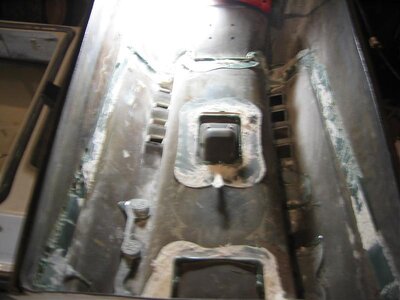
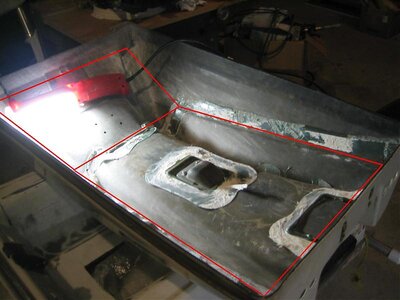
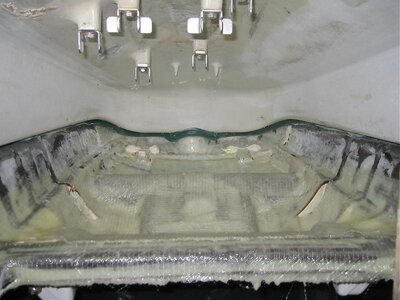
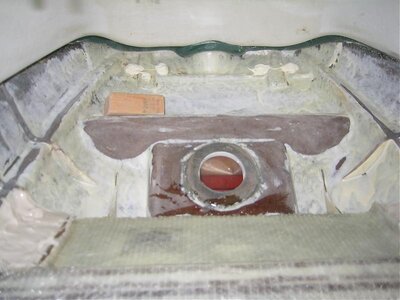
took the turf off and sanded the tray with some 80 grit, cut open the tray with my dremel and look what i find, water... no suprise but the foam looked not soaked so that made it :purr:fect.

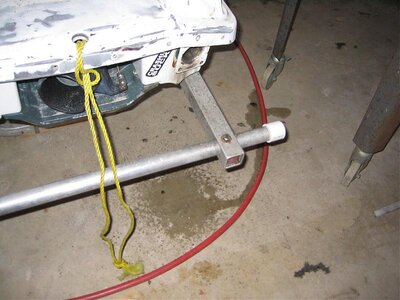
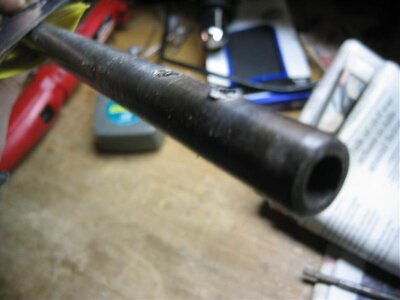
banged out the exhaust tube and water just starts dripping out. :banghead:
 

Attachments

  • 128_2833.jpg
    128_2833.jpg
    77.3 KB · Views: 225
  • 128_2830.jpg
    128_2830.jpg
    49.7 KB · Views: 183
  • 128_2835_r1.jpg
    128_2835_r1.jpg
    70.1 KB · Views: 206
  • 128_2836.jpg
    128_2836.jpg
    69.5 KB · Views: 196
  • 128_2835.jpg
    128_2835.jpg
    70.6 KB · Views: 182

demolition_x

Not After Fame & Fortune
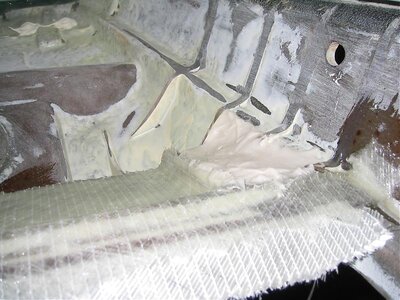
now the fun starts. with the tray cut and the footholds roughly cut time to defoam.

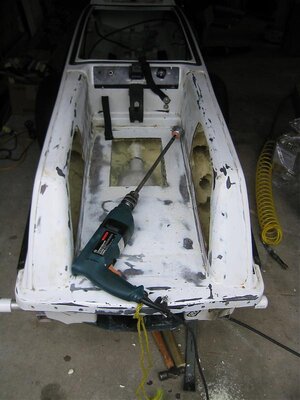
started getting the big stuff out with a crobar and hammer.
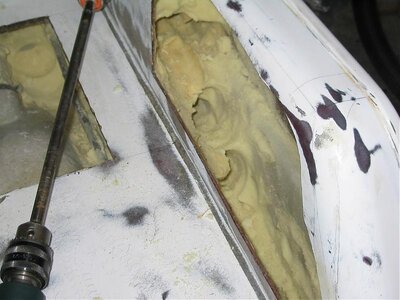
then once the majority of it was out i took at the 1/2 inch drill with a wire cup and wow this thing eats trough the foam. little did i know that i was on the lower gear on the drill once i switched to the fast speed the foam went flying.
 

Attachments

  • 128_2837.jpg
    128_2837.jpg
    58.5 KB · Views: 174
  • 128_2838.jpg
    128_2838.jpg
    62.1 KB · Views: 283
  • 128_2839.jpg
    128_2839.jpg
    66.2 KB · Views: 182
  • 128_2840.jpg
    128_2840.jpg
    30.5 KB · Views: 164
  • 128_2844.jpg
    128_2844.jpg
    41.5 KB · Views: 200

demolition_x

Not After Fame & Fortune
still have more to do but my hands couldn't take the drill any more.

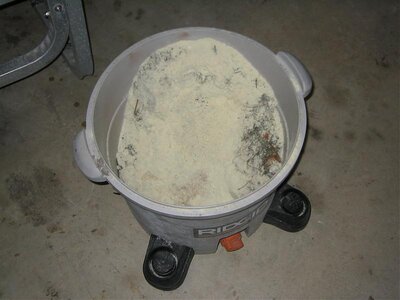
having a good shop vac is key to getting all the crap out...

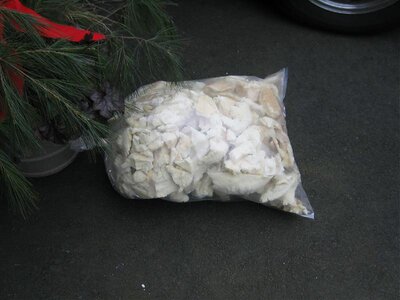
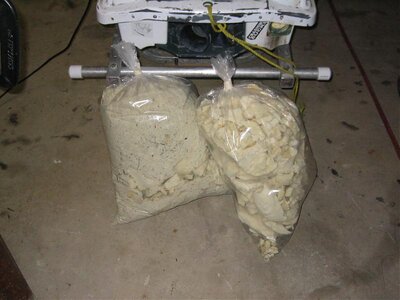
i did weigh the bags of foam and so far i only took out around 9 lbs worth so i guess it wasn't soaked like i suspected.
 

Attachments

  • 128_2845.jpg
    128_2845.jpg
    47.3 KB · Views: 143
  • 128_2846.jpg
    128_2846.jpg
    40.2 KB · Views: 158
  • 128_2847.jpg
    128_2847.jpg
    51.1 KB · Views: 169
  • 128_2848.jpg
    128_2848.jpg
    57.2 KB · Views: 171
Last edited:
demolition_x

Not After Fame & Fortune
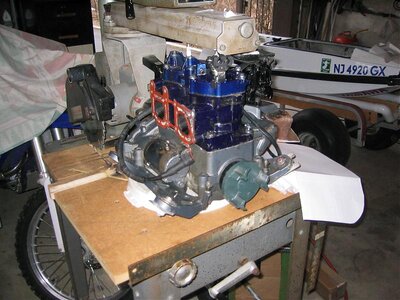
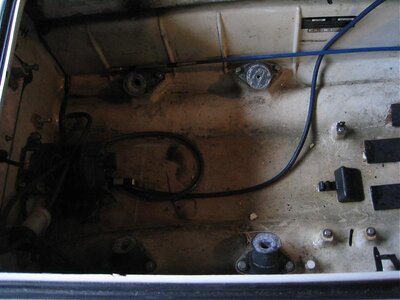
and just for the heck of it since i have the pics, my motor and engine compartment with my chitty spun mounts...

the motor will be getting a ported cylinder and a riva head, so that should be a decent reliable power plant.


still need to clean it but will do after i get all the foam out. then i can start the reinforcing every thing.

thats all for today. tomorrow night i hope to gut the hood and get rid of the rest of the foam.
 

Attachments

  • 128_2843.jpg
    128_2843.jpg
    85.6 KB · Views: 239
  • 128_2841.jpg
    128_2841.jpg
    55.9 KB · Views: 142
  • 128_2842.jpg
    128_2842.jpg
    70.3 KB · Views: 164
Last edited:

demolition_x

Not After Fame & Fortune
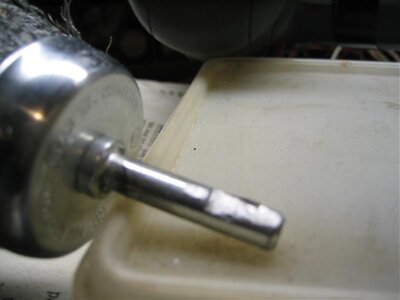
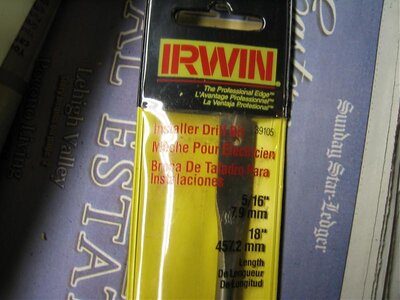
my dad already had it. but when i went to sears hardware today to get another wire brush they had them there for like 10 bucks. if you don't have gynormous foot holds you will prob need 2 of them.

im sure harbor freight has them too.

but i tell you it makes the job soooo much easier. and clean up is much easier
 
Last edited:

demolition_x

Not After Fame & Fortune

Attachments

  • 128_2856.jpg
    128_2856.jpg
    30.4 KB · Views: 115
  • 128_2854.jpg
    128_2854.jpg
    81.4 KB · Views: 111
  • 128_2853.jpg
    128_2853.jpg
    61.3 KB · Views: 117
  • 128_2855.jpg
    128_2855.jpg
    37.1 KB · Views: 118

Rickster

Matakana Menace
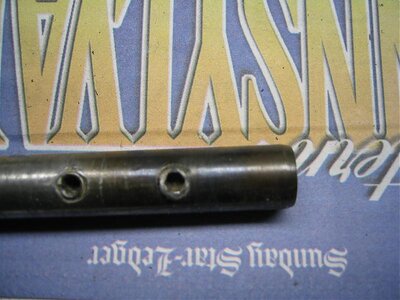
but i learned the hard way, you really have to file a flat spot on what ever your using. no matter how hard to tighten it it still spins if it doesn't have the flat spot.

That is why I like these build up threads, they are never the same, and you learn something every time!:biggthumpup:

Thanks for that, I look forward to following the rest of the build.
 

demolition_x

Not After Fame & Fortune
stripped the rest of the hull today, got some more foam out, and sanded the ribs away. should be ready for some fiberglass next week. one question i had do i take the rib out behind the battery? still have to finish sanding the bottom of the rib with my dremel.

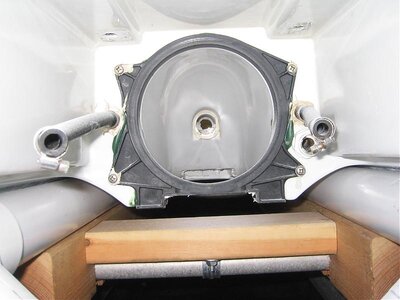
i noticed when i took the pump out that my boat did not have any seal in the front. im pretty sure that there is suppose to be a seal there.

also i am trying to figure out my scupper routing. it looks like if i mount the opening under the intermediate housing it would be pretty tight. am i really gaining that much from instilling the opening there over on the left side? i do have 2 pumps that sit right under the housing.

i really got to start on the hood but havn't got around to it yet.
 

Attachments

  • 128_2862.jpg
    128_2862.jpg
    38.1 KB · Views: 147
  • 128_2863.jpg
    128_2863.jpg
    31.9 KB · Views: 142
  • 128_2864.jpg
    128_2864.jpg
    55.5 KB · Views: 173
A SN is a beautiful thing :cheer:

one question i had do i take the rib out behind the battery?

i noticed when i took the pump out that my boat did not have any seal in the front. im pretty sure that there is suppose to be a seal there.

am i really gaining that much from instilling the opening there over on the left side?

I removed all the side ribs. Grind them all out :AR15firing:

Since the picture above shows the pump shoe....you do know that the seal is on the pump, not on the shoe (I'm sure you know this but the picture threw me off).

On a stock hull - the area below and near the mid/housing (bulkhead) is critical for its overall strength. Do not compromise that area. Stick to the drivers side :biggrin:
 

demolition_x

Not After Fame & Fortune
yes there was a rubber seal on the pump. there was no seal on the pvc pipe where the drive shaft goes through, that was filled with sand from my last ride, isn't there suppose to be a seal there?

and good news on the driver side. makes things much easier.
 

demolition_x

Not After Fame & Fortune
gutted the hood tonight and i think that was worst than defoaming.

still can't believe how strong that green glue crap is.

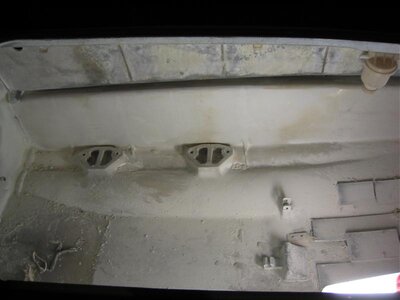
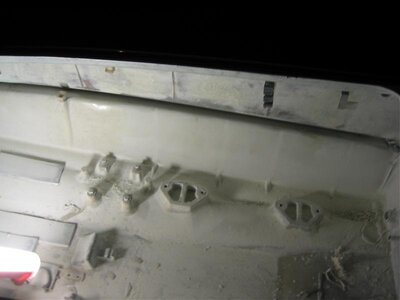
still got to clean it up but i think im gonna make 2 fiberglass panels to fit into the hood (the red lines) and this should work well. of course i will close up the holes in the front and open 2 in the rear, and remove the vents on the top. will have to add some support on the sides cause they are pretty flimsy.

the gutted hood as it sits with no hardware weighs 11 lbs. i am hoping to keep it under 15.
 

Attachments

  • 128_2867.jpg
    128_2867.jpg
    81.3 KB · Views: 153
  • 128_2869.jpg
    128_2869.jpg
    49.4 KB · Views: 146
  • 128_2868 modified.jpg
    128_2868 modified.jpg
    56.7 KB · Views: 159

demolition_x

Not After Fame & Fortune
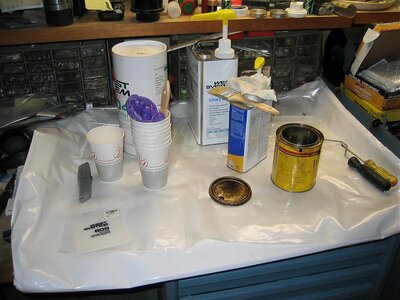
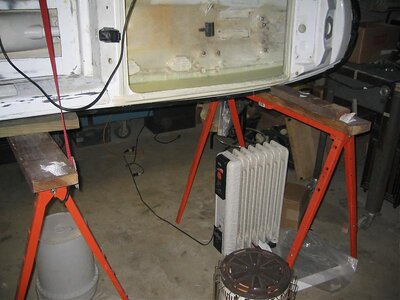
finally got around to doing some fiberglass, woulda been sooner but i couldn't find any where that had Kerosene. but i got some the other day and got the garage nice and toasty.


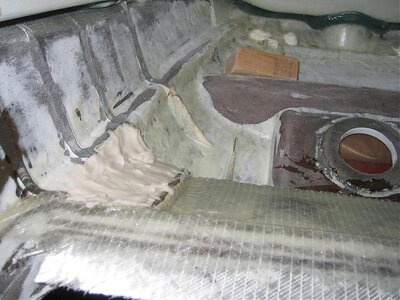
I reinforced the handlepole mount and some of the nose with 1708. i think i have 6 layers under the bracket. 3 of which gradually go further and further to the sides of the ski, this what when i do the side reinforcement it will tie in every thing. and i added some glass more forward and covered up the gas filler.
tomorrow i plan on doing the sides and getting that over with.

now i have to get the resin out of my hair.
 

Attachments

  • 129_2924.jpg
    129_2924.jpg
    72.6 KB · Views: 178
  • 129_2927.jpg
    129_2927.jpg
    60.2 KB · Views: 172
  • 129_2926.jpg
    129_2926.jpg
    52.6 KB · Views: 154
  • 129_2925.jpg
    129_2925.jpg
    81.6 KB · Views: 151
  • 129_2928.jpg
    129_2928.jpg
    71.4 KB · Views: 154

demolition_x

Not After Fame & Fortune
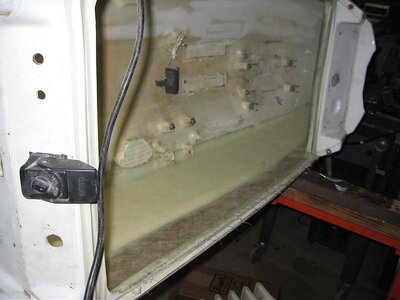
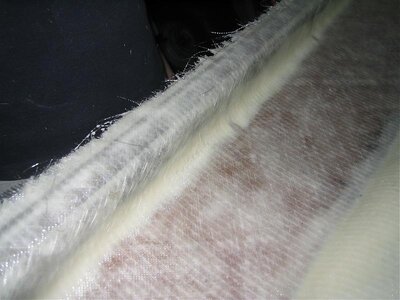
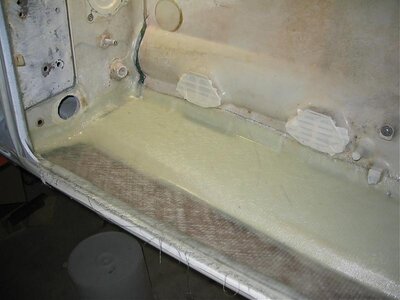
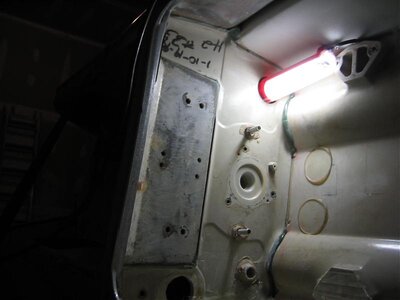
one side reinforced with 1708 and 4oz e glass. what a pain in the ass the e glass is to lay.

the bond line and under the hood lip is reinforced with 404 and west. both layers of glass are wrapped around to the top of the hood seal. as you can see i have 2 heaters trying to make this dry faster. also scupper hole is a great work light holder.

im waiting for this stuff to dry so i can get the other side done today.
 

Attachments

  • 129_2929.jpg
    129_2929.jpg
    49.8 KB · Views: 146
  • 129_2930.jpg
    129_2930.jpg
    56 KB · Views: 147
  • 129_2931.jpg
    129_2931.jpg
    53.6 KB · Views: 144
  • 129_2932.jpg
    129_2932.jpg
    37.9 KB · Views: 153
  • 129_2933.jpg
    129_2933.jpg
    67.1 KB · Views: 134
Last edited:

Boris

The Good Old Days
the gutted hood as it sits with no hardware weighs 11 lbs. i am hoping to keep it under 15.


How much green glue is left on that shell ?

The reason I'm asking is that I just weighed my hood (no hardware, air intakes modified, hand holds, liner mostly done and installed) and it weighed in at 11.5 LBS.
Just to compare my complete stock hood with everything still on it (including the empty yellow container) is 18.5 LBS.

I think my modified hood needs to go back on a diet.
 
Top Bottom