- Location
- Savannah, GA
You are using an out of date browser. It may not display this or other websites correctly.
You should upgrade or use an alternative browser.
You should upgrade or use an alternative browser.
Surfriding ScottS's Matrix ES at last
- Thread starter ScottS
- Start date
- Location
- Savannah, GA
- Location
- Savannah, GA
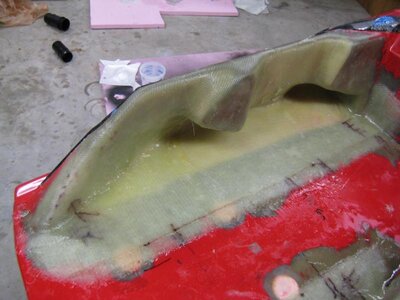
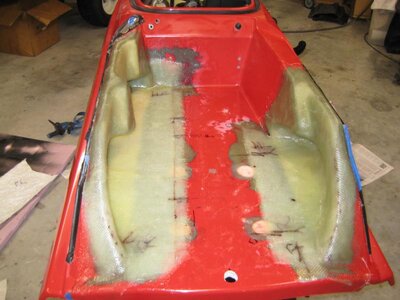
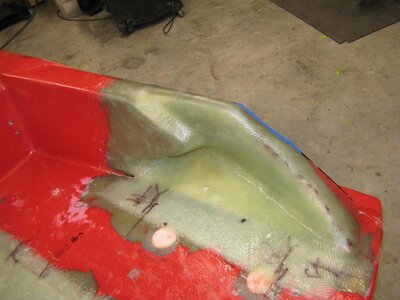
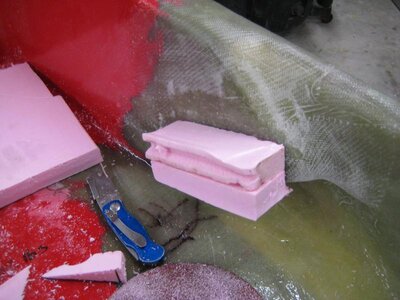
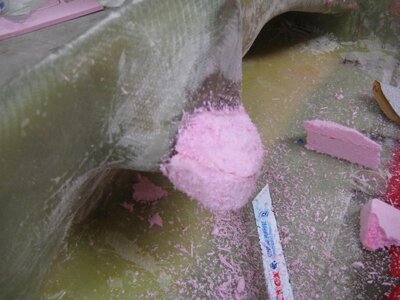
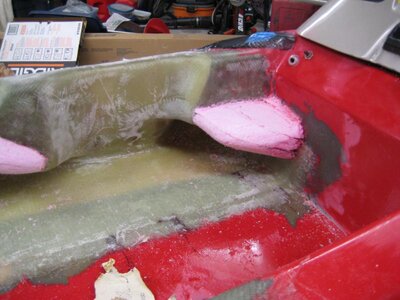
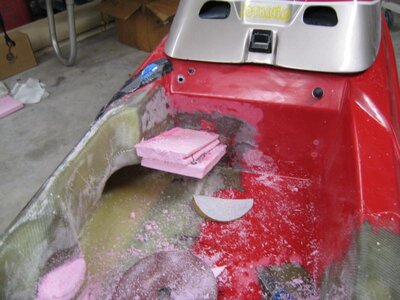
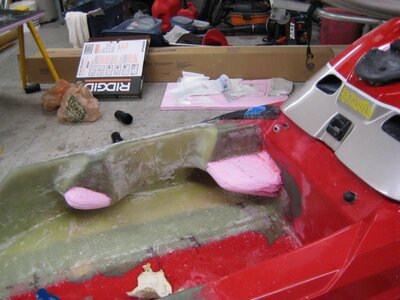
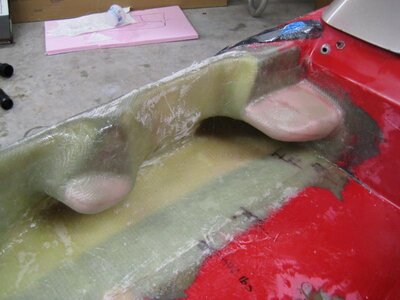
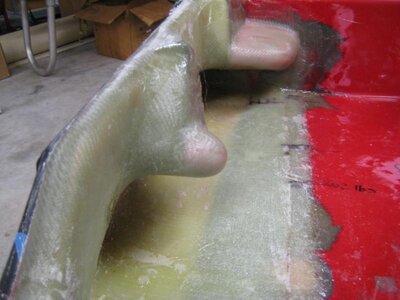
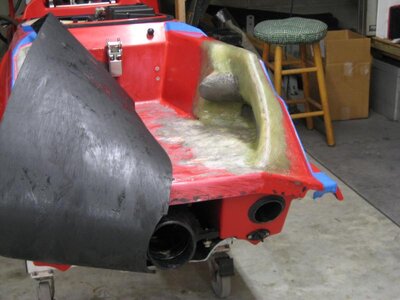
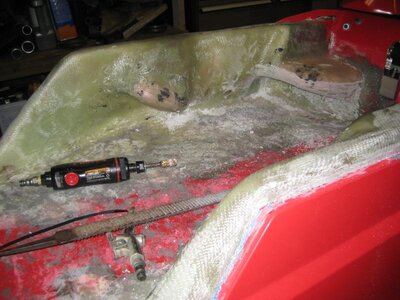
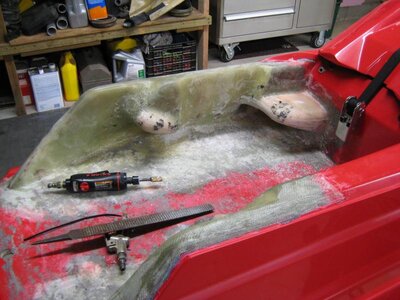
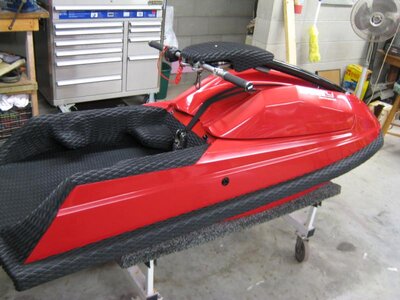
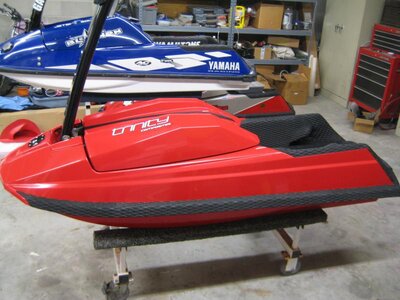
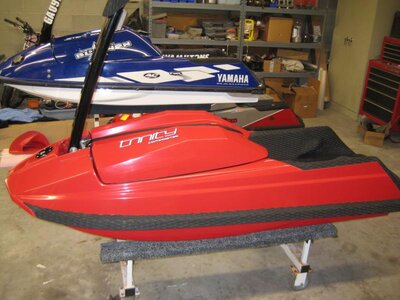
Then I glassed over the foam. The foot holds took as long to do as it took me to do everything else on the ski. I stuck a few scrap pieces of turf in the foot holds and rode the ski. I found they were too tight, so I came back and ground some more clearance and re glassed them. I have to do everything twice!
Attachments
- Location
- Savannah, GA
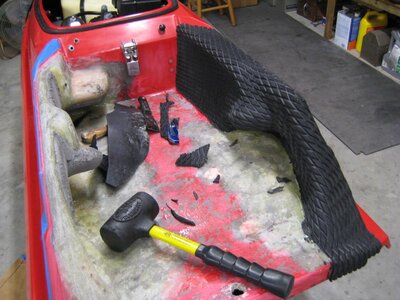
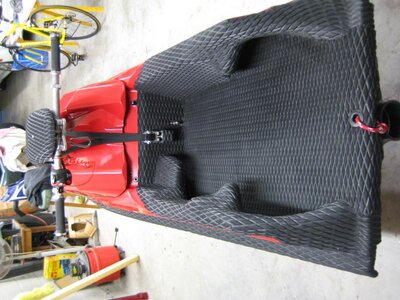
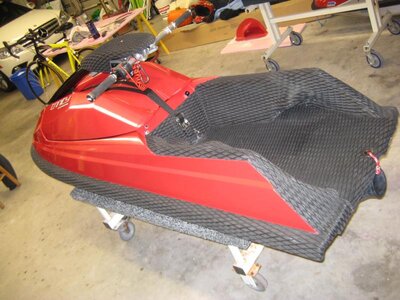
The turf! What can I say, it was a total PITA!!! It took lots of heat to make those bends
Attachments
- Location
- Savannah, GA
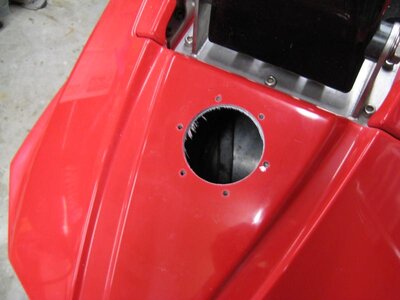
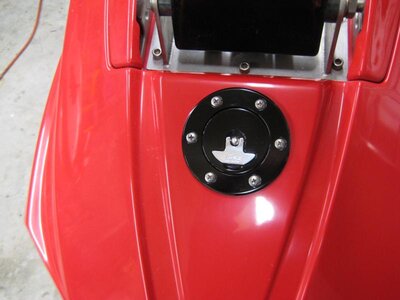
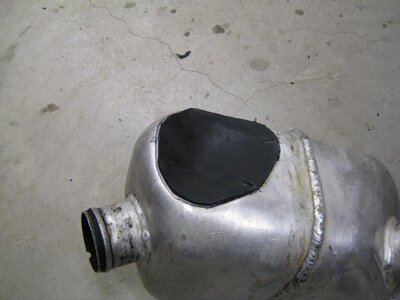
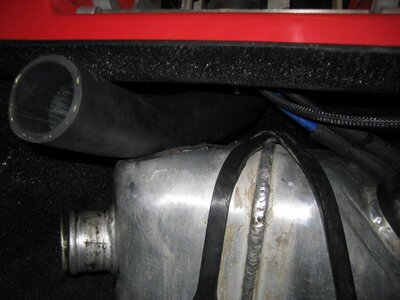
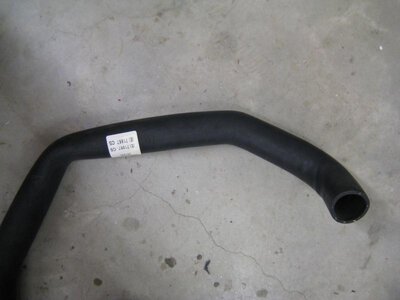
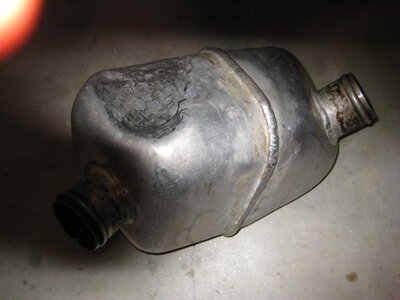
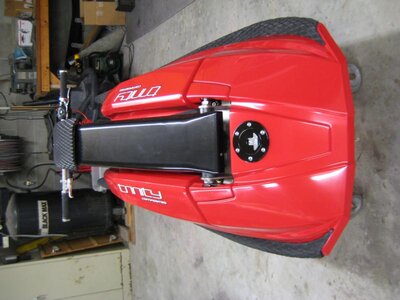
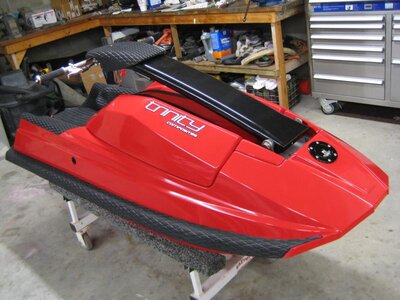
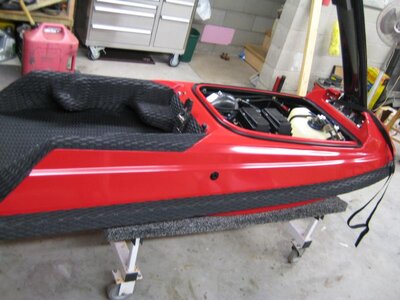
I hate internal fuel fills, so I got this trick filler cap from Brain at Thrust. I used a radiator hose as a filler neck. I had to beat a dent in the top of the waterbox to clear it. I glued rubber over the dent to protect the hose from the WB and to hide my fine work. Boyer says he used a Square Nose filler hose and it went around the WB. I didn't have one, so I made the radiator hose work. I hope it stands up to gas!
Attachments
OCD Solutions
Original, Clean and Dependable Solutions
- Location
- Rentz, GA
It turns out I used a filler tube from an FX1 not a SN, i was sent both in a box with no way of knowing which was which. I started a thread looking for one from an FX1 and IDOK says he may have a spare for you and I have a nice unmolested OEM waterbox if you wanna pull out that dented monstrousity. I can't believe you even posted those pics. :nono:
Last edited:
- Location
- Hutchinson, Kansas
nice footholds and turf!!!
- Location
- Savannah, GA
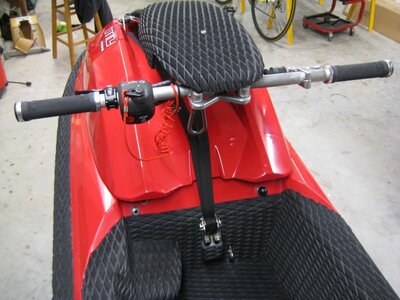
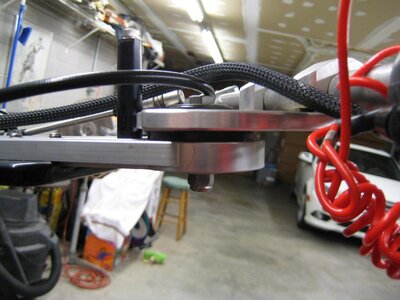
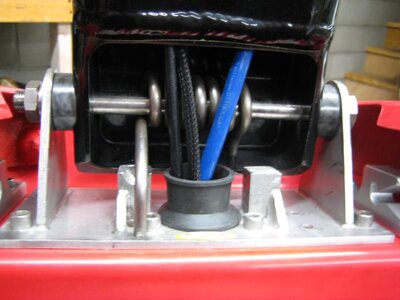
The pole is an X-Metal adjustable, they are so much cleaner and lighter than the RRP poles to me. I don't like a stiff pole without a spring. I found that you can drill a hole in the nose of the pole in the same place as the OEM pole and use about any aftermarket spring that mounts that way. You have to use the OEM pivot bolt and you may have to cut and bend the spring end at the pole mounting bracket, piece of cake.
The X-Metal steering pivot bolt kept working loose. I just replaced the 3/8" bolt with a 3-1/2" one and added a nyloc nut as a jam nut where it stuck through the bottom. Problem no more....
The X-Metal steering pivot bolt kept working loose. I just replaced the 3/8" bolt with a 3-1/2" one and added a nyloc nut as a jam nut where it stuck through the bottom. Problem no more....
Attachments
- Location
- Savannah, GA
- Location
- Oceanside, CA
My ankle is terrified of your front foot hold. Other then that sweet ski!
- Location
- Rockwall TX
Nice work man. Looking at that turf job.....f that noise. But good looking no doubt.
junkyardj
┌∩┐(◣_◢)┌∩┐
- Location
- barrie ont. canada
impressive work in the tray, i hope your planning on keeping that ski
WAB
salty nuts
- Location
- coastal GA
all around sick ski, Scott.
Nice write up!
Nice write up!
- Location
- Savannah, GA
My ankle is terrified of your front foot hold. Other then that sweet ski!
The foot hold does not wrap around and lock your foot in. It's open to the side, which allows your foot to release and slide out as you go over the high side to the left. I have the same fear as you, with my bad ankle and knees, I want be able get out when I bale and I'm a baling fool!
- Location
- Cheney lake Kansas
Love it nice work
GIL
Power In The Hands Of Few
- Location
- Cullman AL
Red is NOT my fav color at all, but your ski gives me wood! You have done a awesome job with all the lil details! Nice work!
- Location
- Savannah, GA
The Motor
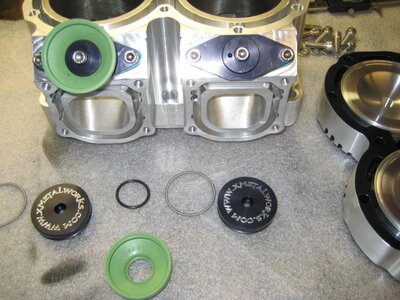
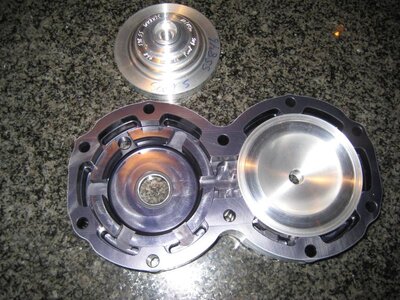
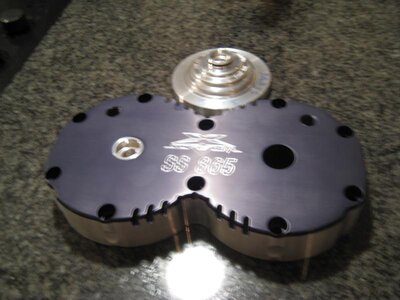
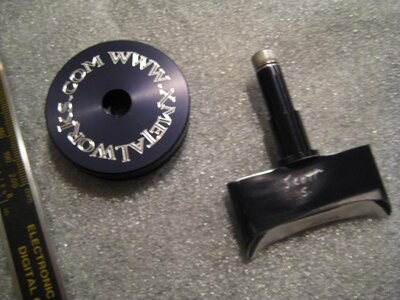
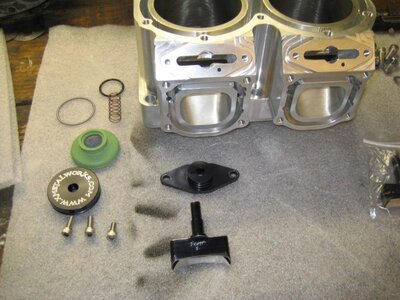
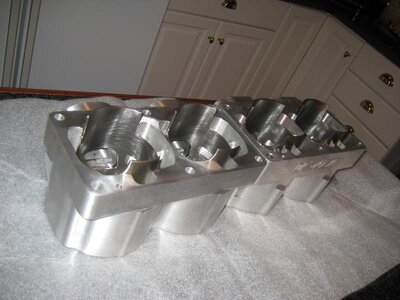
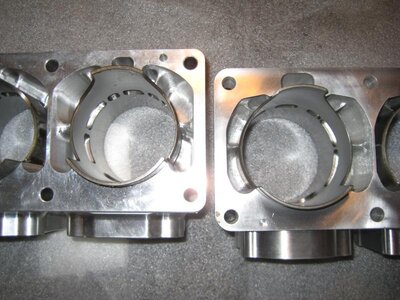
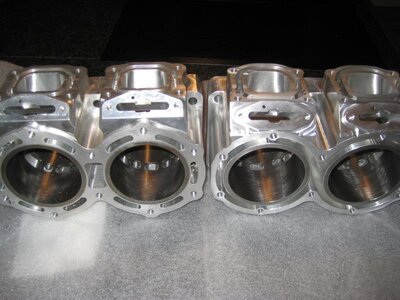
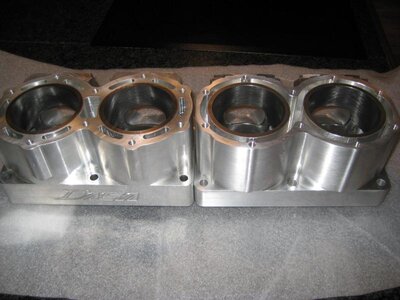
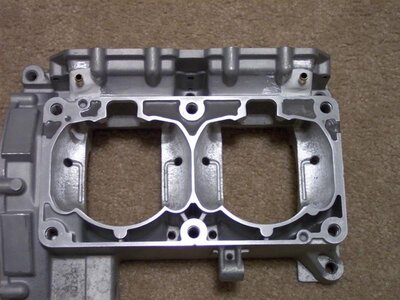
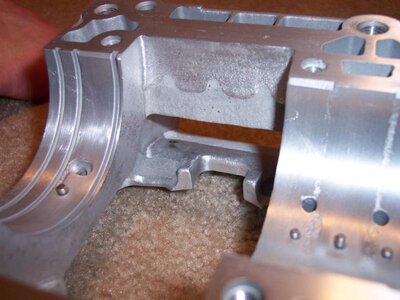
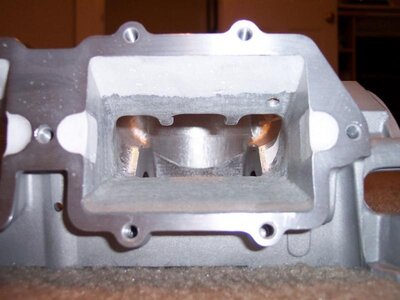
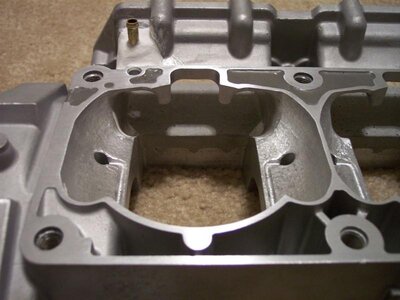
I bought the Team Scream standard stroke (SS) 865 in Nov. last year. I've been running it for a year in my SJ and now put it in the Matrix. What's a ski build without motor build pictures? So here is the pic's from last year when I received it.
I bought the Team Scream standard stroke (SS) 865 in Nov. last year. I've been running it for a year in my SJ and now put it in the Matrix. What's a ski build without motor build pictures? So here is the pic's from last year when I received it.
Attachments
- Location
- Savannah, GA
I happened to have Cory's DASA (SS) 85 mm cylinder when I got my 89 mm (SS) X-Scream in. They are both works of art. Port timming are similar but shapes are a little different. The DASA cylinder is about 3 lbs. heavier. X-Scream clears more alum. around the cylinder to give more even cooling, also the smaller bore of the DASA adds material and weight. The scream cylinder has those cool rave valves which are smaller and lighter, I understand that DASA has a version now.
I bought the Scream kit because I felt that Chuck and Pat are more committed to the sport than DASA. This is all they do, if I have a question, I shoot Chuckie a PM, the next morning he sends me a responce. I don't mean to knock DASA, they are great innovators and have a great product, but I feel their focus is on four stroke bikes. You can't blame them, that's where the money is. Besides, Im an east coast boy and they are close to home.
I bought the Scream kit because I felt that Chuck and Pat are more committed to the sport than DASA. This is all they do, if I have a question, I shoot Chuckie a PM, the next morning he sends me a responce. I don't mean to knock DASA, they are great innovators and have a great product, but I feel their focus is on four stroke bikes. You can't blame them, that's where the money is. Besides, Im an east coast boy and they are close to home.
Attachments
- Location
- Savannah, GA
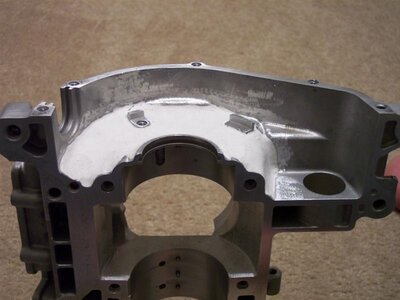
X-Screams case port work was beautiful

