SN (Sex Nose) Superjet build

nucleus_coolins

Does things to makes the do goods
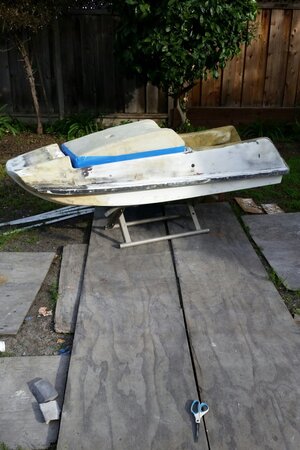
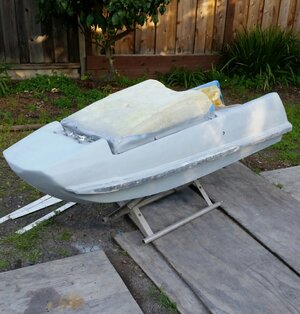
Finally got something goin this weekend, its been almost a full month since i did any work. I made it out to Florida for the Daytona freeride and had an amazing time, planned on getting some work done when I got back but the rainy weather hit us.

So yesterday I started out sanding everything down, knockin down the edges that were left from a month ago. Got the surface sanded and cleaned real good.
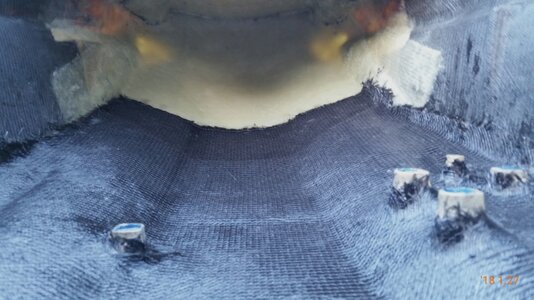
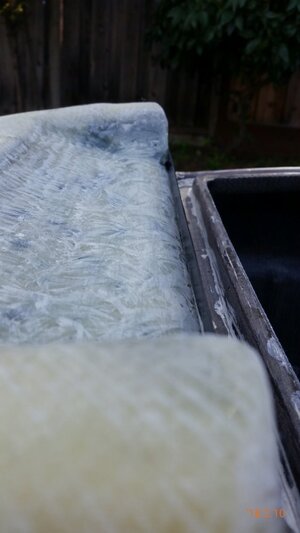
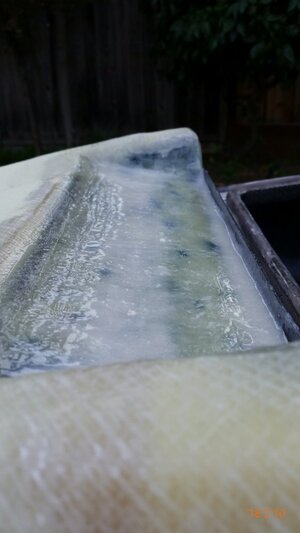
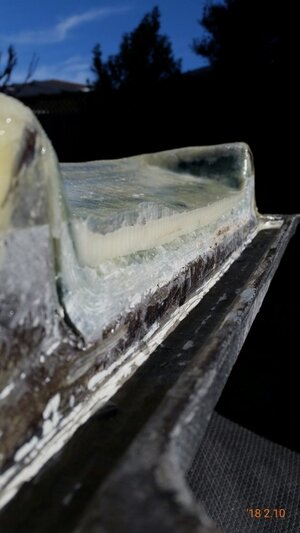
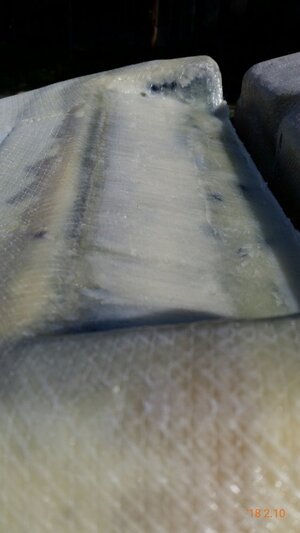
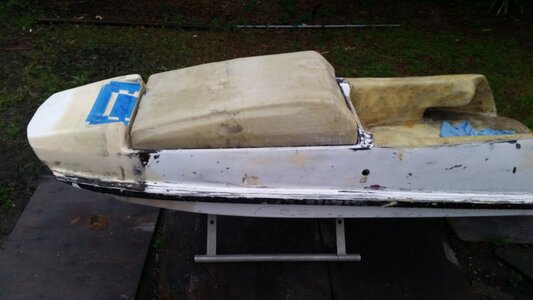
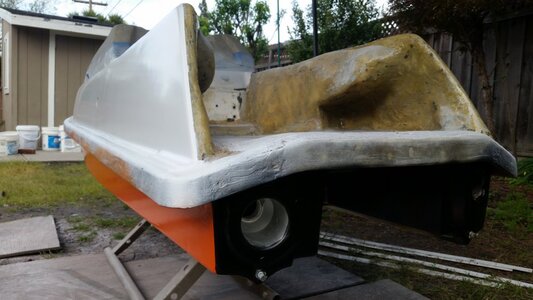
Then went nice and easy with 2 more layers of 1708 from the very front corner of the nose all the way to in front of the battery tray, continuing the stepped edge from where i left off last.
A little hard to see in the pic with all the sunlight
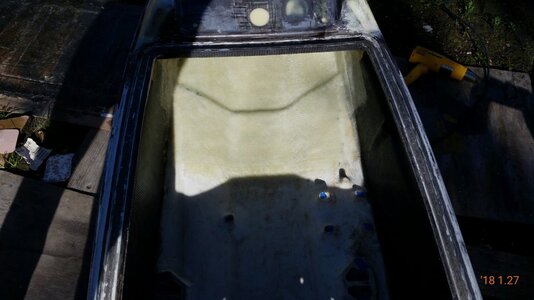
2018-01-27 16.41.24.jpg

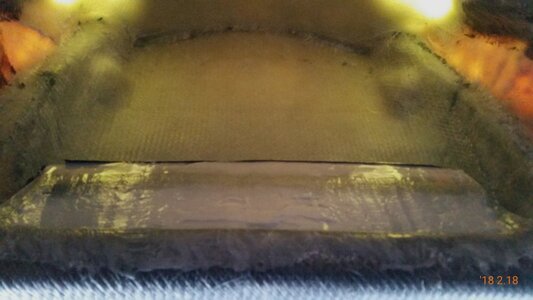
Then i decided i wanted to just go for it and get the rest of the bottom done with a nice layer. So i started mocking up a huge layer of 1708.
I wanted to do the entire length of the engine bay from the bulkhead to the very tip of the nose, but I had a hard time last time I worked with a large piece in the tight quarters of the nose area.
So I decided to cut it a bit shorter, doing only 40 inches from the bulkhead, with 1 inch going up into the bulkhead.
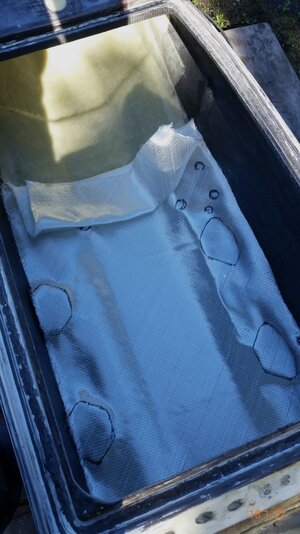
2018-01-27 16.42.08.jpg

Also eyeballed and tapered the front of it a little bit. The nose area was still wet from the layup i just did so i had to eyeball measure to get the taper nice
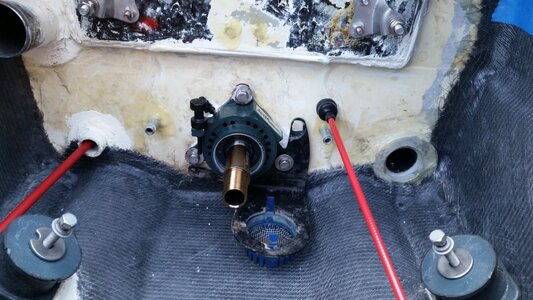
After cutting out all these holes nice and pretty, a big old cup o resin got mixed up with a whole bunch of black dye.

I did have some trouble with this huge of a piece, but in the end it came out really good and im pretty stoked.
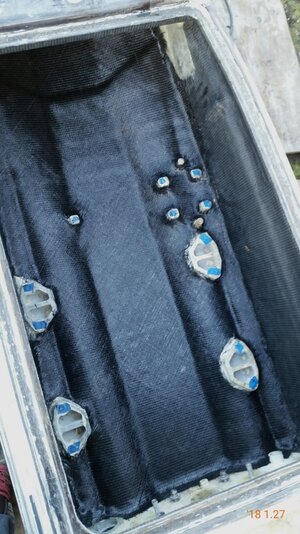
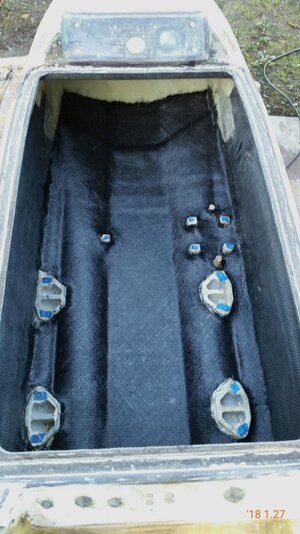
2018-01-27 16.42.36.jpg

2018-01-27 16.43.07.jpg


2018-01-27 16.43.55.jpg

The next day I trimmed up the rough edges around the perimeter and around the fittings so i dont stab myself later on
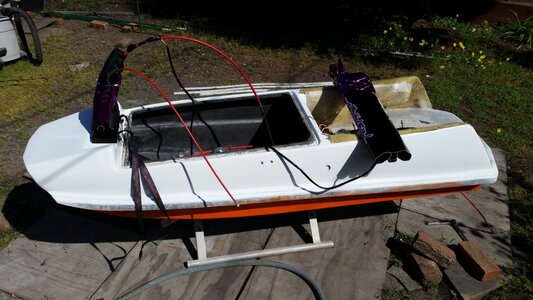
Then went and mocked up my pole to see how far it was going to sit when fully extended.
Heres the part where you guys have a good laugh at the pole im using with this turd of a superjet hahaha
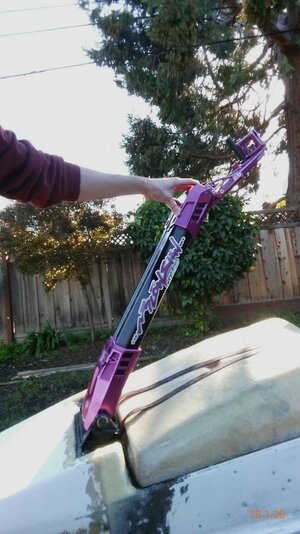
2018-01-28 15.54.35.jpg

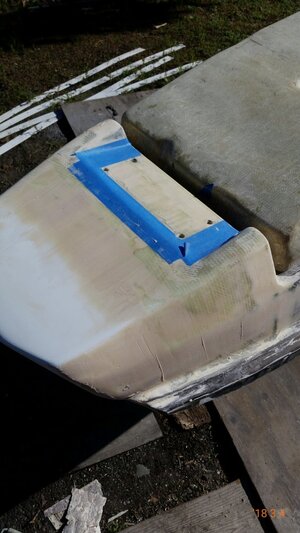
Anyways, Im not satisfied with how far it extends and want to squeeze a few more degrees out of it by leveling the bracket mounting surface.
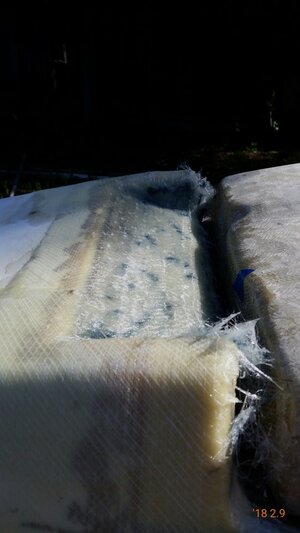
So i just put that aside and kept moving, used some leftover scraps of 1708 to start on the exterior seam
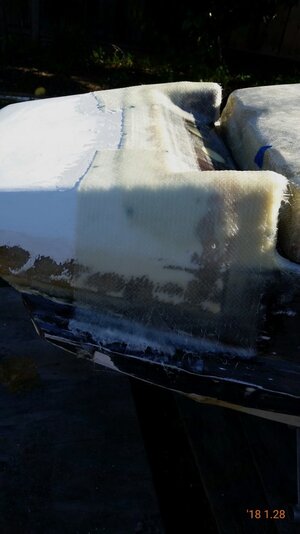
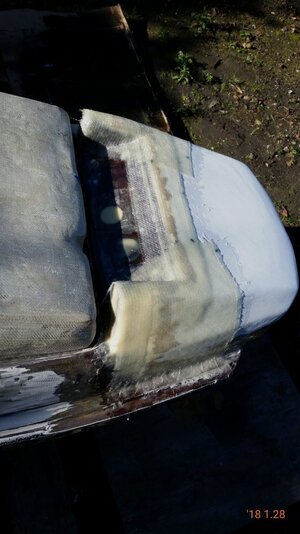
2018-01-28 15.53.20.jpg

2018-01-28 15.54.00.jpg

Once the exterior seams finished, that pole bracket surface is getting done.
Felt like i got a good amount done this weekend after laying that giant ass piece in the engine bay.
Wana just keep chuggin along, another beer another day!

giphy.gif


Cheers dudes!
 

nucleus_coolins

Does things to makes the do goods
More solid progress this weekend, got alot done. Need to start ordering my remaining parts, i still need a complete bpipe and need to install my stator, flywheel, etc.
Im totally on track to finish for march 9 freeride :p. Probably place an order for a bpipe today, havent checked with them on stock.

So to continue where we left off, i did mention i wanted to alter the bracket mount surface to give me more degree of pole extension.
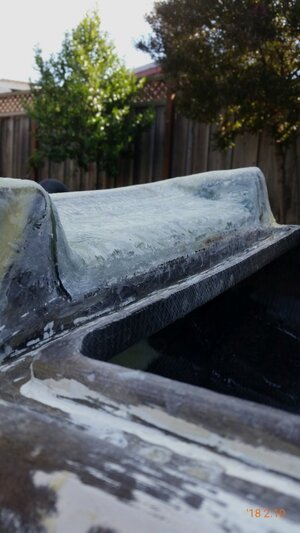
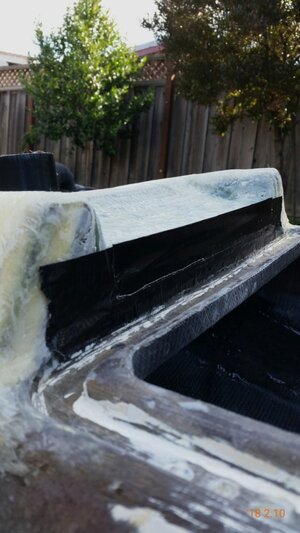
The sn hull angles their shotty oem bracket the opposite direction of all other hulls for no reason. So i fixed that up on the outside first:
2018-02-11 19.48.46.jpg
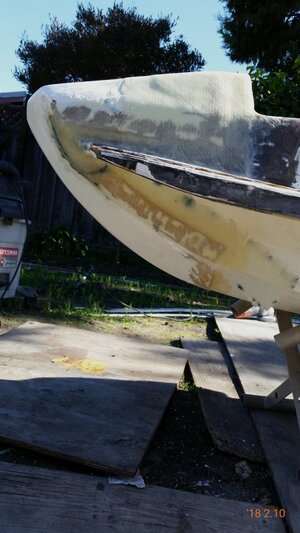
Started building up a wedge with 23 stepped layers bc i mathed from uscomposite specs of 1708 being .044" so thats like 22 layers for a full inch.
I am s-mart @ mathematics
giphy.gif


Cleaned up and put duct tape barrier so i could level off a straight edge
2018-02-11 19.49.46.jpg
2018-02-11 19.50.14.jpg
2018-02-11 19.50.52.jpg
2018-02-11 19.51.27.jpg

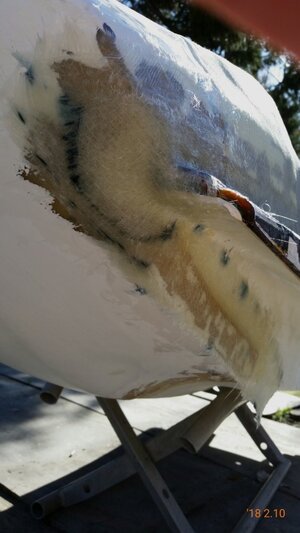
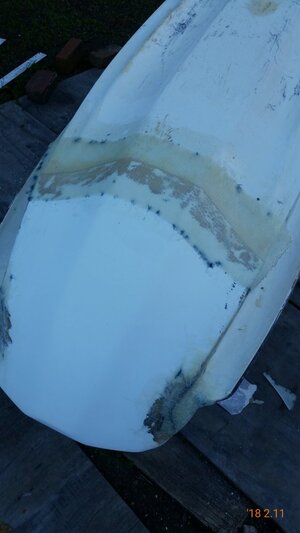
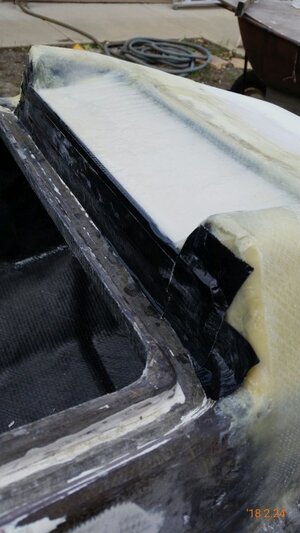
At the same time i was playin with building up that wedge, i got my side seams and front corners nice and secured from the outside. Did 1 layer of 1708 across the seam and put a couple extra scraps of 1708 i had leftover from the engine bay cutouts over the front corner areas.
Solid bro, lawn darts for days, this thing is a flippin tank
giphy.gif


2018-02-11 19.52.48.jpg
2018-02-11 19.53.56.jpg
2018-02-11 19.54.55.jpg
When the tape peeled off, i was super happy with the height of the wedge, its a full inch taller than it was, creating a more level surface than oem. Still a bit angled backwards but it should be legit.

2018-02-11 19.55.32.jpg

More filler to get it leveled off, probably need another go at this so its a flat surface.

The next day i was super hungover from partying for my buddys 30th, but i pushed thru for an hour or so before i almost puked in my respirator like 3x so i stopped and took a nap. I managed to grind down and clean up the edge of the wedge and fill in some of the gaps left over on it.
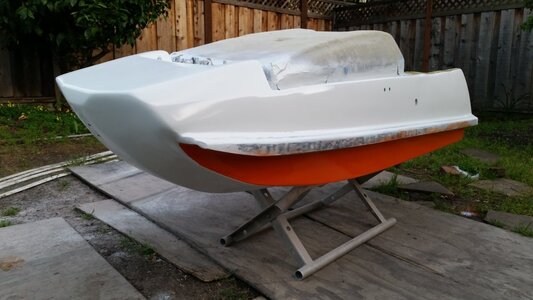
Then i flipped the pig over and sealed up the bottom seam with a layer of 1708.

2018-02-11 19.56.02.jpg

This weekend i plan on cleaning up the bottom seam and starting to fair out the bottom while its upside down.
Also while its flipped over i need to make a wedge for the inside of the pole bracket area, so i can thru bolt my bracket and not have the bolts coming thru the inside at a sht angle.

Lots of work ahead, but its totally gettin done for pismo. It wont be faired or painted, but will be ready to bash on in some surf
 

nucleus_coolins

Does things to makes the do goods
Hahaha. Love the GIF's for added effect.
The gifs are my favorite part looool, i have fun finding cool ones that fit. It definitely makes my walls of text funner to read.

Didn’t even realize this was your build. My old tank will love this!
Tank will get some good use here, i need to mock up where its gona sit so i can lay down my ufo inserts. Maybe next weekend after i get the inside bracket area done.

I called FP today and of course theyre out of stock, so looks like thatll be my hangup for reaching the pismo deadline. Ill check back with them later this month and see where theyre at, might still be able to make it in time. If not its all good, more time for fairing and maybe some paint :cool:
 

nucleus_coolins

Does things to makes the do goods
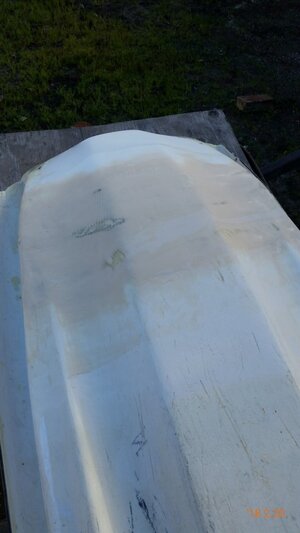
Wats up guys, i got another update finally. Ive been holding out posting mainly bc i started fairing work and its extremely tedious.
Fair, sand, fair, sand, etc.
This is my first time ever doing "finish work" on something before, first time working with fairing compound and whatnot.
Im using 410 epoxy fairing filler from west system. I looked on youtube for a while on fairing technique and the best i found to follow was this video west system did on yacht repair.
Pretty good demo, i really appreciate all these old west system demo videos, theyve been extremely helpful since i am total noob.

The 410 filler is pretty strange to work with. You really only want to mix with 1 pump of resin at a time. Its crazy how much fairing compound 1 pump of resin and hardener makes.
Anyways, the bottom was a good place to start fairing and practice since its the bottom. Only time youll see the bottom is from the beach as im mid flip.
Or when im on the beach with my boat upside down spraying the water out my cylinders from sinking haha.

2018-02-26 08.39.55.jpg

Looks good to me!
I also did the bottom sides while i had it upside down on my makeshift sawhorses.
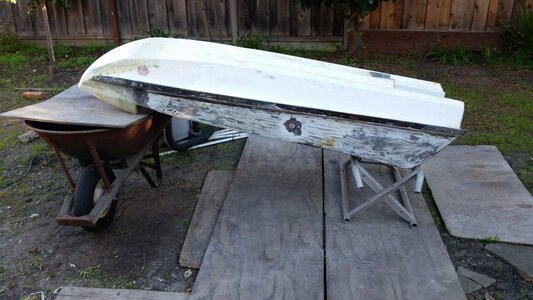
Prepare yourself for a good laugh, heres how my makeshift sawhorse setup looked:
20180216_164309.jpg

Trusty wheelbarrow for the win bro. U cant say its a true "home build" until u rig some junk like this and work in the dirt to get it done!
This setup actually creates the perfect space to sit down and work up inside the nose area.
So while i had it like this, i got the inside bracket area nice and leveled out and squared up.
2018-02-26 08.39.23.jpg
By squared up, i totally mean eyeballed :p

At this point, i had the bottom sides and corners faired with a 1st pass, so i flipped it back over to work on the top.

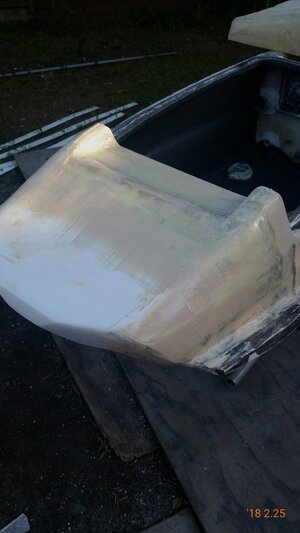
After starting the 1st pass fairing on the top sides, i noticed my exterior bracket surface needed to be leveled. It had a bit of a bow to it from the last time i built it up. So to level it, i got a paint mixing stick, covered it in duct tape, then fixed it to the hull eyeballing it level with the hood seal lip as reference.
The paint stick gave a nice sturdy surface to guide the squeegee while trying to level

2018-02-26 08.40.24.jpg

Came out really nice and added a bit more to the wedge.

Then i went and did a couple fairing passes on the rest of the top. It hopefully had enough time to cure before it started raining late last night around midnight looool
2018-02-26 08.42.33.jpg

I typed all that on the train and now i gotta do stuff, ill come back and clean it up later maybe?
 

nucleus_coolins

Does things to makes the do goods
We need more backyard updates

Sooo much rain all this week. Got my backyard lookin like Shrek swamp
giphy.gif


Idk how much ill be able to get done this weekend, but i did manage to get some work done last week before i cut out for the pismo freeride.

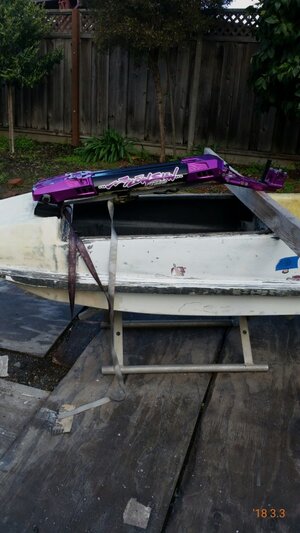
Ive been working on getting my pole setup dialed and im real close to being done with it.
I was lazy and didnt disassemble the pole to remove the spring, so i used a ratchet strap to compress it for a mock up.
2018-03-12 20.27.07.jpg

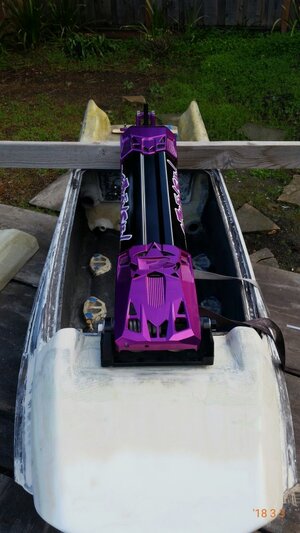
I used a couple 2x4s to prop the steering end up and aligned it between the hood latch bolt holes. Thought those should be a nice dead center reference.
Theres really no reference point in the front though so the front area got a good eyeballing and measured as best as possible.
2018-03-12 20.27.37.jpg

This worked pretty well, wiggled a few mm in the front, then realigned the bar end. Then wiggled another mm in the front and checked the bars again.
Dialed.
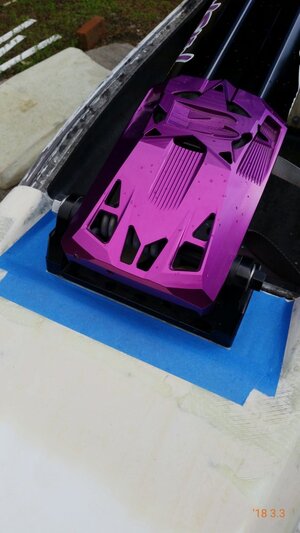
Next, put some tape down around the base to mark where it sat.
2018-03-12 20.28.05.jpg

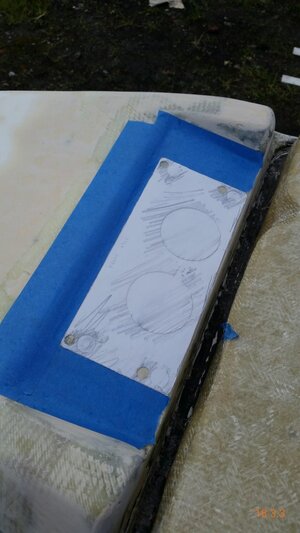
Then i did a transfer onto some paper to mark the bracket holes and make a template. The template lined up nice and proper in the tape outline.
2018-03-12 20.28.36.jpg

Dotted the holes with sharpie and got right to drilling.
2018-03-12 20.29.44.jpg

Eventhough i took my time and went slow drilling these, i ended up with a couple problems.
Broke a couple of the small bits i used and had to just bore thru them with the next size bit. This made my holes slightly off center so i ended up having to oval slightly and fix some boo boo with silica epoxy.
Also, i need to add a bit more surface on the inside where the holes came thru.

The good part is i have my old blowsion bracket from my old round nose. This brackets meant for rrp pole breather size, but the rest of it lines up identically.
Was able to use this bracket for bolt up and damage assessment haha.
2018-03-12 20.30.28.jpg

So despite having to oval those holes a bit, the bracket lines up perfect with my tape marks when bolted together.

After this, i used that paper template again to mark off the breather tube holes. Blowsions website says they use 2" hose so i got a deep 2" holesaw bit off amazon. The holes on the bracket are slightly larger than 2" but its all good, i like it tight :cool:

Remember all that build up i did to the bracket area, inside and out?
Ya, lets just say she thicc

giphy.gif


So anyways, im pretty close to done with pole. This was the real tricky part and i feel like i am over that hurdle. Couple quick fixes here and there and itll be dialed.

Heres a shot of the pig sittin out in the rain gettin wet, got all the holes i drilled taped off atm.
20180312_185631.jpg

The nose is also lookin pretty fair right now. Need a final pass with some slightly thinner mix so it seeps into some of the pinholes and watnot. Then should be ready to put 3 thin layers of just epoxy over it as a sealing coat.

This brings me to think about paint and i realize my hood should probably get some attention first... So hoods next after pole is done!
 

nucleus_coolins

Does things to makes the do goods
This build make me feel like a mario guy running up the stair


giphy.gif


Its actually gone by pretty quick tho for only doing work on weekends, dodging rains and sunsets.
It really hasnt been bad, the fairing work has definitely been the worst and most time consuming.
Build up a light layer 1 day and sand the next, easily eats up a weekend for only a couple hours of actual work.


2018-04-02 19.38.53.jpg
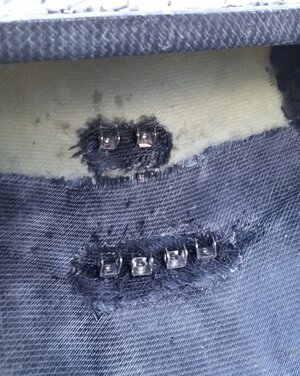
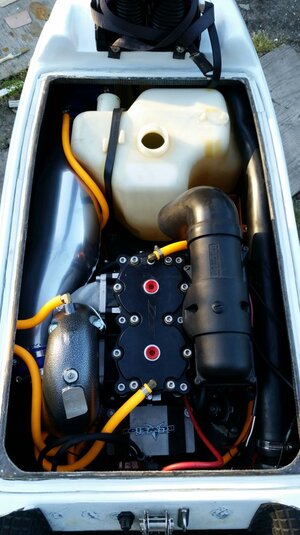
Glassed in some inserts following one of the how to threads here (thank you). JM waterbox fits perfect in there, slap a bit of HT down and good to go.

giphy.gif


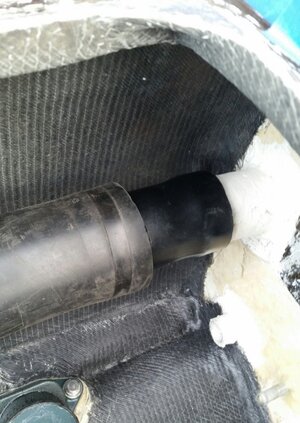
Made a backwoods reducer for this dealy

2018-04-02 19.20.41.jpg

2" ABS with some left over SN waterbox hose jammed over top, stuffed inside of the RN exhaust hose.
Its like the turducken of exhaust tubes

then i went and
Did me a final pass with the sandy doos and the filly willys

2018-04-02 19.17.41.jpg
I played with a couple guide coats of black rustoleum and air inline sander my friend let me borrow.
Got it to a point i was pretty happy with, the guide coats really helped

Then, finally pulled the trigger on some hi build primer
LAID IT ON NICE AND THICK
giphy.gif


2018-04-02 19.25.59.jpg

More sanding left but i liek it, wat do u guys think?
Just ignore the hood tho, the hood is still a piece of crap, havent touched it yet. I dont really wana add alot to it but well see
 

nucleus_coolins

Does things to makes the do goods
giphy.gif


backyard build continues.

After the high build primer went on I realized it was going to rain later in the week.
So I got straight to slappin on some rattle can!

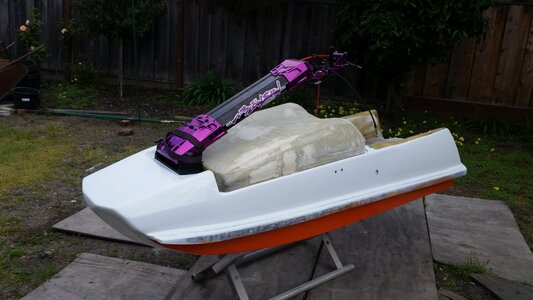
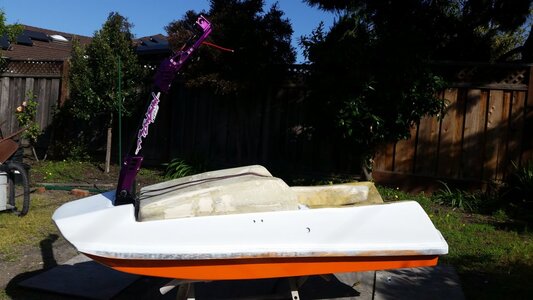
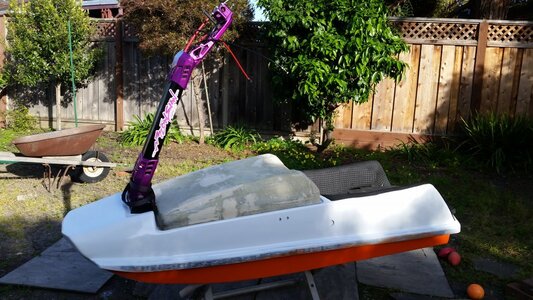
ended up with this piece of badassery

20180410_192456.jpg

20180409_183025.jpg

Gona look pretty good with black turf.
Its gona get scratched up and patchd up, quick and dirty rattlecan repairs after i bash into stuff doing sweet jumps

giphy.gif


Now im in the final stretch, boltin it up.
Midshaft went on nice and centered and trying to use this salvaged hooptie bilge bracket that came with the boat. Looks like its for a rn maybe

20180415_121910.jpg

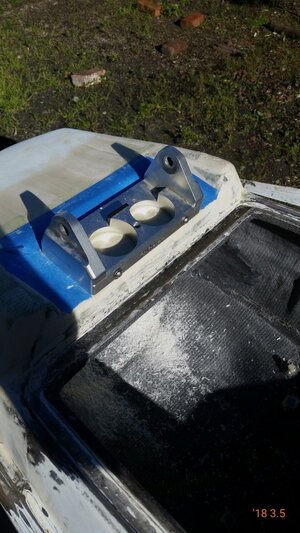
Then the pole bracket, base and breathers went on nice and easy, followed by the cables and the rest of the pole

20180414_155734.jpg

Blowsion pole goes together super easy and i still have room to adjust it shorter.
I probably will end up adjusting it shorter since its kinda long, gona ride it first tho.


20180415_152550.jpg

20180414_164709.jpg

Plenty of extension on this pole now, modding that mount surface made a world of difference.

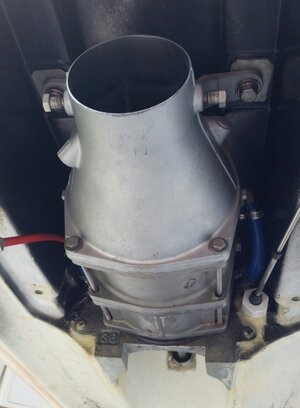
Took care of the pump today, had to cut a few pump bolts shorter and had to oval out the holes on the pump a tad

2018-04-15 15.58.33.jpg

Had to call it early today since it started raining, but damn i am so close to a water test haha.
Cant wait to hit pismo with this thing


Cheers dudes!

giphy.gif
 

nucleus_coolins

Does things to makes the do goods
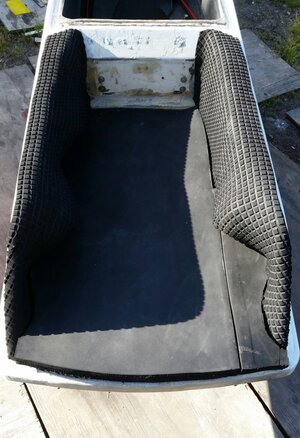
Turfing the footholds on this thing was pretty difficult. I forgot how hard it was to turf these non adjustable dealies...

2018-04-23 09.19.20.jpg

It didnt come out too bad, the hard parts over, smooth sailing here out, just need buy more contact cement for the tray turf.

20180422_180024.jpg

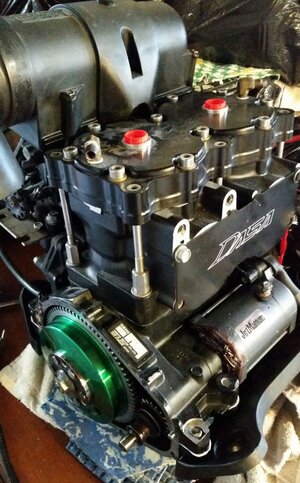
Motors almost ready to drop in, got all my goodies installed but need to bore my new bpipe mani and mid pipe out to 50mm first. Already got my 2nd brass fitting installed on it, rdy to go.

2018-04-23 09.36.16.jpg

Old reliable
Stock stroke 771
Had Dasa mod it for me a few years ago and i rode it about 2 seasons before upgrading to 1000cc. Its got like 40 something hours on it, need to pull the meter out my tool box.
 

nucleus_coolins

Does things to makes the do goods
So the other night i was bolting up my trim to see if it was all gouda and i realized i never ran trim on my old RN. So i ran into a problem i never really thought about...

20180425_184425.jpg

Trim is useless on a superjet lmao wtf whyd nobody tell me.

Now i know why everybody cuts that back rail off right there.

And to top it off, i found out turning while trim is pulled smacks the nozze on the pump tunnel tabs the reduction nozzle mounts to.

I guess im just going to run it as is, i dont wana cut the tray back to clear this late in the build. I could swap it out for a non trim setup i have laying around but im lazy and whatever
 

nucleus_coolins

Does things to makes the do goods
Update:
2018-05-02 09.42.44.jpg

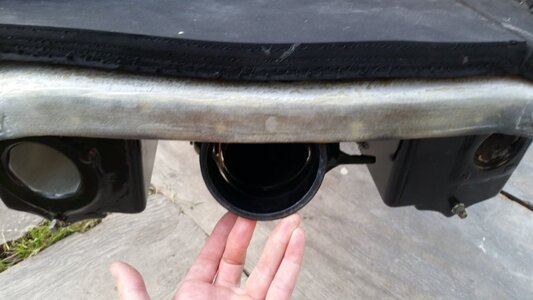
also, factory pipe is kind of bad, their hole drilling skills are almost worse than mine, look how off center the holes are

2018-05-02 09.43.22.jpg

2018-05-02 09.43.47.jpg

And to top it off, they gave me different hardware! Two 13mm bolts and one 14mm bolt for the midpipe to mani. Like what?

giphy.webp
 
Last edited:
damn a lot of work into that thing! was this lawlors old sn? i remember him having a foothold setup like that years ago. also on the factory pipe manifold, it looks like they machine it after drilling to allow clearance for a wrench to get the bolts loose. should have covered up that original bilge outlet when you did all the fiberglass and moved it up higher !
 

nucleus_coolins

Does things to makes the do goods
damn a lot of work into that thing! was this lawlors old sn? i remember him having a foothold setup like that years ago. also on the factory pipe manifold, it looks like they machine it after drilling to allow clearance for a wrench to get the bolts loose. should have covered up that original bilge outlet when you did all the fiberglass and moved it up higher !

Duuuude, you hit the nail on the head 100% haha. Thats crazy you recognized it, its been out of comission for yeaars now.

I totally agree too, i wish i would have moved the bilge outlet higher, but there was another giant bilge outlet hole right next to it that had been filled over. I was worried if i made another 3rd bilge hole right there itd be too weak. I just went the easy route and left it as is and looped the bilge hose up and around so it sits higher than the outlet itself
 
Last edited:

nucleus_coolins

Does things to makes the do goods
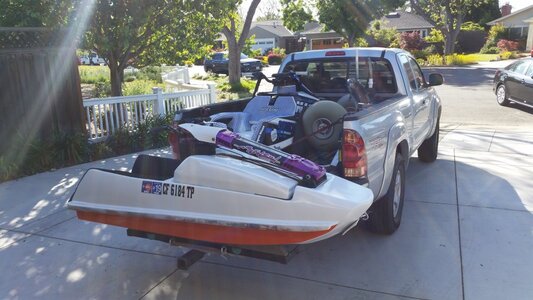
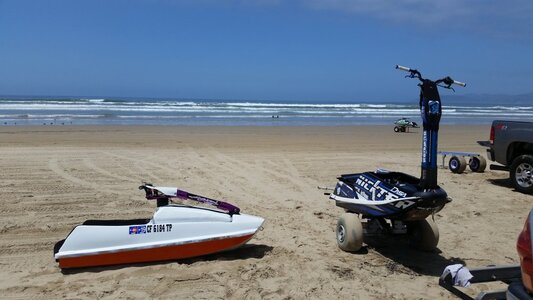
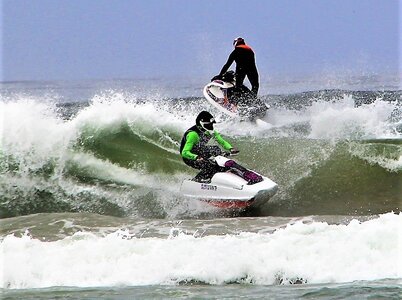
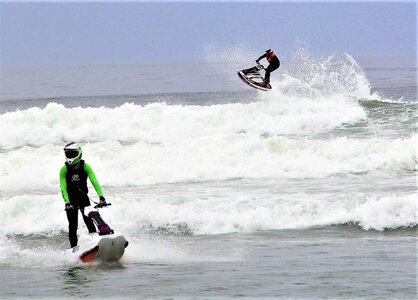
Got to water test my build for the 1st time on saturday. Nowhere better to water test a boat than straight into the surf! Tested this hitch hauler setup for the first time on my yoda too, worked surprisingly well.
20180511_173418.jpg

The morning was kinda small and looked like the surf report was a lie, but that quickly picked up to some overhead swell when the tide went out.
20180512_123120.jpg

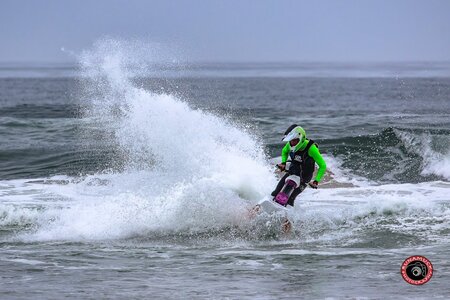
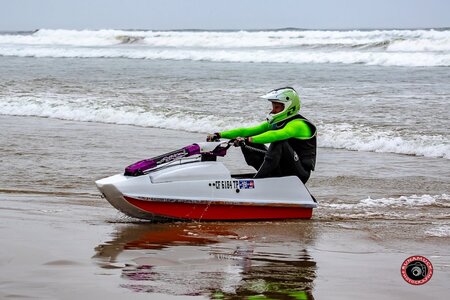
This boat rips! Surfriding felt really comfortable, was able to get into that sweet spot no problem.
pismo_square01.jpg
SN_Maiden_Voyage02.jpg

Tried my hardest to take on water, but the hood actually sealed really nice. I did forget to glass over 1 hole on the hood in the latch area, so eventually some water did get in. It let some thru right on the head and plug wires and that showed me the coil im using is bad. Other than that, no water in the engine bay at all, scupper was actually sealing really well.

66111.jpeg

66115.jpeg

When I got home, I opened the drain plugs and tilted the boat back and not a single drop of moisture came out. Safe to say that tray is SEALED!

So aside from the coil being faulty it was a very successful 1st ride and im stoked to have a solid backup boat. Especially since im shipping the rickter to mexico next week for Ixtapa Freeride!

Not a bad turnout for a completely hacked together from used parts boat that was sitting in my friends yard for like 6 years.

Total build time from start to finish was 7months
 
Location
SoCal
Looks great..
Can I see a close up of how you did your "bow eye" tie down point? I rockered my ski and am now in the painting stage. Time to install one on mine. Thanks
 

nucleus_coolins

Does things to makes the do goods
Looks great..
Can I see a close up of how you did your "bow eye" tie down point? I rockered my ski and am now in the painting stage. Time to install one on mine. Thanks

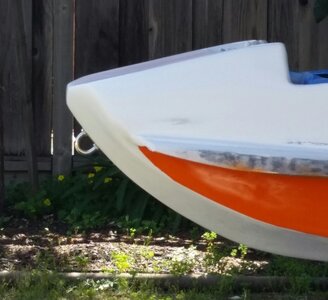
Sure thing man, heres a shot from the mock up i did before final paint coat.
I eyeballed it to make sure the bow eye wasnt sticking out farther than the nose itself
2018-05-14 14.23.40.jpg

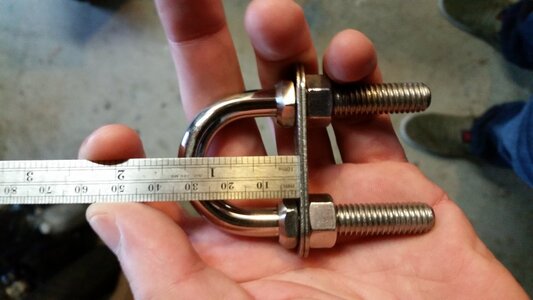
And heres a shot of the eye i used, its a bit beefy but lowest profile i found that i liked
20180409_081622.jpg
 
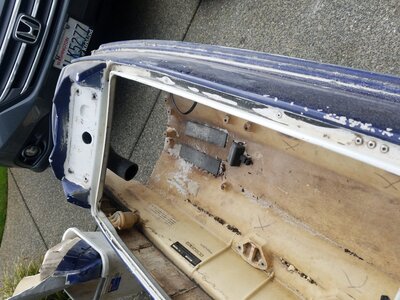
Dude how did I miss this build? I'm in the middle of my sn build now and I stsrted about when you did. lol I shortened the rear a few inches too tho20180309_153550.jpg
 
Top Bottom