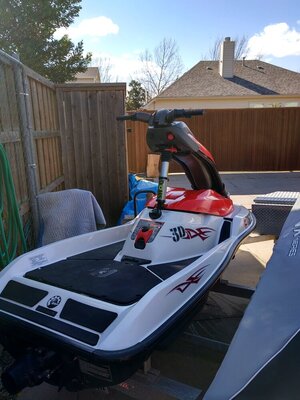
SXR1500 Project - Fixed Steer

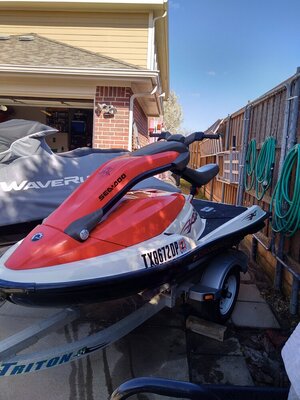
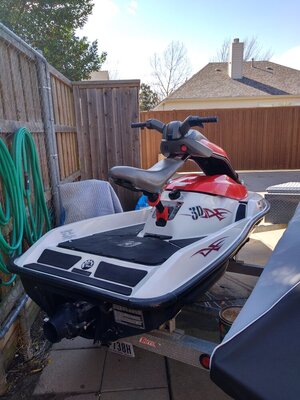
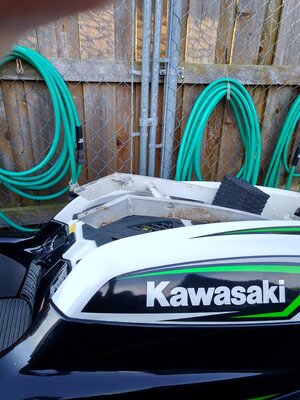
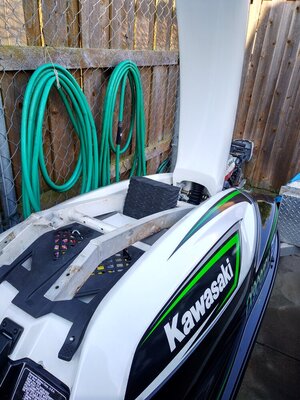
This is my first time documenting a build like this and as a new member of the forum – here goes. I rode a 05’ Sea doo 3D for 12 seasons. Yeah, I know all of the jokes that will follow – lol. But really liked the way the machine rode – even though it wasn’t a true stand-up. So last year, after much debate about freshening up the 3D or getting a “real” stand up – I decided on the later. After quite a bit of research on everything out there I found a lightly used 17’ SXR-1500 (thanks Krenn Powersports). Long story short – after one season of riding it – it’s a love/hate relationship. Really like the power (obviously) – but the stability and learning curve are steeper than anticipated.

Having ridden a true stand up once, many decades ago, I thought I knew what to expect with the handle pole movement. But still found the new machine to be challenging. The steering offset is something I’m still struggling to adapt to. I researched OTP options and thought it might be a solution. But the truth is – I missed the stability of a fixed steer! I always rode my 3D in the Moto configuration. That felt natural to me. So, the search began for fixed steer options.
 

Attachments

  • Moto_Front_2.jpg
    Moto_Front_2.jpg
    162.3 KB · Views: 51
  • Moto_Rear.jpg
    Moto_Rear.jpg
    168.8 KB · Views: 51
I would like to give a big shout out to Rotzinger over on PWC Today (http://www.pwctoday.com/showthread.php?t=495150) for inspiring me to take the plunge with the design/fabrication of my own fixed steer system. His post gave me the confidence to jump in and as Nike says - “Just Do It!”.

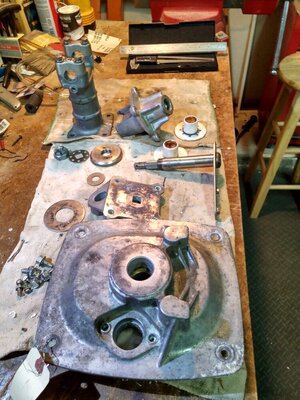
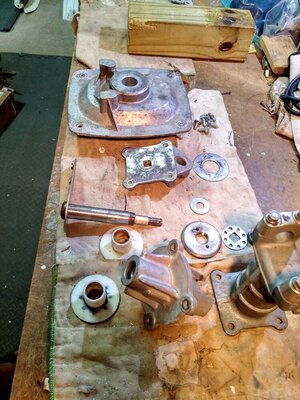
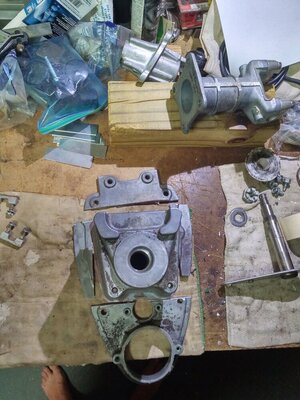
While researching the types of steering mechanisms available – I found eBay to be a great source with helping to generate ideas as well as finding parts. I purchased some reasonably prices (read “cheap”) steering components from older 900/1100 STX’s and 250 Ultra’s to get started. Didn’t really have a plan per se – just trying to get going.
 

Attachments

  • IMG_20210717_151455.jpg
    IMG_20210717_151455.jpg
    180 KB · Views: 41
  • IMG_20210717_151506.jpg
    IMG_20210717_151506.jpg
    192.3 KB · Views: 35
  • IMG_20210727_213904 (1).jpg
    IMG_20210727_213904 (1).jpg
    178.2 KB · Views: 33
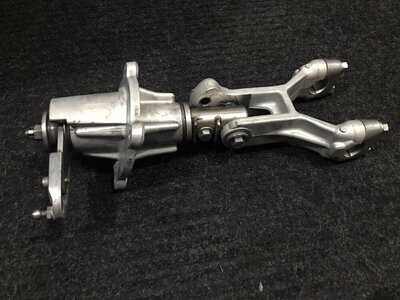
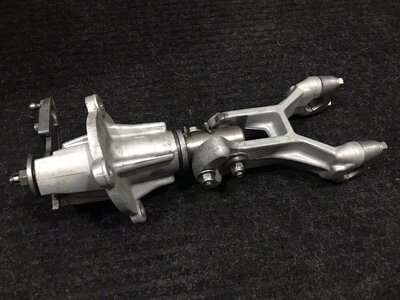
Really liked the X2 Gen2 steering stem. But quickly learned that they were never imported into the states. Looked at the original X2 stems – but they always looked “flimsy” to me. And a Umi X2 system was out of the question due to the price. However, after looking at the options, I decided to “keep it simple” and start with an early model X2 unit. If the ski works/performs per my expectations – I may upgrade to the Umi.
 

Attachments

  • Stem_1.jpg
    Stem_1.jpg
    165 KB · Views: 30
  • Stem_2.jpg
    Stem_2.jpg
    154.5 KB · Views: 29
  • Stem_5.jpg
    Stem_5.jpg
    147.3 KB · Views: 29
Once the steering stem was set, turned my attention to what type of mount/handle pole to use. Really wasn’t looking forward to trying to modify a stock handle pole. I worked with fiberglass in the past and the results always turned out looking like something a grade-schooler would make in art class. Contemplated trying to “build” a frame out of aluminum or stainless steel. But creating a jig and designing a new pole just seemed like a lot of work. And I wasn’t sure if the piece would turn out right, or be functional, or if it would even give me the “feel/ride” I was looking for. Plus, not a big fan of using the hood, with a single latch, to support a handle pole. But if Unlimited or Speedmagic can do it with their hoods – then the single latch design should work.

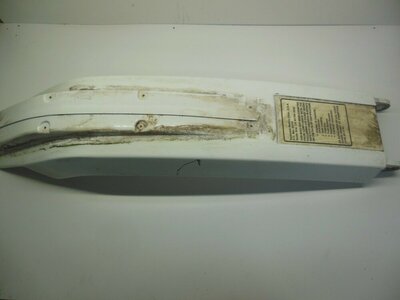
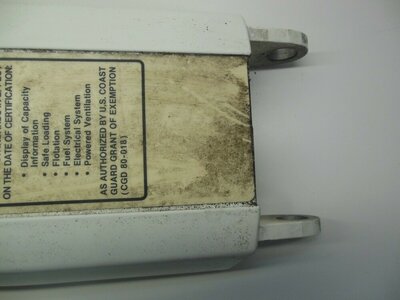
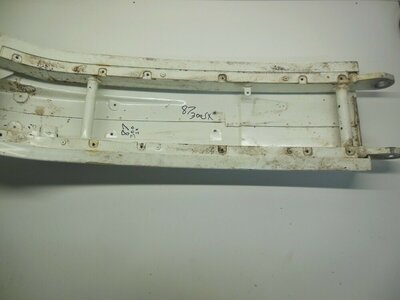
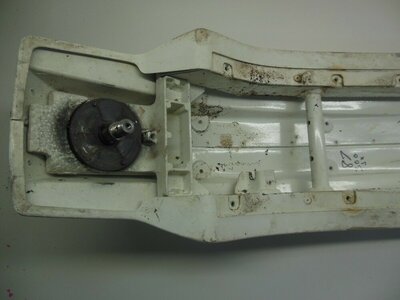
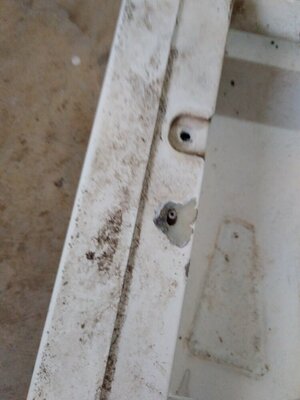
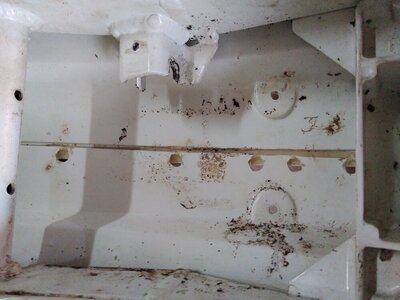
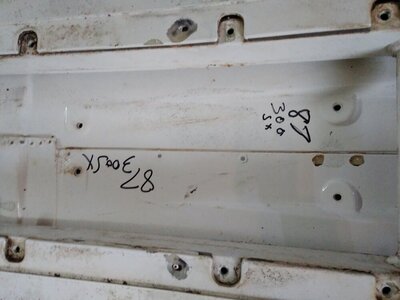
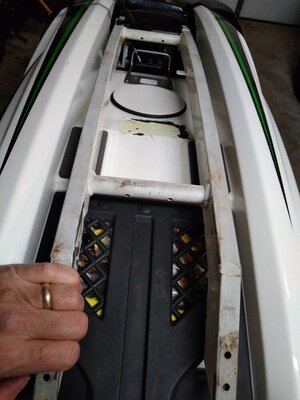
During one of the many idea generator/shopping sessions on eBay– I noticed that a Kawasaki 300SX handle pole has an aluminum sub frame – Bingo!!! The 300SX’s may not have been a popular seller – but I did find a decent buy on a handle pole from which to start with.
 

Attachments

  • 87_300SX_1.jpg
    87_300SX_1.jpg
    62 KB · Views: 28
  • 87_300Sx_2.jpg
    87_300Sx_2.jpg
    97.8 KB · Views: 27
  • 87_300SX_5.jpg
    87_300SX_5.jpg
    76.1 KB · Views: 29
  • 87_300SX_6.jpg
    87_300SX_6.jpg
    89.7 KB · Views: 32
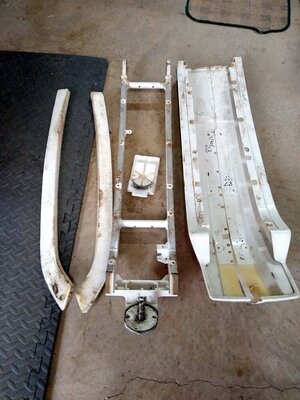
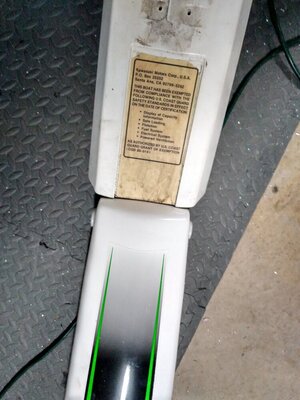
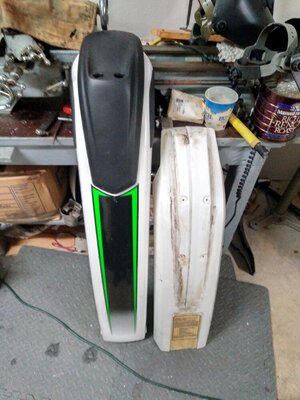
The first thing that stood out is the fiberglass cover on the 300SX pole is wider down at the pivot point that a stock SXR pole. No worries though. Using a Dremel, removed the mounting rivets and then carefully ground out the epoxy “buttons” used to hold the left and right halves together. I was able to then gently pry to two halves apart and extract the sub frame and dis-assemble the remaining components. The 300 SX pole even has a nice curve to it. It almost matches the profile of the SXR1500 hood.
 

Attachments

  • IMG_20210717_144016.jpg
    IMG_20210717_144016.jpg
    81.3 KB · Views: 29
  • IMG_20210717_144024.jpg
    IMG_20210717_144024.jpg
    107.4 KB · Views: 29
  • IMG_20210717_144027.jpg
    IMG_20210717_144027.jpg
    80.9 KB · Views: 28
  • IMG_20210717_145109.jpg
    IMG_20210717_145109.jpg
    142.2 KB · Views: 33
  • IMG_20210801_082644.jpg
    IMG_20210801_082644.jpg
    185.4 KB · Views: 33
  • IMG_20210801_082657.jpg
    IMG_20210801_082657.jpg
    188.7 KB · Views: 32
  • IMG_20220212_191204.jpg
    IMG_20220212_191204.jpg
    126.3 KB · Views: 30
  • IMG_20220212_191233.jpg
    IMG_20220212_191233.jpg
    137 KB · Views: 31
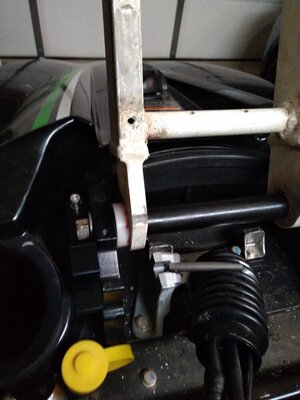
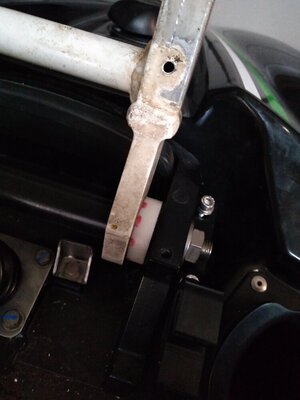
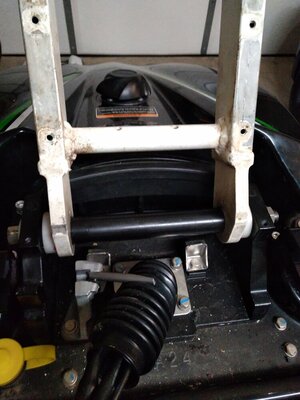
Next item was to remove the stock handle pole, measure the dimensions of everything, and spin up some custom nylon bushing. I picked up the stock material from McMaster-Carr for a fairly reasonable price.
 

Attachments

  • Installed.jpg
    Installed.jpg
    101.8 KB · Views: 24
  • spacer_lft.jpg
    spacer_lft.jpg
    96.3 KB · Views: 22
  • spacer_rt.jpg
    spacer_rt.jpg
    78.9 KB · Views: 20
  • spacers.jpg
    spacers.jpg
    114.1 KB · Views: 25
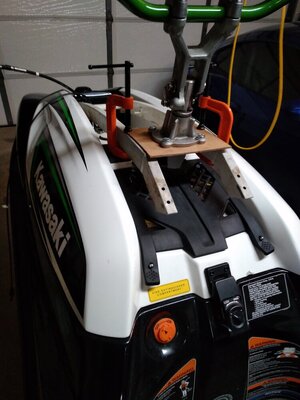
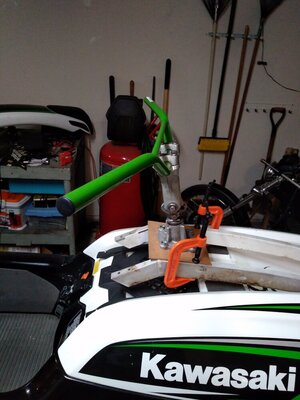
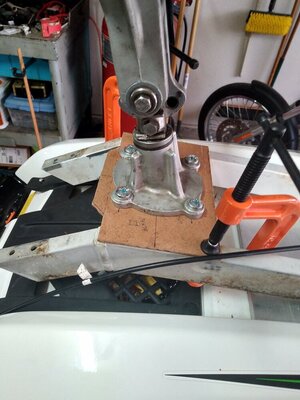
After settling on the stock X2 steering stem, locating the plate and making a mounting plate was the next step. I whipped up a quick mount to hold the stem and then played around with the location on the handle pole. Once the location was set, I started with the actual plate design.
 

Attachments

  • placement_1.jpg
    placement_1.jpg
    107.8 KB · Views: 26
  • placement-2.jpg
    placement-2.jpg
    112.7 KB · Views: 28
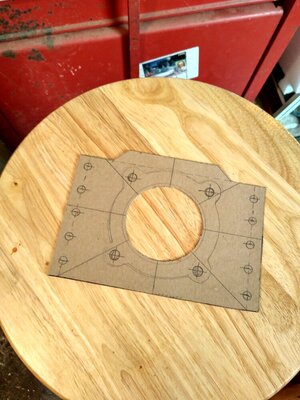
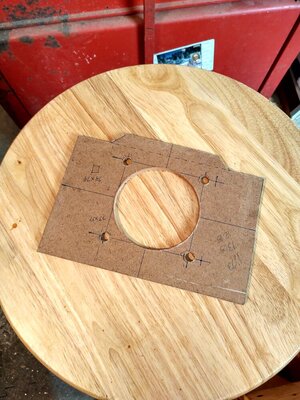
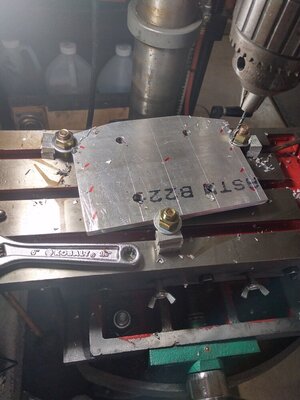
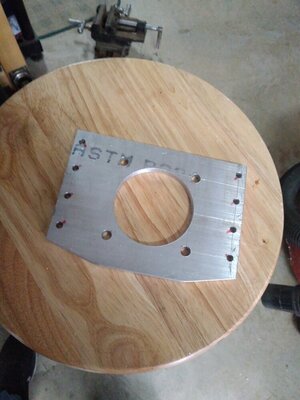
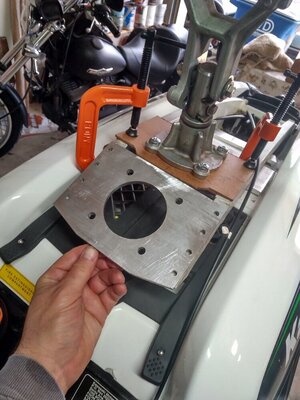
I created the design in a paper copy, and then out of some pressed wood material, and finally in 5/16” thick aluminum plate. The overall product turned out pretty well. I anticipate that I will get more flex from the stem and the handle pole structure than I will from the mounting plate deflecting.
 

Attachments

  • Paper.jpg
    Paper.jpg
    139.9 KB · Views: 26
  • Fiber.jpg
    Fiber.jpg
    176.4 KB · Views: 28
  • Trial_Fit.jpg
    Trial_Fit.jpg
    122.4 KB · Views: 27
  • IMG_20211230_145222.jpg
    IMG_20211230_145222.jpg
    126.8 KB · Views: 28
  • Finished.jpg
    Finished.jpg
    110.2 KB · Views: 26
  • Compare.jpg
    Compare.jpg
    133.4 KB · Views: 33

WFO Speedracer

A lifetime ban is like a lifetime warranty !
Location
Alabama
Next item was to remove the stock handle pole, measure the dimensions of everything, and spin up some custom nylon bushing. I picked up the stock material from McMaster-Carr for a fairly reasonable price.
This is the exact same way I mounted the 300SX handlepole on my SN, only difference is I ordered the bushing from some guy on Ebay, they fit perfectly . I cut the sides off the pole cover and glassed them back on so there were 90 degrees from the top to make it fit .
 
Put a B1 seat on it? Or a Gen2 X2 style seat?
Vumad - Not sure what I may do about a seat. While the tray is bigger than a typical "old school" ski - it's still pretty narrow. Will see how this thing handles with the fixed steer and then move forward. Btw - B1 seat? I'm guessing you taking about a first gen Yamaha Blaster? Sorry - still trying to learn.
 
WFO Speedracer - Glad I'm not the only one to discover the 300SX. Making the bushings was fairly easy. Though I am concerned about parts swelling once they get wet. But since my design only has the handle pole pivot when I want to open the hood - I don't think it will be an issue. I'm right there with you on the fiberglass cover. I'll post more on that shortly. Thanks for reading to posts.
 
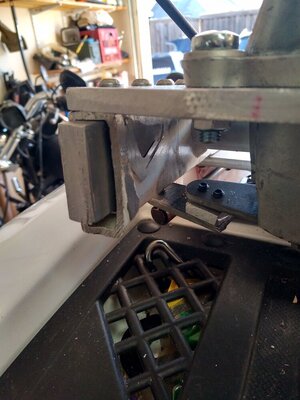
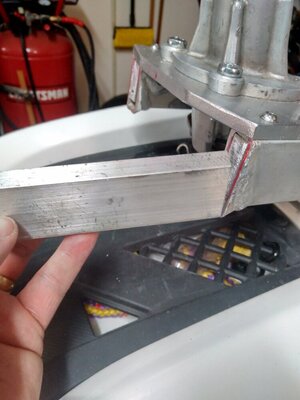
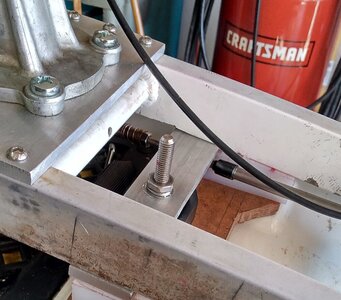
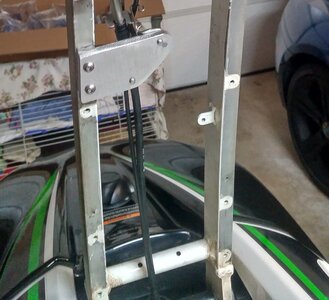
I ended up cutting off the angled ends of the original handle pole. To mount the plate, I found an aluminum bar that just fit inside of the legs of the handle pole. Using the mounting plate as a template, I drilled the handle pole and internal bars. I then tapped the internal bars to take the MM6x1 screws. I left the bar a little long until I can figure out what to do the end design.
 

Attachments

  • End.jpg
    End.jpg
    117 KB · Views: 24
  • Mount_Material.jpg
    Mount_Material.jpg
    92.6 KB · Views: 24
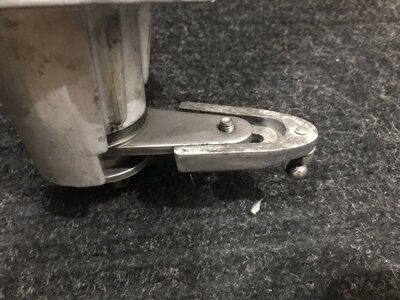
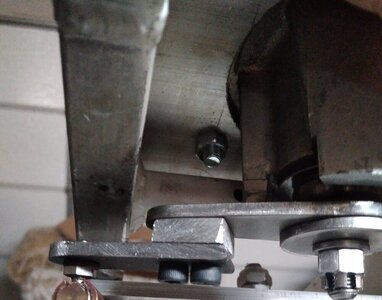
The next step was to get the steering arm on the correct side and lengthen it. The stock X2 has the steering cable on the right side and the SXR has the steering cable on the left. Found that by flipping the arm over and removing about 1/8” of material off of the end of mount – I could get the clearance needed. While lengthening the arm to get the correct “throw” I found that I didn’t have the clearance with the handle pole. So drilled and tapped an extra bolt hole in the original arm and then created an “arm extension” with a spacer. Problem solved.
 

Attachments

  • steering_arm.jpg
    steering_arm.jpg
    113.6 KB · Views: 24
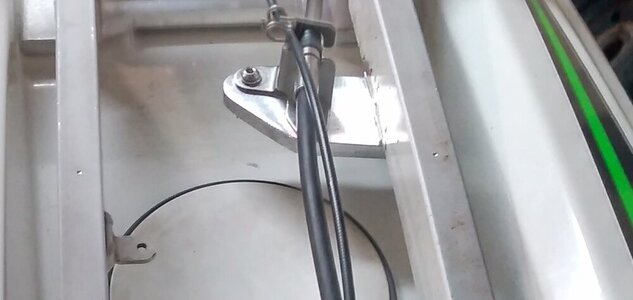
Next item to tackle was a combination of where/how to anchor the steering cable to the handle pole and how to lock the handle pole to the hood. I took my time with making sure that I had the steering cable position correct and then made the mounting bracket. The end result looks okay.
 

Attachments

  • Cable_Mount_1.jpg
    Cable_Mount_1.jpg
    50.3 KB · Views: 24
  • Cable_Mount_2.jpg
    Cable_Mount_2.jpg
    140.9 KB · Views: 28

WFO Speedracer

A lifetime ban is like a lifetime warranty !
Location
Alabama
I had the pole laying around from a 300SX I converted to fixed steer, I figured anything has to be better than the heavy ass SN pole, it turned out pretty well I think, I like what you are doing here.
 
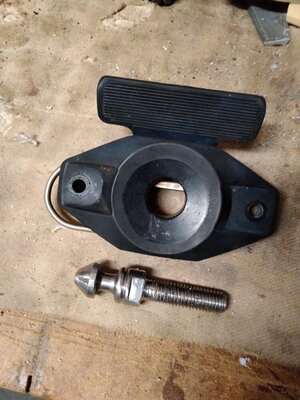
How to lock down the handle pole did present a challenge. I could have simply bolted the arm to the hood. But if I needed to access anything under the hood, it would have been a pain. Coming up with some type of robust latch was my challenge. I did quite a bit of research and brainstorming. To keep things simple, I opted to start with a Seadoo latch system. I had a Shoq pole for my 3D and that used a simple ¼ turn type latch pin. It was very similar to the seat/hood latch design that they use on almost all of their products. And the seat latch parts were super inexpensive on eBay. So…. it’s a start. If it doesn’t work – I’m out $20 bucks.
 

Attachments

  • Shoq_Pole_Rear.jpg
    Shoq_Pole_Rear.jpg
    149.1 KB · Views: 21
  • Latch_assembly.jpg
    Latch_assembly.jpg
    156.6 KB · Views: 23
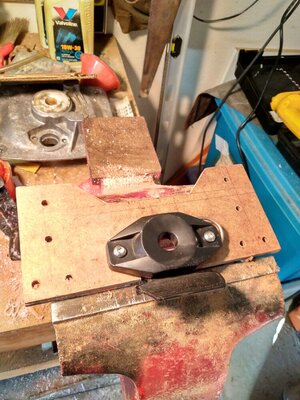
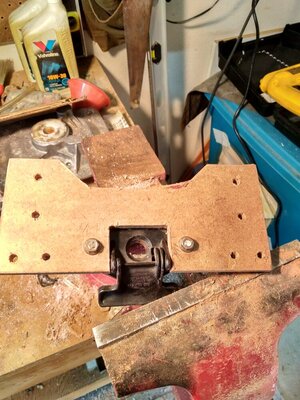
I used the same material for the base template as I did for the steering stem mount. I would rather “mess up” with the stuff rather than ruin an expensive bar of aluminum – which is what the final piece will be made of.

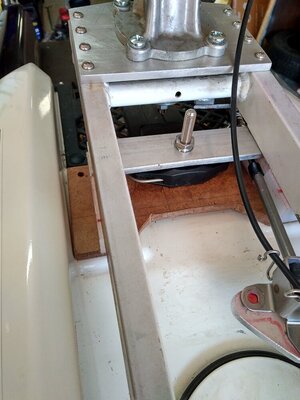
You can see on the stock Kawasaki hood that there is a ready-made area for mounting the lower locking plate. I carefully remove the rubber dampers and cleaned off the remaining adhesive residue with some cleaner.

I cut the clearance through the plate so that the latch mechanism would sit flat on the plate. I used through holes, with bolts and nuts, on the template.
 

Attachments

  • Latch_1.jpg
    Latch_1.jpg
    177.3 KB · Views: 19
  • Latch_2.jpg
    Latch_2.jpg
    186.8 KB · Views: 17
  • Latch_Concept.jpg
    Latch_Concept.jpg
    122.2 KB · Views: 18
  • Latch_CrossBar.jpg
    Latch_CrossBar.jpg
    154.1 KB · Views: 19
Top Bottom