naticen
Site Supporter
- Location
- wilmington, nc
I've gotten a bunch of people asking about this hull and I figure it is about time to get some pictures and info up about this thing. It's one of Tom21's first skis that he has put out in an attempt to fine tune his molds and layups and get this thing perfect. I got mine with motor mounts, bulk head, pump inserts, and ride plate inserts installed. The top deck, plumbing, pump shoe, and other inserts still needed done.
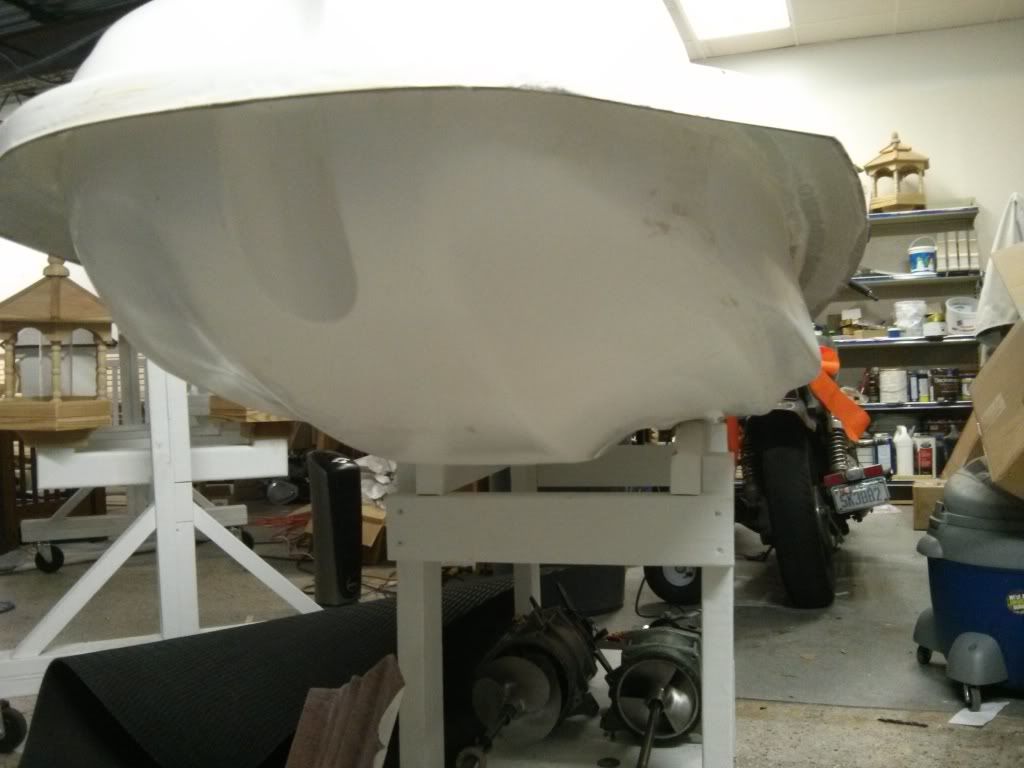
First was the pump shoe. He made the hull to fit the plastic shoe tight, so my metal shoe needed a good bit of grinding. I also did a slight bit on the hull to move it a hair forward since it was tight against the pump with no seal installed. This picture is of much later in the process after I got all the plumbing and exhaust done up but there she sits.
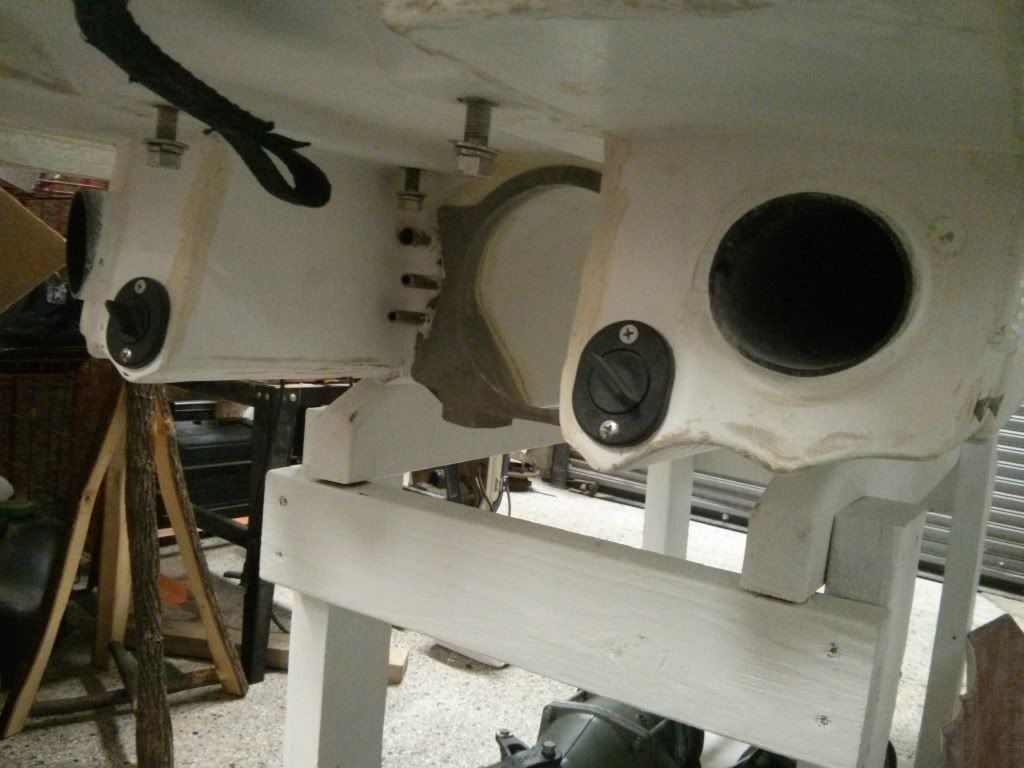
Then was the plumbing. I had some leaks the first time around, and then the second time I tinted the epoxy white to make it obvious where I was adding on, and also because I had to touch up a couple gel coat spots. It didn't actually turn white with US Composites yellow epoxy, as you can see in the previous picture in the corners. I've got some actual gel coat to for any other spots that I may need it.
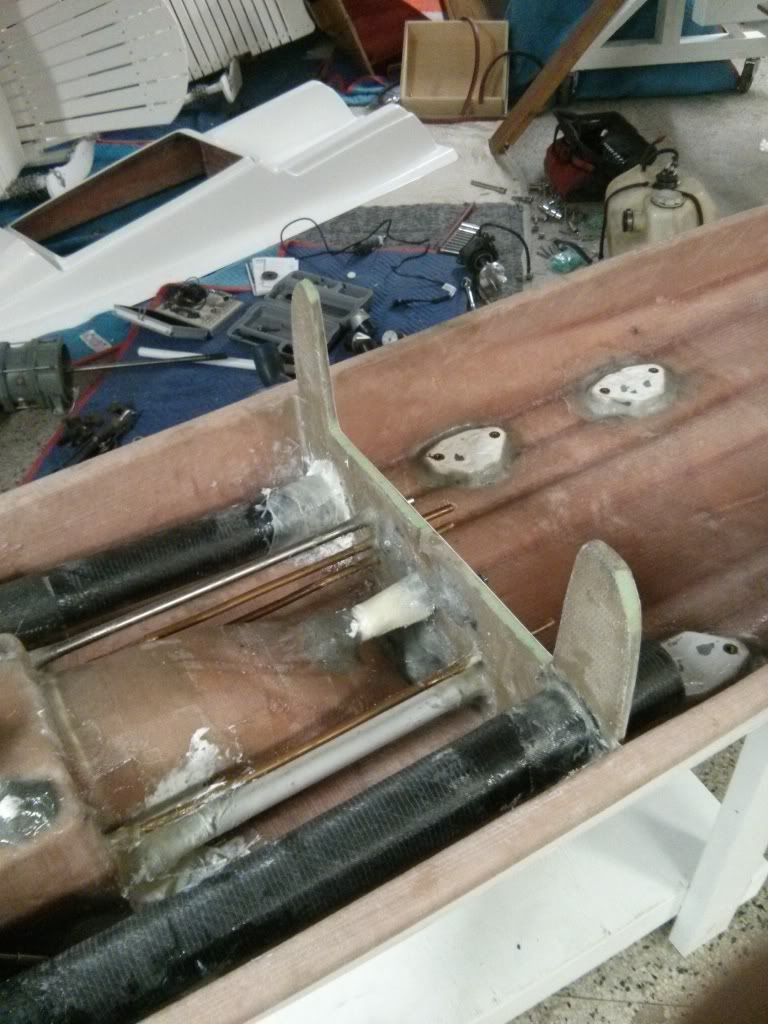
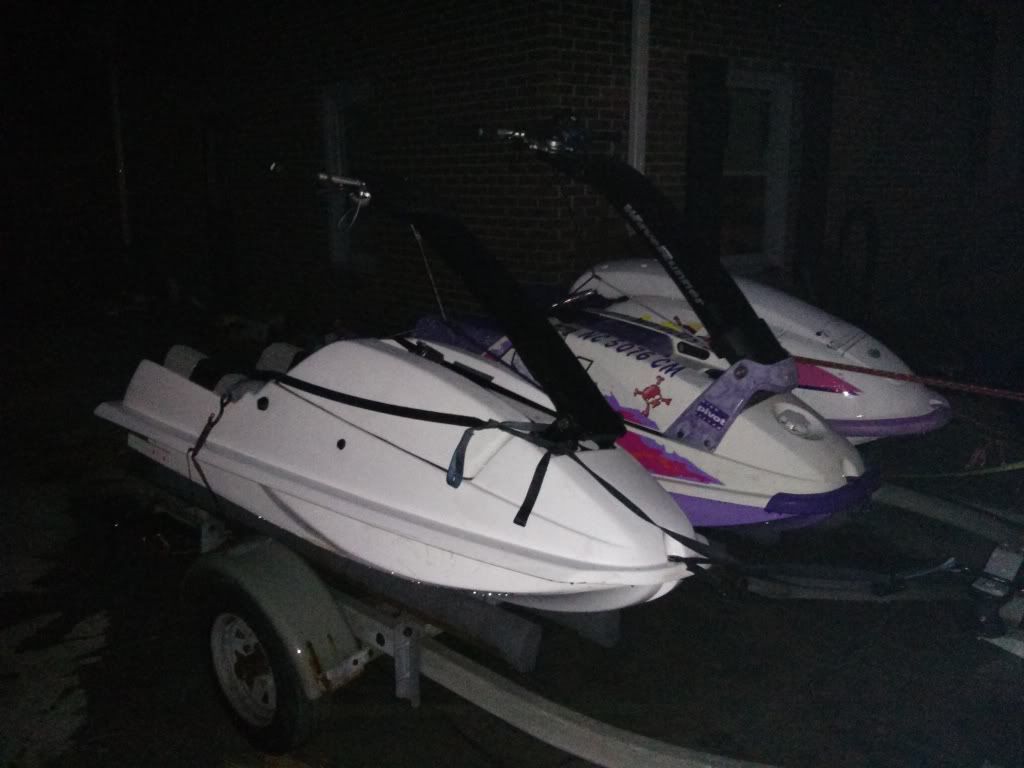
It was fresh out the mold, so it still had some clay on it as well the stock FX-1 bondline on the bottom deck. This is a good comparison of the two before I chopped the stock one off.
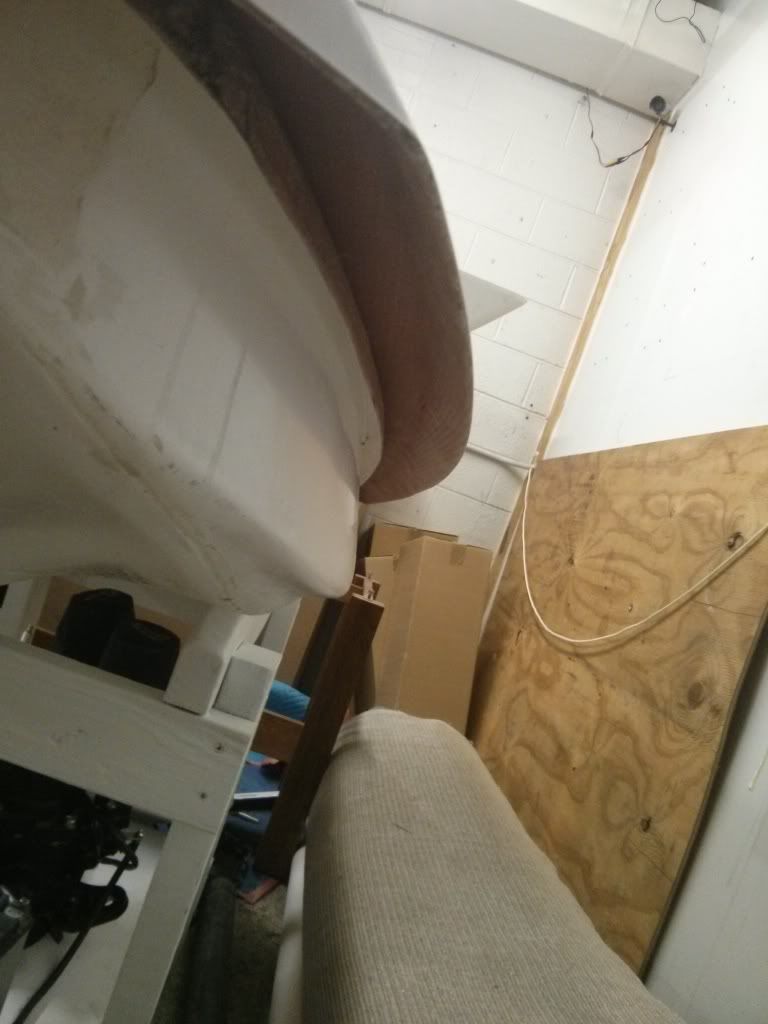
I finished the inserts inside, bonded the decks, and laid a layer of biax across the seam. It came out well and this is of course a picture much later in the process.
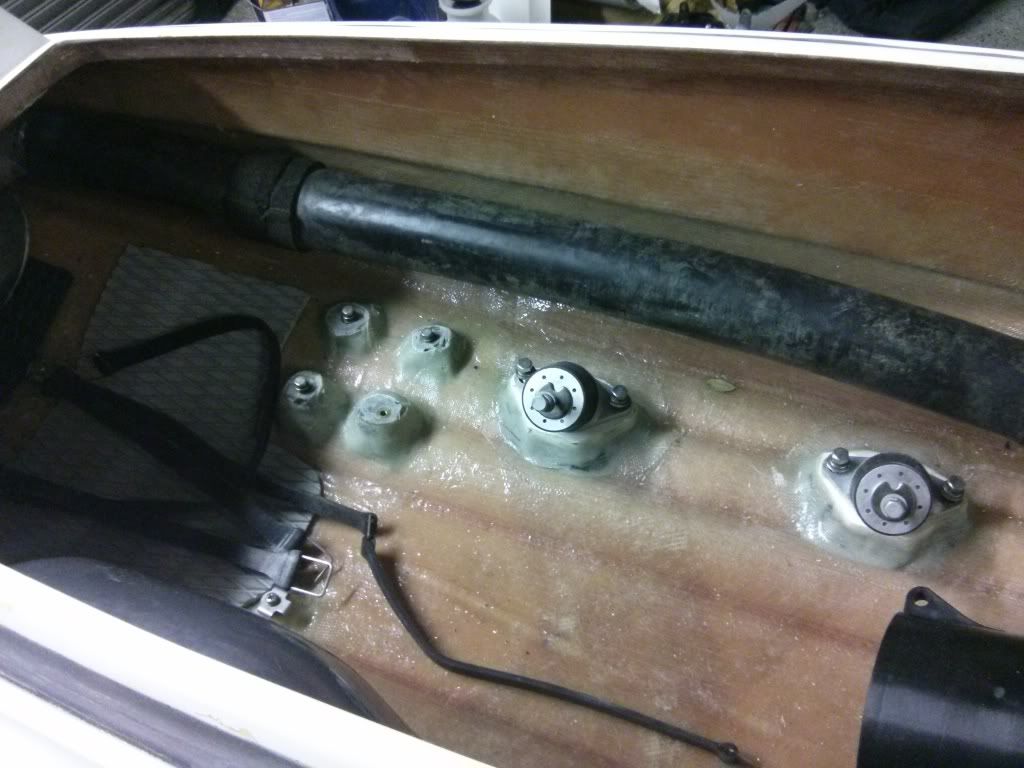
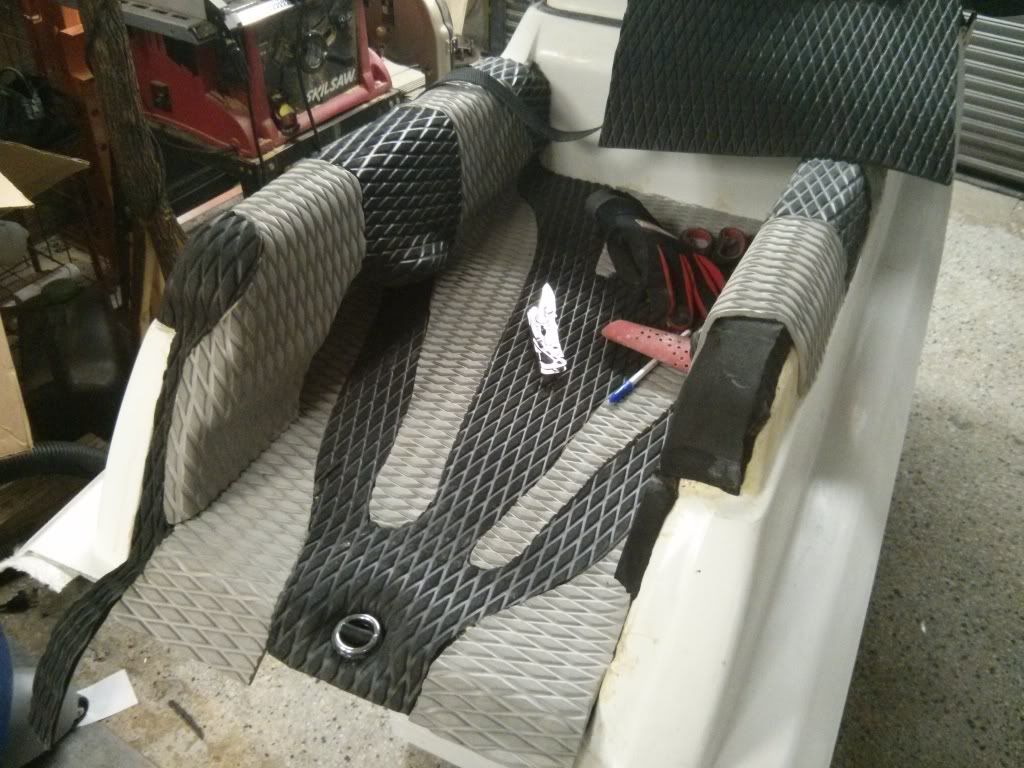
A sexy pic after I laid a layer of biax on the bottom of the rail as well with some tinted white epoxy, West Systems this time, to try and blend it in a little bit. I'm not sure that I will ever bother cleaning up the bottom of the hull, but the top I am going to put some effort into a nice wrap.
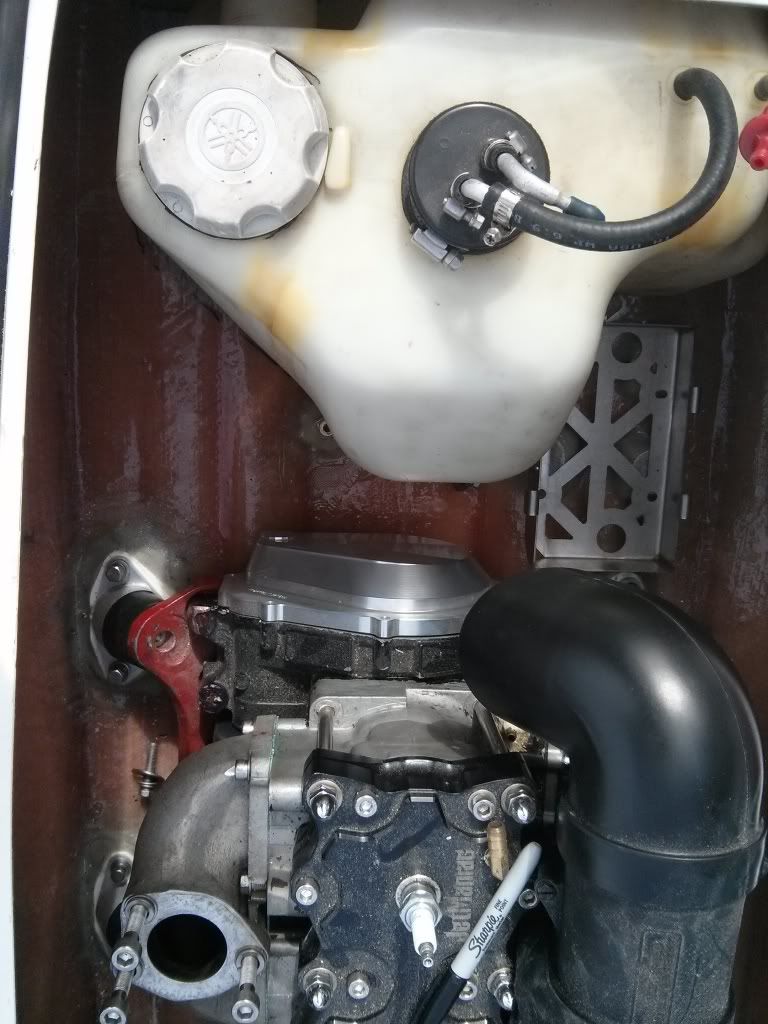
Here's some stuff fitting inside the hull. just like a normal FX-1 except that my limited chamber seems to have some more room, although not pictured. I'm running a limited chamber with a RN gas tank and an ATP waterbox. They all fit well except that I ended up redrilling my battery box a little closer to the motor to get my straps to work properly with the internal fill gas tank.
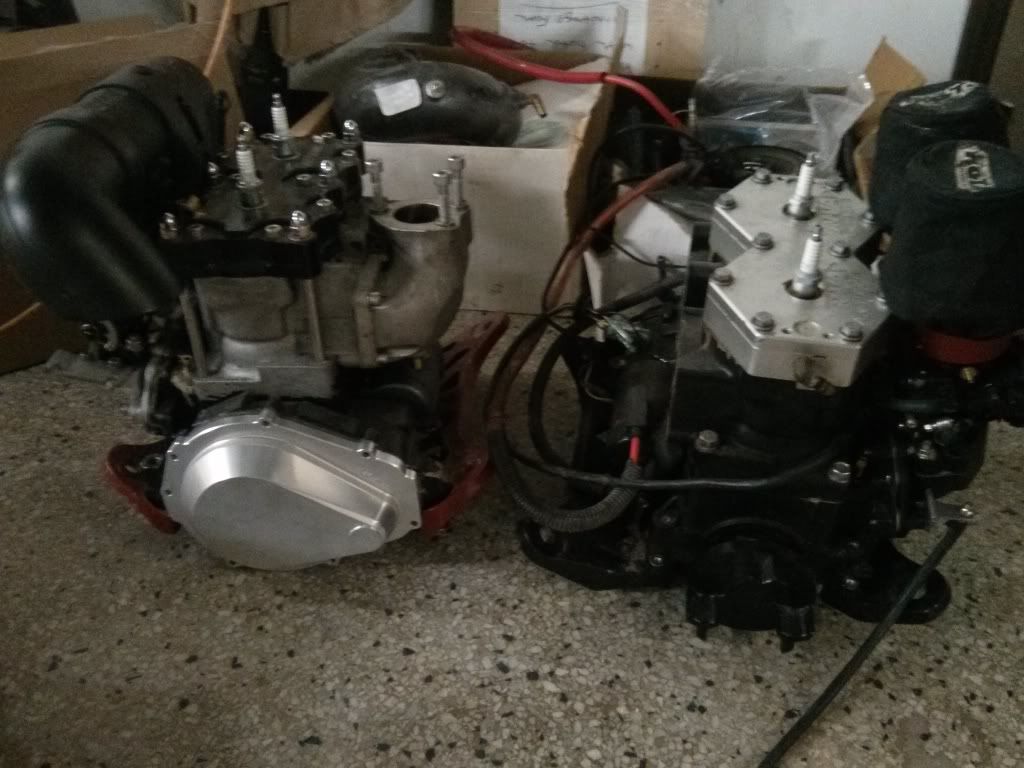
This is the big bore that will be going in. I've got a 701 for my girl's F1 Pro when I get to building that thing. My stuff always ends up looking like trash so I don't usually put much work into shiny things. I'll be running some crusty red bed plates, with a half paint stripped motor, and a melted in flame arrestor cover to clear the girdled head.
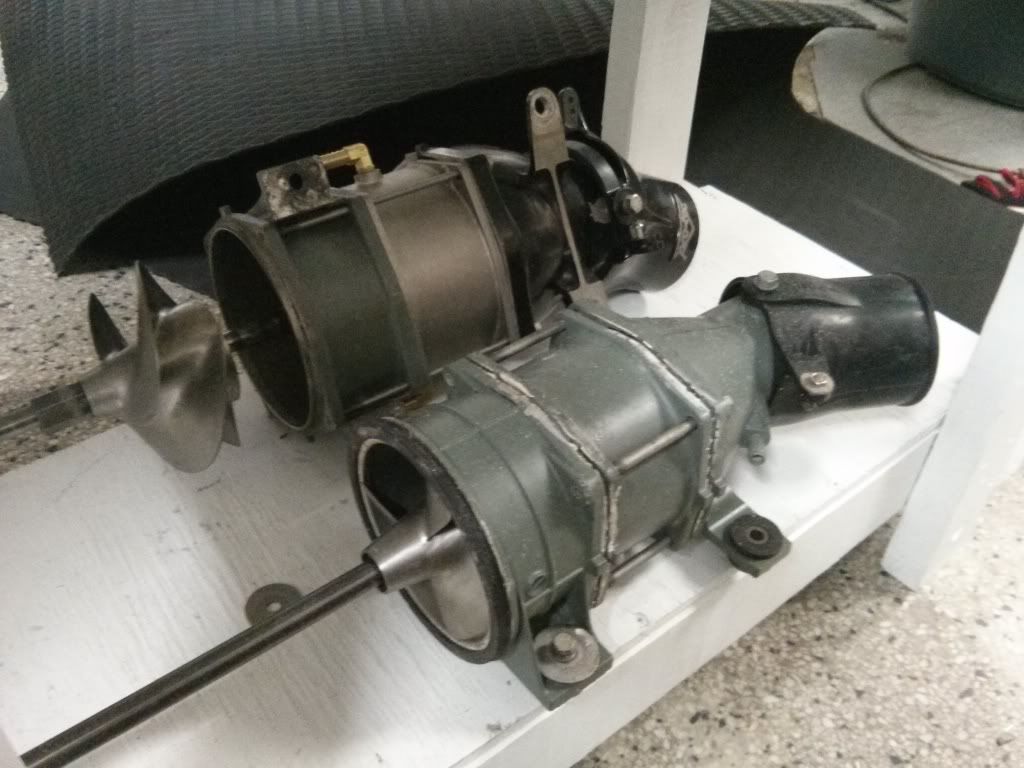
I can't wait to try out my Solas Mag with some trim. Gonna be a whole new game compared to my stock pumped FX-1 especially with a hull half the weight and 6 inches shorter.
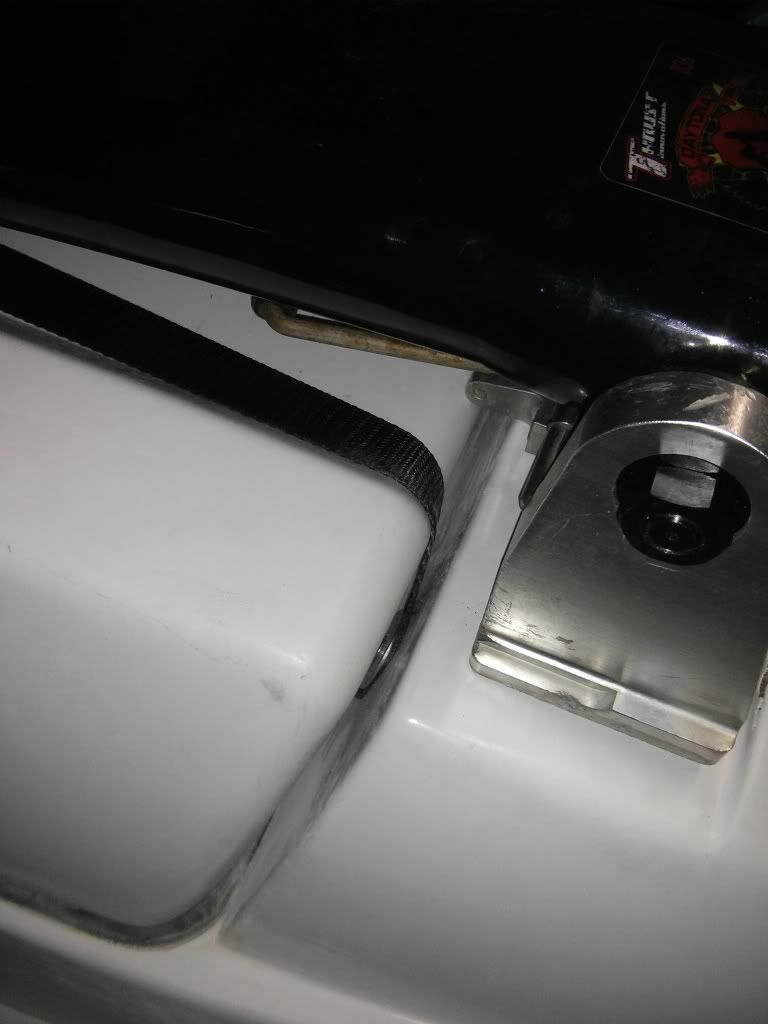
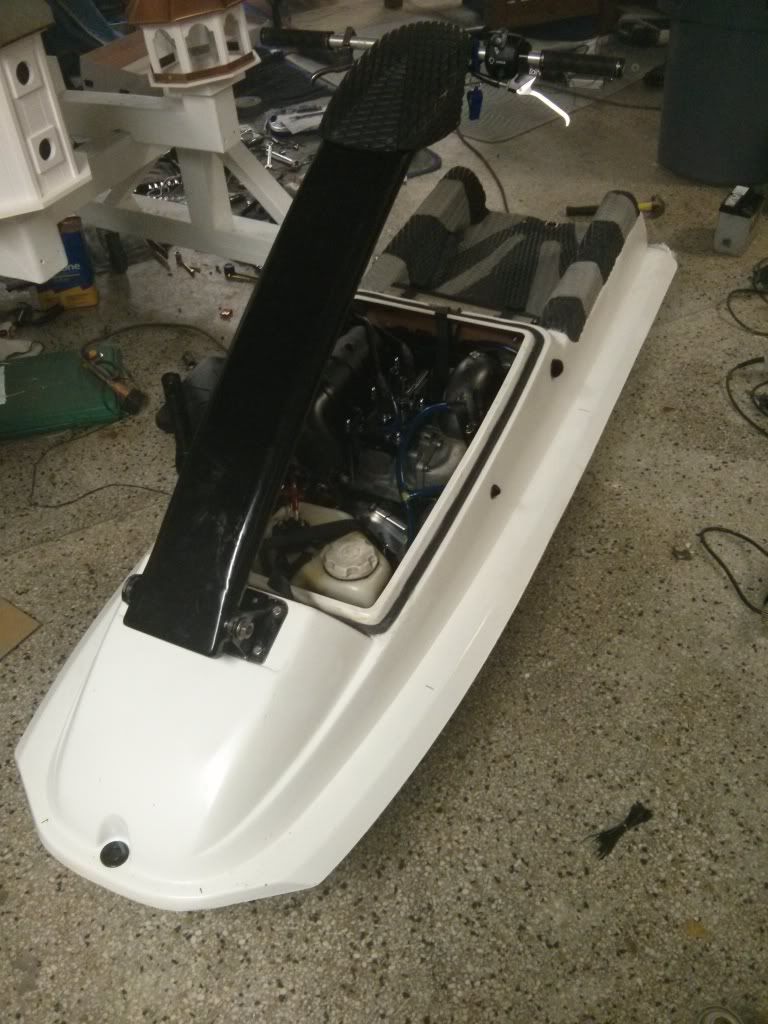
The hood is totally cleaned up compared to stock. I'm just going to run a ratchet and no latches or hooks. I used a Watcon seal and it raises it up too high for the stock setup to work. I may cut the center or spend a load on OEM someday, but for now it stays.
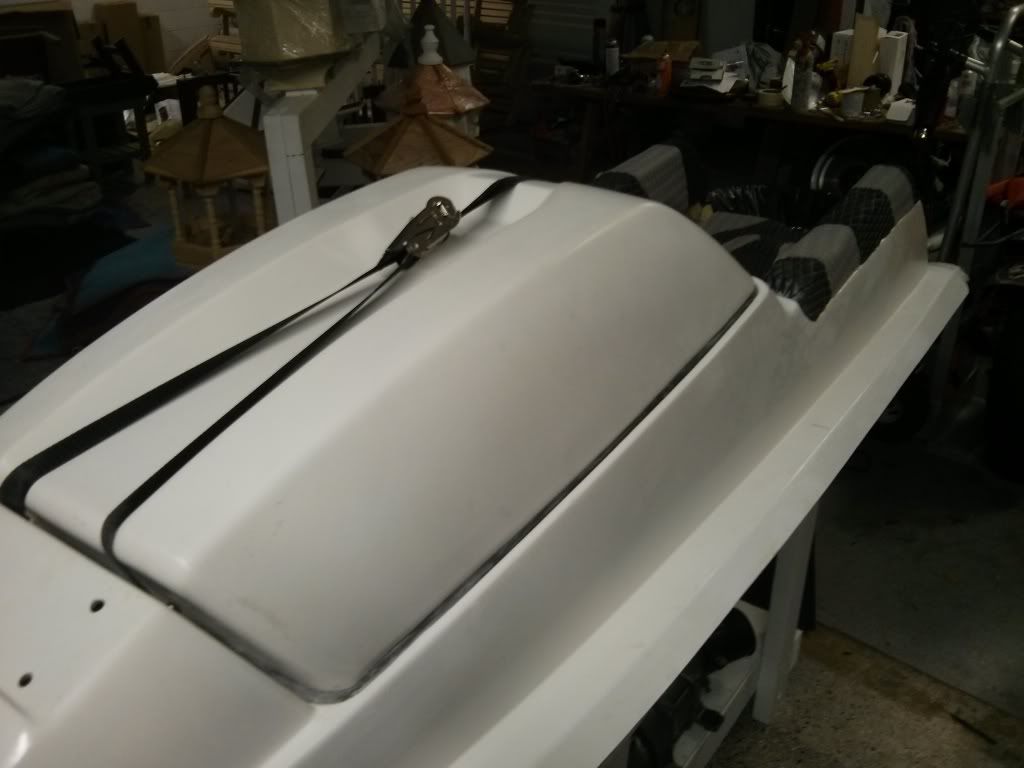
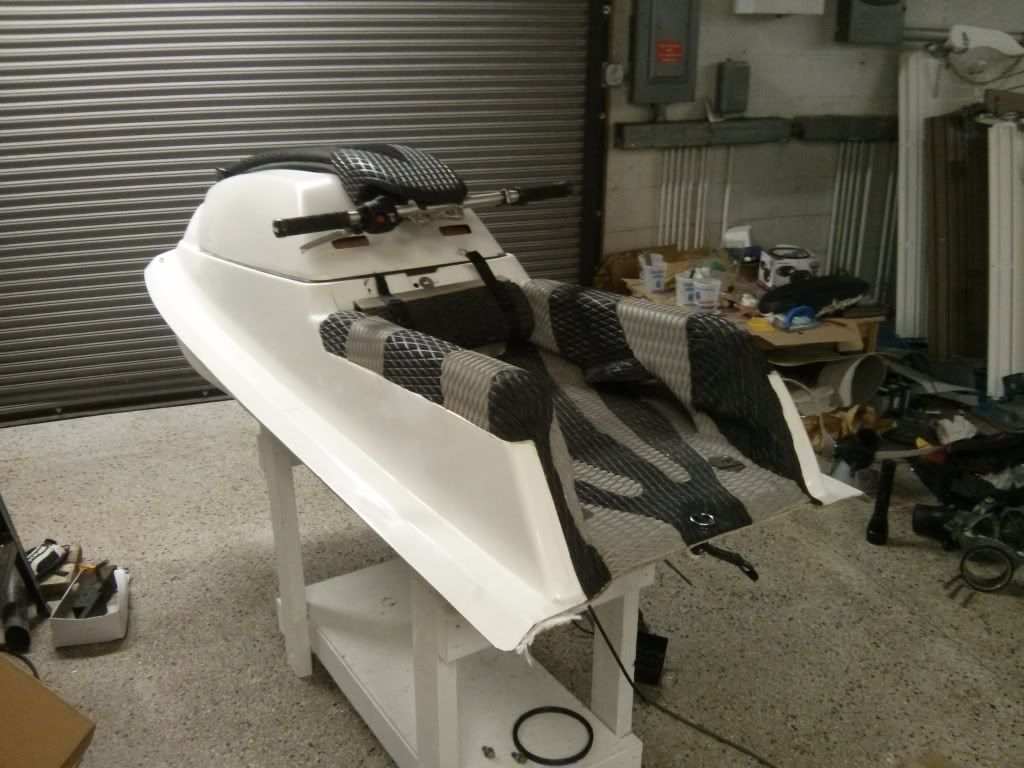
And now here it sits. I got frustrated with my last piece of turf and decided to make this thread instead of making a mistake being frustrated. There were more steps involved to get to this point, but these were the pictures that were handy on my phone. Every week for a month or so, I have thought that it will be ready for the water by the weekend. The weather and work have both ruined me a few times now, but hopefully this is the one.
First was the pump shoe. He made the hull to fit the plastic shoe tight, so my metal shoe needed a good bit of grinding. I also did a slight bit on the hull to move it a hair forward since it was tight against the pump with no seal installed. This picture is of much later in the process after I got all the plumbing and exhaust done up but there she sits.

Then was the plumbing. I had some leaks the first time around, and then the second time I tinted the epoxy white to make it obvious where I was adding on, and also because I had to touch up a couple gel coat spots. It didn't actually turn white with US Composites yellow epoxy, as you can see in the previous picture in the corners. I've got some actual gel coat to for any other spots that I may need it.

It was fresh out the mold, so it still had some clay on it as well the stock FX-1 bondline on the bottom deck. This is a good comparison of the two before I chopped the stock one off.

I finished the inserts inside, bonded the decks, and laid a layer of biax across the seam. It came out well and this is of course a picture much later in the process.

A sexy pic after I laid a layer of biax on the bottom of the rail as well with some tinted white epoxy, West Systems this time, to try and blend it in a little bit. I'm not sure that I will ever bother cleaning up the bottom of the hull, but the top I am going to put some effort into a nice wrap.

Here's some stuff fitting inside the hull. just like a normal FX-1 except that my limited chamber seems to have some more room, although not pictured. I'm running a limited chamber with a RN gas tank and an ATP waterbox. They all fit well except that I ended up redrilling my battery box a little closer to the motor to get my straps to work properly with the internal fill gas tank.

This is the big bore that will be going in. I've got a 701 for my girl's F1 Pro when I get to building that thing. My stuff always ends up looking like trash so I don't usually put much work into shiny things. I'll be running some crusty red bed plates, with a half paint stripped motor, and a melted in flame arrestor cover to clear the girdled head.

I can't wait to try out my Solas Mag with some trim. Gonna be a whole new game compared to my stock pumped FX-1 especially with a hull half the weight and 6 inches shorter.

The hood is totally cleaned up compared to stock. I'm just going to run a ratchet and no latches or hooks. I used a Watcon seal and it raises it up too high for the stock setup to work. I may cut the center or spend a load on OEM someday, but for now it stays.

And now here it sits. I got frustrated with my last piece of turf and decided to make this thread instead of making a mistake being frustrated. There were more steps involved to get to this point, but these were the pictures that were handy on my phone. Every week for a month or so, I have thought that it will be ready for the water by the weekend. The weather and work have both ruined me a few times now, but hopefully this is the one.


