Vumad
Super Hero, with a cape!
- Location
- St. Pete, FL
This is a technique I came up with when I was working on my X2 project in the past. I needed a way to modify the hull without adding tons and tons of weight and fiberglass sanding. I originally started this method with bondo, but have since been using drywall mud. It works very well, and only requires that you can access both the inside and outside of the part.
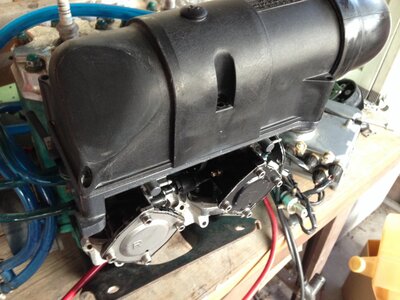
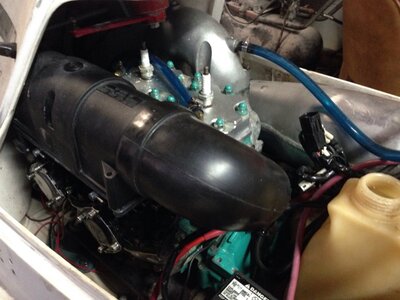
This write up uses my airbox, but I originally started using it on hulls, so I know it works just fine.
The background on this job is that my X2 has always had water ingestion issues, as do all X2. I upgraded to 44mm mikunis and wanted to try to dry out the motor.
To start this project, I had to setup the part the way I needed it. The base of the box was off by a few mm, so I marked it by using the stock gasket and tool makers dye. I then used a drum sander, drill bits and drill press to oval out the holes about 1mm on each side. Bottom of the box was mounted.
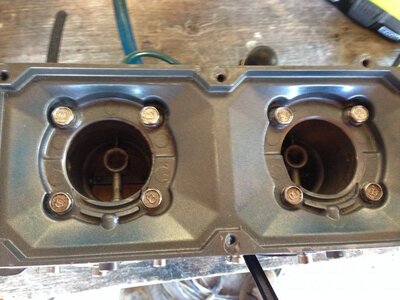
Next, the top of the box had to be clearanced for the hull. I just ground until it fit, then cleaned up the edges.
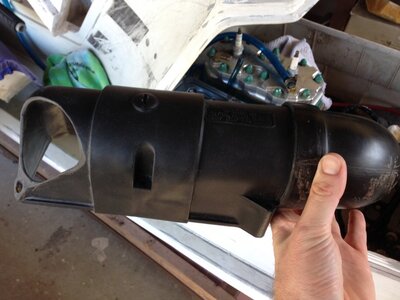
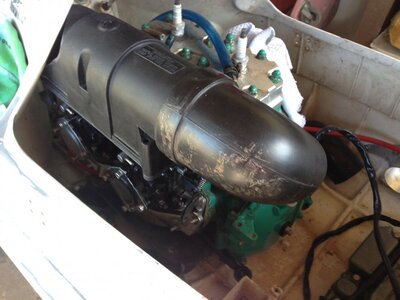
Now, the "on-the-part" method.
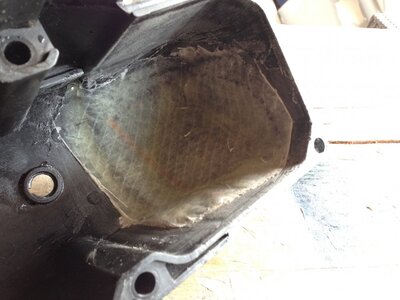
For this project I used drywall mud. Its much easier to work than bondo, and being less strong, its very easy to remove after. I taped off the out side, filled the area with drywall mud, then removed the tape. I worked the drywall mud to be exactly the way I wanted the part to be.
Picture is after I cleaned it, masked it off and applied wax and PVA.
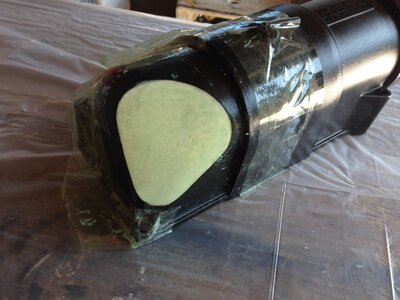
Next, we make the "on the part" mold...
I used gelcoat, as it gives a cleaner finish and saves work later, but it works without gelcoat. For this, I just used a few layers of glass and finished it with conform cloth so there are no pokey fibers. Its pretty wet, but it doesn't matter for a project like this.
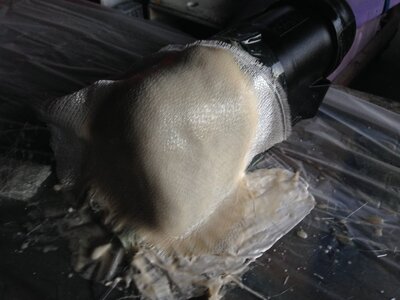
So, here is our mold. It came off the part very easy. The drywall came out very easy. Trimmed the mold and cleaned the part. You can see I got a few slight imperfection in the mold. It doesn't matter. This method always requires the final part to be worked slightly anyway.
Edit: i have since started repairing minor imperfections in the mold with spackle or clay with good results. These imperfections are caused by brushing on the gelcoat. They are hard to avoid, but can be reduced by shaking the part lightly just after putting the gelcoat down so it settles a little better. Larger parts benefit greatly from using a gelcoat gun.
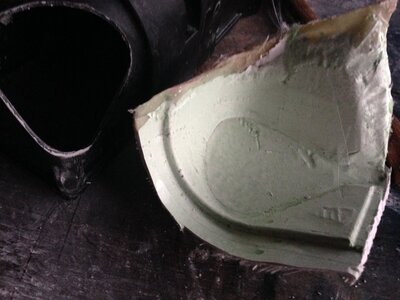
Once the part is all preped for the new material, the mold is waxed and reattached by some method.
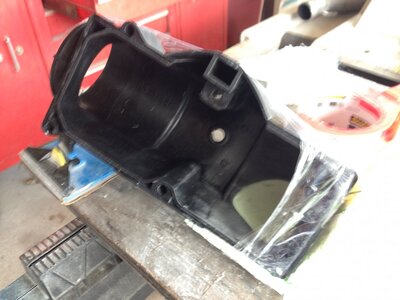
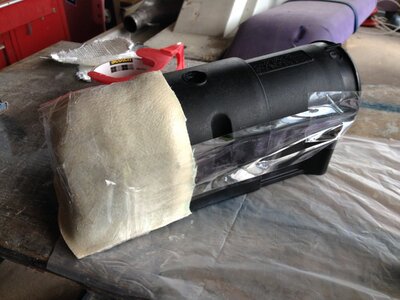
Gelcoat isn't required, but black gelcoat is going to be much more durable than paint. This is black NO wax, glass gets added while gelcoat still has some tack to it. This is 3:1 epoxy.
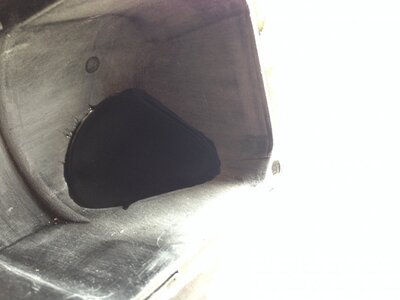
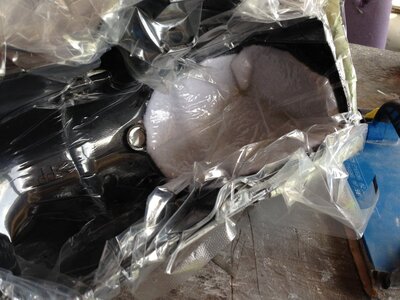
Now we add glass. I vacuum bagged the glass using clothing storage bags from harbor freight and a shop vac. You can just cut the valve out and tape it to more plastic if the bag is too small for the job. Vacuum bagging requires peel ply and breather fabric.
This write up uses my airbox, but I originally started using it on hulls, so I know it works just fine.
The background on this job is that my X2 has always had water ingestion issues, as do all X2. I upgraded to 44mm mikunis and wanted to try to dry out the motor.
To start this project, I had to setup the part the way I needed it. The base of the box was off by a few mm, so I marked it by using the stock gasket and tool makers dye. I then used a drum sander, drill bits and drill press to oval out the holes about 1mm on each side. Bottom of the box was mounted.

Next, the top of the box had to be clearanced for the hull. I just ground until it fit, then cleaned up the edges.


Now, the "on-the-part" method.
For this project I used drywall mud. Its much easier to work than bondo, and being less strong, its very easy to remove after. I taped off the out side, filled the area with drywall mud, then removed the tape. I worked the drywall mud to be exactly the way I wanted the part to be.
Picture is after I cleaned it, masked it off and applied wax and PVA.

Next, we make the "on the part" mold...
I used gelcoat, as it gives a cleaner finish and saves work later, but it works without gelcoat. For this, I just used a few layers of glass and finished it with conform cloth so there are no pokey fibers. Its pretty wet, but it doesn't matter for a project like this.

So, here is our mold. It came off the part very easy. The drywall came out very easy. Trimmed the mold and cleaned the part. You can see I got a few slight imperfection in the mold. It doesn't matter. This method always requires the final part to be worked slightly anyway.
Edit: i have since started repairing minor imperfections in the mold with spackle or clay with good results. These imperfections are caused by brushing on the gelcoat. They are hard to avoid, but can be reduced by shaking the part lightly just after putting the gelcoat down so it settles a little better. Larger parts benefit greatly from using a gelcoat gun.

Once the part is all preped for the new material, the mold is waxed and reattached by some method.


Gelcoat isn't required, but black gelcoat is going to be much more durable than paint. This is black NO wax, glass gets added while gelcoat still has some tack to it. This is 3:1 epoxy.

Now we add glass. I vacuum bagged the glass using clothing storage bags from harbor freight and a shop vac. You can just cut the valve out and tape it to more plastic if the bag is too small for the job. Vacuum bagging requires peel ply and breather fabric.

Last edited:

