Cannibal
Tasty Human
- Location
- Summit Lake, WA
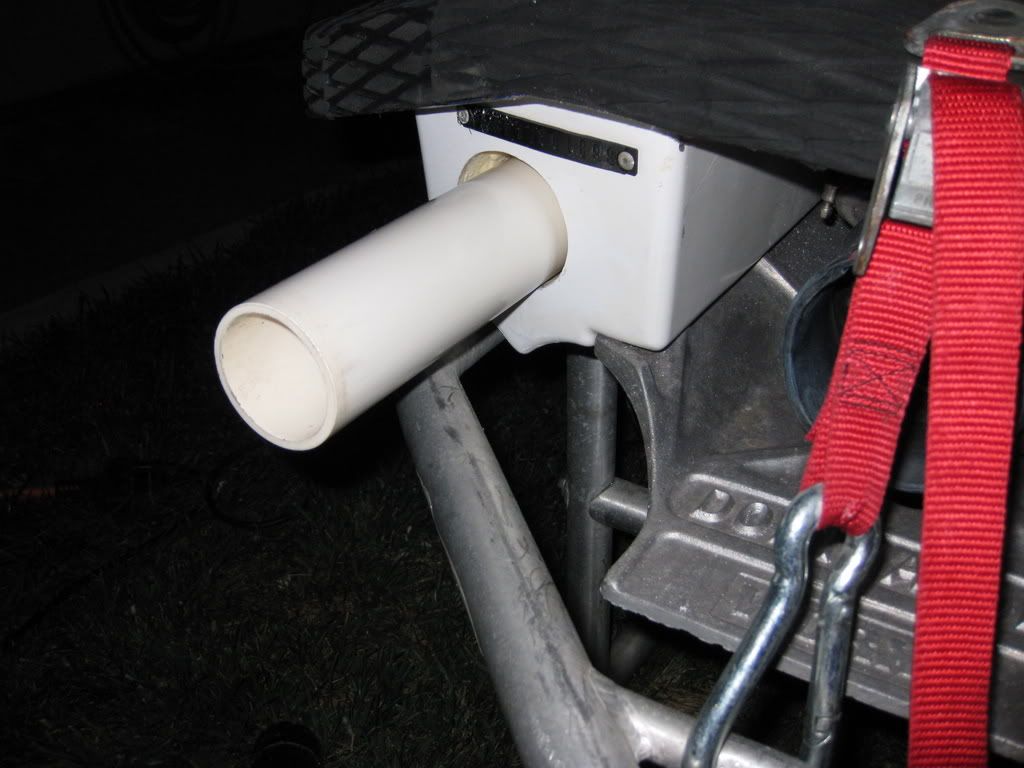
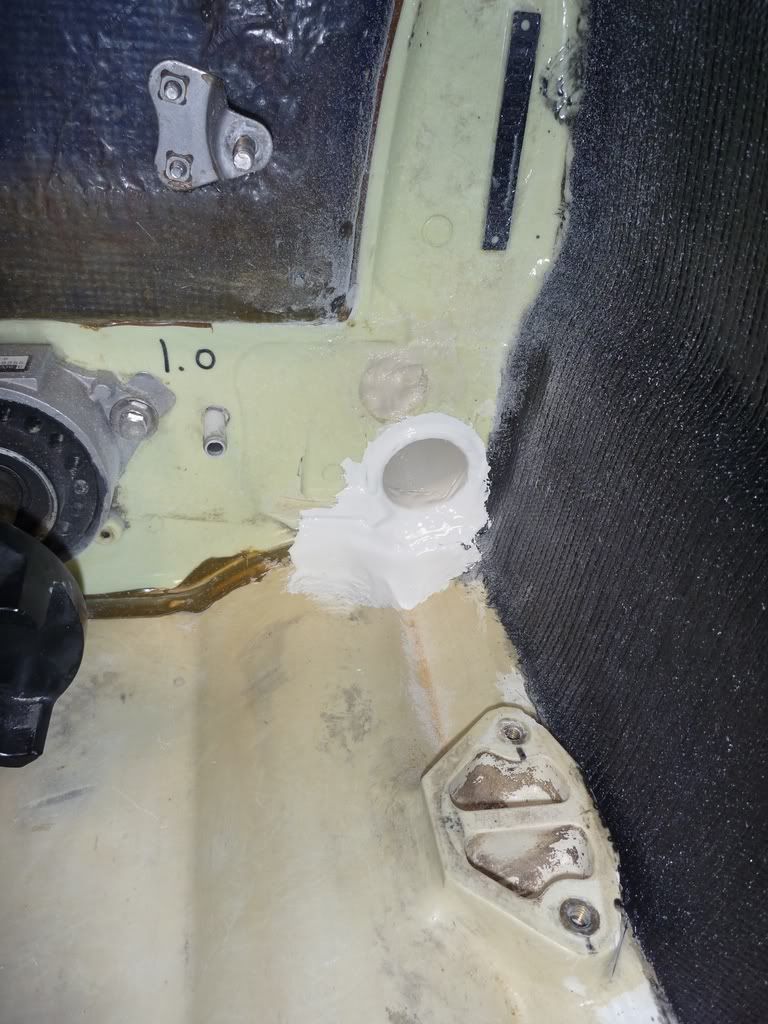
yeah that was a mistake on my end,it was my first one way and i totally should of made it lower, but its too late now.
and is that really a good looking one way? lol (or r u being sarcastic)
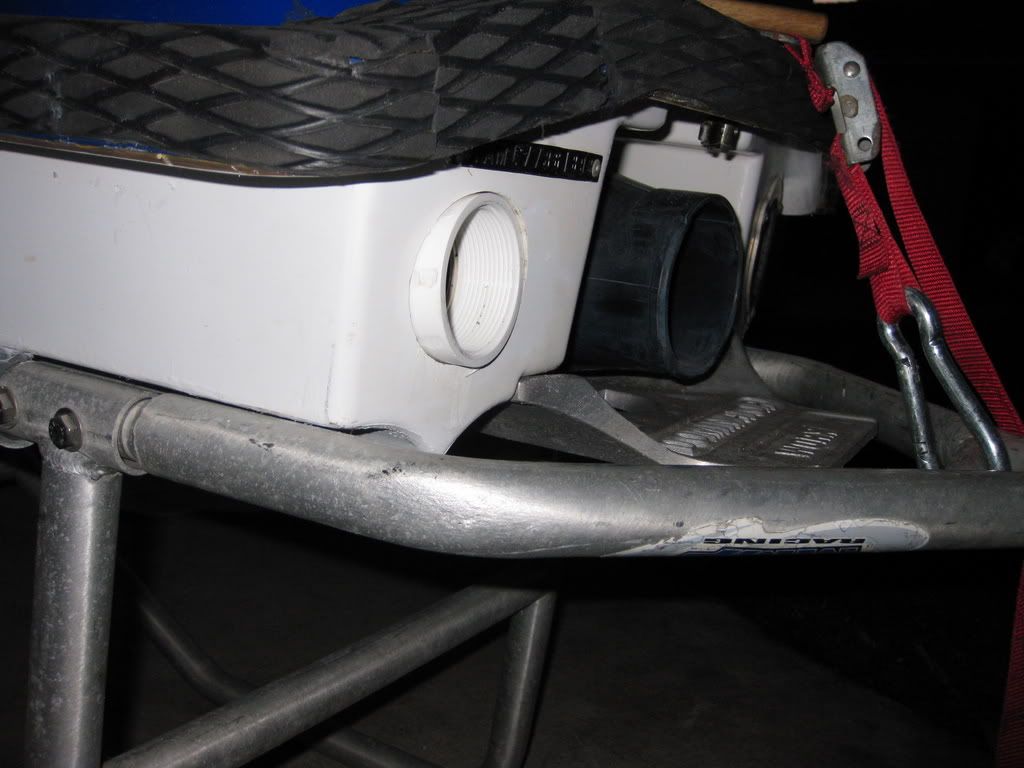
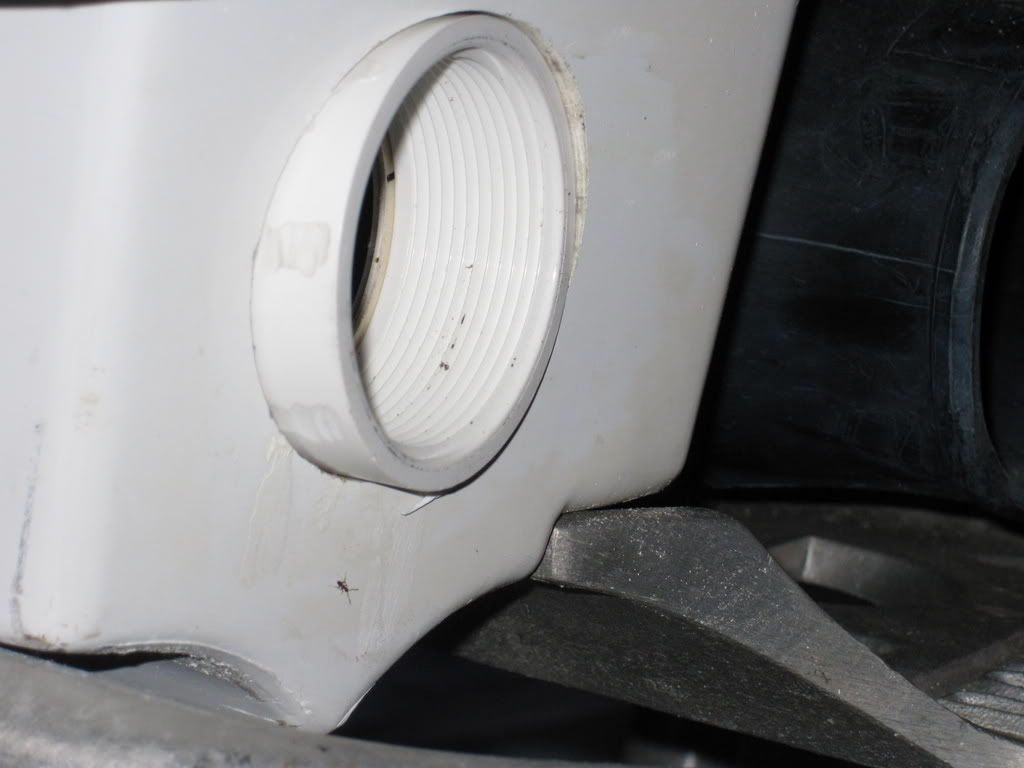
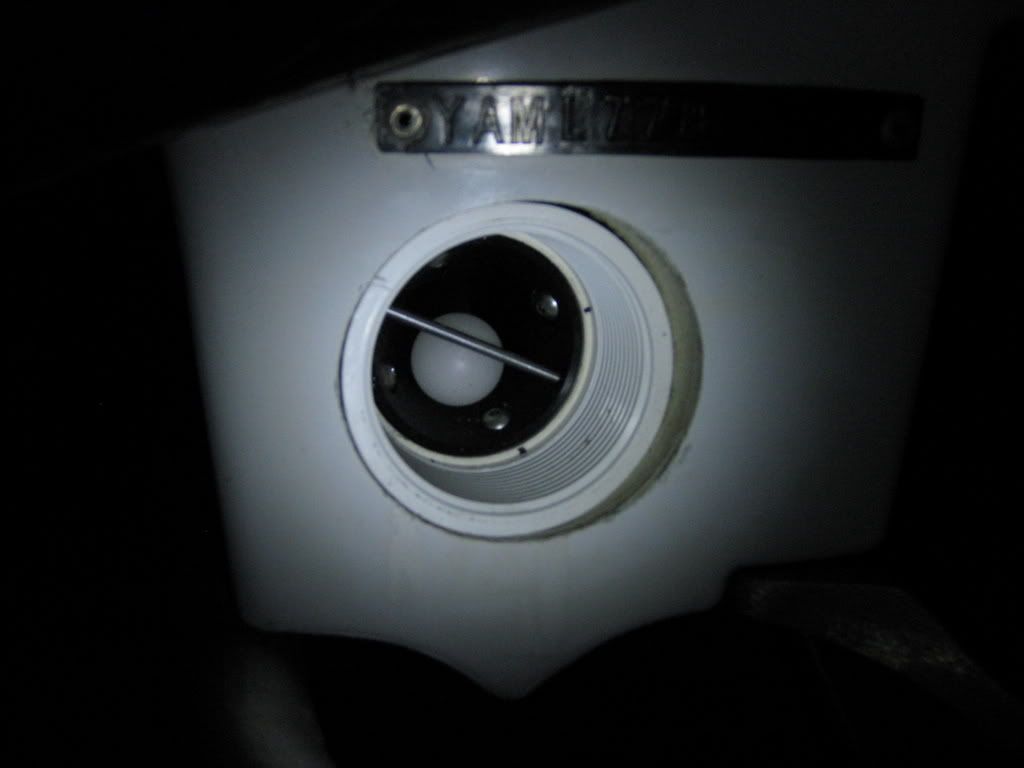
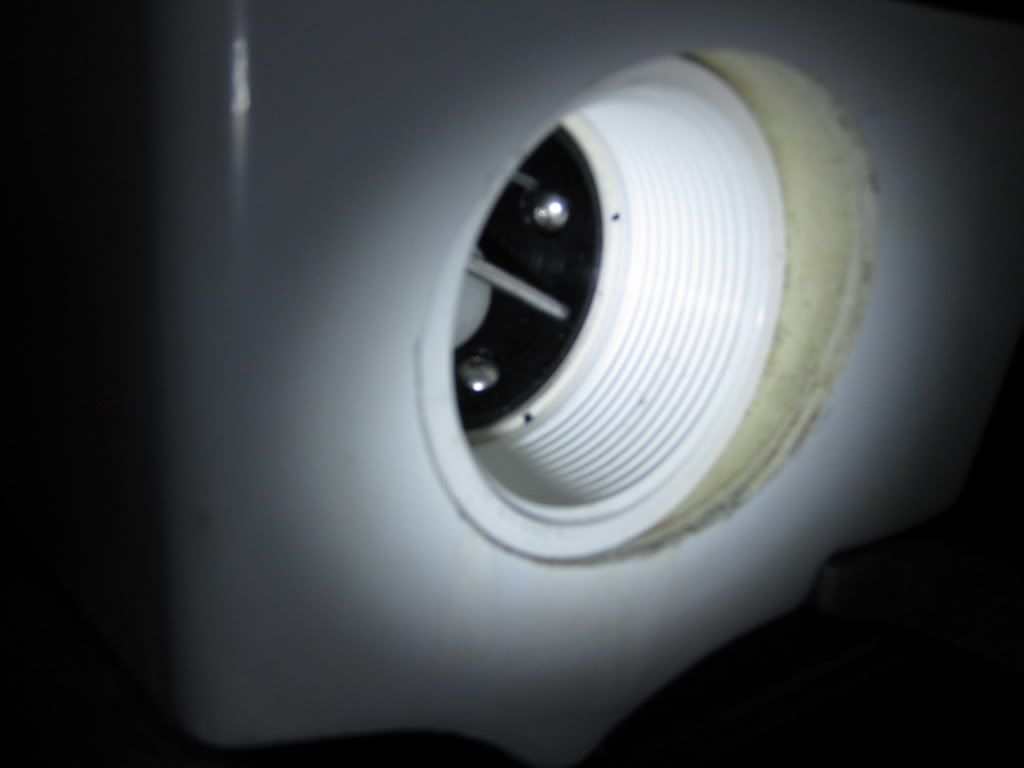
I think he's serious. That's a pretty clean install.
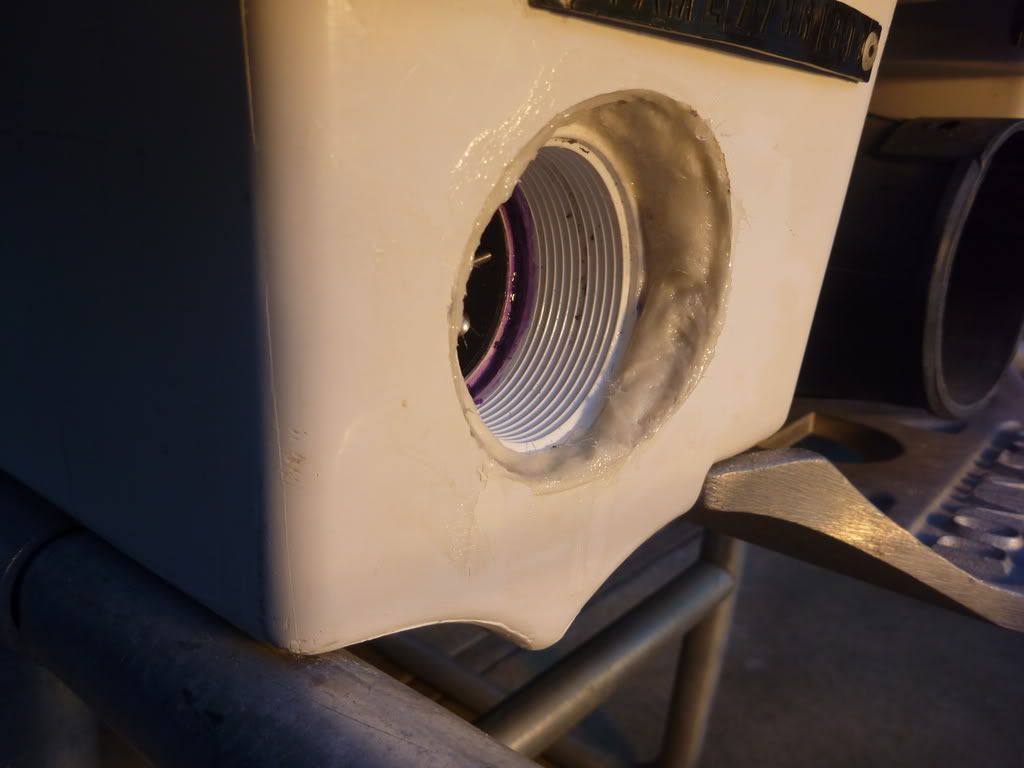
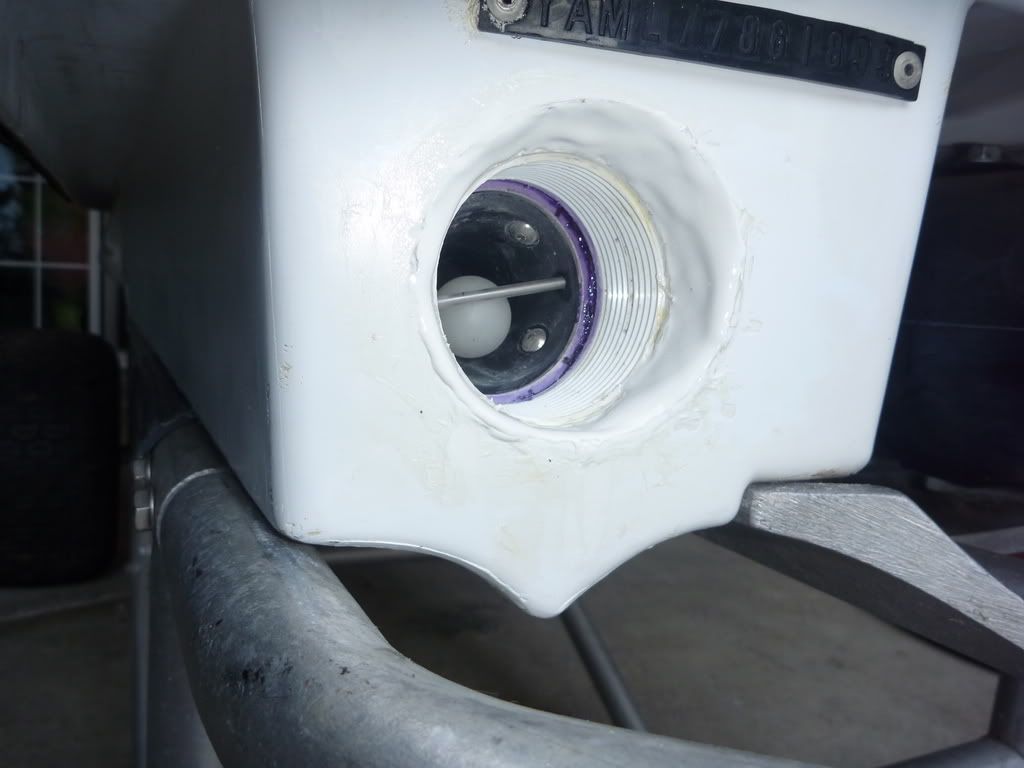
Making that pipe go under the mid-shaft would be a bit harder. You'd either have to heat and bend that pipe to make an upward sweeping curve, or have many elbows to get the job done. For simplicity sake, I'd probably just do it the way you have it. You are talking about like a 1/4" of water? If that bothers you, when taking off from that sub, just lean a little to the left and it'll put the water into that tube.