Westcoast Themed 550 build

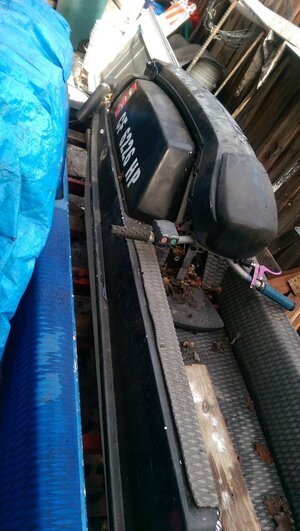
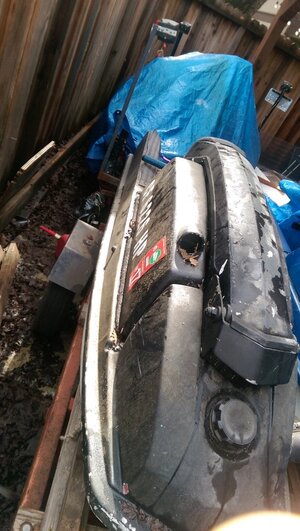
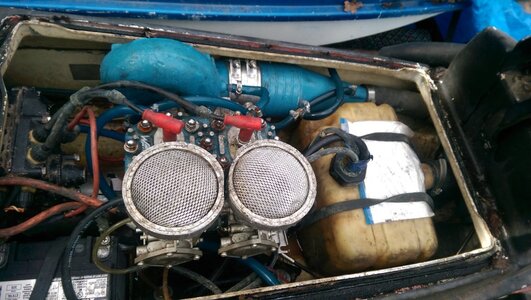
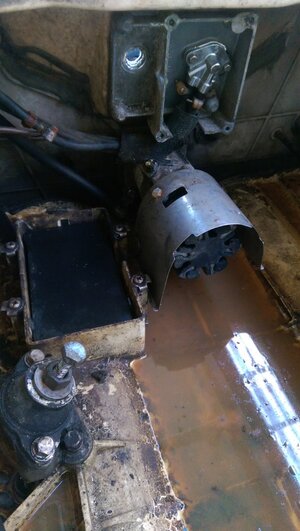
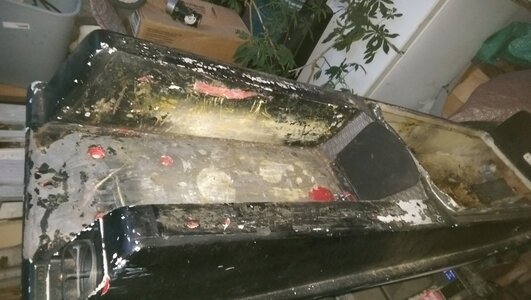
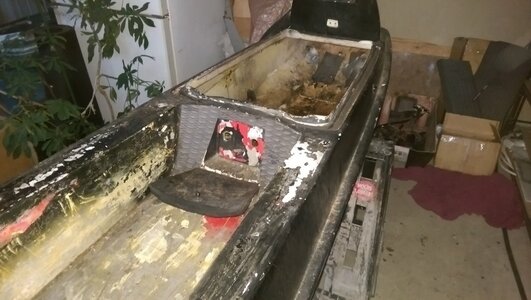
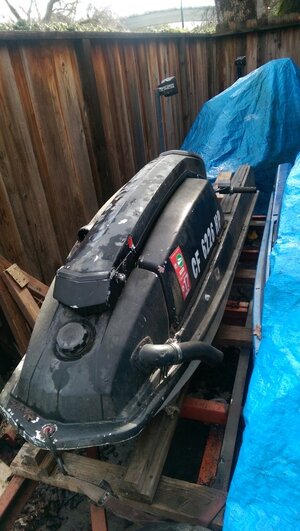
This was my first jet ski I owned ( own 3 now) when I got this baby it had a shattered piston bad crank seals and a blown crank. I put turf on it updated the motor a little at a time, and has been by far my most reliable ski. This has been a long time coming. to get a make over and update!

The plan:
- I'm converting it to a Reed with the Westcoast rc520 Cylinder
- 75.5 Wiseco Pistons
- Westcoast Dual 38 Intake Manifold
- Westcoast Velocity stacks x2
- Westcoast head( interchangeable domes ( going to use a cloth headgasket instead of metal)
- Westcoast Exhaust Manifold
- Westcoast Pipe (5 ring)
- Westcoast Bulkhead Brace
- Westcoast dual scoop hood
- Westcoast Waterbox
- Westcoast Bilge Relay
- Rule 500 GPH bilge
- Lightned Flywheel
- Welded Crank
- Westcoast OS Tank
- Westcoast Ride plate
- Westcoast Intake Grate
- 440 Pump with a 16.5 skat
- Converting from Nose exhaust to Rear.
- Westcoast Themed Paint
- Dual Cooling
- New turf (might do Jet Trim)
- Truing the hull as well as reparing
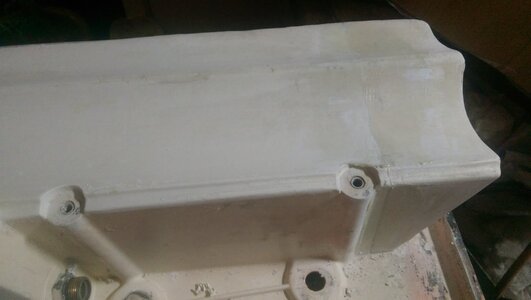
IMAG0311.jpg IMAG0312.jpg IMAG0313.jpg IMAG0314.jpg
 
Last edited:
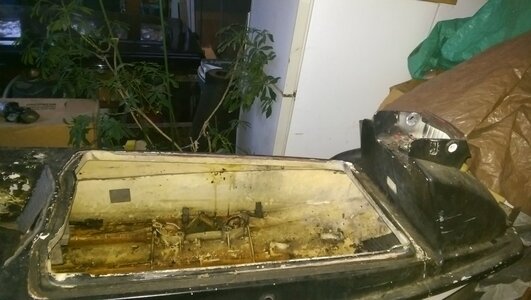
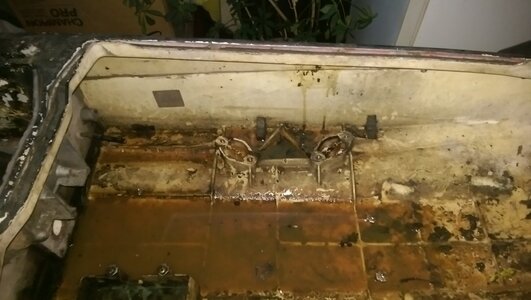
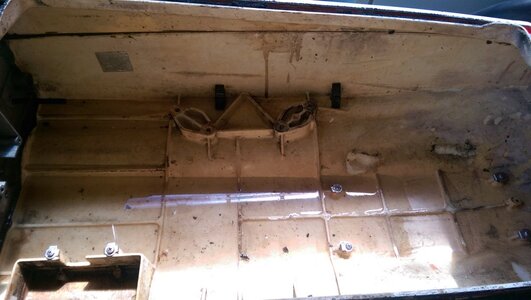
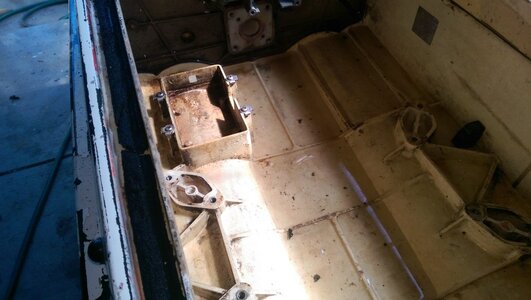
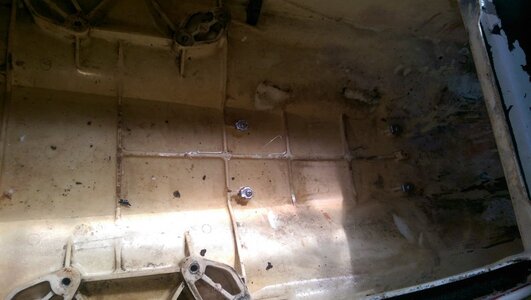
My first day of work I stripped it of its power plant, and the hulls a mess, filthy oily and just disgusting. then I stripped the 550 pump, fuel switch, handle pole, ebox and turf.
IMAG0459.jpg IMAG0461.jpg IMAG0462.jpg IMAG0463.jpg IMAG0464.jpg
 
Last edited:
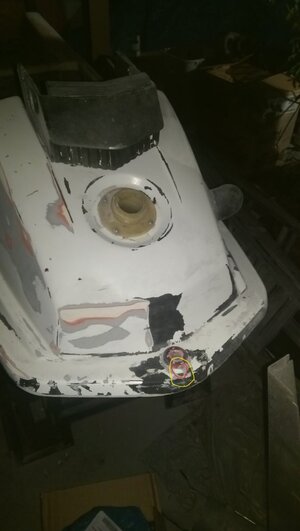
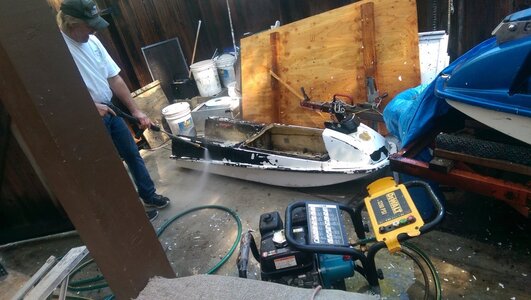
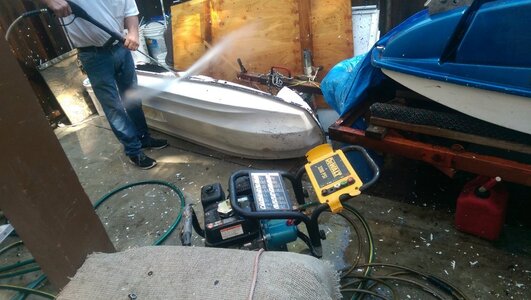
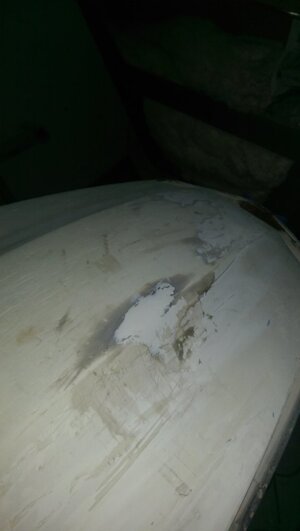
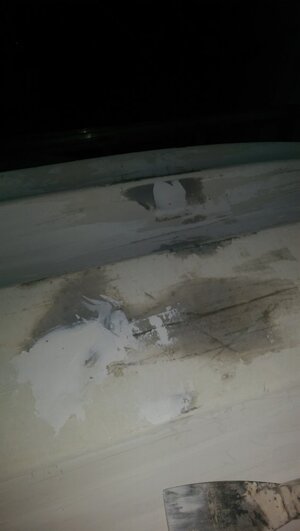
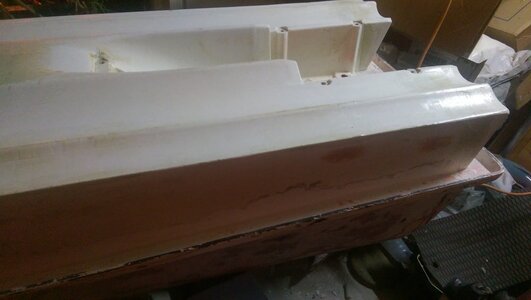
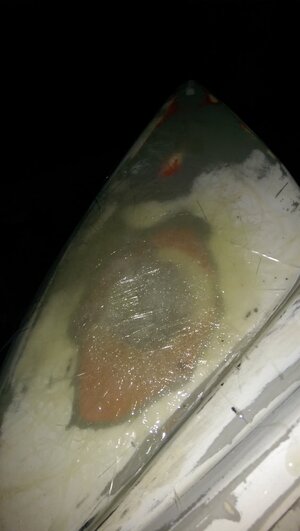
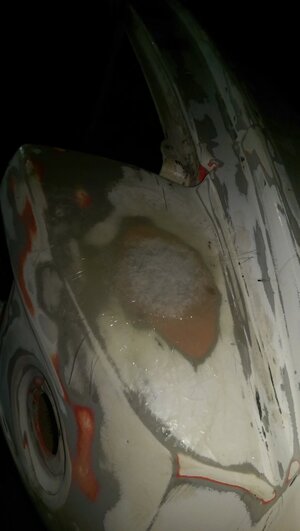
About a week ago I pulled the hull off the saw horses and pressure washed it inside and out to remove as much paint and grime as I could right before I headed off to work. Wow it made a HUGE difference! i even used Degreaser and a broom in the hull. I have never seen this particular boat this clean. The plan is to clean out hull, do some glass work inside (filling nose exhaust hole and the old gas cap). When i was stripping the paint i noticed possible stress cracks. It looked like it was on both sides.
IMAG0470.jpg IMAG0471.jpg IMAG0472.jpg IMAG0473.jpg IMAG0475.jpg IMAG0476.jpg IMAG0477.jpg
 
Last edited:
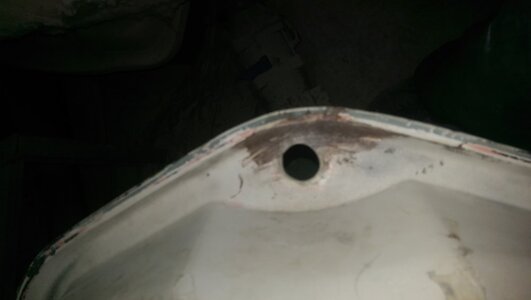
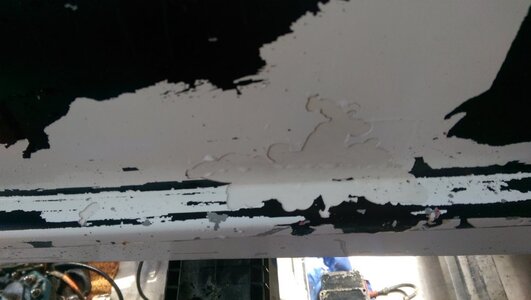
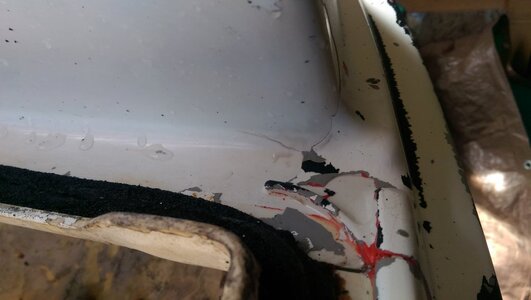
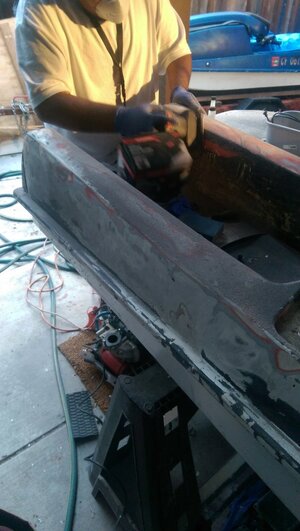
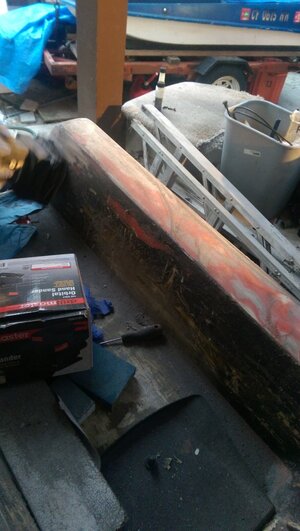
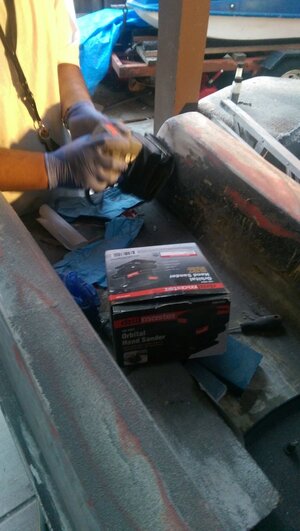
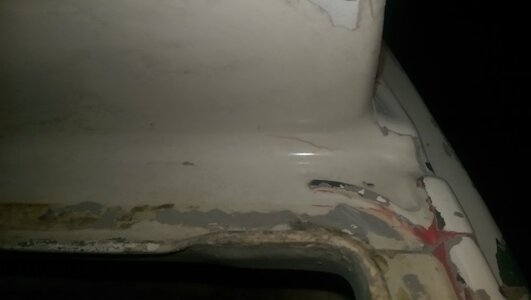
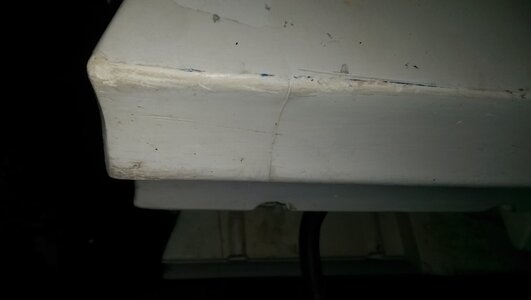
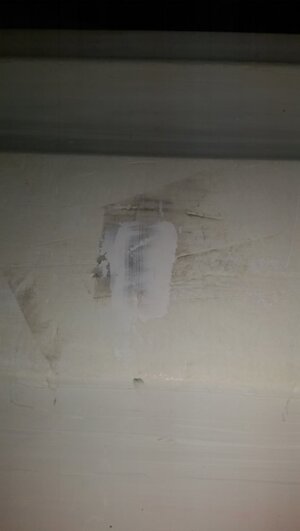
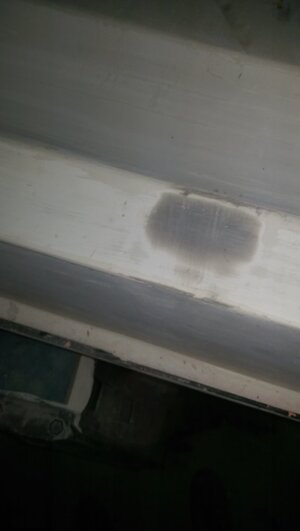
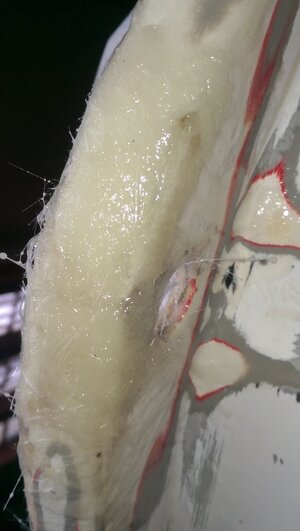
This last Tuesday Me and a Friend of mine Started Sanding the hull. It Appeared the hull was painted 2 times in its history. most recent was Black and white, cheap paint job. then before that it was all white and was done correctly. So my friend and I grabbed some power sanders, slapped 80 grit on there and tried to sand to the primer that was put over the original red paint job. some areas we went a bit to far but its ok. I cleaned up around the areas I suspected a stress crack to fully reveal it. I don't know if it's just the gel or is the hull actually cracking there.
IMAG0501.jpg IMAG0502.jpg IMAG0503.jpg IMAG0506.jpg
 
Last edited:
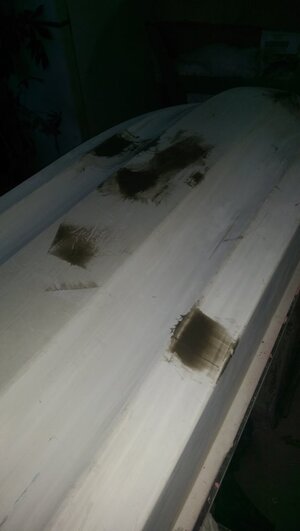
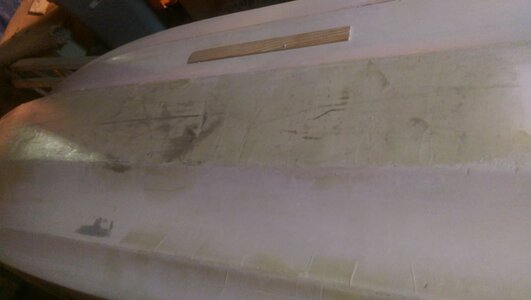
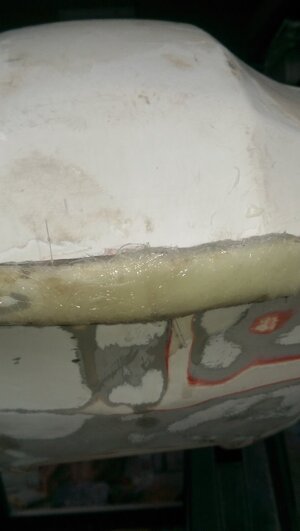
This last Wednesday I worked all day solo. I finished sanding the top part of the hull and then flipped it over to work on the bottom. The first thing I noted on this boat, is that with its current setup low to mid 40's it becomes extremely unstable and I always fall to the right. I learned to keep it under control and limit my falling but it handles badly compared to my 440 in a 550sx hull. I did some research and that roll that i'm experiencing is from it taking on water at the hull extensions. IMAG0468.jpg IMAG0516.jpg IMAG0519.jpg IMAG0520.jpg
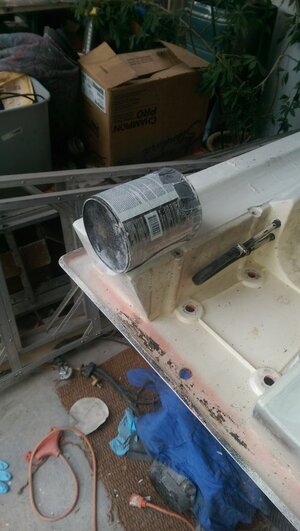
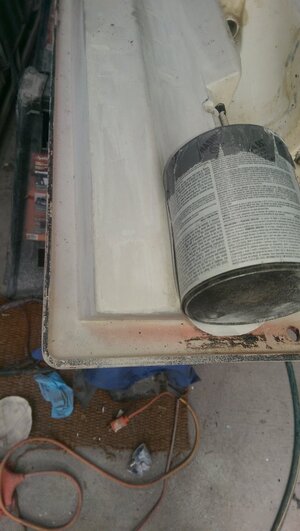
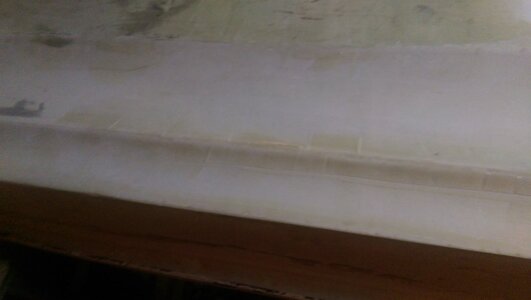
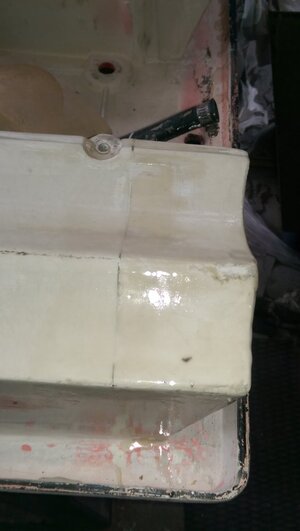
I took a can of Stain wrapped it in sandpaper and sanded the channels, especially the hull extensions.
 
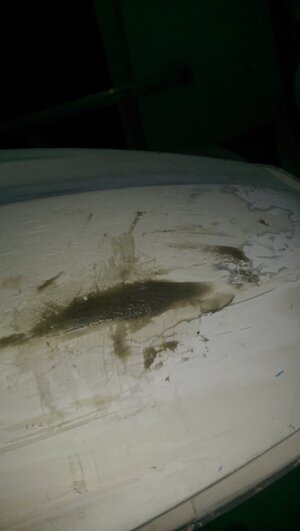
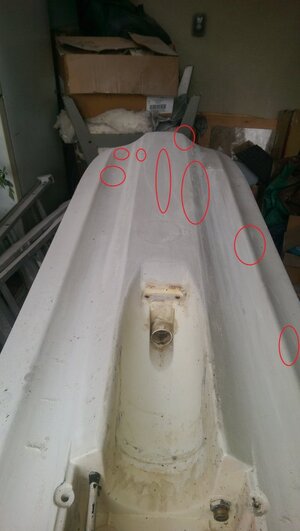
Once i trued the Channels, I cleaned the bottom with a shop vac and wiped it down with acetone. There were Several deep scratches and chunks missing. I circled them in red.
IMAG0517.jpg
also in the bow there is a chuck that was broken and when i removed the bushing the chunk fell out. the area is circled in yellow and the shape of the chunk is in red.
IMAG0515 (1).jpg
After the hull was cleaned I took a Piece of PVC that we used on out sprinkler lines and pushed it through the bow eye, I then taped it in place and filled in the area where the chunk was then removed the PVC pipe to have a newly formed bow eye. i plan to lay glass over it to make it stronger.
IMAG0536.jpg
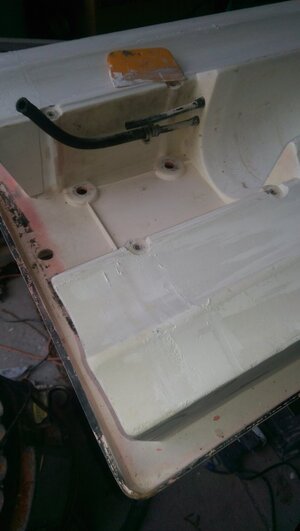
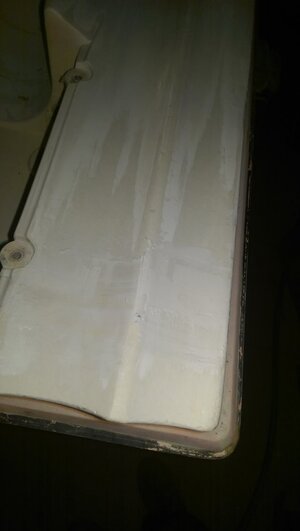
After I reconstructed the bow eye i then took some fiberglass filler by bondo, to fill in the Deep scratches and pits, its not perfect but it fills them most the way. I let it dry and followed it up by sanding it down. And I finished it up by filling in the smaller holes with fairing compound (its old I might need to redo it with "peanut butter" (resin, silica, and micro-glass-balloons) I also filled the cracks where the hull extensions meet the hull.
IMAG0526.jpg IMAG0527.jpg IMAG0528.jpg IMAG0529 (1).jpg IMAG0530 (1).jpg IMAG0531.jpg IMAG0532.jpg
 
I been checking the fairing compound periodically and it still hasn't set up. It feels try to the touch but if I push on it , its not firm. could be 1 of 2 things. We had a storm come in and its been cool and humid so that may be one cause, the other might be that its just too old. Because of the storm I haven't been able to go out and work on it. I did got to Tap Plastics to pick up Silica, Micro-Ballons, and some thick fiberglass. the powders are for making fast setting fairing compound. and the thick fiberglass is so I can fill the gas cap and old exhaust port.
The plan is to grind the 2 areas in such a way so the look something like this ====> <==== so they have a nice taper then i'm gonna use a thin mat glass for the first layer then i'm gonna put a layer of the thick stuff, then follow up with 2-3 more layers of thin matting, each piece of matting ripped by hand and a bit larger then the previous lay so build up evenly so it will be strong. sand it when dry and then put on the fairing compound then sand it smooth.

Any how this is where I'm at. If any one wants to chime in with tips tricks suggestions ideas feel free to do so.
 
I went and did a little work yesterday. I'll take a couple pictures and put them in next post. I mixed about 2 OZ of laminating resin, Some silica, micro balloons and some wax. to make resin a little thicker then cold honey. and i uses a rubber spreader to get it in all the scratches on the bottom side of hull. I'm probably going to mage 1 more batch thicker yet and spread it one more time let it dry for 45 mins or so then sand away the excess. on the hull extensions i'm going to lay some mat glass to further strengthen so they don't leak.
 
Location
MN
Good to see a old school build! you may want to fill the driveshaft area in the pump tunnel while you are working on the bottom. I'll be interested to know how the handling changes which your work on the bottom.
 
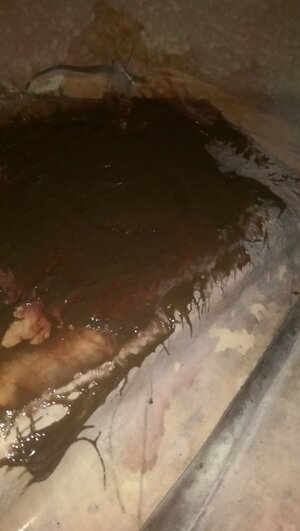
I Went to Sac today to look at some houses, but when I got home I went right back to work. I went to see how the peanut butter turned out, it was AWFUL.. I did something wrong? it seemed like some paint was still on the hull. and it causes the paint tp bubble up. * lots of curses later* I scrapped most the peanut butter off.. then I started to think.. I went to the market and grabbed some paint stripped and I painted bottom of hull with it, that made quick work of the paint.. it scrapped off like butter. leaving just the gel coat. took about 3 coats of stripper to get it all off. I then went with sand paper and scuffed most the areas that needed work. I cleaned my work areas with acetone after i dusted them off...
IMAG0559.jpg
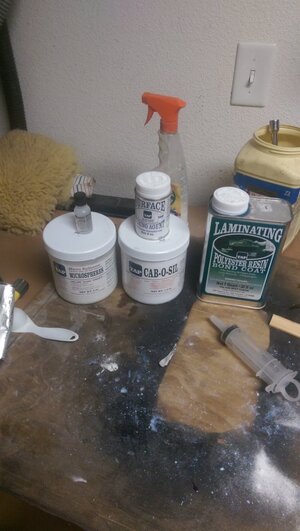
This is the stuff i used to make the Peanut Butter
IMAG0560.jpg
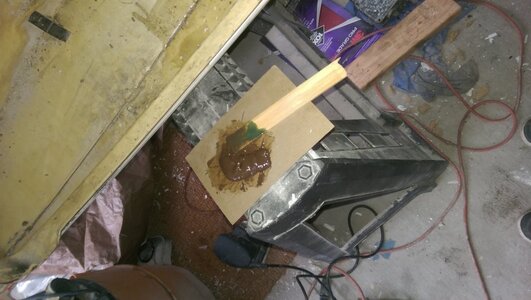
I mixed it in a small cup. I added about 1 OZ of laminating resin. I then followed up by adding about 15 or so drops of wax aditive, then i added about 10-15 drops of hardener, mixed it well. the resin went from a blueish to more or a turquoise. I added 2 table spoons or silica, mixed it then added about 1 tablespoon of micro spheres(balloons). it became a light creamy green as thick as peanut butter. ( this batch was thicker then the one I made night before, I also added more hardener and wax.

I chose not to do whole hull this time just in case it failed again. It was thicker and easier to spread. I did the extensions a couple ridges and about 2/3rds of the flat bottom laying a thin layer filling in all the gouges and deep scratches... trying to make it a nice even surface.
IMAG0561.jpg IMAG0562.jpg IMAG0563.jpg IMAG0564.jpg IMAG0566.jpg
 

Kohldanielzimmer

Sierra Nevada Runoff Rider
Site Supporter
Location
Ahwahnee, CA
I think he meant polyester or epoxy resin... Polyester resins don't adhere well to sheet molded compound (SMC). You should get some epoxy resin.
 
quote_icon.png
Originally Posted by stixx925
I picked up some epoxy resin, all i can say is its about 33% more expensive the poly resin........ plan today is to finish filling the bottom, sanding, and then start laying glass on the top half to block the holes from old exhaust and filler cap.
It's raining pretty good but I'm sheltered. the humidity however will slow the drying process.
What i did i mixed some epoxy resin, thank god it has almost no odor. and i went over the hull polyester filler to seal it. then i mixed some silica and micro spheres into the left over resin.mad it a bit thicker and filled the low areas remaining.
IMAG0592.jpg
Out of that thickened resin, I went and made it about paste consistency by adding some more silica and spheres. With the now paste like left over resin I went around the exhaust to seal it. its gonna need some serious sanding to blend it, but it should be sealed well.
IMAG0591.jpg


At this point the resin was to hard to work with so I tossed it.
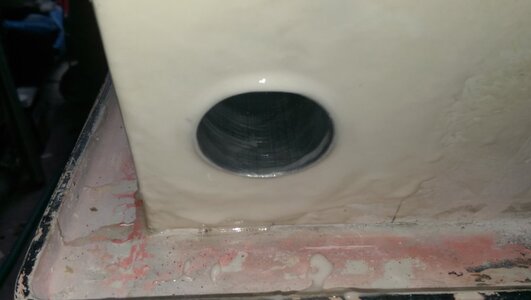
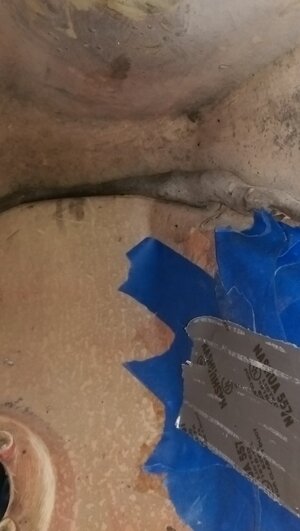
I mixed another small batch of resin to do glass work. Did I ever mention I suck at glass work? It's so messy! My work speaks for it's self! I let the pot sit to thicken a bit and i went inside the hull and taped the back side of the exhaust. I put about 2-3 layers of painters tape and finished it with 2 small pieces of duct tape cuz the epoxy resin gets super hot.

IMAG0597.jpg

I slapped the resin on thick to prep the surface. i then ripped off some mat about 2 times as big as the hole., I then placed it on there and pressed it with brush to soak up the extra resin then i added resin to the brush and started dabbing. I painted the edges, this is where it gets messy. I put on about 2 layers.
IMAG0596.jpg


Once I was OK with the exhaust plug I started work on the bow eye to strengthen it. I put about 3 layers on it by just tearing small long pieces of the mat glass to go in and around the bow eye.
IMAG0595.jpg IMAG0594.jpg


Now it's about waiting... Just gotta let it sit for about an hour or 2 to let it cure.
 
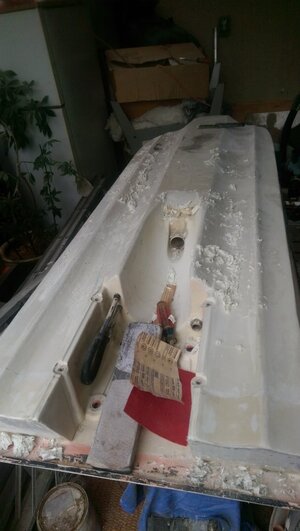
I went back and threw a tarp over ski, and i turned on a hair drier under to help cure the resin. While it was drying, the rear exhaust was firm so I used a very course file to cut the runs, I got it pretty flat then worked it with 80 then later 150 grit paper.Once I finished removing the runs around the Rear exhaust, I shut the dryer off, removed the tarp. I did same with runs around the former front exhaust same way I did rear, file, 80, 150. I removed the tape on the inside of hull and then mixed some bondo glass JUST to fill the inside I'm gonna sand it smooth then but a layer of matting with epoxy resin over the fiberglass bondo to waterproof it.
IMAG0600.jpg IMAG0602.jpg
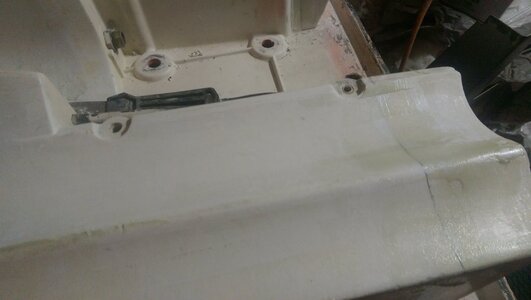
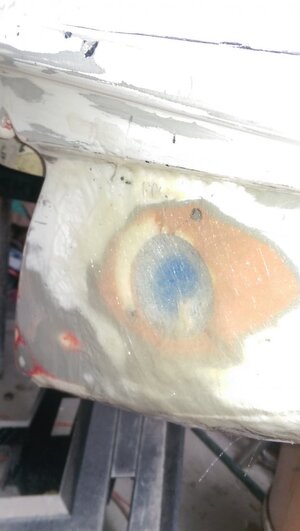
I let that set for a bit then I started working on the glass on the OUTSIDE to Finish filling in the front exhaust I cut some very thick glass to the size of the hole. I slapped some resin on thick to the thick glass and placed it inside the indentation. i dabbed it with the brush to soak the resin up then i slopped more resin over it by dabbing. I laid another layer of the thinner matting larger then the indentation. and dabbed that on finally i put a larger pice covering the 2 layers i just did. I took 1 more smaller piece to fill the low area.
this is what it lookes like after i finished layering.
IMAG0603.jpg IMAG0604.jpg
i used the last of resin added some glass micro spheres then started filling last lower area and a few other areas along hull. that's where i finished up for night.
 
Top Bottom