kraqus
Site Supporter
- Location
- Great State of Texas
You are doing a Fantastic Job Man....
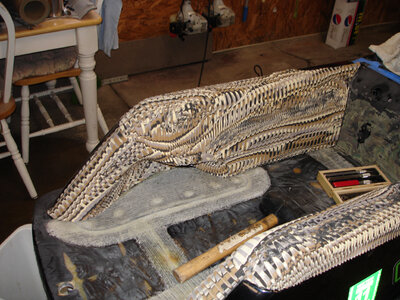
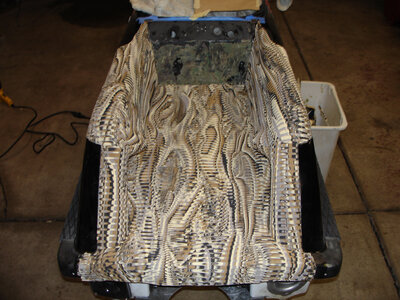
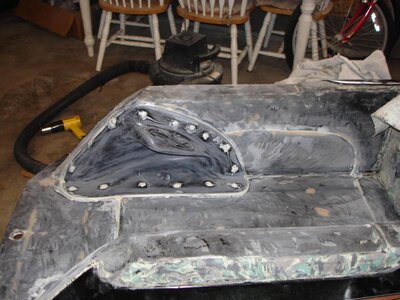
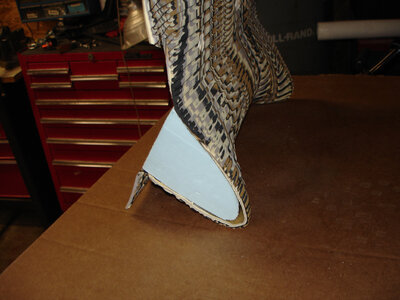
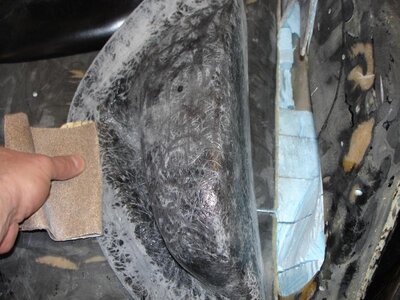
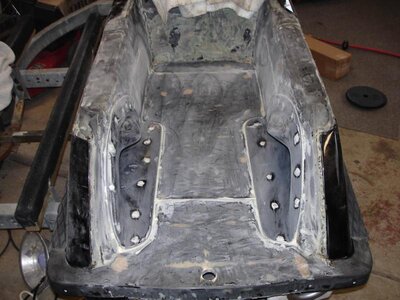
I dig where you placed the Drain plugs...
Benny
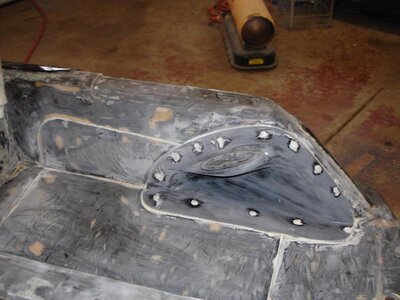
I dig where you placed the Drain plugs...
Benny
You are doing a Fantastic Job Man....
I dig where you placed the Drain plugs...
Benny


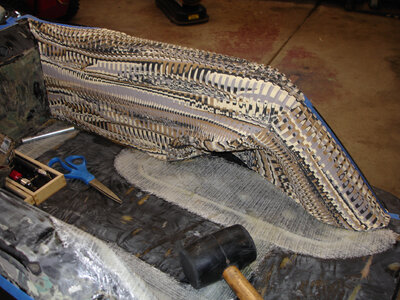
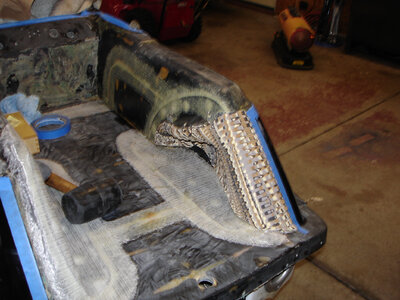
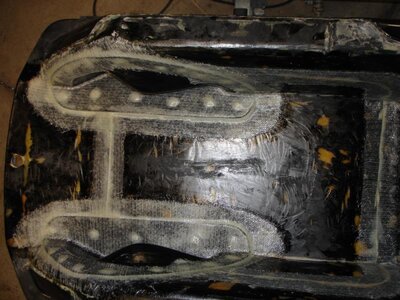
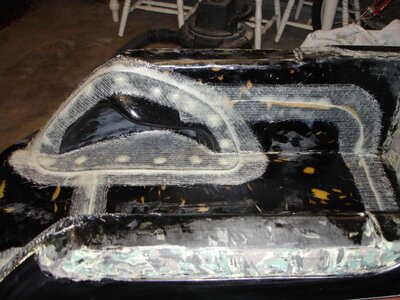
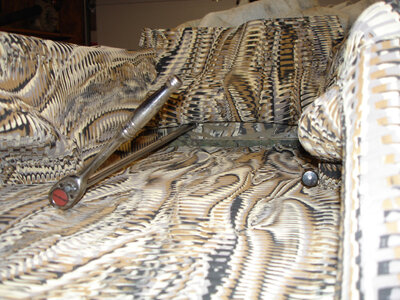
i smell a lot of "mocking up" lol
LMFAO!!
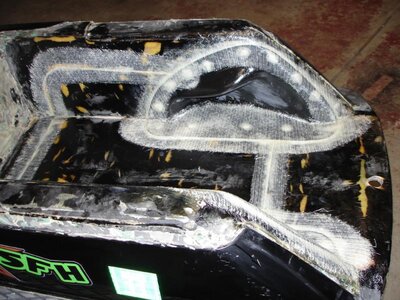
Nice job Brian... Looks awesome!
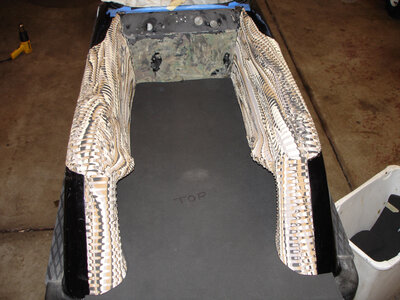
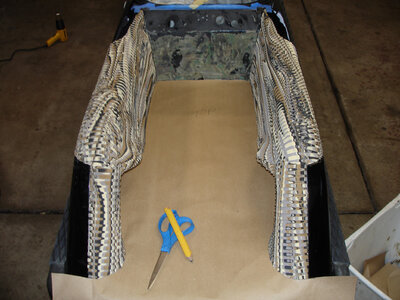
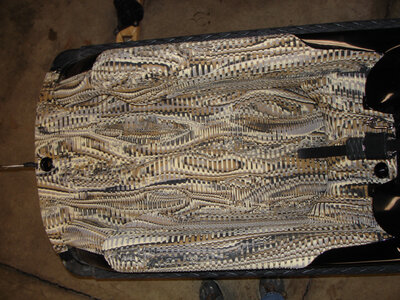
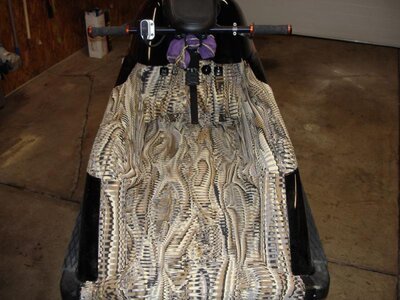
We are just "Mocking Up" for the trip now. LOL