550sx to 750 "All or Nothing" build

Myself

manic mechanic
Location
Twin Lakes AR
And 'viola'!! It sits in there fine and got bolted on with the fuel/choke plate. And if anybody wants/needs these decals, I can get them in any color you want for $25 shipped.
 

Attachments

  • IMG_3089.JPG
    IMG_3089.JPG
    71.7 KB · Views: 26
  • IMG_3090.JPG
    IMG_3090.JPG
    89.9 KB · Views: 23

Myself

manic mechanic
Location
Twin Lakes AR
Next step is RUN YOUR FUEL LINES!! You absolutely CAN'T hook them to the fuel switch with the electrical box in place. Which brings us to the e-box. There is ONE way to get this puppy installed with engine in place. Make sure your drive coupler cover is removed. Leave the jam nuts a bit loose on the 2 bolts I'm pointing at. Sneak the 750 e-box down in there and line up the bottom bolt, then the side, then sort of shove it on a bit while lining it up to the top one that was left tight. Now stick a wrench in behind the barely mounted box and tighten those 2 jam nuts back down. Finish shoving the e-box on fully and install the holding nuts. And there it is......that extra 1/8' I needed to keep the starter wire off the PWCr 750 conversion manifold.
 

Attachments

  • IMG_3091.JPG
    IMG_3091.JPG
    130.6 KB · Views: 21
  • IMG_3092.JPG
    IMG_3092.JPG
    105.9 KB · Views: 20
  • IMG_3093.JPG
    IMG_3093.JPG
    124.2 KB · Views: 18
  • IMG_3098.JPG
    IMG_3098.JPG
    140.5 KB · Views: 18

Myself

manic mechanic
Location
Twin Lakes AR
The exhaust fit in nicely. That stinger water line will get a tee and run over to the oem 750 water temp sensor and out the pisser which are now both installed too.
 

Attachments

  • IMG_3099.JPG
    IMG_3099.JPG
    153.1 KB · Views: 18
  • IMG_3095.JPG
    IMG_3095.JPG
    129.8 KB · Views: 17
  • IMG_3096.JPG
    IMG_3096.JPG
    69 KB · Views: 16

Myself

manic mechanic
Location
Twin Lakes AR
Another big step today and piece of this puzzle........the pole is reinstalled! I also recovered the chin pad and gave it a bit more solid mounting option. I happen to have a 'nut-sert' or 'riv-nut' tool, I also happen to have a box full of stainless nuts. The 4 topside holes now have threaded inserts while the face side I riveted back on as they originally were.
 

Attachments

  • IMG_3097.JPG
    IMG_3097.JPG
    93.7 KB · Views: 15
  • IMG_3100.JPG
    IMG_3100.JPG
    88.7 KB · Views: 15
  • IMG_3094.JPG
    IMG_3094.JPG
    127.4 KB · Views: 16
  • IMG_3101.JPG
    IMG_3101.JPG
    57.5 KB · Views: 14
  • IMG_3102.JPG
    IMG_3102.JPG
    117 KB · Views: 13
Last edited:

Myself

manic mechanic
Location
Twin Lakes AR
Well it was pretty nice today on my "day off" so I put another 6 hours into this project. Since I got the chin pad done I could actually mount the bars! And then run throttle and 3 pairs of wires up that tiny chase WITH a big fat steering cable in the way! What I do is run a piece of coated steel cable (like a heavy duty dog run) through the chase. It's stiff enough to push on and flexible enough to go around corners. Then tape it to the end of the wires. Then I wipe the wires down with some silicone based lube.......and pull 'em through!
 

Attachments

  • IMG_3110.JPG
    IMG_3110.JPG
    127.1 KB · Views: 9
  • IMG_3109.JPG
    IMG_3109.JPG
    160.1 KB · Views: 9
  • IMG_3112.JPG
    IMG_3112.JPG
    104.8 KB · Views: 11

Myself

manic mechanic
Location
Twin Lakes AR
Of course after that I started mounting up switches and throttle lever..........AAaaand then the next issue. The really nice anodized Blowsion finger throttle starts binding up as soon as it's bolted to the bars. NICE! I guess pretty much nobody cares about r&d or qc at all anymore. You can see where the binding movement of the lever was rubbing HARD into the bars. 2nd pic was up close lever actually touching the bars when bolted on. SOoo, take it back off, disassemble it, and shave off some aluminum so there's actually enough clearance for this thing to work without binding. Jeez, I'd get more done if I didn't have to re-engineer everything LOL!! And BAM!.....bars are done!
 

Attachments

  • IMG_3108.JPG
    IMG_3108.JPG
    79.7 KB · Views: 10
  • IMG_3106.JPG
    IMG_3106.JPG
    75.9 KB · Views: 10
  • IMG_3107.JPG
    IMG_3107.JPG
    90.7 KB · Views: 10
  • IMG_3111.JPG
    IMG_3111.JPG
    158.6 KB · Views: 11

Myself

manic mechanic
Location
Twin Lakes AR
......ON to the wiring! This can go pretty quick if you want your bilge to look like a spaghetti dinner. OR, you can spend the extra time using oem style connectors and solder shrink splices and sleeving everything so it's nice and neat. That's the way I prefer doing things. I even found a nice little fuse holder to mount in an easily accessible location for the bilge power.
 

Attachments

  • IMG_3116.JPG
    IMG_3116.JPG
    70.5 KB · Views: 9
  • IMG_3115.JPG
    IMG_3115.JPG
    112.2 KB · Views: 8
  • IMG_3113.JPG
    IMG_3113.JPG
    109.7 KB · Views: 9
  • IMG_3114.JPG
    IMG_3114.JPG
    120.7 KB · Views: 9

Myself

manic mechanic
Location
Twin Lakes AR
.......and there it is! Finished up and tucked away. Notice how NOTHING is hanging around in the way of battery placement/removal. That's the bilge pump fuse in that right rear corner.
 

Attachments

  • IMG_3118.JPG
    IMG_3118.JPG
    119.1 KB · Views: 8
  • IMG_3119.JPG
    IMG_3119.JPG
    120.3 KB · Views: 7
  • IMG_3117.JPG
    IMG_3117.JPG
    125.8 KB · Views: 9
  • IMG_3120.JPG
    IMG_3120.JPG
    121.4 KB · Views: 13

bird

walking on water
Site Supporter
Of course after that I started mounting up switches and throttle lever..........AAaaand then the next issue. The really nice anodized Blowsion finger throttle starts binding up as soon as it's bolted to the bars. NICE! I guess pretty much nobody cares about r&d or qc at all anymore. You can see where the binding movement of the lever was rubbing HARD into the bars. 2nd pic was up close lever actually touching the bars when bolted on. SOoo, take it back off, disassemble it, and shave off some aluminum so there's actually enough clearance for this thing to work without binding. Jeez, I'd get more done if I didn't have to re-engineer everything LOL!! And BAM!.....bars are done!
Did you try mounting the finger throttle on a different set of bars? Specifically straight bars? Just looks like the bars you're using have a bend and a bow.
 

Myself

manic mechanic
Location
Twin Lakes AR
The way the throttle is made, there IS a slight step at the lever that MIGHT clear on a set of straight bars, which they don't mention at all on the website. The moving fulcrum of the lever itself is out flush on the same plane as the surrounding mounted part. Now, I don't claim to have any schooling what-so-ever in engineering, but common sense tells me to recess the moving part so it's far enough away from the mounting surface not to rub under ANY circumstance. A sticky or hanging throttle is NOT acceptable in any way.
 
Last edited:

Myself

manic mechanic
Location
Twin Lakes AR
I had 2 skis to water test this evening but I still had time to knock out the throttle bracket. In original form the single carb bracket puts the cable down right on top of the exhaust hose.......not a problem for earlier front side exhaust machines. Even with the stock hose holders bent as far out as I could get 'em, still a no-go. In that first pic you can clearly see the exhaust hose directly behind the bracket. There's just no way for the cable to occupy that same space. The solution is to cut the stock bracket down to get the cable mount about 1/2" closer to the intake. All welded up and almost ready for paint! I say ALMOST because there is just no way the choke is going to mount out there either. This carb has it's choke removed and is setup for a primer anyway so we will see.......
 

Attachments

  • IMG_3121.JPG
    IMG_3121.JPG
    104.9 KB · Views: 6
  • IMG_3122.JPG
    IMG_3122.JPG
    155.3 KB · Views: 6
  • IMG_3123.JPG
    IMG_3123.JPG
    137.9 KB · Views: 6
  • IMG_3124.JPG
    IMG_3124.JPG
    72.5 KB · Views: 7
  • IMG_3125.JPG
    IMG_3125.JPG
    84.7 KB · Views: 8
Last edited:

Myself

manic mechanic
Location
Twin Lakes AR
I scoured the boneyard today and could NOT find a choke cable that would work with this setup. This 550 had a primer and the 750ss donor also had a primer........I guess the primer stays. I really didn't like the chintzy plastic tee that fed the primer but I have a little drawer full of brass. I found a couple barbed fittings, modified those fittings, and whipped up a nice brass tee........pressure tested to 45psi.
 

Attachments

  • IMG_3126.JPG
    IMG_3126.JPG
    130.3 KB · Views: 7
  • IMG_3127.JPG
    IMG_3127.JPG
    138.3 KB · Views: 7
  • IMG_3128.JPG
    IMG_3128.JPG
    113.5 KB · Views: 7
  • IMG_3129.JPG
    IMG_3129.JPG
    118.3 KB · Views: 7
  • IMG_3130.JPG
    IMG_3130.JPG
    76.4 KB · Views: 8

Myself

manic mechanic
Location
Twin Lakes AR
I also got the gas tank put in today. It's a pretty snug fit. Even with modifying the pipe stinger, it still touches the tank. NOT pushing hard into the tank but touching/rubbing it. I found a piece of thick rubber and wedged it in there for 'just in case'.
 

Attachments

  • IMG_3132.JPG
    IMG_3132.JPG
    78.3 KB · Views: 10

Myself

manic mechanic
Location
Twin Lakes AR
Tomorrow I'll rebuild the carb, finish up a couple other odds-n-ends, shorten the negative battery cable (it's about 47 feet too long), and HOPEFULLY fire it off!!
 

Attachments

  • IMG_3131.JPG
    IMG_3131.JPG
    134.1 KB · Views: 9
  • IMG_3134.JPG
    IMG_3134.JPG
    128.3 KB · Views: 12

Myself

manic mechanic
Location
Twin Lakes AR
Finished up odds-n-ends today. Installed new hood seal.......and FIRED IT OFF!!
Honest first start video


Pay no attention to the tray mat.....I need something in there to test ride without scuffing up the nice new Jettrim mats. I don't think @Donatello would appreciate that LOL!
 

Attachments

  • IMG_3138.JPG
    IMG_3138.JPG
    141.4 KB · Views: 8

Myself

manic mechanic
Location
Twin Lakes AR
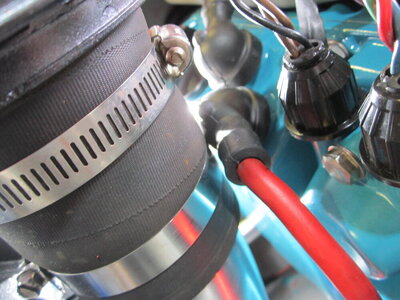
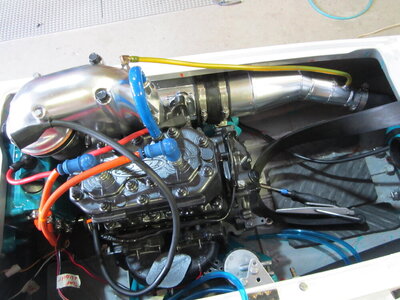
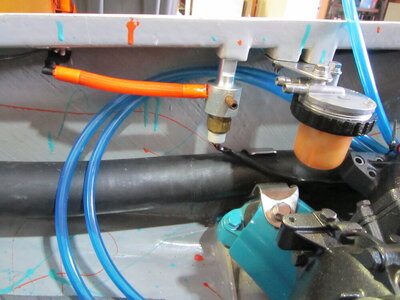
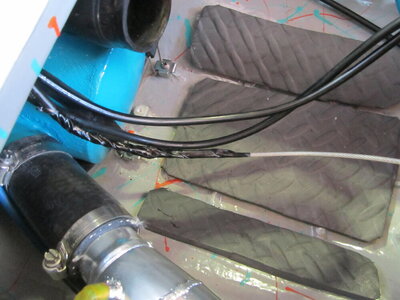
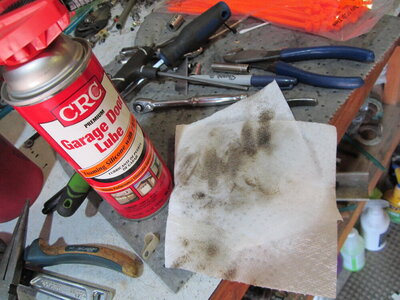
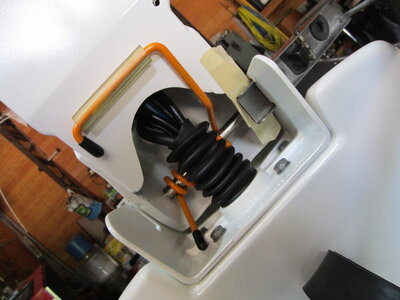
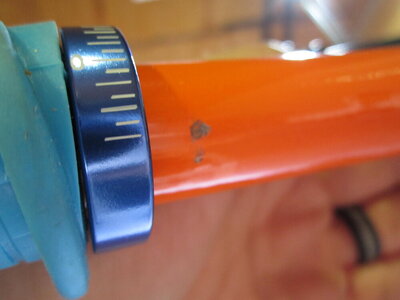
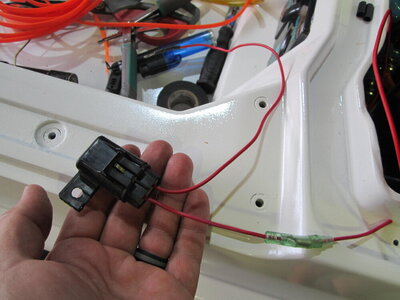
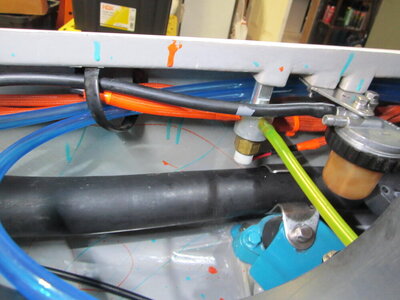
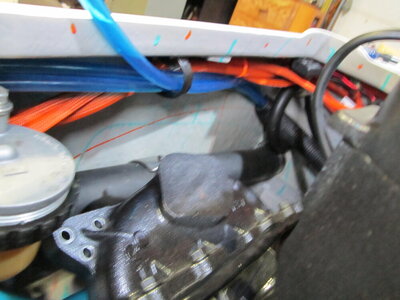
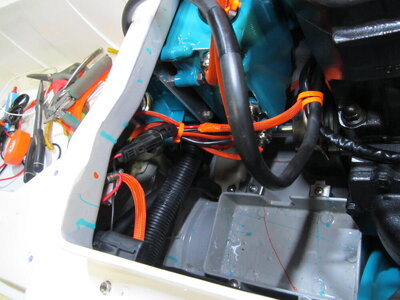
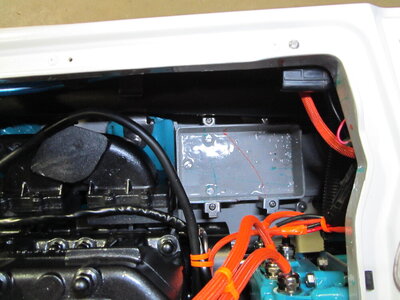
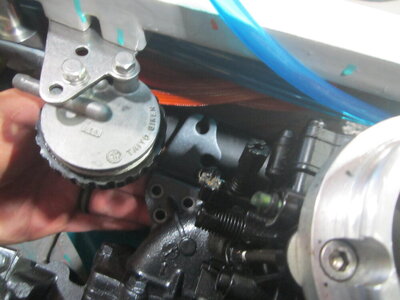
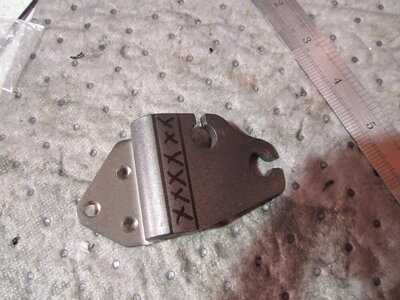
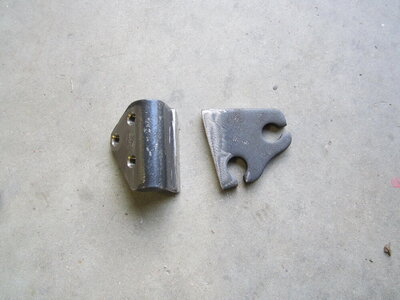
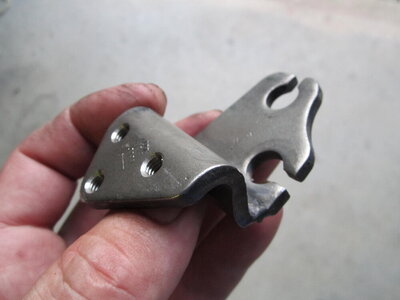
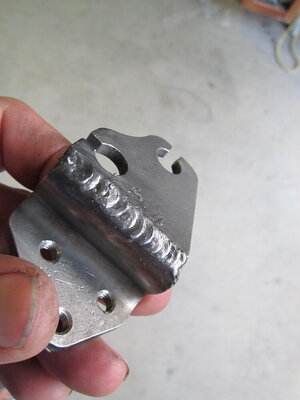
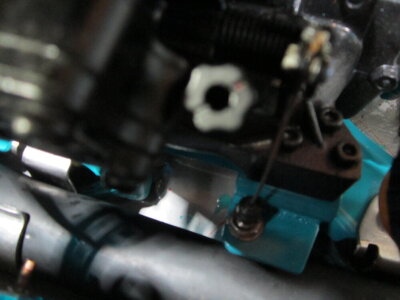
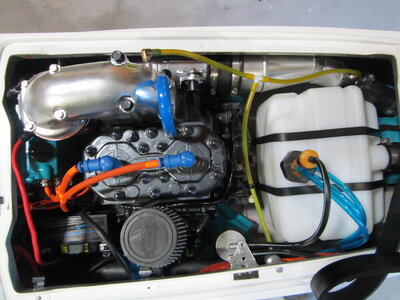
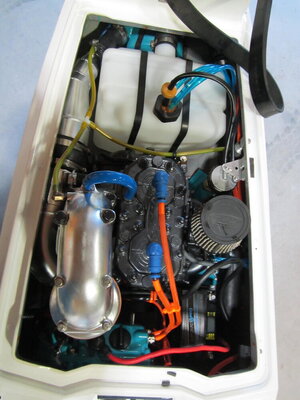
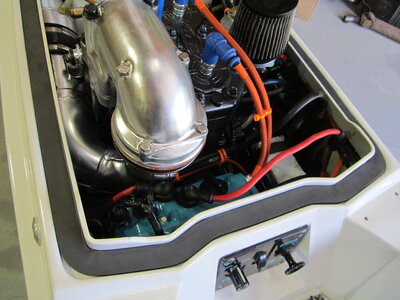
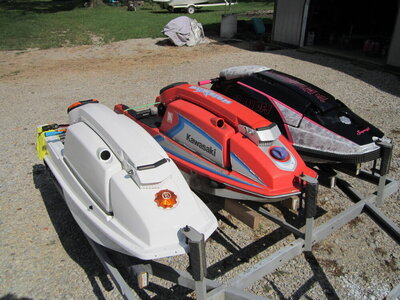
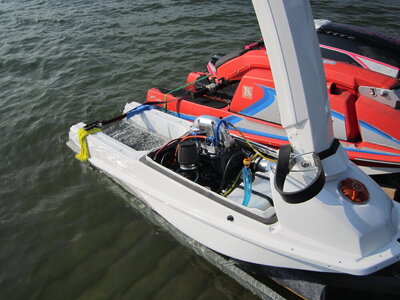
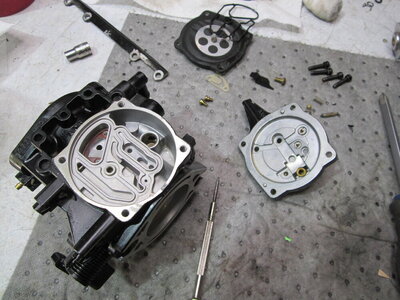
Here it is in good company on my trailer with my Tigersaki, and wife's SN Superjet. And proof that it made it's first water test today!...........Unfortunately the water test went about like I thought it would and that pic is as far out into the water as we got! Low speed jetting is too lean to the point it doesn't want to transition into the main jet. In fact, if I screw the pilot screw in more than 1 turn out, it will die. I also found a loose exhaust hose clamp, and the cooling line from head to headpipe I forgot to put ANY clamps on! The good news is we had zero water leaks and running temps looked good.......at least for idle and barely above idle. I was able to pump the primer and feather stab the throttle to get it up on the main jet for 5 seconds at a time. It sounded fine and temps still looked good, in fact, the pipe may be a bit cool.
 

Attachments

  • IMG_3140.JPG
    IMG_3140.JPG
    190.1 KB · Views: 10
  • IMG_3141.JPG
    IMG_3141.JPG
    151 KB · Views: 9

Myself

manic mechanic
Location
Twin Lakes AR
And here's the carb back apart to verify jetting and try again. Current jets are 155 main and 80 low. I don't think that's stock for anything so probably jetted in the previous SS machine with this R&D flame arrestor. Seeing as how I had to unscrew the idle mixture (pilot/low) screw about an extra turn to get it to fire off and run while still on the stand in the shop......the 80 is NOT enough low speed jet. In the water under load, anything more than 1/4 throttle will just shut the engine off. This is actually good news.....this means the PWCr conversion manifold and slight exhaust lengthening are doing their job. The exhaust is helping the 750 make more power down low than it was in it's previous home, hence the need for more fuel.....at least, that's what an educated guess tells me LOL! I guess I'll try an 85 or 90 low jet and see what happens.
 

Attachments

  • IMG_3135.JPG
    IMG_3135.JPG
    156.8 KB · Views: 9

Myself

manic mechanic
Location
Twin Lakes AR
Ok guys, I left the main jet alone but upped the pilot/low to an 88. I found some reference to a Factory pipe and that was the recommendation. As it turns out.....that seems perfect for this pipe setup! Starting and idle was vastly improved and seems very dialed in at 11/8 turns out. It will idle forever and has zero hesitation when throttling. The high screw is at 2 turns out and above 1/2 throttle I can feel that it's a bit rich. THAT"S OK, because the engine is fresh and I wasn't throttling over about 2/3 anyway. Spark plug color is looking great! Here's a short vid of it's first water ride. First impressions with the tubbies......WOW! When you first start tipping into a turn, it ACTUALLY starts turning instead of sliding. The 550 "feels" quite a bit lighter up front, and seems to really pop out of the water much better as well. How about that 750 pump swap??...... It's just a HUGE difference in the bottom end thrust guys. It's really the extra bottom end that I need in my Tigershark 640 swapped 550. Just look at that last little hop out of the water in the video. I wasn't going very fast at all. And for those that don't know me.......I'm 6'8" and currently 235#'s. You just CAN'T get that low end pop from a 550 pump!

 
Top Bottom