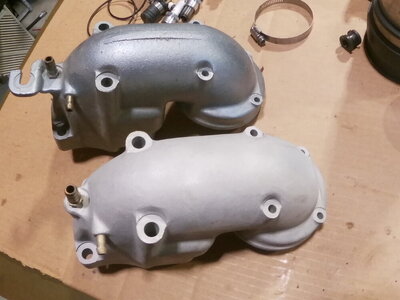
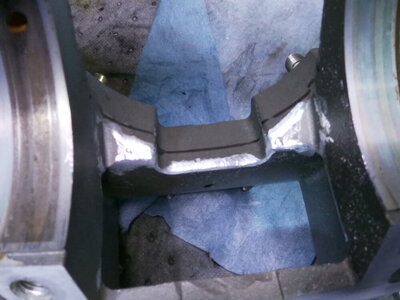
Everything was just mocked up.....nothing really bolted solid. The terminal really was just touching, not digging into the rubber. I could find an easy 1/8" of clearance sliding the motor plate forward on the mounts. I've ordered a piece of .010" stainless shim stock to make a headpipe gasket with no water holes. Obviously I need to drill a water hole in the 750 headpipe. The "adapter" as you probably already know is the center gutted out of the stock 750 rubber coupler. And 2" rubber slides right over it and the 650sx chamber. I'm really scratching my head here trying to figure out why everybody pays good money for an aftermarket exhaust manifold when these will fit and they're a dime a dozen. Maybe it's just bragging rights on throwing around name brands?....Or maybe I'm the first thrifty, problem solving, type of guy to actually try it?!. If that's the case we'll name it "PWCr's 750 conversion manifold".