550sx to 750 "All or Nothing" build

Myself

manic mechanic
Location
Twin Lakes AR
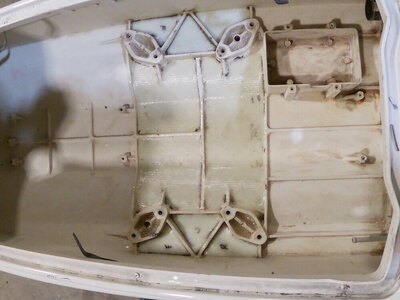
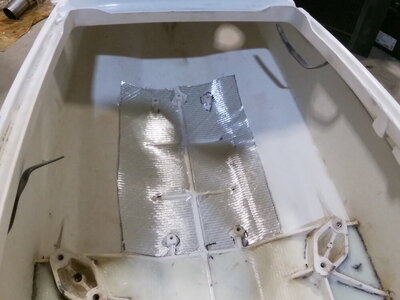
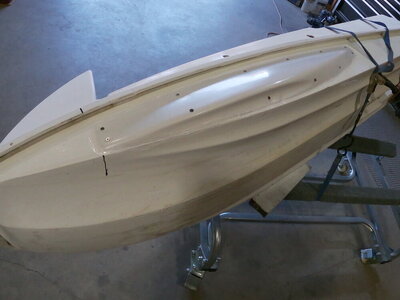
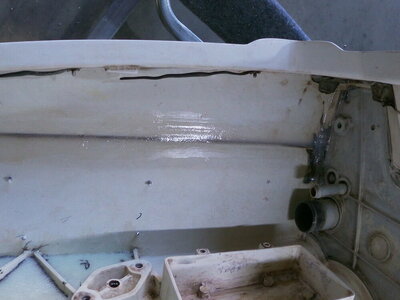
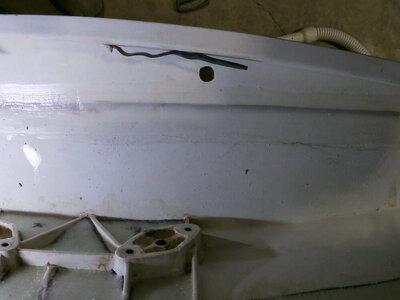
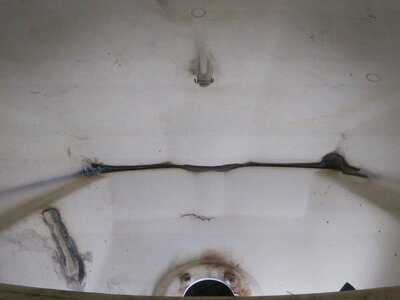
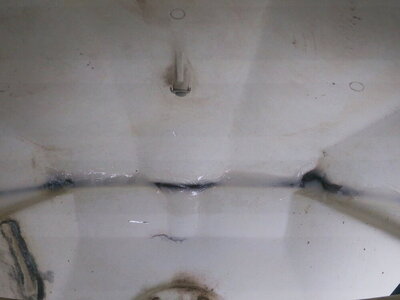
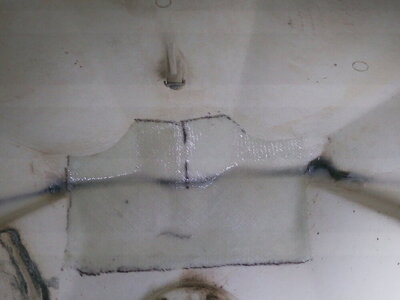
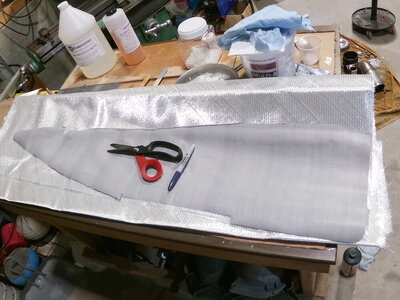
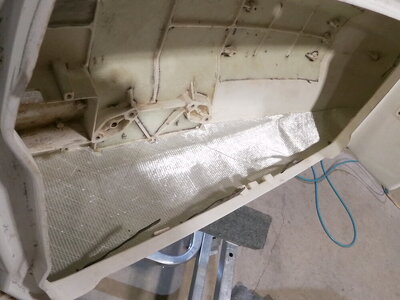
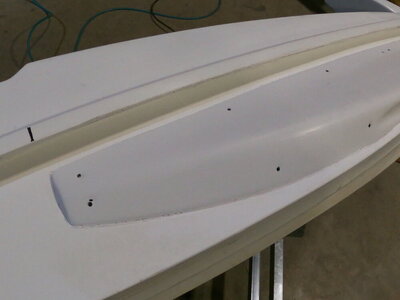
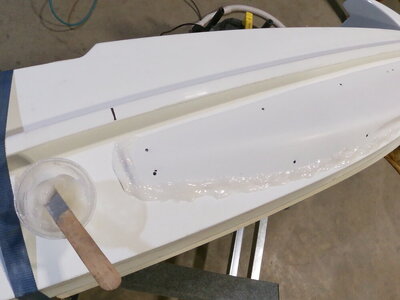
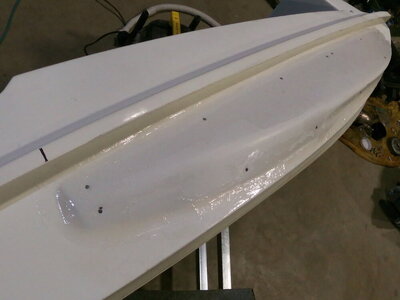
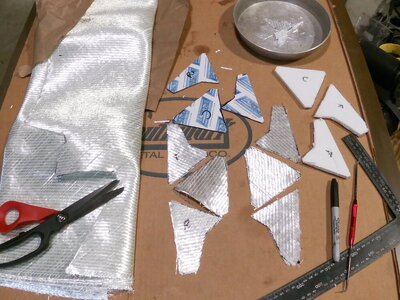
I made some templates, cut some foam, and laid a bit of 17oz biax today. The plan is to build up around the motor mounts as they all had stress cracks. Also reinforce the bilge bottom, and then start the sides.
 

Attachments

  • GOPR1713.JPG
    GOPR1713.JPG
    171.8 KB · Views: 55
  • GOPR1714.JPG
    GOPR1714.JPG
    101.9 KB · Views: 49

Myself

manic mechanic
Location
Twin Lakes AR
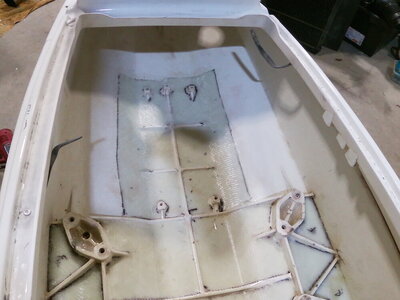
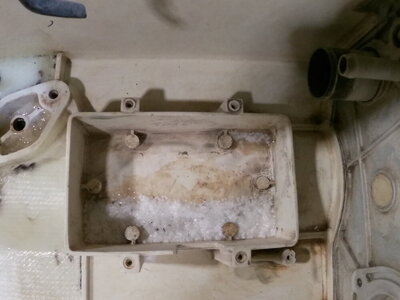
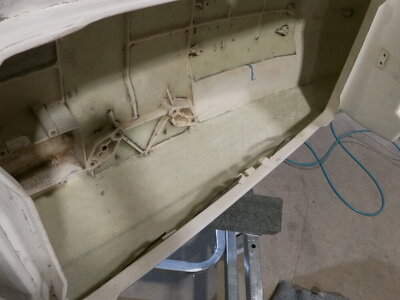
Well, I got NOTHING done yesterday. Sunday, 6pm, fine but sneezing every now and then. 7:30, sniffling a bit along with the sneezing. DAMN! What did my wife spray in the air that maybe I'm allergic to? I have severe grass and pollen allergies anyway. 9:45 pm........FULL BLOWN HEAD COLD! Man, that thing came on strong and fast! Took Nyquil and slept a LOT of yesterday. Today, a bit off feeling still but my ears cleared out, sinus pressure is gone, nose quit running. So I went down to the shop and got a little bit done before started getting a headache.......time to quit......don't overdo it! I got another layer of 17oz biax in the motor mount areas, and laid some down under the gas tank area. Also mixed in some foam bb's and filled a bit inside the battery tray. I really don't like all these areas that can pool water.
 

Attachments

  • GOPR1715.JPG
    GOPR1715.JPG
    93.4 KB · Views: 36
  • GOPR1718.JPG
    GOPR1718.JPG
    103.5 KB · Views: 29
  • GOPR1719.JPG
    GOPR1719.JPG
    82.6 KB · Views: 38

WFO Speedracer

A lifetime ban is like a lifetime warranty !
Location
Alabama
Well, I got NOTHING done yesterday. Sunday, 6pm, fine but sneezing every now and then. 7:30, sniffling a bit along with the sneezing. DAMN! What did my wife spray in the air that maybe I'm allergic to? I have severe grass and pollen allergies anyway. 9:45 pm........FULL BLOWN HEAD COLD! Man, that thing came on strong and fast! Took Nyquil and slept a LOT of yesterday. Today, a bit off feeling still but my ears cleared out, sinus pressure is gone, nose quit running. So I went down to the shop and got a little bit done before started getting a headache.......time to quit......don't overdo it! I got another layer of 17oz biax in the motor mount areas, and laid some down under the gas tank area. Also mixed in some foam bb's and filled a bit inside the battery tray. I really don't like all these areas that can pool water.
I always drilled small holes at the bottom of those areas so the water could drain out , it's not something I came up with , I picked up on from a build Harry Klemm did years ago for his wife, it was called the Cowasaki build and was featured in one of the jet ski mags way too many years ago and it works great.
 

Myself

manic mechanic
Location
Twin Lakes AR
Once I get the inside of the battery tray level, I'll drill a couple holes. Around the mount areas, I want that brought up and smoothed flat.
 

Myself

manic mechanic
Location
Twin Lakes AR
Ending fiberglass. Or anything really. At a 90 degree angle. Is a bad idea. Much better to round or contour the edges of anything whenever you can.
Uummmm......you're thinking of concrete man.....and that's only an INSIDE 90 lol!!
For reinforcement purposes, cut it any way you want.
Building from scratch, don't end or meet on a corner, you'll cause a weak spot....always overlap.
 
Location
dfw
The hull will be bending upwards in the middle under heavy loading. This means the glass added inside will be under tension so place the fiber direction 0/90 degrees. Ply direction wont matter much around the mounts since you're just adding beef there.
 

WFO Speedracer

A lifetime ban is like a lifetime warranty !
Location
Alabama
When I beefed up the motor mount areas on the Thunderjet I put in a slurry of chopped carbon fiber and epoxy , of course on those you do it from the bottom of the motor mount insert I really don't think the orientation of the fiber matters in this case.
 

Myself

manic mechanic
Location
Twin Lakes AR
The hull will be bending upwards in the middle under heavy loading. This means the glass added inside will be under tension so place the fiber direction 0/90 degrees. Ply direction wont matter much around the mounts since you're just adding beef there.
This is why I like the biax for added strength. It remains strong placed in any direction, unlike regular woven cloth.
 
Location
dfw
Keep in mind most of the strength of any composite panel is in the direction of the fiber. It’s more difficult to take full advantage of this in our solid laminate hulls. A lot of weight can be saved if we used cored sections.
 

WFO Speedracer

A lifetime ban is like a lifetime warranty !
Location
Alabama
Keep in mind most of the strength of any composite panel is in the direction of the fiber. It’s more difficult to take full advantage of this in our solid laminate hulls. A lot of weight can be saved if we used cored sections.
Some of the XFT hulls were available with a Nomex honeycomb core , I know Crammit 442's hull was made that way .
 

Myself

manic mechanic
Location
Twin Lakes AR
Sort of a big step today. Front sponsons are mounted! She's a fat bottom girl now! I'll leave the screws in place until the adhesive cures completely. Then I'll blend them seamlessly into the hull.
Also mixed up some cabosil thickened epoxy and filled in the bonding lines on the sides.
 

Attachments

  • GOPR1720.JPG
    GOPR1720.JPG
    93.4 KB · Views: 28
  • GOPR1725.JPG
    GOPR1725.JPG
    88.9 KB · Views: 26
  • GOPR1726.JPG
    GOPR1726.JPG
    101.2 KB · Views: 26
  • GOPR1723.JPG
    GOPR1723.JPG
    104.3 KB · Views: 27
  • GOPR1721.JPG
    GOPR1721.JPG
    71.3 KB · Views: 28

Myself

manic mechanic
Location
Twin Lakes AR
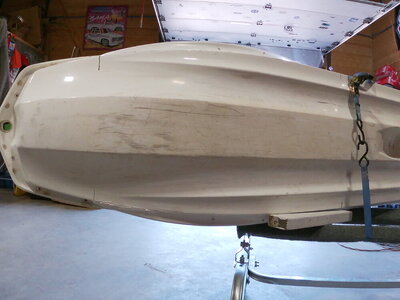
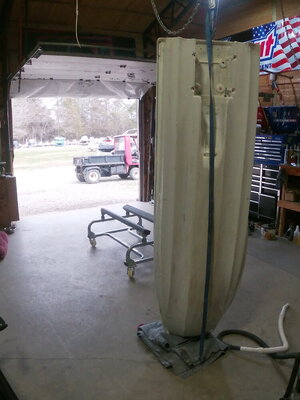
I hung the 550 like a side of beef today. Filled in the bondline at the nose and reinforced it with 17oz biax.
 

Attachments

  • GOPR1730.JPG
    GOPR1730.JPG
    117.5 KB · Views: 19
  • GOPR1731.JPG
    GOPR1731.JPG
    75.4 KB · Views: 19
  • GOPR1732.JPG
    GOPR1732.JPG
    73.1 KB · Views: 17
  • GOPR1733.JPG
    GOPR1733.JPG
    83.6 KB · Views: 24

Myself

manic mechanic
Location
Twin Lakes AR
A bit more reinforcement done today. Made up a pattern and got the whole side done in 1 piece.
This is just a flatwater/lake rec ski, so probably overkill on reinforcement. But that's sort of the way I do things.
 

Attachments

  • GOPR1742.JPG
    GOPR1742.JPG
    142.5 KB · Views: 18
  • GOPR1743.JPG
    GOPR1743.JPG
    116.4 KB · Views: 18
  • GOPR1744.JPG
    GOPR1744.JPG
    89.2 KB · Views: 24

WFO Speedracer

A lifetime ban is like a lifetime warranty !
Location
Alabama
Considering how many different areas 550 hulls crack in even with stock engines I think you are moving in the right direction.
 

Myself

manic mechanic
Location
Twin Lakes AR
I got the other sidewall reinforced today. Then I took all the screws back out of the right side sponson. I used a narrow gasket scraper tool to remove all excess adhesive that had squished out. Then sanded the outer areas with 120 grit. Then I mixed up some cabosil thickened epoxy to rub all around the edge..........Look Ma, no seams!
 

Attachments

  • GOPR1748.JPG
    GOPR1748.JPG
    59.3 KB · Views: 19
  • GOPR1750.JPG
    GOPR1750.JPG
    58.4 KB · Views: 21
  • GOPR1751.JPG
    GOPR1751.JPG
    73.6 KB · Views: 20
  • GOPR1752.JPG
    GOPR1752.JPG
    71.1 KB · Views: 24

Myself

manic mechanic
Location
Twin Lakes AR
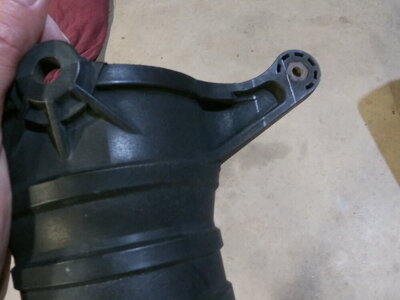
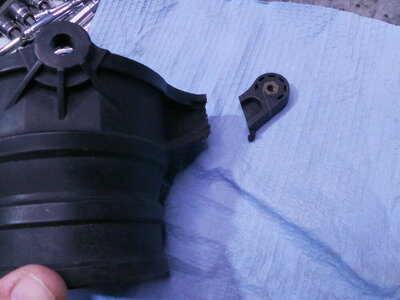
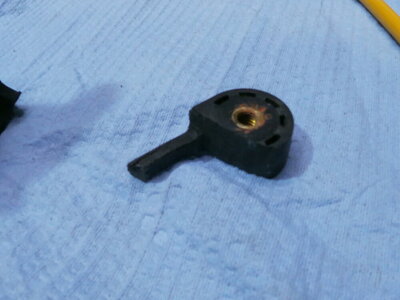
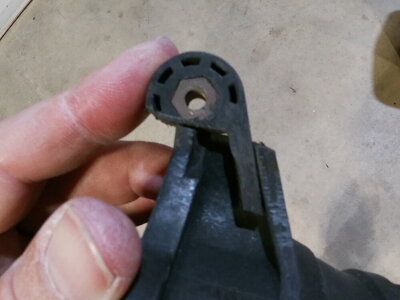
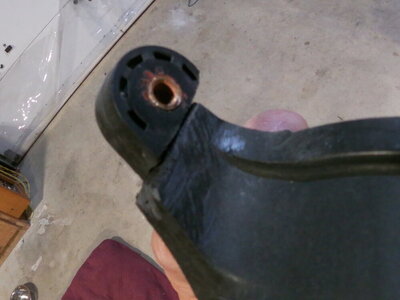
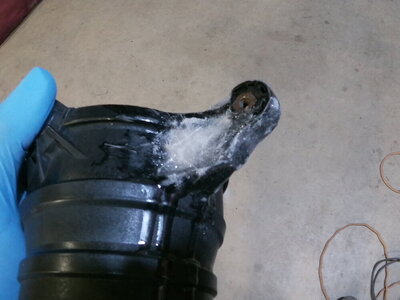
I've modified the stock 750 nozzle to work on this swap. I know the common thing to do is use a 650sx nozzle. The reason is cause the cable attachment point on the 750 nozzle sticks out too far and hits the hull. I figured since I'm doing epoxy and glass work anyway...........
Now it just needs smoothed up and painted.
 

Attachments

  • GOPR1634.JPG
    GOPR1634.JPG
    69.2 KB · Views: 23
  • GOPR1635.JPG
    GOPR1635.JPG
    107 KB · Views: 21
  • GOPR1637.JPG
    GOPR1637.JPG
    83.9 KB · Views: 20
  • GOPR1643.JPG
    GOPR1643.JPG
    76.6 KB · Views: 19
  • GOPR1641.JPG
    GOPR1641.JPG
    75.1 KB · Views: 20
  • GOPR1746.JPG
    GOPR1746.JPG
    89 KB · Views: 25

Myself

manic mechanic
Location
Twin Lakes AR
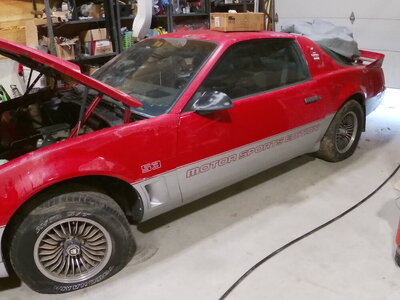
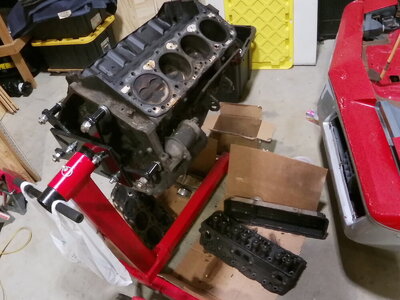
I paused on this for a little bit while I pulled an engine and tore it down for my Trans Am. The block, crank, and heads are now at the machine shop. Hoping to get this thing back on the road soon!
 

Attachments

  • GOPR1828.JPG
    GOPR1828.JPG
    120.7 KB · Views: 19
  • GOPR1829.JPG
    GOPR1829.JPG
    132.9 KB · Views: 19
Top Bottom