'93 SquareNose build

I just used one layer of Biax and used a piece of card board as a template. Then covered a big piece of cardboard with Saran wrap to wet the cloth on. I did make the liner a little big so I could just dremal it to the right size. The droop in the back is needed so the drain holes will be open. I had no experience doing this, but once you get going it kinda falls into place. The brick was used so the middle of the hood would be bonded to the liner. You gotta use some epoxy die too (IMO) cause you can see the liner through the intakes you cut in the back.

Thanks for the info, If yours held up good Ill just go for one layer as well. I have some white dye I can use for it, Thanks i didnt even think about that haha
 
Hey did forget one thing, around the edge, where the liner meets the hood, I used a 2 inch piece of biax to make the transition, just like you would a piece of duck tape if you were going to tape it in. I'll try and take a picture this afternoon of some of the drainage holes at the rear, bottom, corners of the hood. That's why the liner had to come down so far in the back so it can drain and man that hood is DRY, except for deep full throttle subs to the bottom. I never get water in while in the surf anymore.

AZRIDER, post #24 is the only pict I have of the nose exhaust inside.
 
Here's my new rocker, Still need to test it and clean up my turf.

A bad nose stab was the motivation for all this.

2011-06-08094157.jpg

2011-06-07193157.jpg

2011-06-08201455.jpg

2011-06-08204032.jpg

2011-06-08205000.jpg

2011-06-09205952.jpg

2011-06-12112655.jpg

2011-06-13132413.jpg

2011-06-13125343.jpg
 
Last edited:
Thanks for the replies, She rode outstanding. Unfortunately I have some strange damage in my shoulder that will not go away. It's fine till I start yamming on my ski and then it pops and starts hurting for a few days.

I have since parted the ski and now I have moved to the easy mobility life on my blaster 1 and I have not been happier now I can "get around" with ease. I live the couch life now.... LMAO
mobility-jetski.jpg


The performance is better too, the way it was before was just WAY too much for me, no shyt MulletMasher was a beast, and now it's engine and pump is in my B1. The Blaster hull calms it down a bit for me and I love it. I ride surf so I don't have to have a monster ski.
The build of that is in my signature, the MulletMasher recycle. It kinda sucks I had to leave my stand up after so much work, but the fun was in the build...
 
Last edited:
hey man i wanna do the freestyle hood on my square nose. could you maybe help me with it? or some guide lines. idk how to do it so some assistance would be greatly appreciated !
 
^Ditto, what exactly did you do with the hood? I want to shave a few pounds off of my square. Also, what kind of waterbox is that? I have the same one and am at a loss.
 
SUPERJETT-113 said it's a fletcher brand or something. He had one just like it for the blaster. Other than that it is a new species, lol a missing link as no one had a clue other than him. It was a good box and he bought it from me.

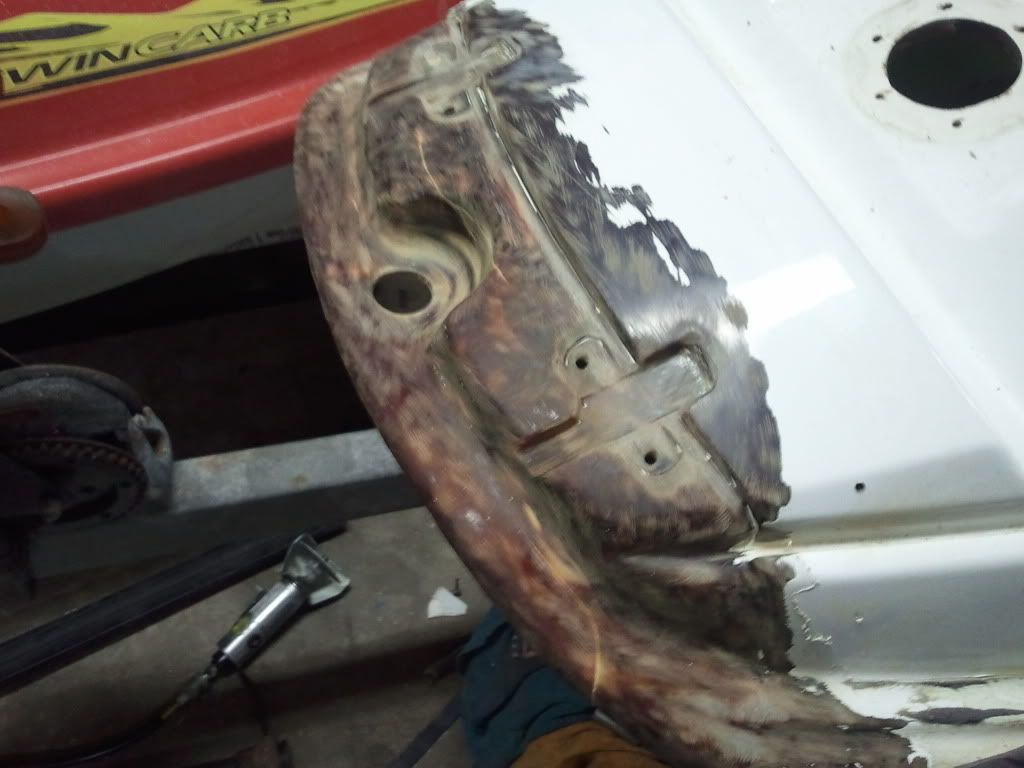
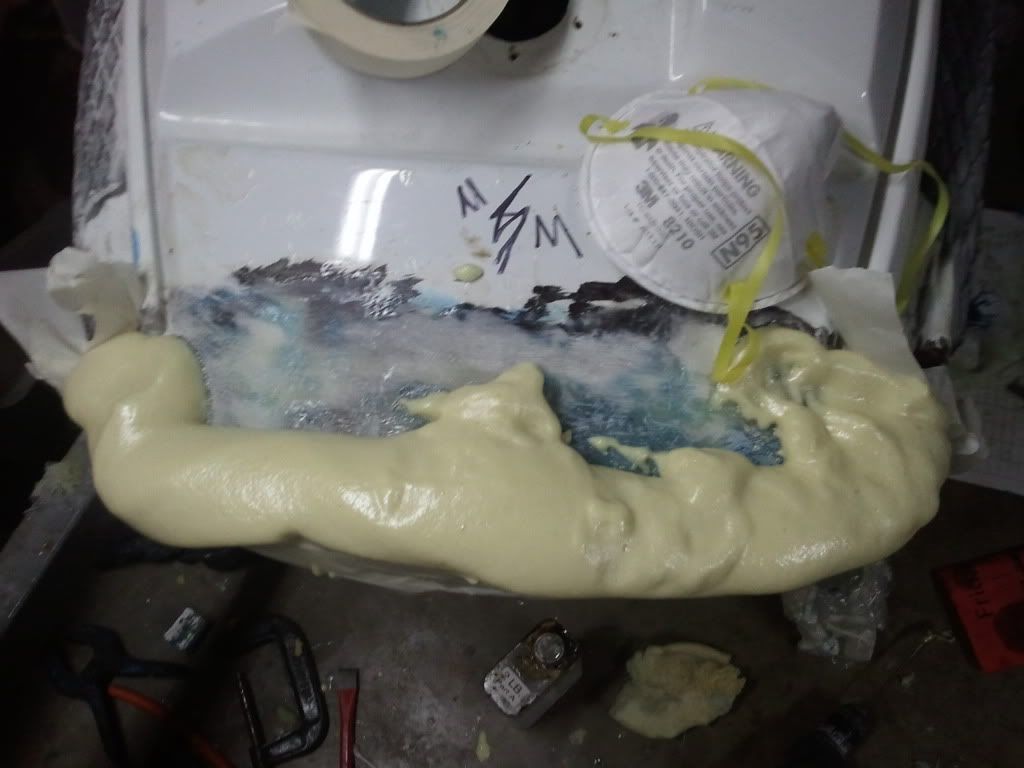
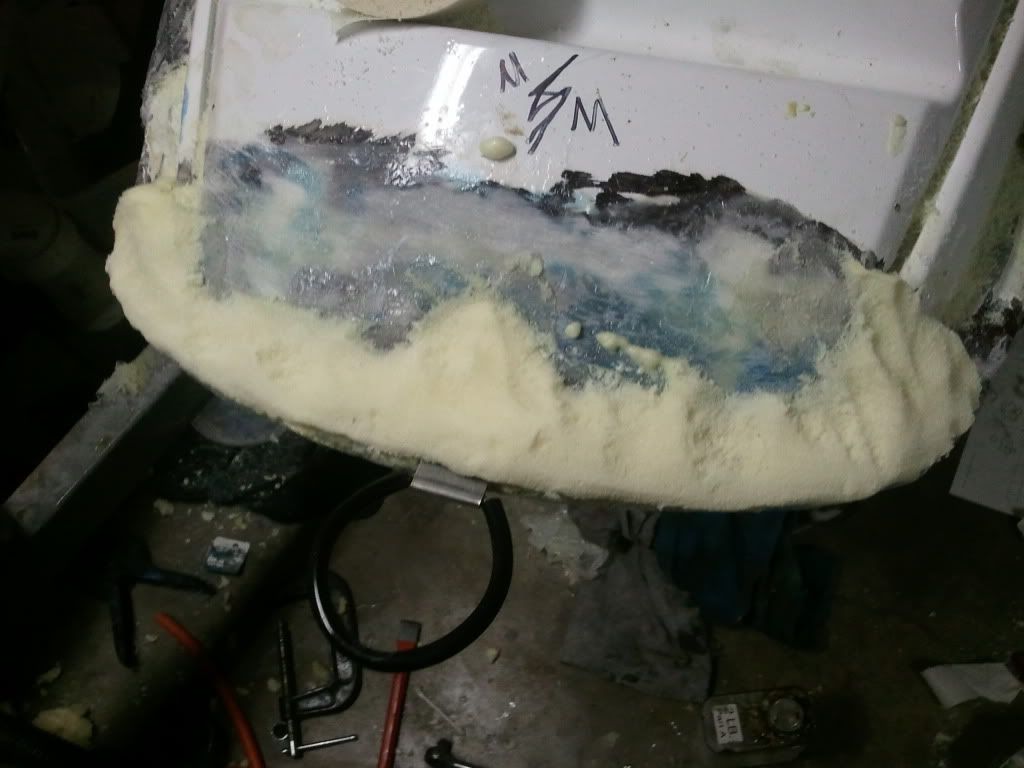
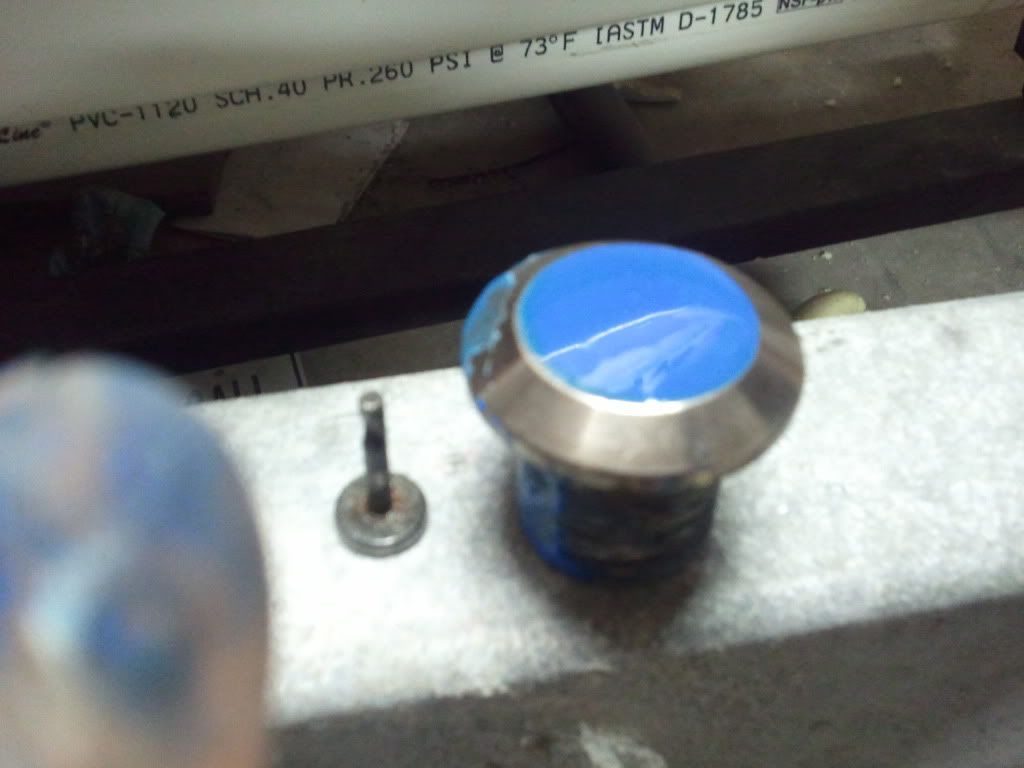
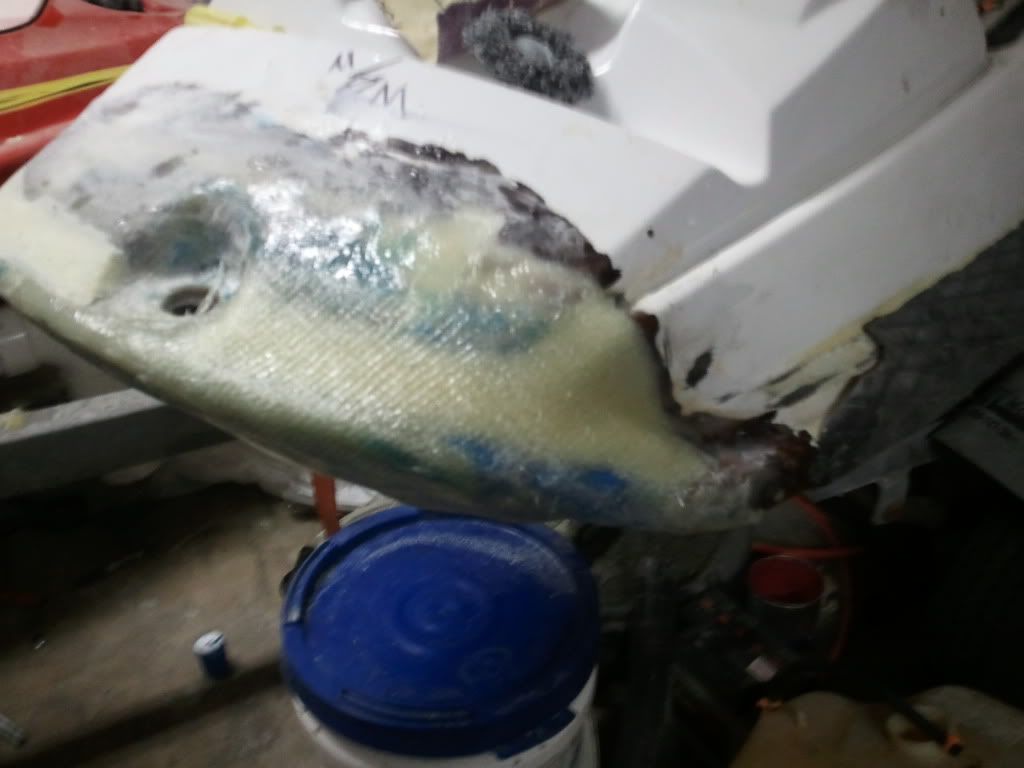
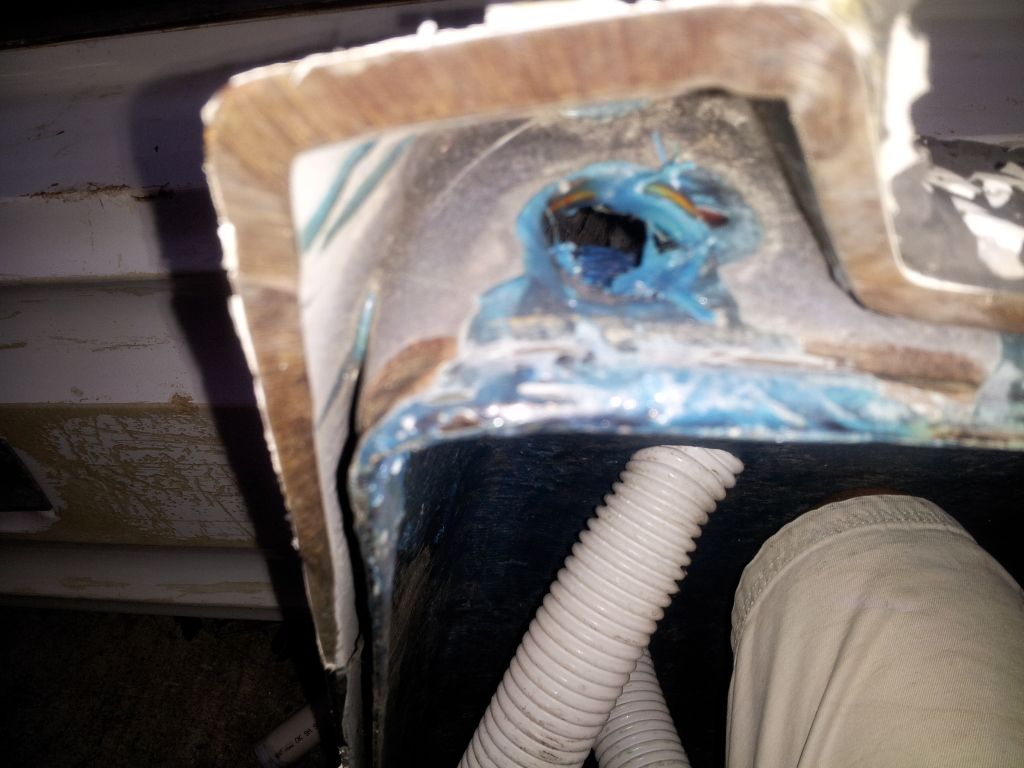
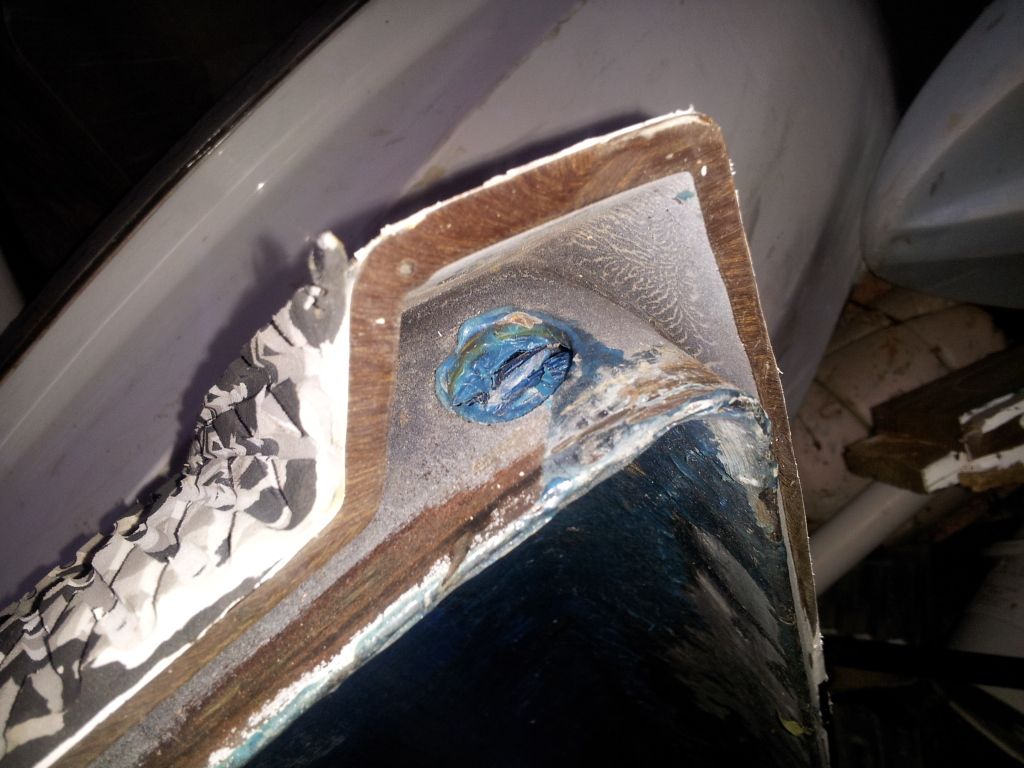
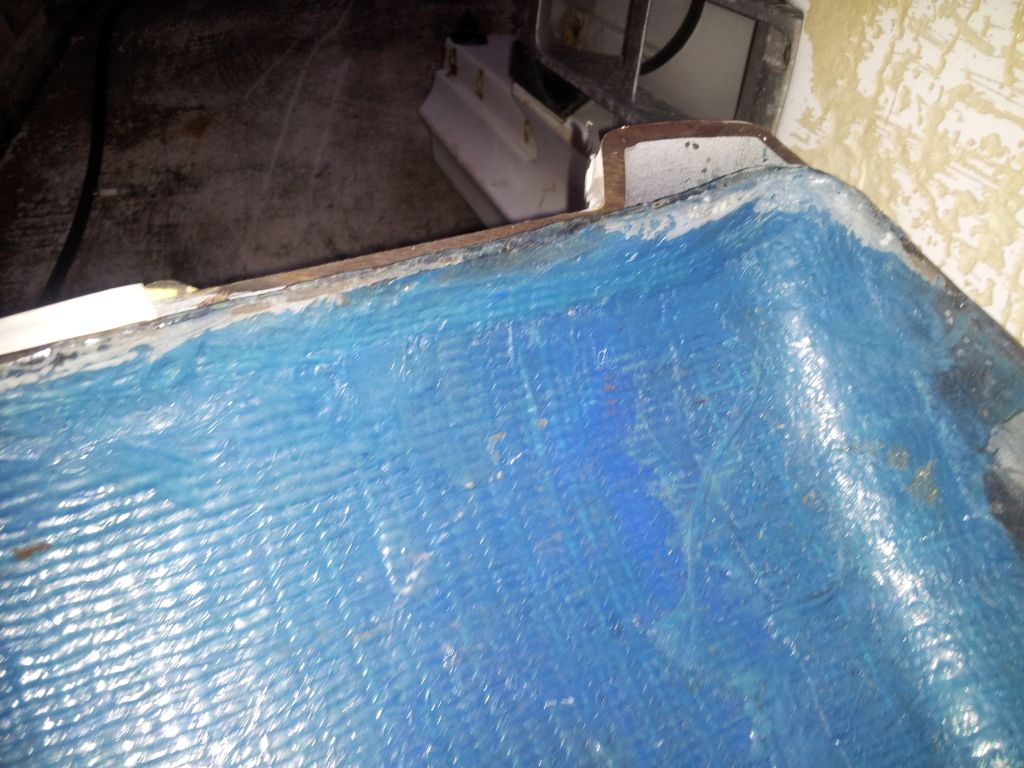
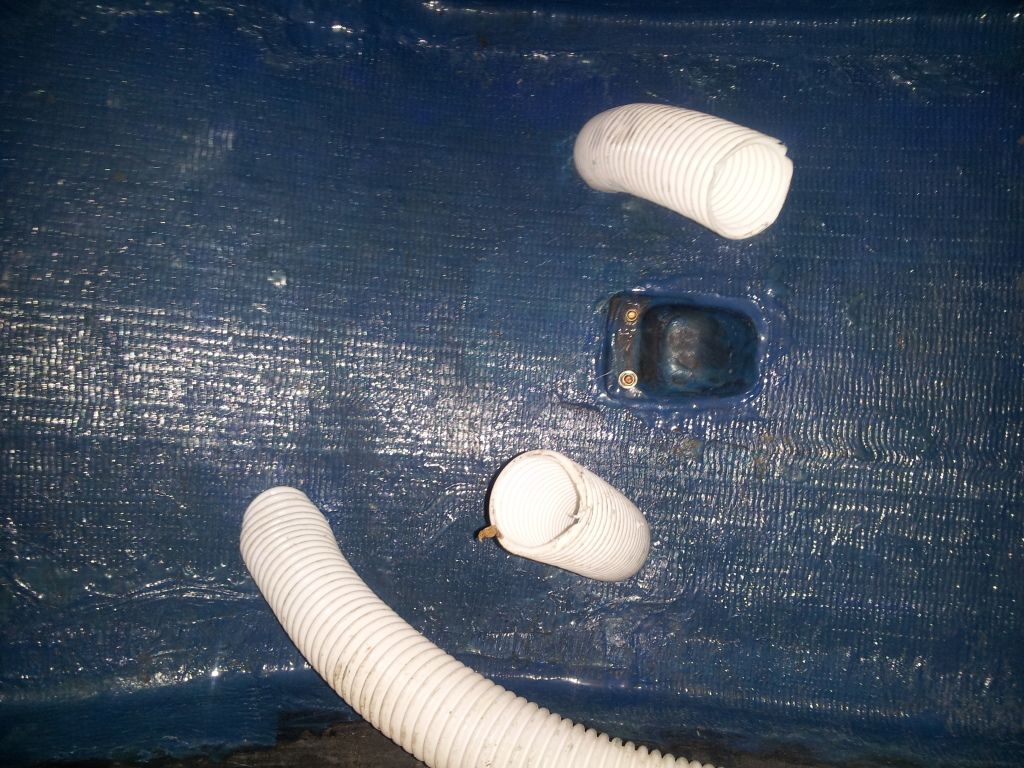
For the hood mod, I chipped out the glue SOFTLY using a Harbor Freight heat gun I got with a coupon for like 9 bucks. Used a chisel as you would use a scraper, but gentle as metton is soft. Make a template for the hood insert using card board. Make it a little bit bigger as to cover any areas you underestimate. Cut the biax to match your piece of cardboard a little over. I then laid out some saran wrap on the garage floor to put a sheet of 1208 biax down and pour some epoxy on it (apply with a fiberglass roller! Rollers rock). Not the best way to set it as it's not really smooth as the saran wrap I put down was in a hurry, but with some thinking you may be able to make it super flat. I used the heaviest biax I could find I think. One sheet is plenty strong. Then the I used a dremal with a sanding drum to get it in... it took some time. I used some expoy dye to avoid the nasty blushing that will occur over time. You want the biax to come to the bottom rear corner so you and put a hole on each side for drains and they will be invisible from the outside (it will drain between the hood seal and the rear corners) and allow for the hood to drain via a 1 inch holes I drilled. The holes in the back(top) are like 2 and 1/4 inch. That was the size of the hole saw I had. The 3 tubes are pool pump tubes from WalMart, but if you know anyone with a pool I'm sure they have some of the blue suction hose that has a bad section you could have. I put them about an inch or 2 into the liner.

The brick helps insure the liner sticks to the middle of the hood. I used a strip of biax around the edge where the liner meets the hood as a seal. It's not as hard as it seems in hind sit, but find as many pictures of the mod as you can and got from there. Thats what I did. This mod is great for keeping water out.

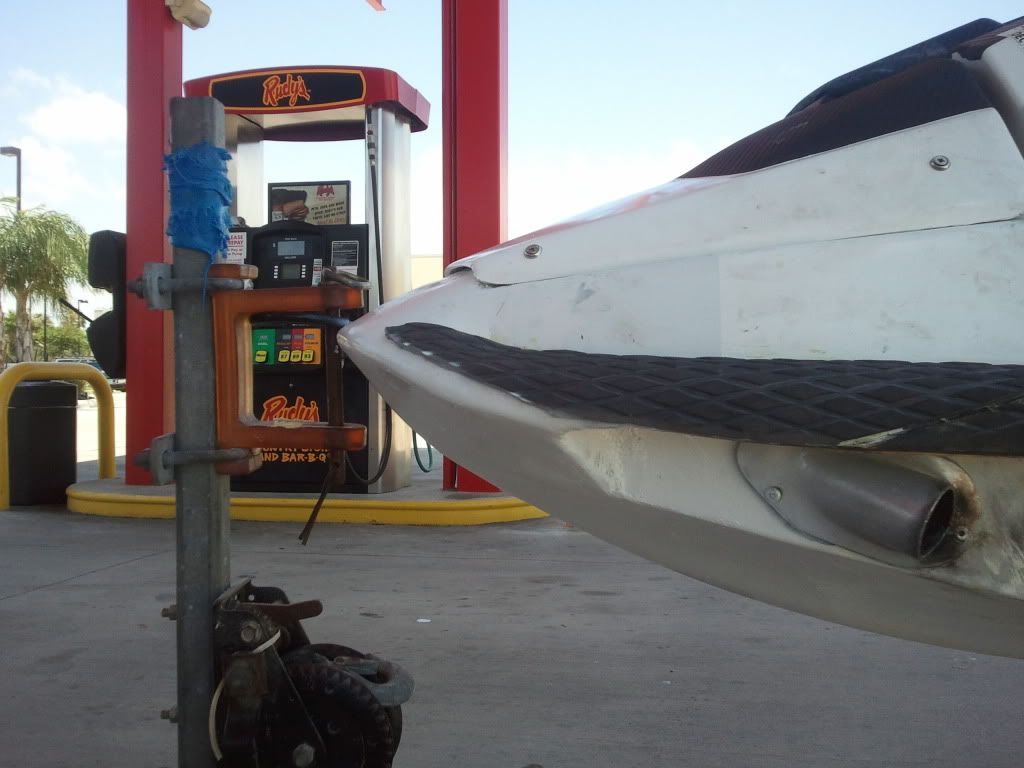
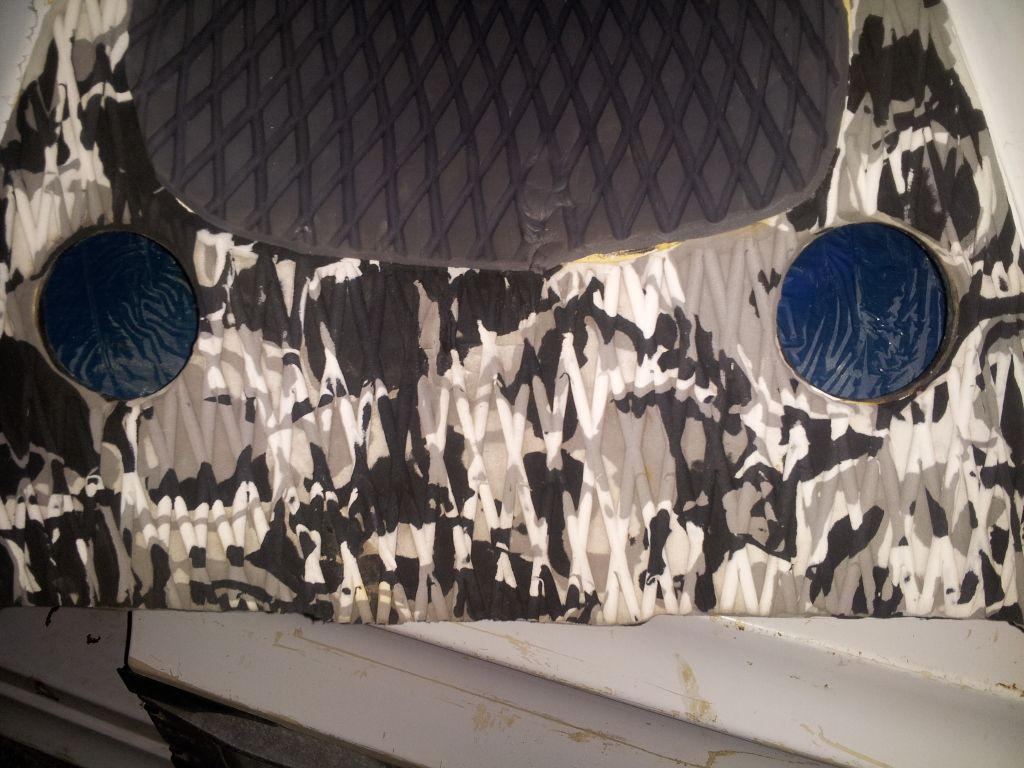
For the vents, cut them out and tape over one side and glass the other side, when it dries pull the tape and do the other side, then feather the top smooth with sand paper. Do the same for the front 6 holes too.

20121021_185927.jpg

20121021_185935.jpg

20121021_185952.jpg

20121021_190005.jpg

20121021_190021.jpg

20121021_190113.jpg
 
Last edited:
What's up everybody, just wanted to say that Mullet Masher has been resurrected and is looking better than ever! I bought this hull a few years ago and finished working on it fall of 2018. She's now for sale in Kansas. Wish I had the money for a nice motor build like the previous mullet masher had, but oh well. She will make a nice ski for someone!
 

Attachments

  • IMG_20190306_133010.jpg
    IMG_20190306_133010.jpg
    139.1 KB · Views: 26
  • IMG_20190306_133029.jpg
    IMG_20190306_133029.jpg
    174.5 KB · Views: 27
  • IMG_20190306_133050.jpg
    IMG_20190306_133050.jpg
    143.7 KB · Views: 26
  • IMG_20170712_211601957.jpg
    IMG_20170712_211601957.jpg
    112.6 KB · Views: 26
Top Bottom