Superjetter_95
Looking to the sky
- Location
- League city tx
what if that would actually work.......
That makes me wanna try it. grow your own chia ski
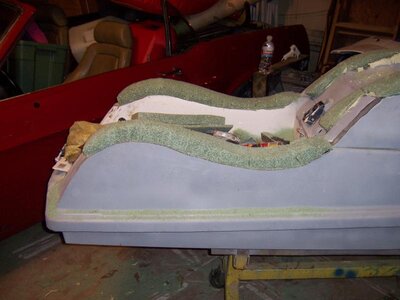
 mfg:
mfg:what if that would actually work.......
mfg:well, not too much more progress.
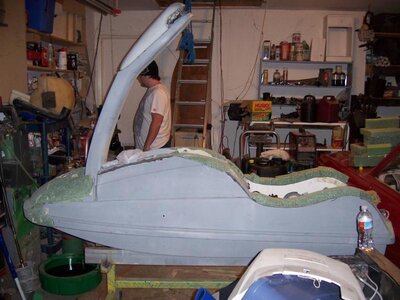
i got the gas cap sunk in and then tomorrow ill be laying the glass hopefully.
its no where close to finished, but its certainly progressing :veryhappy:
other plans now are to get a Rn pole and bracket.
Round out and smooth and lower the lines on hood slightly
and lay out some tubbies
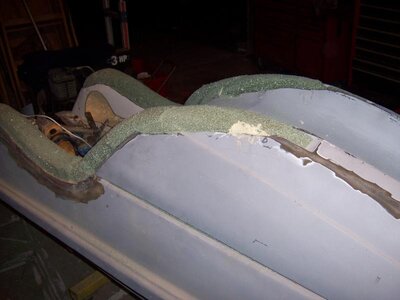
well, not very much more progress.
but we got the nose shaped down even more and its starting to look like i want it to for the most part.
more layering of foam for tomorrow most likely.
and the gunwales are starting to get shaped as well
im going to extend the hood some so that they flow a bit better as well.
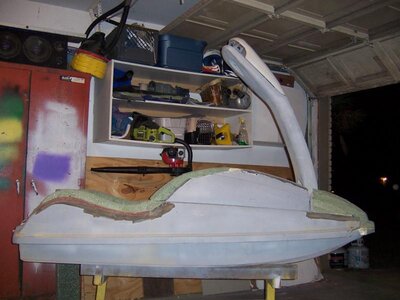
we also just placed our order with US composites for some 7 or 8 oz and resin. along with a bit of 2 part foam
this is all for now, but i may start laying out my tubbies tomorrow :woot: