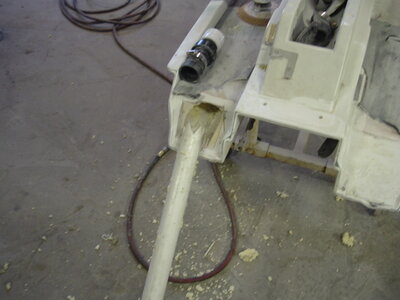
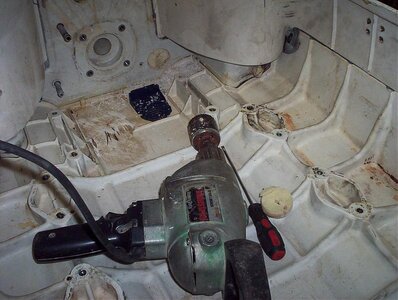
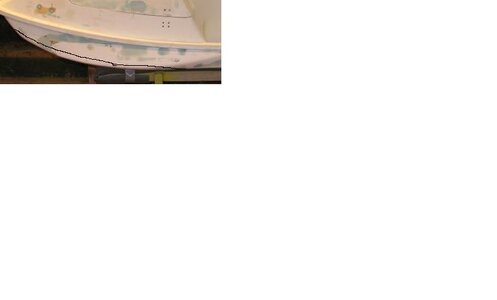
Didn't want to jack any threads so I started this one to follow my progress over the winter. The first mod I am tossing around is the front hull re-shape to be more like an SXR or new X2 by cutting off the deep skegs on the front 1/4. Then re-shaping the center to get rid of the sharp V . That way it will tend to ride up on the waves instead of plowing through them. The skegs are fine for racing with the trim down, but for freeride we turn on the back of the ski and want the trim up always. They also have a bad tendancy to throw the boat to one side or the other when hitting large surf slightly off angle.
Attachments

Last edited: