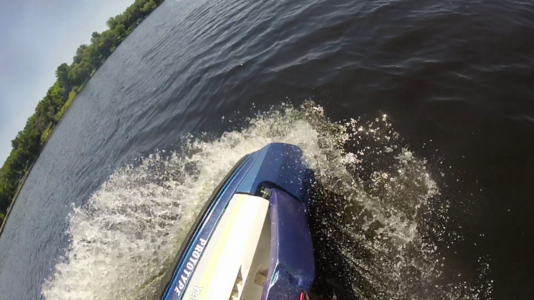
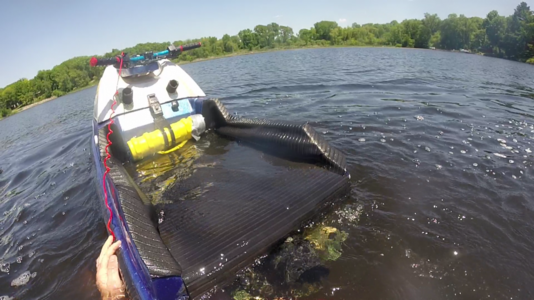
Been working on this for 6 or 7 months now. Here we go...
After riding my squarenose for a season I decided it was time to see what these short hull are all about. With two weeks left before the ice froze over my goal was to make a short ski and see how it handled in the water.
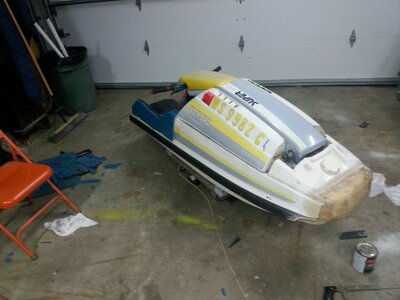
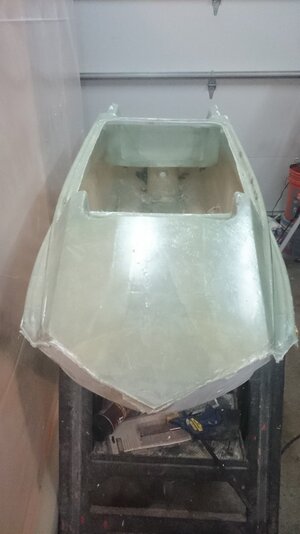
3.5 inches off the rear and I think 7 or 8 off the front. Not really important because it didn't stay this way long.
After test riding for a couple weeks the lakes froze and it was time to get to work. I decided that a stubby nose like the one I had didn't do much hydro dynamically for the ski with my riding style.
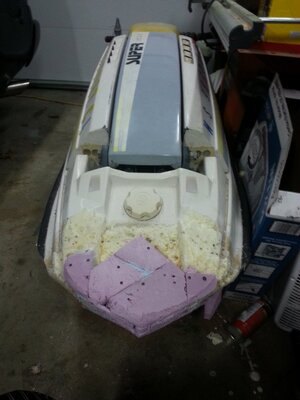
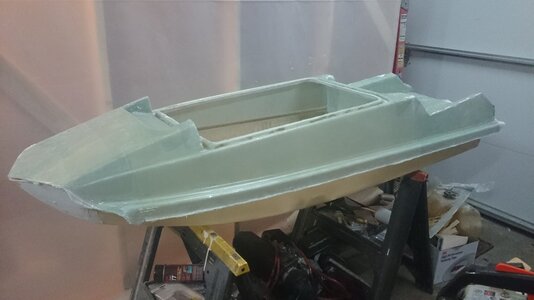
The concept is to integrate a 4 inch rocker with a v shaped bow to give pop off waves while reducing drag when laid on its side in tight turns.
There's a long way to go from crudely shaped foam to a solid nose.
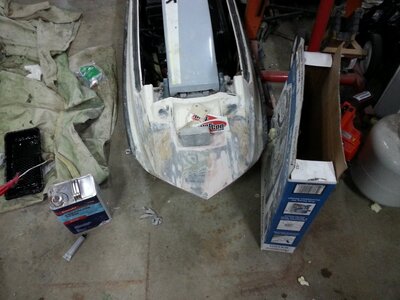
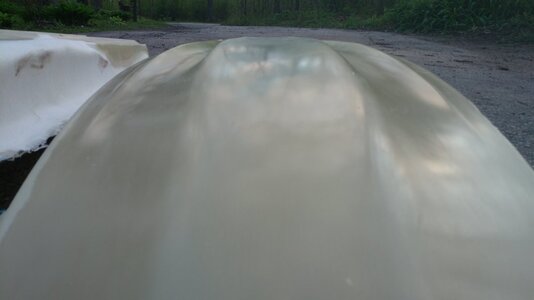
Ignore the Watcon stickers as I have no affiliation. Here you can see the nose taking a solid shape with many layers of glass and several kinds of body fillers. This is easily one of the most time consuming stages.
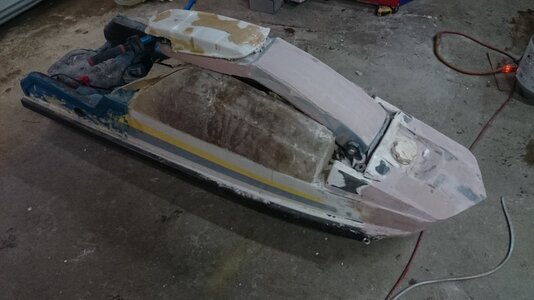
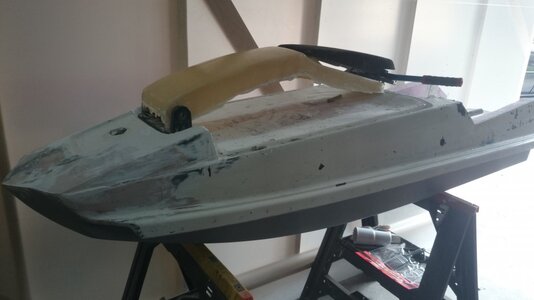
I took a short break from plug shaping and decided to make a new handlepole to complete my hull. Here we see a squarenose handlepole with an 8 inch section removed from the middle and the flare under the chinpad removed to follow a sleeker profile. Easier said than done considering the top section was about 1/2 inch narrower on each side than the bottom due to the taper in the original pole. An entirely new taper from base to handlebars had to be made and the curvature of the pole and top surface was altered. There isn't anything exactly squarenose about the pole besides where it mounts. The chinpad you see is a squarenose chinpad narrowed by 3 inches. It had already been used to plug a mold at the time this picture was taken. Just like the handlepole, the chinpad shares virtually no dimensions with any existing chinpad.
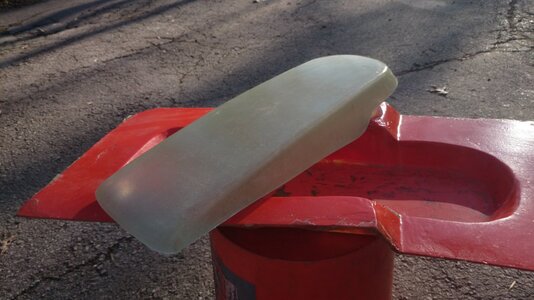
Chinpad mold and new chinpad. Several version of the chinpad were made. This is the third chinpad mold I've made and most likely the last of this style.
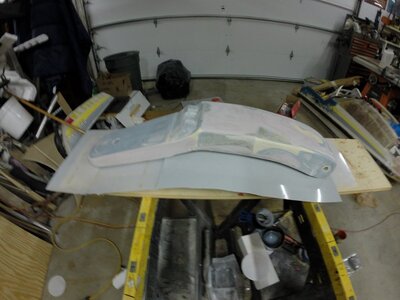
Here we have the handlepole plug secured to plastic sheeting in preparation for molding. Looking back at it I wish I had taken more time to create a sturdy mold. This handlepole was intended as a one off so I wasn't concerned about pulling more than one handlepole.
Time to get serious and buckle down on the build. With about a month and a half left before the Dell's Freeride my top deck still wasn't finished and no hull molds had been made yet.
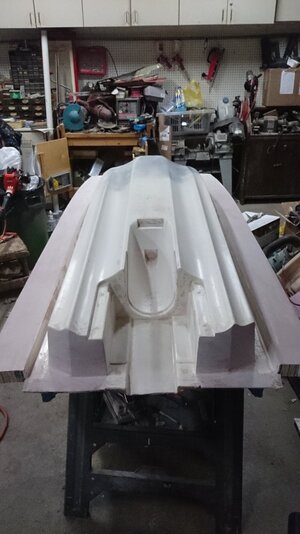
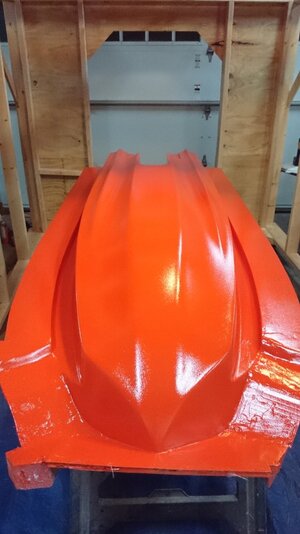
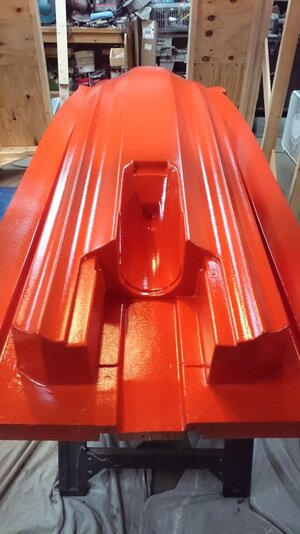
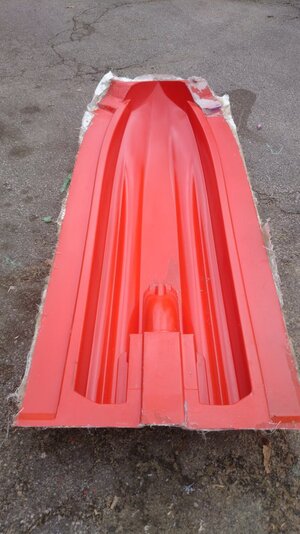
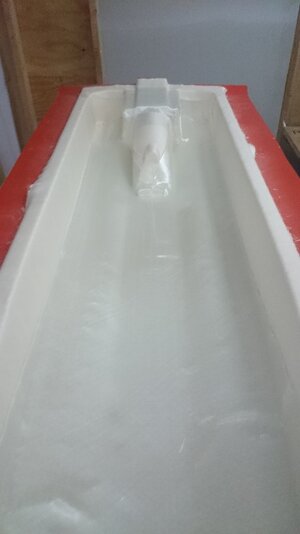
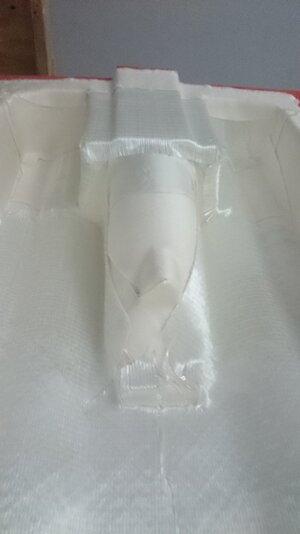
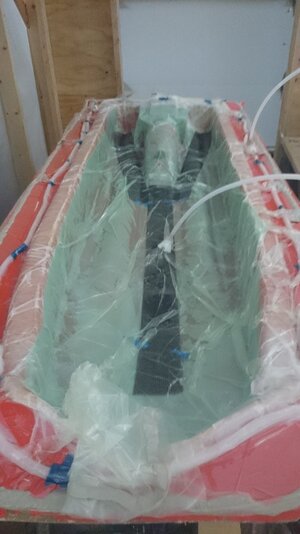
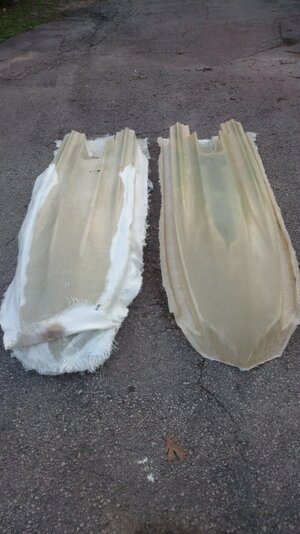
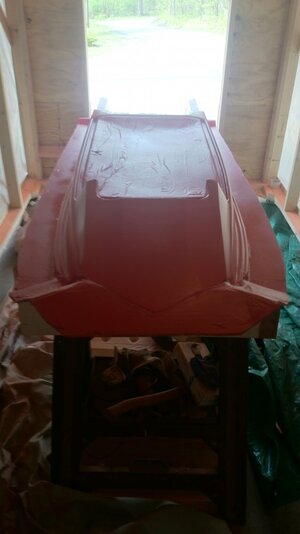
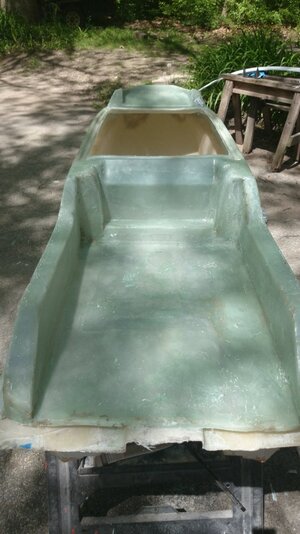
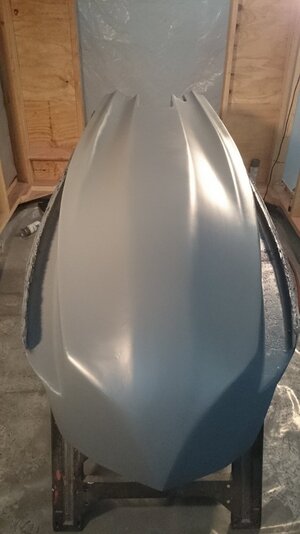
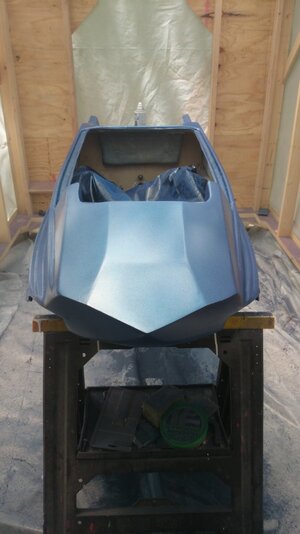
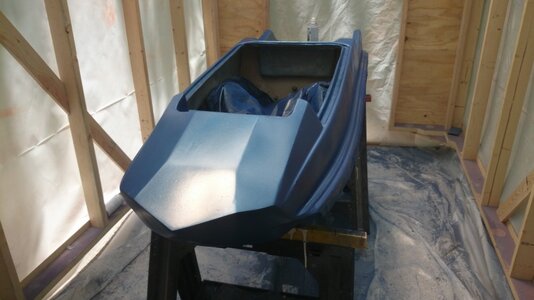
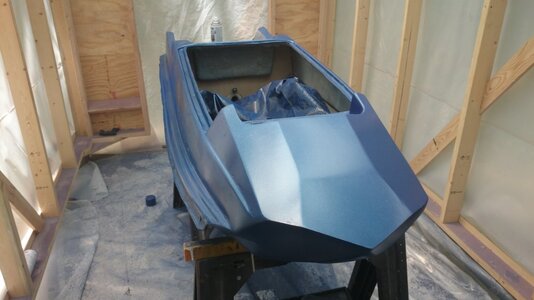
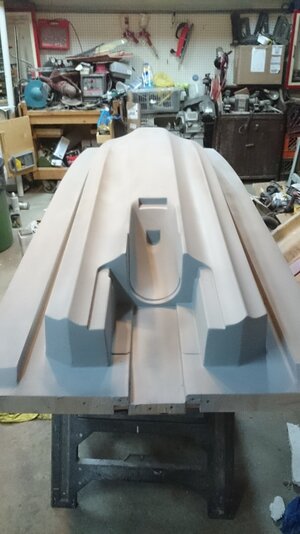
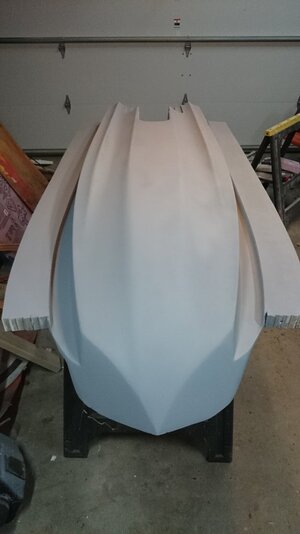
Chopped another 1.5 inches off the rear and and gave the corners a nice angle to make the hull feel even shorter when turning. Built the mold flange and ready for primer.
Garage looks like an angry explosive tornado zipped through...
After riding my squarenose for a season I decided it was time to see what these short hull are all about. With two weeks left before the ice froze over my goal was to make a short ski and see how it handled in the water.

3.5 inches off the rear and I think 7 or 8 off the front. Not really important because it didn't stay this way long.
After test riding for a couple weeks the lakes froze and it was time to get to work. I decided that a stubby nose like the one I had didn't do much hydro dynamically for the ski with my riding style.

The concept is to integrate a 4 inch rocker with a v shaped bow to give pop off waves while reducing drag when laid on its side in tight turns.
There's a long way to go from crudely shaped foam to a solid nose.

Ignore the Watcon stickers as I have no affiliation. Here you can see the nose taking a solid shape with many layers of glass and several kinds of body fillers. This is easily one of the most time consuming stages.

I took a short break from plug shaping and decided to make a new handlepole to complete my hull. Here we see a squarenose handlepole with an 8 inch section removed from the middle and the flare under the chinpad removed to follow a sleeker profile. Easier said than done considering the top section was about 1/2 inch narrower on each side than the bottom due to the taper in the original pole. An entirely new taper from base to handlebars had to be made and the curvature of the pole and top surface was altered. There isn't anything exactly squarenose about the pole besides where it mounts. The chinpad you see is a squarenose chinpad narrowed by 3 inches. It had already been used to plug a mold at the time this picture was taken. Just like the handlepole, the chinpad shares virtually no dimensions with any existing chinpad.

Chinpad mold and new chinpad. Several version of the chinpad were made. This is the third chinpad mold I've made and most likely the last of this style.

Here we have the handlepole plug secured to plastic sheeting in preparation for molding. Looking back at it I wish I had taken more time to create a sturdy mold. This handlepole was intended as a one off so I wasn't concerned about pulling more than one handlepole.
Time to get serious and buckle down on the build. With about a month and a half left before the Dell's Freeride my top deck still wasn't finished and no hull molds had been made yet.

Chopped another 1.5 inches off the rear and and gave the corners a nice angle to make the hull feel even shorter when turning. Built the mold flange and ready for primer.
Garage looks like an angry explosive tornado zipped through...


