Electrohead's 91 Squarenose

Lucifer

Jet Junkie
Location
Croydon PA
The 61x cylinder is off getting big bore sleeves!
Heres some of the other goodies I'll be installing...

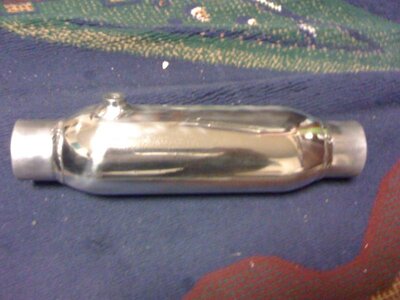
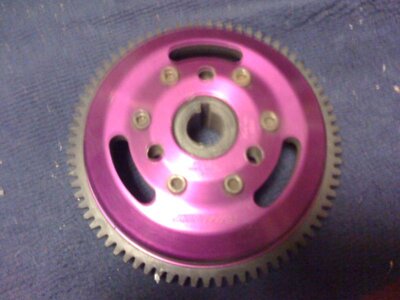
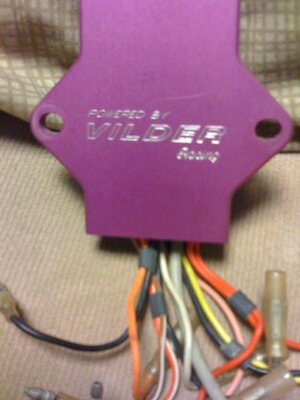
A polished Coffmans stinger waterbox, polished B pipe, Jetinetics lightened charging flywheel, Vilder ignition (YES!!!!!) and 85.5mm forged Wiseco pistons....
 

Attachments

  • iphone 100.jpg
    iphone 100.jpg
    52 KB · Views: 47
  • iphone 102.jpg
    iphone 102.jpg
    50.3 KB · Views: 39
  • iphone 107.jpg
    iphone 107.jpg
    47.5 KB · Views: 27
  • iphone 115.jpg
    iphone 115.jpg
    51 KB · Views: 41
  • iphone 122.jpg
    iphone 122.jpg
    39.5 KB · Views: 30
Last edited:

Lucifer

Jet Junkie
Location
Croydon PA
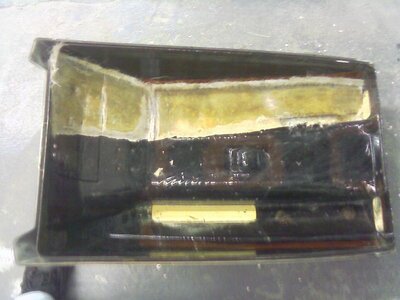
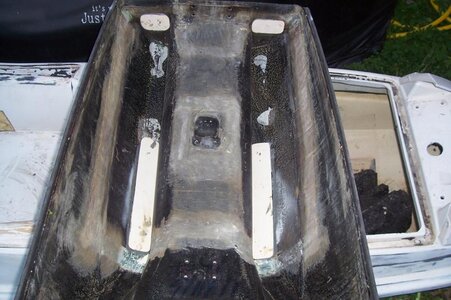
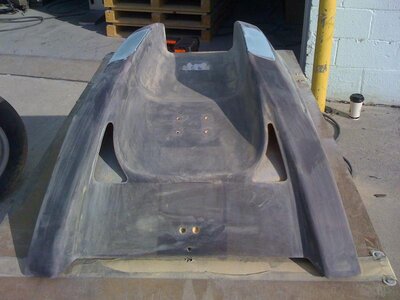
I reinforced the underside of the handlepole area using Paul's (Jr Maggoo's) technique. Flipped the ski upside down on some sawhorses and climbed up into it. Filled in the voids with foam and then glassed over it. Pretty smooth Paul!!

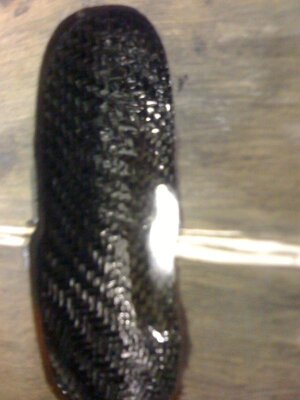
You can see the glassed over cable hole in the carbon fiber hull picture
 
Last edited:

Lucifer

Jet Junkie
Location
Croydon PA
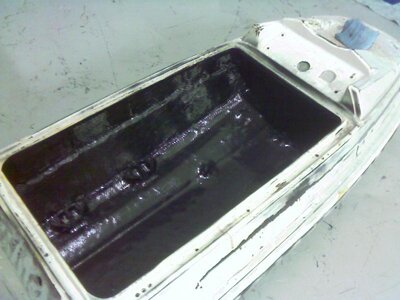
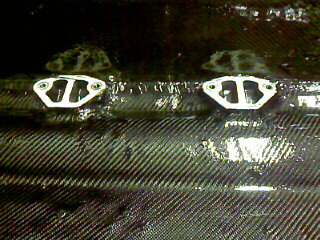
After filling in the bond lines with foam and sanding them smooth, I added carbon fiber to the engine compartment. I also painted the rear bulkhead black.
 

Attachments

  • IMAGE_087.jpg
    IMAGE_087.jpg
    55.1 KB · Views: 170
  • IMAGE_107.jpg
    IMAGE_107.jpg
    35.1 KB · Views: 129

Lucifer

Jet Junkie
Location
Croydon PA
Stredman, hope this helps you out.....
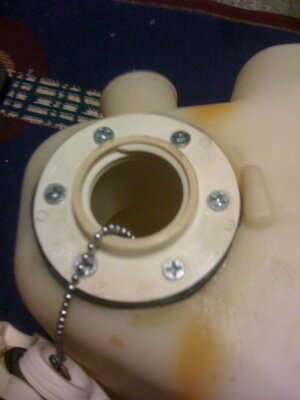
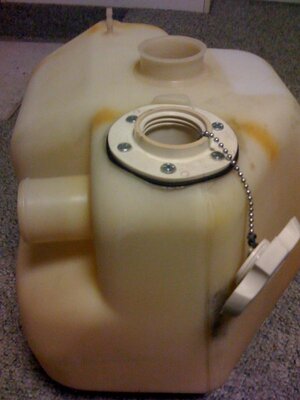
Heres a few more pics of my tank mod. I reused the original filler assembly and glassed over the hole where it was.
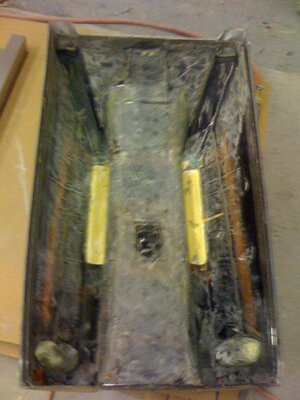
The yellow mark on the tank is where the hold down strap used to sit. I had to cut into one of the "bumps" that keep it from moving and then sanded down the part that was left. I should still be able to use the strap even with the filler neck in place.
I drilled pilot holes for larger screws (#10 x 1/2). Since the top of the tank isn't completely flat, I used a heat gun to make it pliable, put silicone on the filler neck seal, and then screwed it into place.
Its not in the pics, but I'll clamp a plain rubber cap over the old fill hose neck on the front side of it.

Its not real flashy, but worked out real nice n saved me money that will be put to better use in the engine or pump.

[EVIL][/EVIL]
 

Attachments

  • iphone 265.jpg
    iphone 265.jpg
    37.7 KB · Views: 60
  • iphone 262.jpg
    iphone 262.jpg
    44.3 KB · Views: 73

Lucifer

Jet Junkie
Location
Croydon PA
Busy week!!!

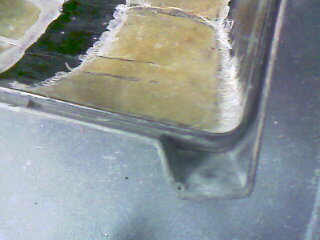
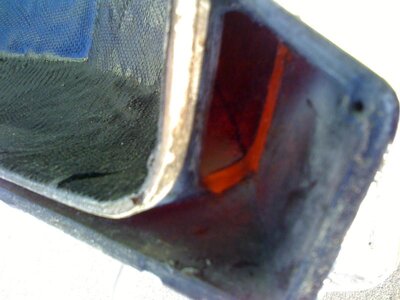
The hood is almost done. First I cut out the old liner, then filled in the air intakes and drains. I epoxied scrap plastic from the original liner on the inside and glassed over the outside.

I cut out the rough openings for my new drains.

Then I made two fiberglass forms that fit over the air gaps in the hood and bonded them in place. I used clamps to form them to the curve of the inside of the hood. Now any water in the hood will run out either side at the back.
 

Attachments

  • IMAGE_422.jpg
    IMAGE_422.jpg
    52.5 KB · Views: 118
  • IMAGE_545.jpg
    IMAGE_545.jpg
    35.3 KB · Views: 77
  • IMAGE_431.jpg
    IMAGE_431.jpg
    17.4 KB · Views: 91
  • Picture 018.jpg
    Picture 018.jpg
    71.1 KB · Views: 116
Last edited:

Kennay

Squarenose for the _____
Location
Myrtle Beach, SC
For future refrence you may want to Squegy out the excess resin.... It looks really wet.

Agreed. and to further elaborate on why, Electro, is because when you use too much resin, it allows the cloth to float off the surface of whatever you are glassing, and it also allows the material to be less dense since it is not very tight anymore. When you squedge it out, it pulls the excess resin out, and it allows the glass/fiber/whatever to lay down in a tighter more dense layer(s)

If you want it glossy like that without having to lay it on thick, it is perfectly fine to lay the glass, squeedge it, and then once it had gelled good, come back and roll on a layer or two of epoxy to get that smooth texture while allowing those layers to gel up good before rolling on more for the desired finish. Once the epoxy gels, it can't really float up or spread out anymore. Laminating.... I'd get a West Systems book if I were you, and just leave it on the crapper in the bathroom. It's good for alot of little tips like that.
 

Lucifer

Jet Junkie
Location
Croydon PA
Agreed. and to further elaborate on why, Electro, is because when you use too much resin, it allows the cloth to float off the surface of whatever you are glassing, and it also allows the material to be less dense since it is not very tight anymore. When you squedge it out, it pulls the excess resin out, and it allows the glass/fiber/whatever to lay down in a tighter more dense layer(s)

If you want it glossy like that without having to lay it on thick, it is perfectly fine to lay the glass, squeedge it, and then once it had gelled good, come back and roll on a layer or two of epoxy to get that smooth texture while allowing those layers to gel up good before rolling on more for the desired finish. Once the epoxy gels, it can't really float up or spread out anymore. Laminating.... I'd get a West Systems book if I were you, and just leave it on the crapper in the bathroom. It's good for alot of little tips like that.

Thanks for the info. Thats basically what I did. In hindsight, I should have just left it alone after it set. I thought it would look better with a second coat to smooth out the finish, but I laid it on a little too thick and it drooled all over. :dunce: When I saw it the next day I decided to stop making it worse and just left it.
+5 experience points
 

Lucifer

Jet Junkie
Location
Croydon PA
Air intake question

After finishing the inside with carbon fiber, (more pics to come), I opened up the drains to the edge of the new liner to prevent water from pooling in them.
Then I cut out new air intakes. Any water that gets in the intakes will go right down the drains.
I know everyone uses the rear corner drains. Has anyone else cut their intakes like this?
Later on I'll be testing different exhaust designs. This hood will give me plenty of room inside the engine compartment for various pipes, etc.
 

Attachments

  • iphone 053.jpg
    iphone 053.jpg
    49.5 KB · Views: 96
  • iphone 012.jpg
    iphone 012.jpg
    56.6 KB · Views: 139
Top Bottom